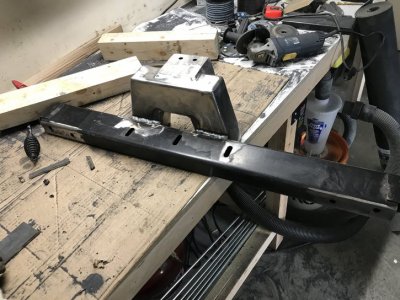
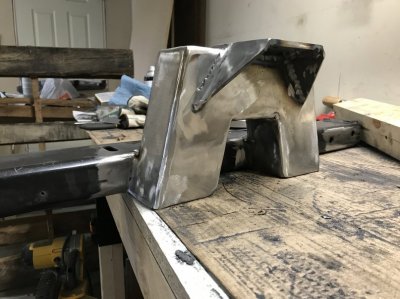
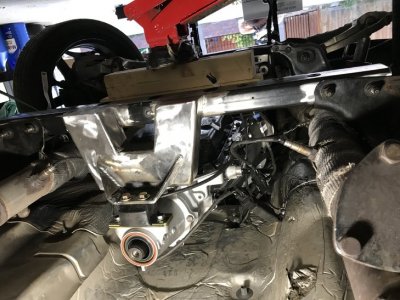
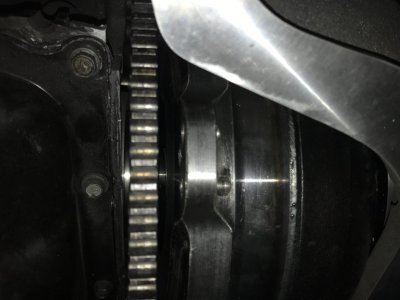
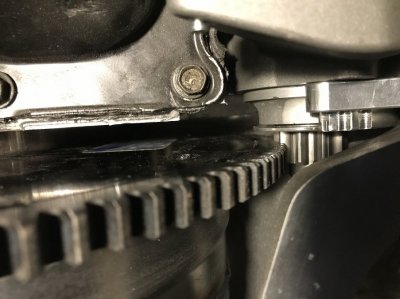
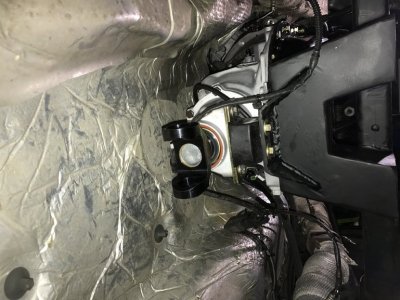
Physically, the trans is now completely installed. I got the adapter from JW Performance and after finally getting in touch with them about how the ring gear was sitting on the very edge of the converter's mounting face and not sitting flush they told me to notch the converter. I was a little worried about notching it but I was told that as long as it's very close to the same amount of material from all 3 lugs that it won't affect the balance, so I gave it a go. The flexplate now sits flush to the converter, yay! I did several dry test fits on the bench, the clearances were very tight and I had to polish the converter snout and inner flexplate bore to get the adapter to fit.


It should be noted that Dodge doesn't use standard bolts for the flexplate, they use M10-1.0 extra fine threaded bolts which no fastener supply company seems to be able to get. JW supplied bolts for this but they were standard fine thread and wouldn't work. I ended up searching through the ARP catalogue and found a set of ARP flexplate bolts from a 6.4L diesel that work as well as the 4L80e ARP converter bolts and got those as well. The 6.4L bolts come in a pack of 10 which was handy for later since we only need 8 of them. I apparently don't own a set of 12-point sockets in a 1/2" drive so I had to buy a 16mm 12-point to install the ARP bolts and I used blue loctite instead of their fastener lube just because I prefer to use loctite on flexplate hub bolts.


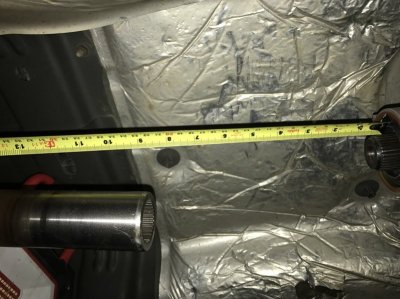
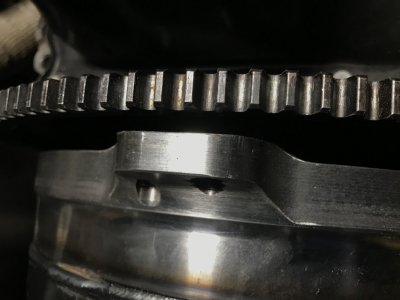
With the converter fully seated and flexplate/adapter installed there should be a gap of 0.060" - 0.187" for the converter pull back. I tested this using drill bits since they're gauged and I don't own a set of feeler gauges this thick. My gap was .077" so I'm in good shape there. This gap is absolutely vital, too much and it pulls the converter out of the pump, too little and the converter rubs on the bell housing and can impact the pump.


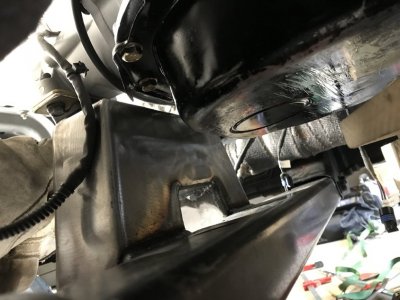
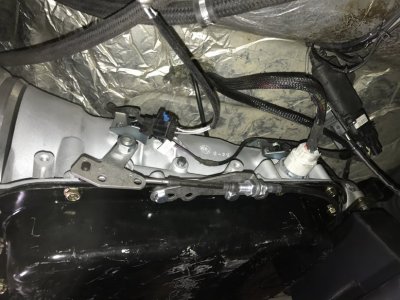
With the proper gap I could now bolt everything up and check the starter. The starter was barely touching the flexplate with everything fully bolted together and torqued so I needed to shim the starter a bit to have the proper clearance and it needs to be perfectly square to the mounting face so normal washers won't work, luckily the 6.4L ARP bolts had 2 left over with washers and the washers were half the thickness of the alignment face of the starter so with them in place there's a nice gap for the starter to turn before it engages with the flexplate. I had previously run new 4ga cable to the starter so I just trimmed that cable to the new required length and crimped new ends to the cable.


With the trans fully bolted and torqued in place I installed the trans cooler lines to the aftermarket cooler I had previously installed. I used -6AN/1/4" NPT fittings into the trans and -6AN hose to the cooler. It was ~5ft of hose to the front of the truck where the trans cooler was installed. The front/lower port is the pump out and this needs to be mounted to the lower port of the cooler to get all the air out of the system when it gets primed. Yes, I colour coordinate my hose fittings: black/red are fuel lines, black/black are oil lines, and black/silver are trans fluid lines.

I started looking at fabbing together the new intermediate crossmember for the driveshaft and after doing about 10% of the work I decided it would be better to have a professional shop do the work to get it properly aligned and the angles dialed in. I could have probably gotten it to work but I've never messed around with a 2 piece shaft before and the last thing I wanted was driveline vibration so off it went to CutterUp Performance in Calgary and while it's there its getting a set of his heavy 4-link control arms installed to replace the Spohn arms and a pair of driveshaft loops for the 2-piece shaft.
Thank god I have a Premier CAA/AAA membership: 3 free short distance tows per year. I love just calling them up and saying it needs to be towed somewhere and no real effort on my part required. I've made my money back on this membership for the last 2 years just in savings on service tows.


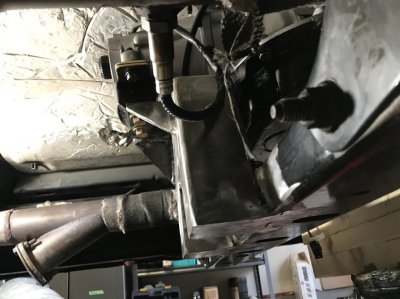
I completely removed the exhaust system and will get a new one fabbed up to allow me to drop the rear more, I'll probably end up dumping before the axle with a single pipe instead of the true duals. The last thing I did was setup the shifter linkage to the proper tension following the TCI installation instructions; the linkage then got pinned into place and the shifter installation is complete.
Once I get back from work in 2 weeks I will begin playing with the electronics which will be the hard part of this whole build.