HighTechRedneck's Red Dodge Build Thread

Disclaimer: Links on this page pointing to Amazon, eBay and other sites may include affiliate code. If you click them and make a purchase, we may earn a small commission.

codered

Senior Member
Joined
Aug 18, 2014
Posts
9,502
Reaction score
2,152
Location
in da ghetto, FL
Ram Year
1998 QCSB
Engine
magnum 5.9/360
I'm pretty much only a fan of the straight axle Chevys, only a few of the IFS ones I like. That is one major advantage that Dodge has kept over the years, straight axles on their trucks. Well, 3/4 and 1 tons.


Well thank ya. :favorites13: Major lesson learned though, almost at the cost of my rig. Good thing is that I got a bunch of spare parts along with that intake, so I've got some junk I can dig through to fix most of the issues that are left over. But when I brought it to school today, hardly anyone noticed where the damage was until I pointed it out to them, so that's a plus.

What I really want to know is what is going to happen to that kid who sold me the stuff. Since we are regulars at Orielly's, the manager did what he could to make it right. But when the day comes to sell it, people will see the burn marks and run off... :****sweak::banghead:

Yeah, I think if I was to buy a chevy it'll be a 90s tahoe even then I'll still have some other cars ahead of that the 350 is the best chevy engine. Had a c3 my grandfather bought me with a 427 and a race transmission sad thing my parents sold it :(
 
OP
OP
HighTechRedneck

HighTechRedneck

Senior Member
Joined
Jul 22, 2014
Posts
101
Reaction score
18
Location
Arizona
Ram Year
1995
Engine
318 Magnum
Well, honestly, it is barely noticeable NOW, so think about what the accumulation of dirt will hide. :D

And that's a good point I didn't think about. I'm going to replace the hood with a fancier one when I paint it though, it's completely obvious on the bottom part, and why not throw on a cowl or ram air hood while I'm at it.
 
OP
OP
HighTechRedneck

HighTechRedneck

Senior Member
Joined
Jul 22, 2014
Posts
101
Reaction score
18
Location
Arizona
Ram Year
1995
Engine
318 Magnum
Wow, I forgot to update this thread... Looks like I'm going to have update this, done a ton since then... Going to update tomorrow, y'all are going to like the new stuff!
 
Last edited:
OP
OP
HighTechRedneck

HighTechRedneck

Senior Member
Joined
Jul 22, 2014
Posts
101
Reaction score
18
Location
Arizona
Ram Year
1995
Engine
318 Magnum
Late again because of school and the Prescott Internet Crisis, haha. But here we go.

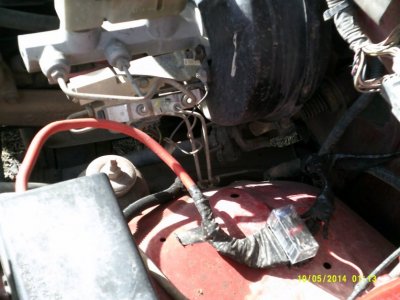
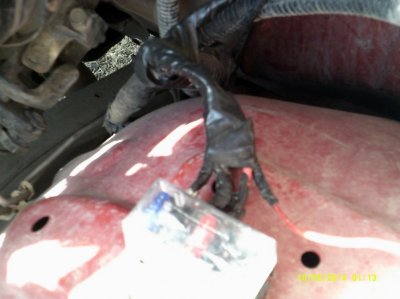
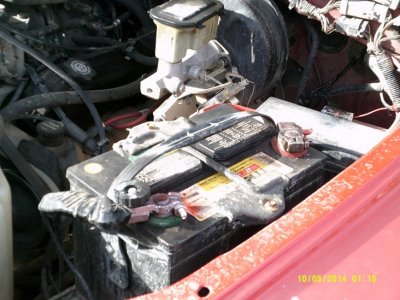
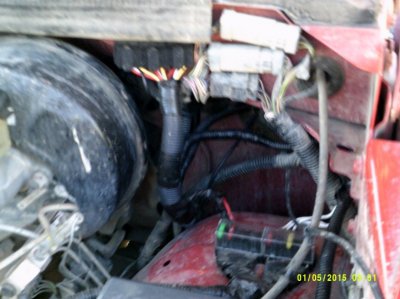
Trying to stay somewhat in chronological order, first I installed this fuse block and battery disconnect. I don't like my wiring as a rat's nest, and do a ton of electrical stuff, so it's nice to have easy access, and quickly disconnect the batteries

Fuse Block from Orielly's
DSCF0147.jpg
DSCF0148.jpg

Battery Quick-Disconnect
DSCF0152.jpg

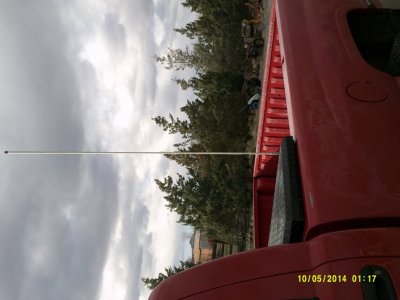
Then after that, changed my CB antenna to one with a much better range. Will do twin whips once I build a headache rack, but can't complain because it was free! Haha

DSCF0154.jpg
 
OP
OP
HighTechRedneck

HighTechRedneck

Senior Member
Joined
Jul 22, 2014
Posts
101
Reaction score
18
Location
Arizona
Ram Year
1995
Engine
318 Magnum
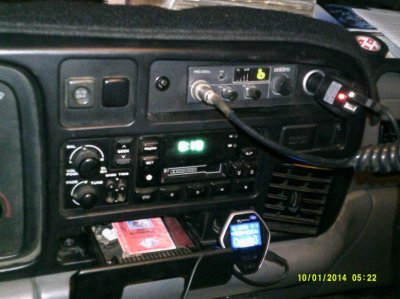
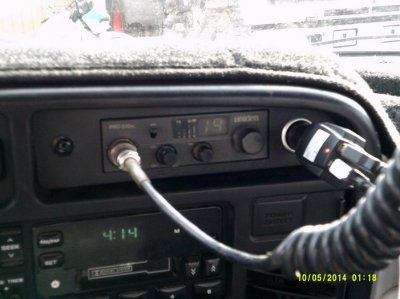
Then decided to change my CB radio setup. Someone stepped on my old mic, and I couldn't get it to work right even after fixing that... Also, my cupholder finally broke, and after plastic welding it a few times with a soldering iron, it kept getting worse...

So out with the bulky CB, and in with a smaller one. I made this out of a scrap piece of plate steel, and no, it's not CNC. Cut out the basic shape with a torch, then sanded, filed, and sawed everything to fit. I also put in an extra power plugin, wired to the battery so I can plug in my phone without my keys in the truck. CB still requires the key, which I like.

DSCF0144.jpg

DSCF0155.jpg

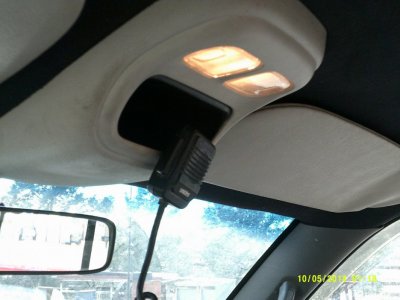
And the mic clipped perfectly into the overhead console. No mods at all, and hasn't fell off even offroading!
DSCF0156.jpg

Then I took my old broken, chrome-peeling grill, and experimented with a can of Rustoleum Premium Undercoating a friend gave me. I don't have good pictures of taking the chrome off, but I did it with a razor, and will never do it that way again... Took 5 hours... But, then masked it off, used a can of etch primer, and sprayed on the undercoating. (If I were to do it again, I'd use 2 cans of Rustoleum Premium undercoating). Then with the tape still over the front of the honeycomb inserts, sprayed gloss black from the back. Still gray on just the front, but has that billet bar floating effect.

Best picture I have of it:
DSCF0146.jpg

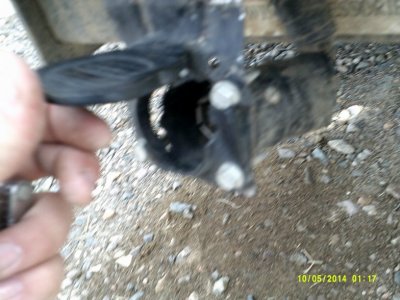
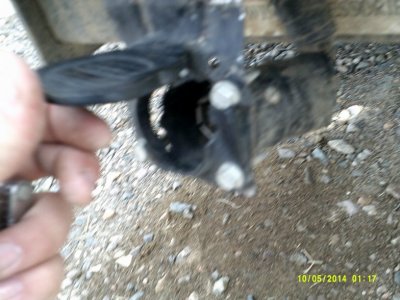
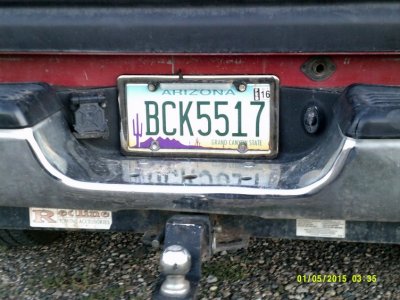
Then broke my trailer plug on the trail the other day too... Going to order a new one from Amazon soon, and delete one of the license plate lights, and put it there. Kind of like the 3rd gen rears have it.

Truck didn't have a factory tow package, so I mounted it here. Not a good idea, even though I was being careful...
DSCF0153.jpg
 
Last edited:
OP
OP
HighTechRedneck

HighTechRedneck

Senior Member
Joined
Jul 22, 2014
Posts
101
Reaction score
18
Location
Arizona
Ram Year
1995
Engine
318 Magnum
Also, I've worked on little do-dads here and there on the truck. Polished the headlights & taillights with toothpaste (which worked amazingly!) De-Badged the cab as well

And I also messed with the wiring for the power windows so I can roll down my windows with the key in accessory too. Not only while in run, stupid Dodge design...

Also new headlight switch & harness, the old one got so hot that it destroyed the connector...

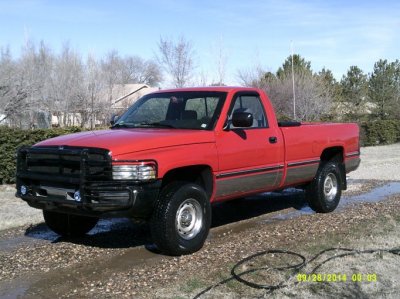
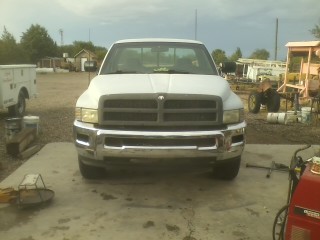
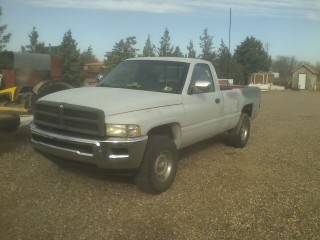
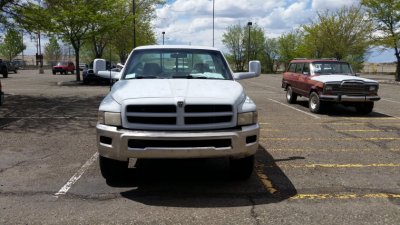
Here she sits now, just after a quick hose down.

DSCF0122.jpg

Things I'm going to do in the near future:
Finish my switch panel I'm making out of an old keyboard tray & the old CB bracket
Redo my A/C system since I get free Freon from the college now
Paint (IH Red) in the Summer time with me and some buddies help
Cab Lights
Bed-line the rockers (And get rid of those dreadful chrome panels...)
Tint
Headache rack with bed rails
Fix the remainder of the fire damage, air box & dipstick

But, priorities are to save up for Prom & a mission trip I'm going on this summer, so I've sold a bunch of my parts & off-road lights, and working to pay for that. Once that is done, then I'll start the big stuff again on the truck.
 

Attachments

  • DSCF0157.jpg
    DSCF0157.jpg
    94.5 KB · Views: 105
Last edited:
OP
OP
HighTechRedneck

HighTechRedneck

Senior Member
Joined
Jul 22, 2014
Posts
101
Reaction score
18
Location
Arizona
Ram Year
1995
Engine
318 Magnum
Been a while, so figured I'd update this again

First off, broke my trailer harness while out trail riding (I'm not as big on mud as everyone else, although still do occasionally, but love hitting trails)

Was crawling through a ditch & my little bro took my hitch that day, so to say the least, it broke off the harness. Nothing else broke though luckily

DSCF0153.jpg

So, got the idea from the 3rd gens, and did this
DSCF0243.jpg

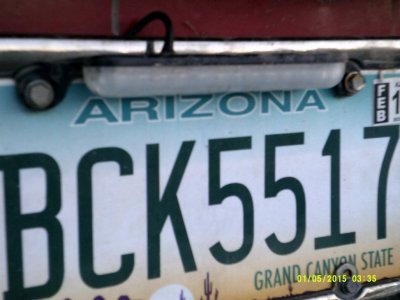
And put on a LED license plate light too, since I cut out the other one to put the trailer plug in
DSCF0245.jpg

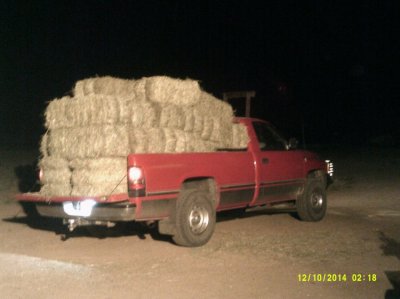
VERY bright! Lights up about 5 ft behind the truck, helps when getting the gate at night too! I was moving hay at the farm, not really a good pic but only picture I have of it lit up:
DSCF0225.jpg
 
OP
OP
HighTechRedneck

HighTechRedneck

Senior Member
Joined
Jul 22, 2014
Posts
101
Reaction score
18
Location
Arizona
Ram Year
1995
Engine
318 Magnum
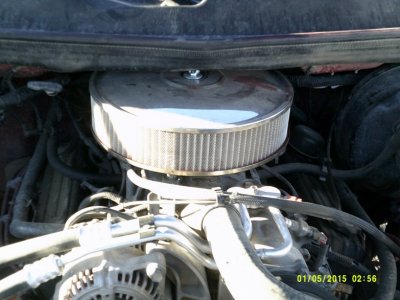
Then I fixed my A/C (just finished the course at the college) and installed a 14x3 Air Filter. Amazing how much the filter and exhaust woke up the truck! Still gotta do other performance parts, but that's later on
DSCF0232.jpg

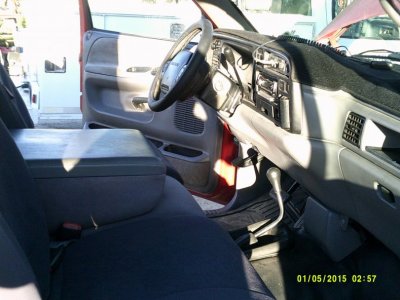
Then cleaned up the interior & installed seat covers & such. Kinda dirty right now because it's been a few weeks since
DSCF0233.jpg

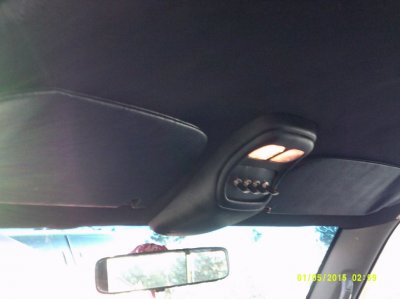
Then painted the overhead console & visors to match the headliner. Visors are the vinyl ones (Got them out of a base model truck)
DSCF0235.jpg

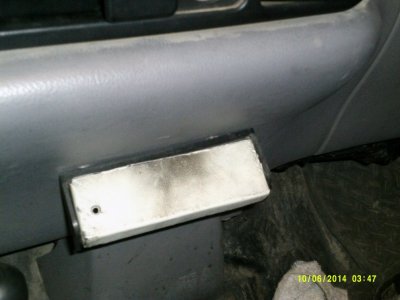
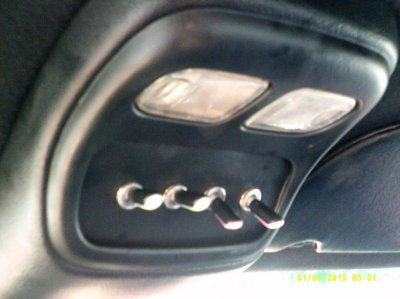
Also built a switch panel in place of the sunglasses pocket in the console, built it out of an old metal keyboard tray haha :superhack:
DSCF0239.jpg
 
OP
OP
HighTechRedneck

HighTechRedneck

Senior Member
Joined
Jul 22, 2014
Posts
101
Reaction score
18
Location
Arizona
Ram Year
1995
Engine
318 Magnum
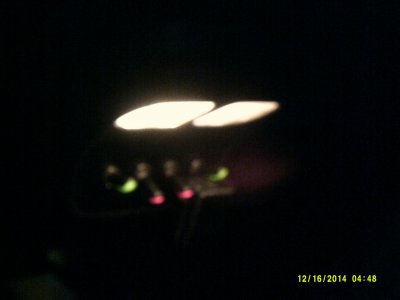
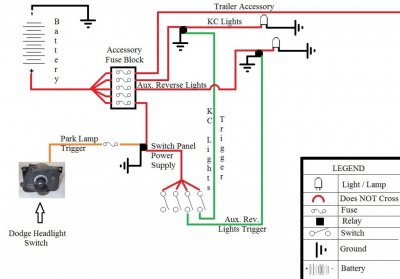
Also, did some tricks with some relays. Basically have to have the park lights on so any extra lights can work. But each light is still switched independently.

Here's a pic of the switches lit up at night (Red when off, green when on. Only light up and work when park lights / headlights are on)
DSCF0231.jpg

And a picture of the fuse blocks & relays.
DSCF0240.jpg

For anyone that knows how to read an electrical schematic, here is one I drew up a few months ago when I first thought of it. Tells how it all works
Electrical Schematic.jpg

That's all up to date now. Just saving up for hood scoops & a cab visor, that way I can paint it at the college this semester or next. Going to do IH red with bed liner on the bottom!


I've also got a video to add to this, it's me showing every thing and how it works. Couldn't get it to attach, anyone know how to?
 
OP
OP
HighTechRedneck

HighTechRedneck

Senior Member
Joined
Jul 22, 2014
Posts
101
Reaction score
18
Location
Arizona
Ram Year
1995
Engine
318 Magnum
Sorry for neglecting yall, been super busy. But have a huge update soon. Huge as in the truck hit bare steel and various other things. It'll be ready for paint by the end of summer at the latest
 
OP
OP
HighTechRedneck

HighTechRedneck

Senior Member
Joined
Jul 22, 2014
Posts
101
Reaction score
18
Location
Arizona
Ram Year
1995
Engine
318 Magnum
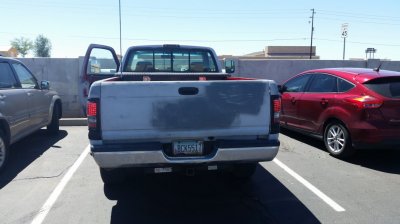
And another hint, I'm getting awarded as Auto Body Student of the year for this truck. While it isn't finished, it isn't recognizable to most anymore.
 
OP
OP
HighTechRedneck

HighTechRedneck

Senior Member
Joined
Jul 22, 2014
Posts
101
Reaction score
18
Location
Arizona
Ram Year
1995
Engine
318 Magnum
Long Overdue Update

Wow, it's been about a year since I updated this, I can't believe how much has changed since then. I haven't updated because my laptop burnt up, but now I have another one, so here goes.

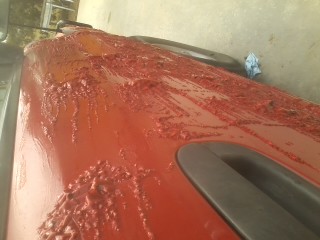
Welp, to begin with, I took Auto Body classes all this past year, and stripped all the paint off around August. And I've got to say, that aircraft paint stripper works good, but man, that stuff is wretched...

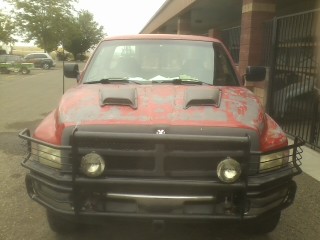
First week in class, stripping the paint off. Was toying around with some hood scoops which I later decided against
0921151357.jpg

0922151144.jpg

0922151352.jpg

0930151819.jpg

I then continued to sand til I hit metal everywhere else. Then put the truck in the booth, and after all the prepping and such to go in the booth, I hit it with some 5 Star Etching Primer, and some Omni 2k Primer.

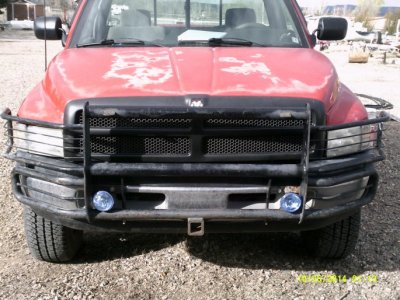
Sold the brush guard and bumper to my Instructor's son, and they let me use their stock bumper til I could get brackets built for my new one that was going on. This was right after I got the truck back together from inside the spray booth. Literally everything got unbolted, except I didn't remove the front and rear glass.
1008151011.jpg
 
OP
OP
HighTechRedneck

HighTechRedneck

Senior Member
Joined
Jul 22, 2014
Posts
101
Reaction score
18
Location
Arizona
Ram Year
1995
Engine
318 Magnum
Then shortly after that, my buddy talked me into buying a 4th gen bumper from him for $100, so I bit the bullet. Built my own brackets and everything from .25" plate.
0907151034.jpg

1017151638.jpg

Then I got some power mirrors from a friend for $20, and decided I'd convert to power mirrors. After getting the switch I needed from the junkyard, it all went right in.
1126151012.jpg

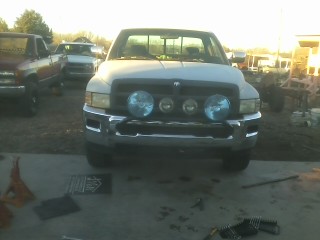
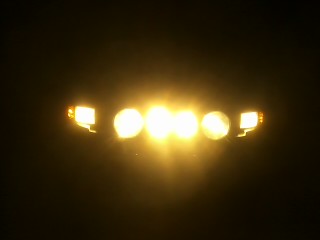
Shortly thereafter, the same buddy who talked me into the 4th gen, gave me some lights off of a truck he bought. He didn't like them, and I didn't at first either, but then the wild idea came to retrofit them to my truck. So I had to build tow hook mounts onto the conversion brackets I'd built before (The light hoop was designed for 2003-Current 2500 & 3500 trucks, which all have the same tow hook style. So I replicated the 4th gen tow hook mounts, and bam!
1217151649.jpg

Yes, they are insanely bright, all have 100w bulbs too. I don't have a picture of how far at night, but super bright for at least a mile, and I can see figures at 2 miles. I can still flash reflectors brightly much further than that...
1221151753.jpg
 

R.L.K.

Senior Member
Supporting Member
Joined
Dec 1, 2013
Posts
12,803
Reaction score
12,500
Location
Bristol , Tn.
Ram Year
2014 4X4 QC Express 6 speed auto 355 differentials
Engine
5.7 Hemi
Great job !
 
OP
OP
HighTechRedneck

HighTechRedneck

Senior Member
Joined
Jul 22, 2014
Posts
101
Reaction score
18
Location
Arizona
Ram Year
1995
Engine
318 Magnum
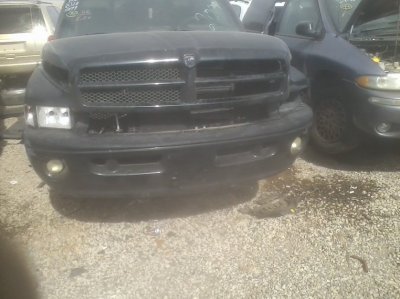
Then, I found me a Sport Grille at the Junkyard, and decided to get it and put it on.

The honeycomb was knocked out on one side already, so I did the same on the other side to make it match. I figure that I'll do some billet grille on the inside or something, so it won't matter anyhow
0303161412.jpg

Also took a grille emblem from a Dodge minivan or something like it, and put it into the grille. This way it has the cool 3D look to it that the 3rd gen emblems have
0303161710.jpg

Now the sport grille had almost every mounting tab broken off, and it was Cracked in 2 places. So I built some new mounting tabs out of raw plastic from Harbor Freight, and basically had to layer in each rod and plastic weld it all in. It was like a 4 hour ordeal, not fun, but MUCH stronger than stock now, hahaha. Also had 2 cracks in the grille, so Plastic Welded them the best I could, then 2 Part Epoxied them, and a touch of Bondo, and it all dissapeared!
20160502_121853.jpg

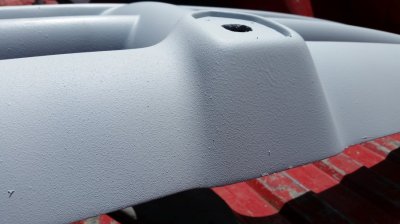
Next I bought some tow mirrors, sanded all the texture off, and scuffed the grille up and primered it all. Also sanded the bumper with 80 grit thinking I'd paint it like that, but at the last minute decided against it, and I'm going to have it sandblasted later this year.
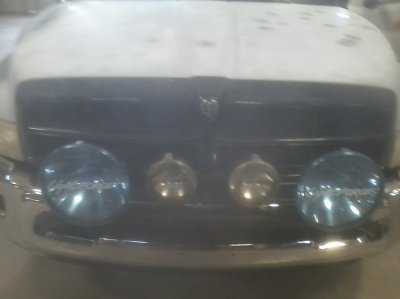
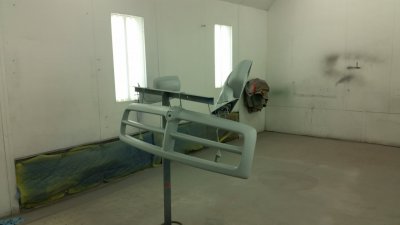
Inside the Booth
20160502_112857.jpg

Fresh out of the booth (Grille is crooked because it was just sitting there for the picture, bolted it on shortly after.
20160502_135210.jpg

Primer came out super rough because I was spraying it High Build (Without Reducer) in order to cover over the residual texture on the mirrors, and I was also having an issue with the spray gun, idiot before me wrecked the seal in the cap, and I didn't have time to mess with it.
 
OP
OP
HighTechRedneck

HighTechRedneck

Senior Member
Joined
Jul 22, 2014
Posts
101
Reaction score
18
Location
Arizona
Ram Year
1995
Engine
318 Magnum
Next, I found a guy on a Facebook Cummins page who was selling some LED tail lights for $100 shipped, so I snagged them up. They weren't even on his truck for 6 months he said, and when I got them, they looked brand new, so I believe it.
20160510_140504.jpg

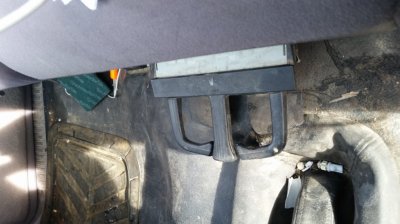
Also, Around October of last year I got tired of having no cup holders, so I took the cup holder out of the back seat of a 2007 Jetta and Built it to go in mine. It worked ok, but I have since changed it. You will see why later. But it retracted under the seat and everything too, so it worked pretty good considering it was a free mod
20160515_075652.jpg

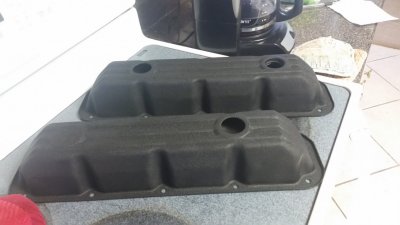
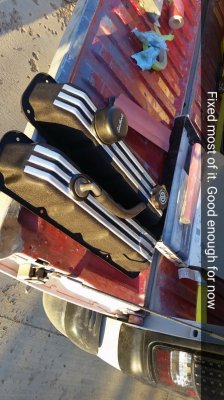
The valve stem seals then went out, and the truck was burning oil like something fierce, so while I had the valve covers off, I painted them. Sprayed them with the VHT Crinkle coating first, then stuck them into an oven to get it to look good. And they came out like this
20160522_180418.jpg

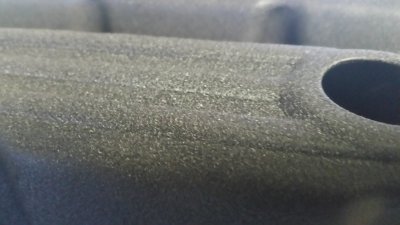
It has a really nice texture!
20160522_180745.jpg

But I wanted something more, so I painted some silver stripes on! I had peeled the tape a bit early on it, so it peeled up the silver in a little place. But I fixed it, so that is what the Snapchat is talking about
Snapchat-3745627872031744614.jpg

Of course I was doing body work on the truck the entire time as well, but I will show that later.

But this is all for tonight, as I'm going to Men's Group at the Church at the moment. I will finish it up later tonight or tomorrow morning since I'm off of work (Kinda can't haul concrete in the rain, and I can't mechanic on the trucks outdoors when it is pouring, haha)
 
OP
OP
HighTechRedneck

HighTechRedneck

Senior Member
Joined
Jul 22, 2014
Posts
101
Reaction score
18
Location
Arizona
Ram Year
1995
Engine
318 Magnum
Thanks man! I've got a lot more done now, including remote start, new dash, custom headache rack etc. But my truck is torn down to be painted at the moment, will update it again when I get some paint on it, which should be in the next 2 weeks, if the darn rain and snow subsides enough...
 
Top