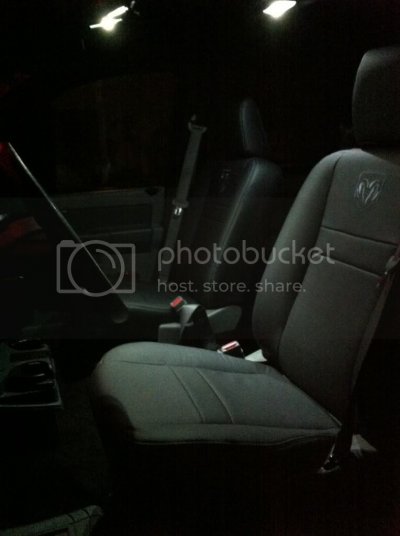
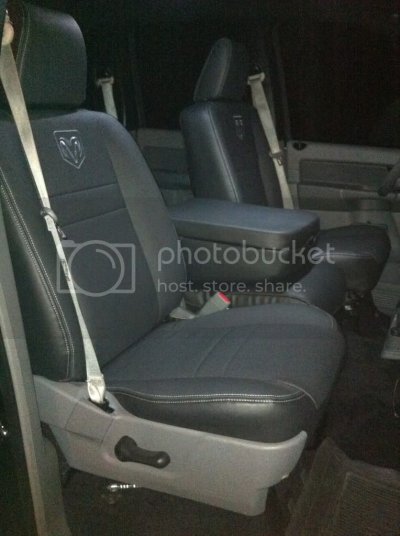
msorbara10
Senior Member
- Joined
- May 9, 2012
- Posts
- 353
- Reaction score
- 43
- Location
- Freehold NJ
- Ram Year
- 2004 Ram 2500 SLT
- Engine
- 5.7L Hemi
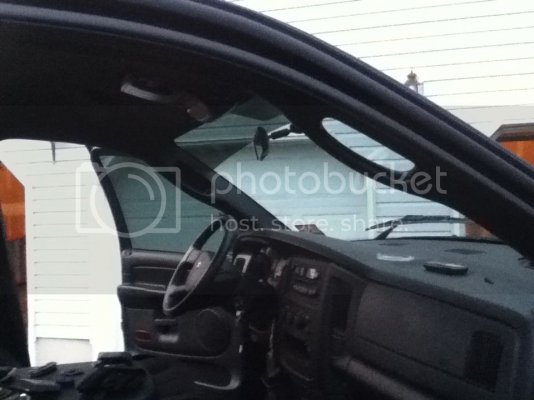
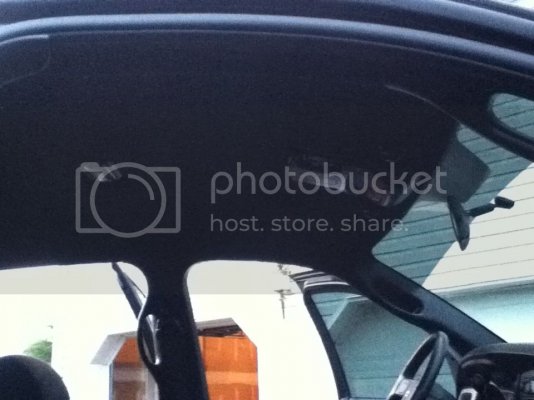
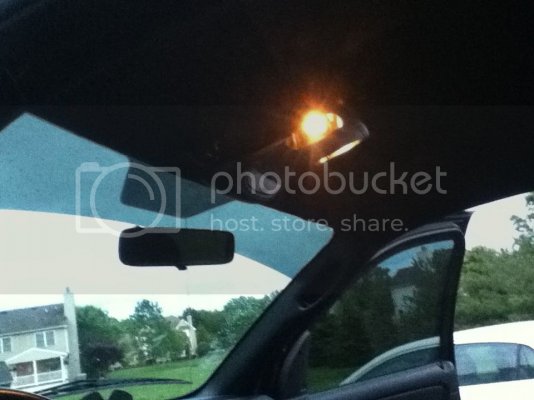
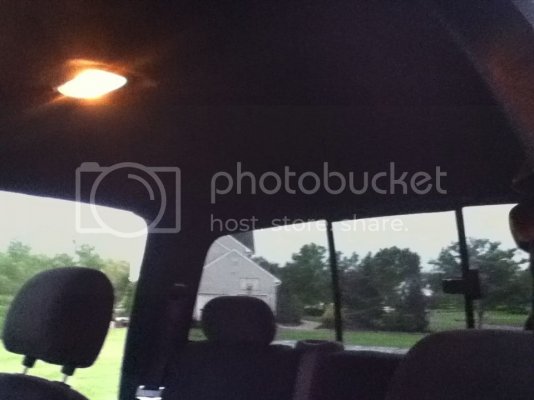
Whats up everyone. I been waiting to do this mod for a while and finally got around to it. I hated the two tone tan and black and wanted to make my interior all black. I have seen this done on the forum before but figured I would try to make a detailed one to help whoever is looking to do this.
You will need:
foam headliner ( I got mine off ebay and it came with the glue I needed. I got 120"x60". This was the perfect size because it left me extra material to do the visors which I am just finishing up.
glue for the liner ( Will show a pic later on)
ratchet and sockets
screwdrivers different sizes
different wrenches
wire brush
allen wrench
led bulbs if you wish (Got superbright led's on the way)
duplicolor plastic and vinal spray paint (2 cans)
big sheet of cardboard or anything to keep spray off ground
a little help couldnt hurt
patience
a little beer will help
ok first what I did was take off the tan moldings.
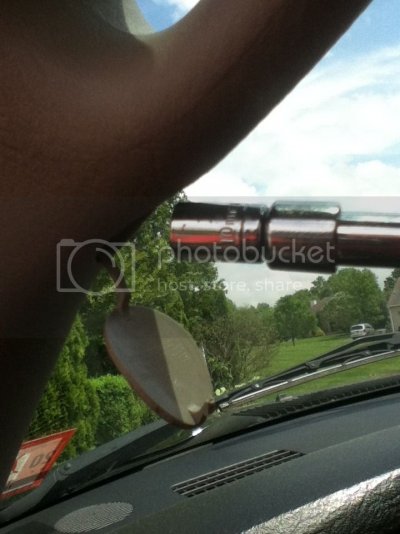
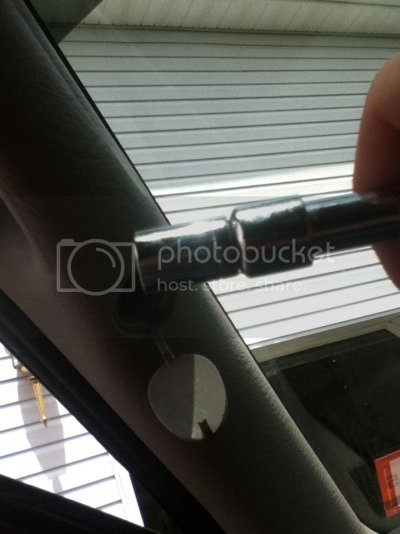
Just pry the holed open with a screw driver and use a 10mm socket to get the 2 screws out. Also do this for the back 2 handles. These two pillars were a little tricky to get off. In the front by the windshield and on the dash there are 3 inserts where it is still connected and takes a little playing around to worth them free.
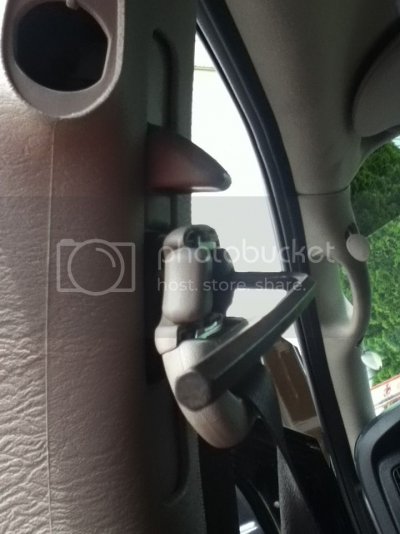
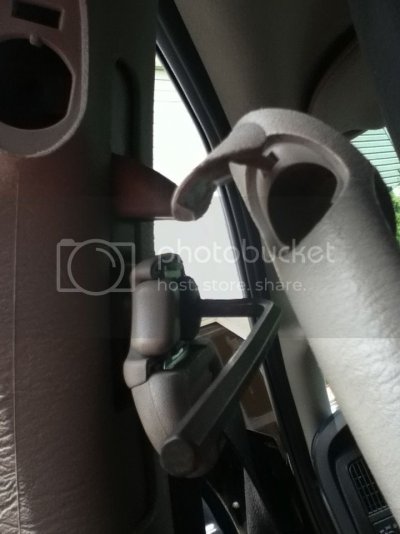
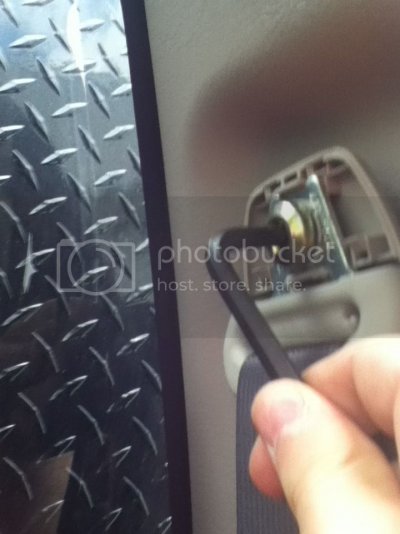
Next go to the back and take off thoes 2 handles just like the first but the handles come off seperatley. Then take off the cap that is on the seatbelt and take an allen wrench and screw that seatbelt off. From there it is eay to pop off that molding.
Do the same for the back now
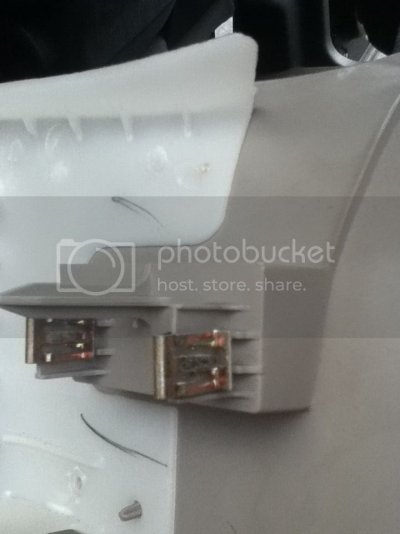
These little clipes are on all of the moldings but on the back one there are three of them which makes getting them out a little difficult at first but once you know where all of them are you can just pop them right out.
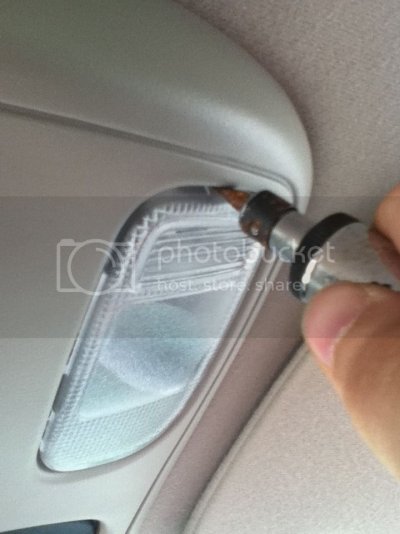
next pop the covers off the map lights and there will be 2 screws in there that you unscrew and this will allow the unit to hang down. there are 2 clips on the back of it, they are easy to find and that will help you get it down.
from there there are 2 wires that are clipped into the units, just unclip the white one first bc it is easier. the black one I had troubl with so I unscrewed the screen from the unit and this actually made it easier to spray the unit later on.
Take out the screen for the dome light and then wiggle that down. There is also a wire that clips onto that unit as well and just unplug that and take it off
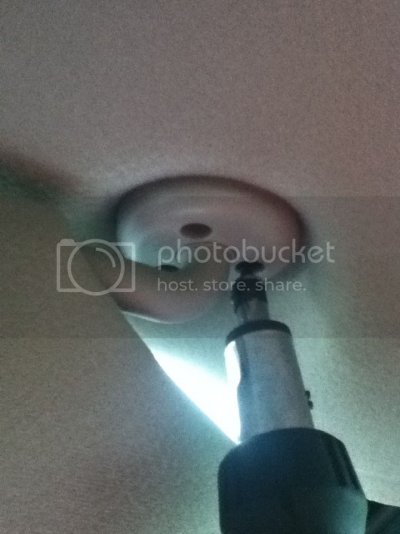
Next unscrew the 3 screws on you visors and pull them out. Mine dont have anylights on the mirrors so I didnt have to worry about any wires in there. For the other hooks that are there, grip the botton of it and pull down. This will seperate and make a big space in the hook. From there you can just pull them out. You can do the same for the clips in the back.
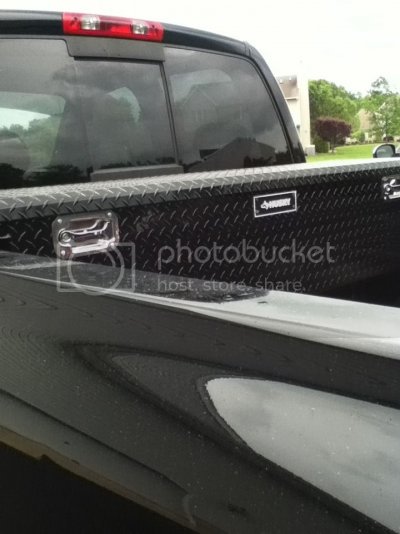
Next go to Home Depot and buy a husky toolbox for your truck so you can get cardboard to paint your plastic on.
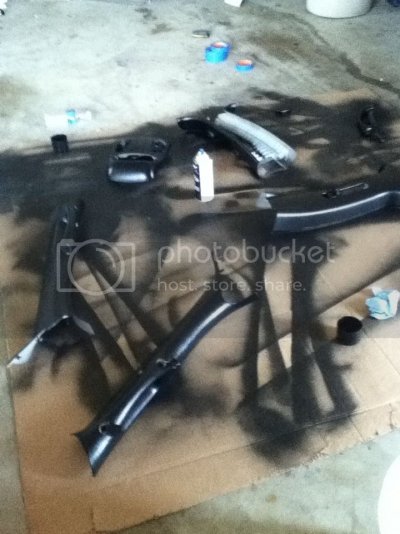
When painting your plastic go in long passes across the plasitc longways. Do very very light coats so the paint gets a chance to stick to the plastics. I did like 6 to 8 very light coats. You will see if you go on to thick that it will look like it dosent want to stick to the plastic at all. Trust me spray it so it looks like you are hardly putting anything on and keep going from there. it dries quick so just keep going around in a circle spraying every part so it goes quicker.
After you get all of the parts painted you can do the headliner. Once all the the clips and molding is removed the liner will come down.
You will see that there are 3 sets of wires that will be hooked to the headliner. There is one that will be in the back for the 3rd brake light and just unplug that, also the one in the middle for the dome light that had been taken off before, and also a set that runs down the drivers side door that the one panel was covering up. Unplug that as well and there are clips holding the wires onto the door and just pop thoes out. The wires are glues to the headliner so it is easy to figure out what one goes where.
Next you have to get the headliner out of the cab which was rough. I had to put the seats back and had to shift my truck in 4Hi because the liner kept hitting it. Hopefully you will have a better time getting it out then I did.
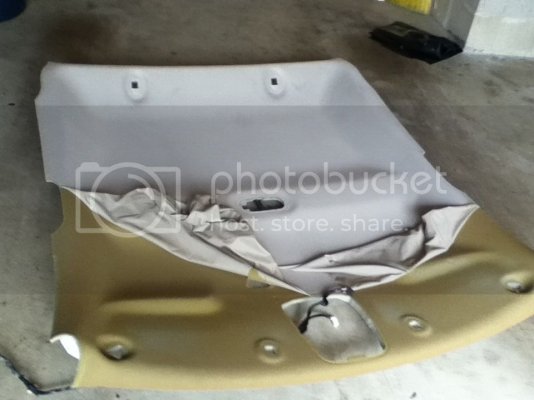
Start peeling off the headliner. You will not be able to get the foam off with the cloth and thats where the wire bruch comes in. You have to take that and scrape off as much foam as you can. The more you take off the better it will look because it will let the new liner stick better.
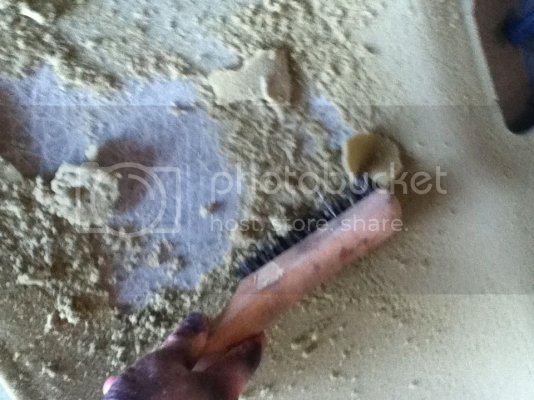
It takes a long time and this is when its good to have patience and beer. Also a little help switching on and off if you have it which I did not.
When you finish that, lay you liner on top of the board and then fold it half way over.
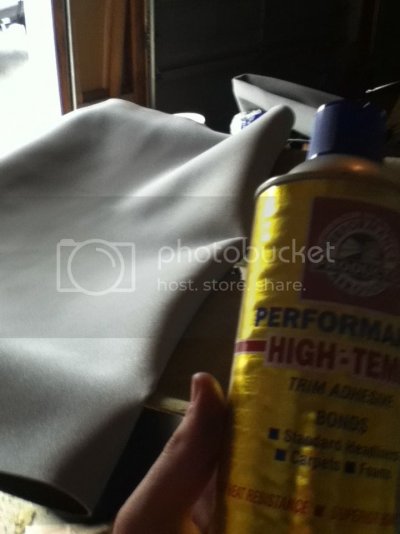
Take your glue and give it a good shake and spray it evenly on both the board and the new liner. Make sure you get the edges coated well.
Repair Car Headliner - YouTube
this is a good video of how its done and this is how I did it.
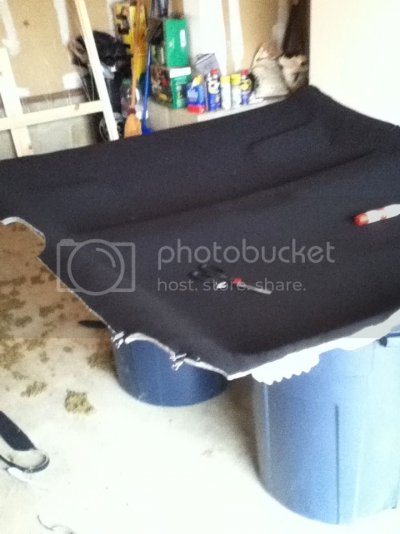
When you glue it, lay the liner on evenly starting from the middle with you hand and rubbing to the edge. Be aware of the indents in the liner to make sure to allow slack to get into there. Let it sit and trim off the edges. I did not have anough glue in some parts on the edge because I ran out. A hot glue gun works great to fix this problem.
You will need:
foam headliner ( I got mine off ebay and it came with the glue I needed. I got 120"x60". This was the perfect size because it left me extra material to do the visors which I am just finishing up.
glue for the liner ( Will show a pic later on)
ratchet and sockets
screwdrivers different sizes
different wrenches
wire brush
allen wrench
led bulbs if you wish (Got superbright led's on the way)
duplicolor plastic and vinal spray paint (2 cans)
big sheet of cardboard or anything to keep spray off ground
a little help couldnt hurt
patience
a little beer will help
ok first what I did was take off the tan moldings.


Just pry the holed open with a screw driver and use a 10mm socket to get the 2 screws out. Also do this for the back 2 handles. These two pillars were a little tricky to get off. In the front by the windshield and on the dash there are 3 inserts where it is still connected and takes a little playing around to worth them free.


Next go to the back and take off thoes 2 handles just like the first but the handles come off seperatley. Then take off the cap that is on the seatbelt and take an allen wrench and screw that seatbelt off. From there it is eay to pop off that molding.

Do the same for the back now

These little clipes are on all of the moldings but on the back one there are three of them which makes getting them out a little difficult at first but once you know where all of them are you can just pop them right out.

next pop the covers off the map lights and there will be 2 screws in there that you unscrew and this will allow the unit to hang down. there are 2 clips on the back of it, they are easy to find and that will help you get it down.
from there there are 2 wires that are clipped into the units, just unclip the white one first bc it is easier. the black one I had troubl with so I unscrewed the screen from the unit and this actually made it easier to spray the unit later on.
Take out the screen for the dome light and then wiggle that down. There is also a wire that clips onto that unit as well and just unplug that and take it off

Next unscrew the 3 screws on you visors and pull them out. Mine dont have anylights on the mirrors so I didnt have to worry about any wires in there. For the other hooks that are there, grip the botton of it and pull down. This will seperate and make a big space in the hook. From there you can just pull them out. You can do the same for the clips in the back.

Next go to Home Depot and buy a husky toolbox for your truck so you can get cardboard to paint your plastic on.

When painting your plastic go in long passes across the plasitc longways. Do very very light coats so the paint gets a chance to stick to the plastics. I did like 6 to 8 very light coats. You will see if you go on to thick that it will look like it dosent want to stick to the plastic at all. Trust me spray it so it looks like you are hardly putting anything on and keep going from there. it dries quick so just keep going around in a circle spraying every part so it goes quicker.
After you get all of the parts painted you can do the headliner. Once all the the clips and molding is removed the liner will come down.
You will see that there are 3 sets of wires that will be hooked to the headliner. There is one that will be in the back for the 3rd brake light and just unplug that, also the one in the middle for the dome light that had been taken off before, and also a set that runs down the drivers side door that the one panel was covering up. Unplug that as well and there are clips holding the wires onto the door and just pop thoes out. The wires are glues to the headliner so it is easy to figure out what one goes where.
Next you have to get the headliner out of the cab which was rough. I had to put the seats back and had to shift my truck in 4Hi because the liner kept hitting it. Hopefully you will have a better time getting it out then I did.

Start peeling off the headliner. You will not be able to get the foam off with the cloth and thats where the wire bruch comes in. You have to take that and scrape off as much foam as you can. The more you take off the better it will look because it will let the new liner stick better.

It takes a long time and this is when its good to have patience and beer. Also a little help switching on and off if you have it which I did not.
When you finish that, lay you liner on top of the board and then fold it half way over.

Take your glue and give it a good shake and spray it evenly on both the board and the new liner. Make sure you get the edges coated well.
Repair Car Headliner - YouTube
this is a good video of how its done and this is how I did it.

When you glue it, lay the liner on evenly starting from the middle with you hand and rubbing to the edge. Be aware of the indents in the liner to make sure to allow slack to get into there. Let it sit and trim off the edges. I did not have anough glue in some parts on the edge because I ran out. A hot glue gun works great to fix this problem.


