BlackedOutHemi
Senior Member
- Joined
- Feb 27, 2011
- Posts
- 5,454
- Reaction score
- 196
- Location
- DFW, Texas
- Ram Year
- 2012 & 2012
- Engine
- 5.7L HEMI & 6.7L Cummins
Objective: This DIY will help you through changing out the upper portion of the truck with color of choice (that is available). These include the headliner, sun visors, all pillars, the dome light, and the overhead console.
Difficulty: 4/10-Although this mod is relatively straight forward, to make it look good you must take your time, and have a little skill and experience. Also, you must be very patient and careful.
Introduction: Read the whole DIY before attempting this yourself at to save some trouble during the process.
Materials:
Tools:
Removing the headliner:
Changing the material on the sun visors:
Changing out the headliner fabric:
Painting the pieces is pretty straight forward. Clean the pieces, spray them, and then let them sit for 24-48 hours before reinstalling or giving any kind of abuse.
Reinstalling the pieces.
Goodluck and if you have any questions let me know!
Difficulty: 4/10-Although this mod is relatively straight forward, to make it look good you must take your time, and have a little skill and experience. Also, you must be very patient and careful.
Introduction: Read the whole DIY before attempting this yourself at to save some trouble during the process.
Materials:
- 3 yards of 64"+ wide Headliner Fabric (Can be bought from local fabric store) - $30
- 3M Upholstry Glue (High Strength) - $20 or Body Shop Heavy Duty Adhesive - $10
- Duplicolor Vinyl & Fabric Coating (color of choice)
Tools:
- Wire Brush
- 10mm Socket with extension
- Torx 15 screwdriver
- Torx 50 Socket attachment
- Painters tape
- Sharp Box knife
Removing the headliner:
- Remove the sunvisors by using a Torx 15 screwdriver and taking out the three bolts closest to the door on both sides. The sunvisor should just fall out.
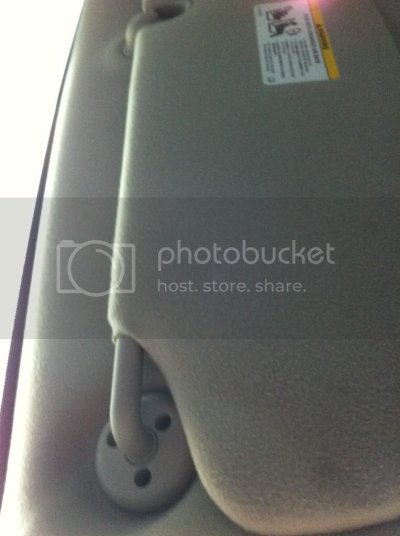
- Remove the sun visors holders by pulling down on the front part until it extends and clicks. The whole piece should be able to be pulled out after that.
- Using a small flat edge blade or something of the sort, remove the lenses from the dome light, and the overhead consle.
- On the overhead console remove the two Torx 15 screws, one in each light. After they have been removed the console should fall, only being held up by two clips closest to the wind sheild, pull down to remove those, and then unclip the wires from them ( a flat head may have to be used here).
- Once the lens in the dome light is removed, the dome light should be able to be pulled down, nothing besides two overlapping pieces is holding it up. Remove the wires connecting to the light.
- Using the same process as step two, remove the two clothes hangers in the back.
- Now, to begin removing the pillars, start with the A-pillar closest to the wind sheild. Pop out the two bolt covers, and use your 10mm socket with an extension to remove the bolts. Once removed the pillar should just pull out.
- For the drivers and passanger seat belt pillars, pull straight out on the top cover of the seat belt attachment, to the right of the button, and it should reveal a Torx 50 bolt. This will take a little umpf to get out.
- Once those bolts have been removed the seat belt attachment will come off, and the pillar can be pulled out from the weather proofing on both the front and back doors, and straight out. There is a clip in the pillar close to the headliner that will need to be pulled out.
- The back pillars follow the same proscess as above.
- Now that all of the pillars have been removed, and all of the attachments to the headliner removed, lightly pull down on the headliner. Mine just fell once I got the left side out. There will be wires siliconed to the top, so be sure to disconnect those.
- To remove the headliner from the truck, lay the front seats all the way back (it may help to remove the head rests and fold up the cup holder), and open all the doors. Then, slowly slide the headliner out of the passanger side, starting with the front passanger corner of the headliner until it turns sideways and slides out.
Changing the material on the sun visors:
- Start with the sun visors.
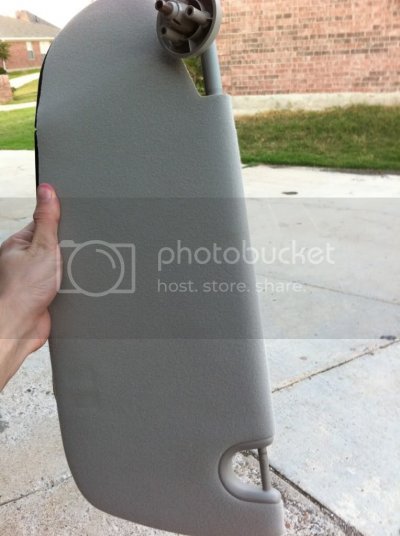
- Use a flat head to start in the front middle of the sunvisor, and wedge it in to pop the first clip. During this process be careful not to break the sun visors as they are slightly weak. Before you get to the sides, remove the back piece that holds the sun visor by pulling straight out on it. This will take some force.
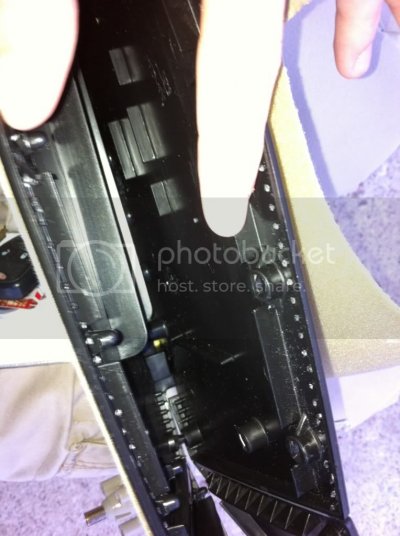
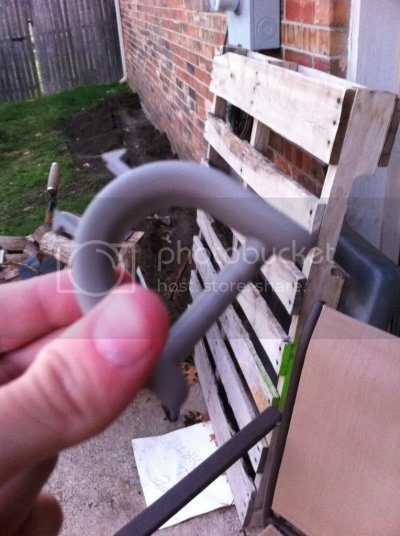
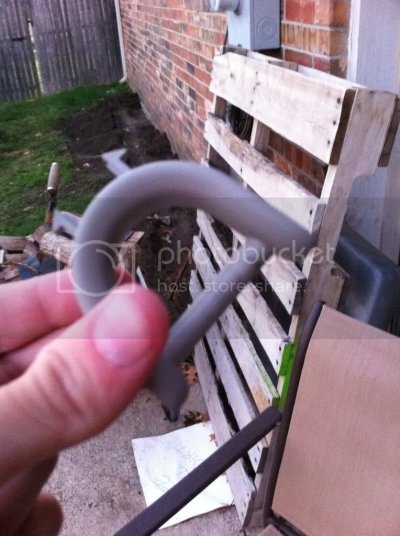
- Whenever all of the clips have been snapped open the sun visors should open up flat. Begin peeling off the material from the plastic welds.
- Once all of the edges have been peeled up around the sun visor the material should just come off.
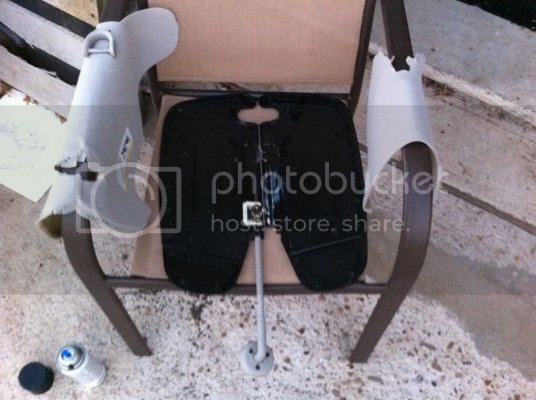
- Now, you will need to lay the material on your roll of fabric, and cut out equal sized in the new color.
- Reverse the process of removing to put on the new fabric. Watch how it is wrapped and folded to match precisely.
- On the passenger side, the mirror will need to be removed, to do this, heat up the plastic welds on the back side once the sun visor is opened, and melt them using a soldering iron or hot needle.
- Once all of the material has been folded over the edges, snap the sun visor back together to hold it in place.
Changing out the headliner fabric:
- Lay the headliner fabric up on a clean floor.
- Using your wire brush, choose a place to start and begin "scrubbing" off the old material. By the time you are done you should only be able to see fiberglass. No fabric or cushion underneath.
- Start at a corner, and remove the top layer of fabric off, revealing the foam cushioning underneath.
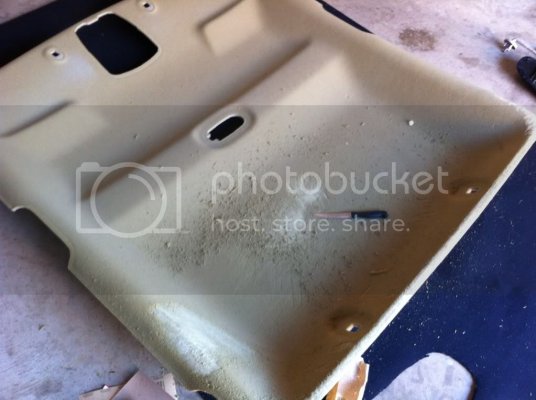
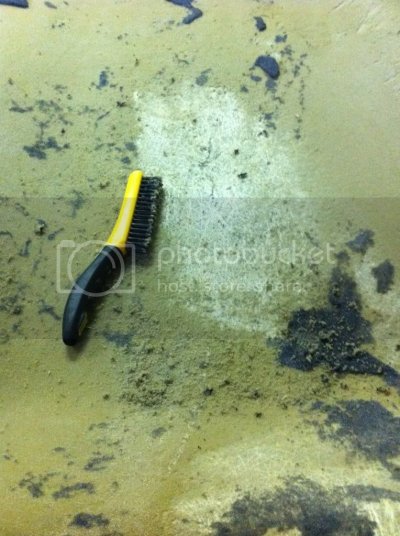
- During this you may want to stop and vacuum up the little bits every now and again. KEEP THE FABRIC ROLL AS CLEAN AS POSSIBLE.
- Once the headliner has been cleaned, lay out the fabric and center its width with the headliner molding.
- Then, fold half back, and spray the glue on both the molding and the fabrics underside (being sure not to get it on the top as it will not come off).
- once both areas have been thoroughly covered, begin to flatted out the fabric onto the headliner molding, starting at the dome light and moving your way up and out towards the corners.
- Once the first half is done and laid flat, fold back the opposite half and do the same.
- After it sits for about an hour, begin to trim the edges to match the headliner as best as possible. If wanted, you can glue the edges back over the top of the headliner to make a cut that can't be seen, especially along the front and the back.
- Let it sit for 24hrs before reinstalling.
Painting the pieces is pretty straight forward. Clean the pieces, spray them, and then let them sit for 24-48 hours before reinstalling or giving any kind of abuse.
Reinstalling the pieces.
- To reinstalll everything follow the directions to uninstall backwards.
- A good method I found to install the headliner by yourself is to get it in place, and under the rubber weather trim around the doors, so it is mostly held up by itself, and then install the sun visor holders, and the coat holders in the back to keep it in place while everything else is reinstalled.
Goodluck and if you have any questions let me know!


