the diy
ok so this is officially the start of the D.I.Y. for putting a taurus fan in our trucks. if you refer to the first couple pages(depending on what you have your default set to for post per page). that's the fan and controller, spanner wrench i made(which i modified with another piece of metal so the handle was longer).
first and foremost make sure you test your fan to make sure it works before you tear everything apart. i took a common house plug cord, pulled the two sides apart. marked one with electrical tape for ground and wire nutted them to the fan, and touched them to the positive and negative battery termials. on most of the fans the low side connection is the black/orange wire, high side is blue.
ok, now get the overflow and window washer fluid bottles out of your way. two bolts on the top of it, remove the connectors from the bottom of the washer bottle, and disconnect the filler hose. some will be able to disconnect the washer line as well, mines full so it started to run every were. i put the hose back on and just stuck it up close to the firewall and my intake held it in place.
next, remove the two bolts holding the fan shroud on. One is right under the fill cap, the other is under the upper radiator hose on the right (looking at truck from the front) side of the radiator.
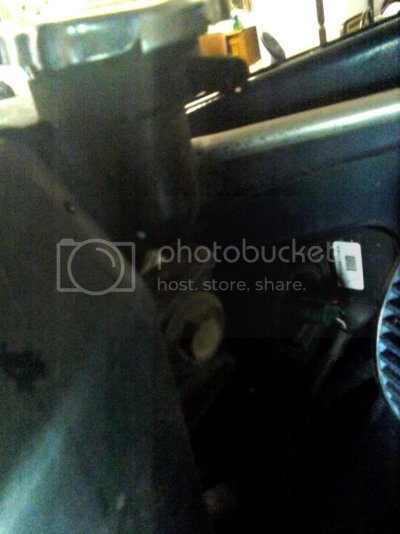
next, just simply pull up on the shroud and it will be lose. ok, so, if you made your spanner wrench or have one, time to play with it. with the extension i put on it, and using a pipe wrench to turn it, the easiest way me and my friend found was for the spanner to be on the underside of the truck. it actually touched the frame and didn't need to be held. put the pipe wrench(easiest because you don't have to hold pressure on it to keep it closed) and wack the **** out of it with a hammer. with the spanner below, the handle of the wrench should be almost verticle so you can get a good hit on it. only took two or three good wacks and it loosened right up. i did spray pb blaster on it a could times, may or may not have helped. the pic shows the wrench on the bottom and spanner pointing up. took this before my friend showed up and we figured out that the spanner underneath is better. so just turn your monitor upside down and you'll get the idea lol.

loosen the fan from the water pump pulley. push the shroud towards the engine and the fan will fit between it and the radiator to come right out. took the fan shroud out at this point, looking back now, might have been a bad idea. if you can work around it, do that. ones you mount the e-fan, you have to cut the bottom of the shroud out to get it back around the fan. cold plastic is pretty brittle lol. at this point, take the time to drill a hole in the shroud were you can run the wires. will keep them away from moving and hot parts. i picked up 1/2 inch wire loom from lowe's so i tried to get the hole as close to 1/2 inch as i could. didn't have any drill bits, but i got a hole in it lol.
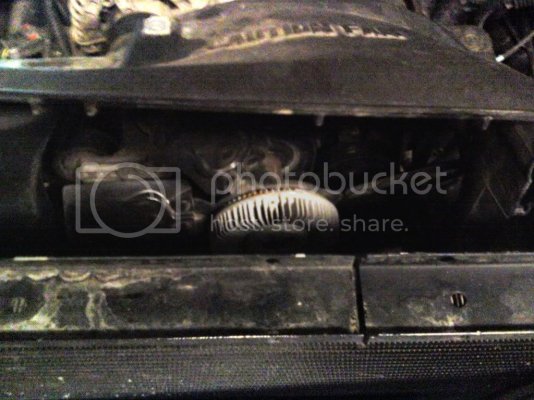
honestly, the hard part is done. i attached my fan closest to the bottom of the radiator.
A. it's easier
B. that's were the hot coolant comes it
didn't take picks now that i think of it, will try to get some and edit post tomorrow, of the mounting zip tie things(yes that is a technical term). but that's what i used to mount the fan
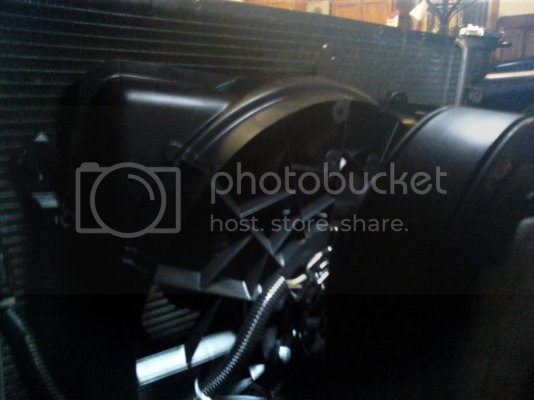
aside from getting the clutch fan off, the temp probe was the next hardest part, atleast for me, i was afraid of poking a hole in the radiator. the one pictured in the Imperial instructions had a probe with a point. the one with the controller i bought was flat, not the best for getting between the fins. i used a small phillips to push trough the fins, then a larger one to get the diameter right. wasn't happy about having to do it this way, but it worked. there is a wire tie thing that has a hole in it for the probe to hold it in place securely. the ties all come with little vibration pads, for the probe you have to poke a hole in that with something as the probe needs to go through it, along with the wire tie thing.
i used insulated spade terminals to hook the ground to one of the wires i used to test the fan so i could ground the fan. spade terminals also on the low speed side wire. the wires on the controller already had female connectors on them is another reason figrued this would be easier if need be to remove the motor that taking a bunch of stuff apart and redoing it. used a wire nut on the high side wire, didn't really need to but did for ***** and giggles. electrical taped the wires coming off the fan and from the controller. grab the shroud if you took it all the way out and run the wires from the controller through the hole you drilled, connect the wires and secure the temp probe to the radiator. now reinstall the fan shroud.
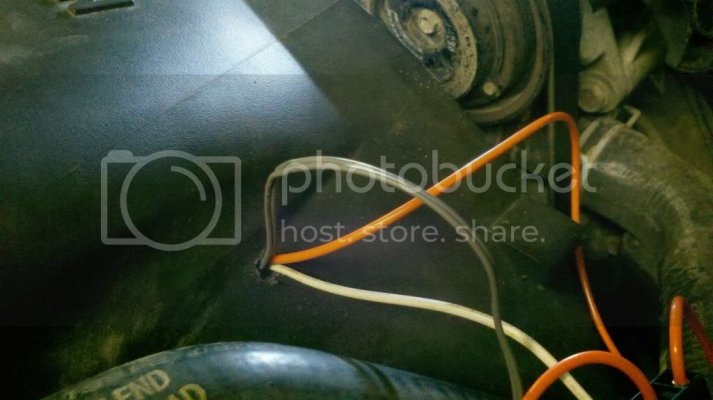
there are a couple extra wires on the controller, a green one for the ac side of the controller and the high side power wire. some people just hide them, i cut them off. didn't wany any more crap in my way than there was already. i, and most i have seen, mount the fan controller to the shroud of the ac fan. i mounted mine with the adjuster on the top so i could see it. unfortunatly i did this AFTER i wired everything. make your life easy and do it now. (didn't take pic, will and edit later).
i twised the red power and yellow remote wire together and the both grounds together. the grounds went to the body ground for the battery right beside the batter on the fender. the power and remote, i decided to get creative and fed behind the battery. third pain in the ass for this install lol. had to get my, **** i dropped something and can't reach it claw, out and wiggle it around until i had a hold of the ring connector and could pull it through. there's probably and easier way, but i don't usually do things the easy way. connect the ring connector to the positive side of your battery. not sure if all models are the same, but mine has a bolt in it for adding leads off the battery without putting them between the post and connector. so that's were i connected it. if your battery still has the red plastic cover on the positive terminal, unless you modify it, it's not going to fit back on. i just took mine off.
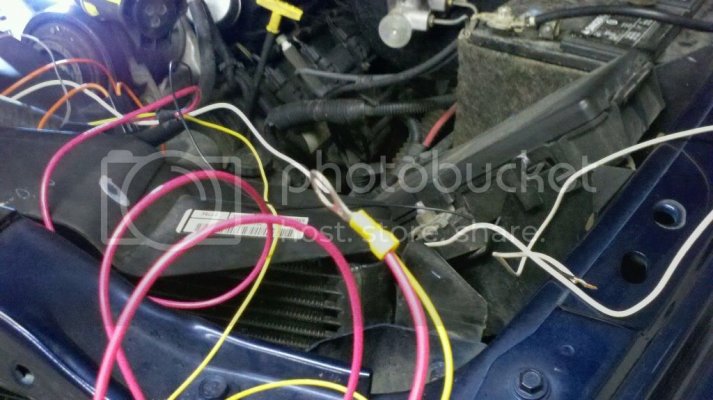
what every means you have of getting the temp are ok. the directions say to let the thermostat open so the coolant flows in the radiator and gets hot were the probe is. i combined this and my diablo tuner. now as i stated earlier when i was trying to get the fan to work, i thought i had a 195 degree thermostat. well it didn't open till around 210 on the diablo. when the temp starts getting close to 210(or what ever temp your thermostat should open) slowly rotate the adjuster counter clockwise till the fan comes on. it took a few minutes but the temp went down to fluctuate between 199 and 197. slowy turn the adjuster clockwise and once it reaches the temp of the coolant it will shut it off.
i haven't done this yet, but if you do this mod and post picks, these guys will hound you if you leave the wires exposed lol. i have the loom, just was cold and tired when i got done getting everything worked out. as long as the fan comes on and off, you now have youself and electric fan, a few extra ponies and a little betters gas mileage (what most report, not sure myself yet).


