Core-Lokt
Senior Member
- Joined
- Jan 13, 2013
- Posts
- 385
- Reaction score
- 89
- Location
- Texas
- Ram Year
- 2005 Ram 2500 4X4 ST
- Engine
- 5.7L
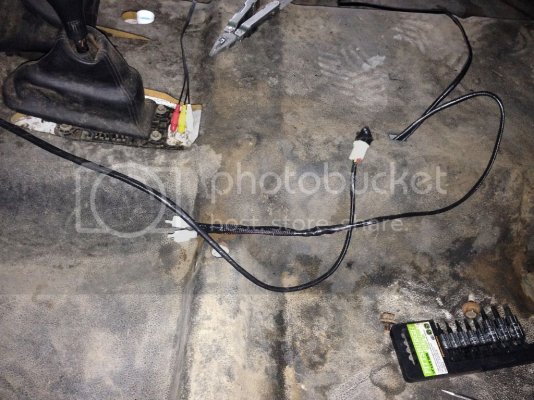
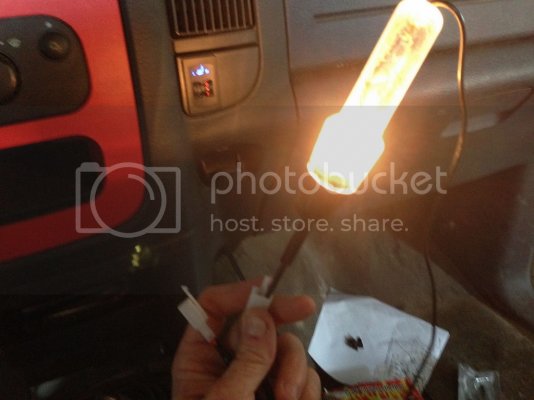
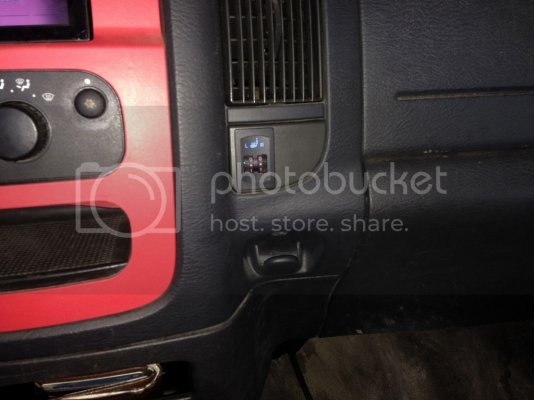
I'm not going to give a big write-up since there are other tutorials out there on much the same stuff. Rather, I'm giving an overview of all three things in a condensed form. Actually, there was some other stuff done relating to my Android HU (running cables for future stuff), but I'm not going into that, here. I'm going to list the parts I used to give an idea of cost, also.
PARTS:
1) One (1X4) four-pack 16"X16"X1" foam; Wal-Mart-$7.00. You'll use ~1 1/4 sheets per seat.
2) One (1) heated seat kit; eBay-~$45.00. This is a complete two bucket seat set. I chose the type with a single, individually-controlled switch. I don't think there's any difference in the Chinese stuff. I think most are manufactured by Kupai and sold by various merchants and possibly privately branded. You'll note that most seem to have the same switch varieties.
3) Two (2) cheap carpet mats, approximately 17"X 24"; Wal-Mart-$12.00 for both. You'll use one per seat.
4) One (1) can spray glue; Hobby Lobby-$7.00.
5) One (1) yard burlap, approximately 45"X36"; Wal-Mart-$3.00. This is enough for both seats.
6) Seat cushions by your requirements. The passenger side was fine, so I needed just one. I ordered it from Steve White Parts (Dodge dealer) from Amazon. Price was ~$150.00 shipped/tax.
7) Seat cover; again, by requirements. I ordered it from DAP Auto Parts. That's some Dodge dealer DBA, I think. Price was again ~$150.00 shipped.
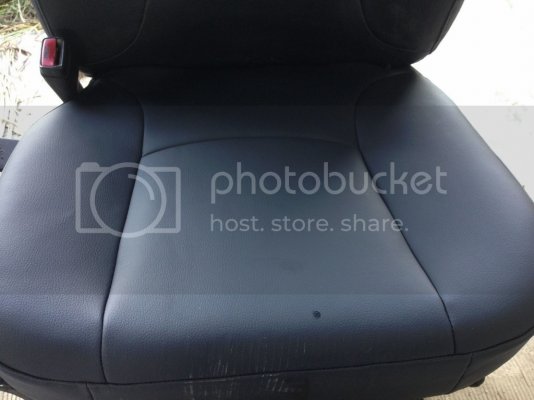
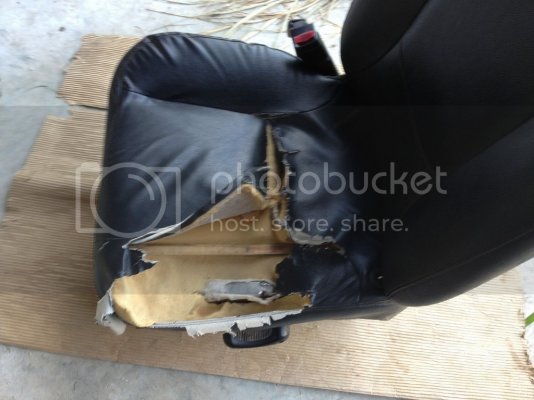
Now, the process. I pulled the seats. The passenger seat is fine, but it's getting the enhancements. This is what I'm starting with.
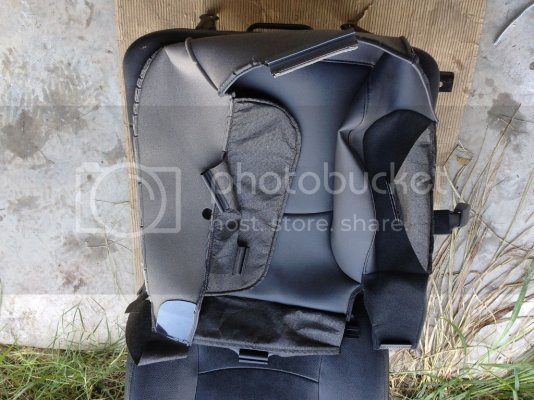
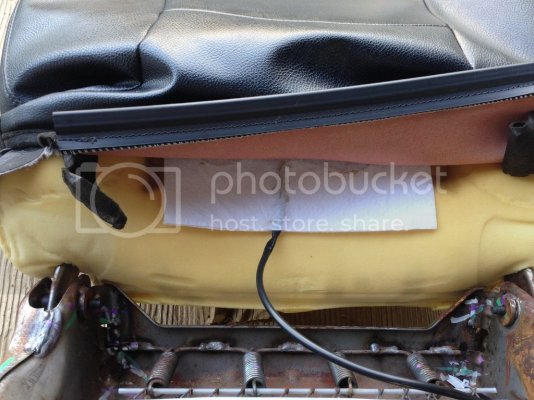
First, the back. It's not getting enhancements other than the heater. There's a clip on the back bottom that unrolls. get that apart and roll the bottom of the cover up a few inches. Pop loose the velcro and trim the heater pad to the edges of the elements (top/sides only). That will allow the pad to be between the velcro. Undo the tape, inset and position to taste. Roll back down the cover and re-attach. Finish by unbolting the frame hinges for the next part(s).
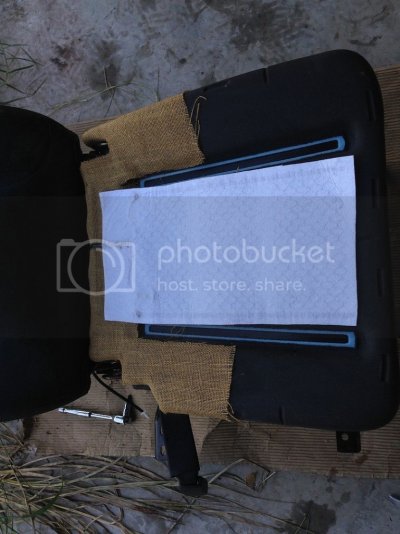
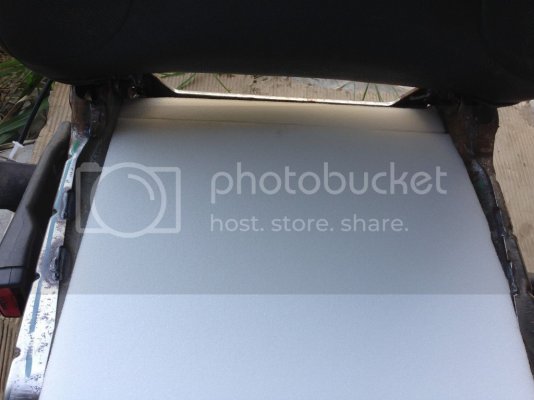
Now, unclip/remove the old bottom cover and foam. Take one of the carpet mats and cut to fit inside the frame over the banjo wires. I let the carpet overlap the bottom front of the frame, but it's not necessary. Supposedly, this will keep the wires from cutting the foam over time. Note any rough edges and file/hammer to protect the foam. Then take one of the foam sheets and cut to fit the inside bottom frame. Use another piece of foam and cut a filler strip, as seen in the next picture.
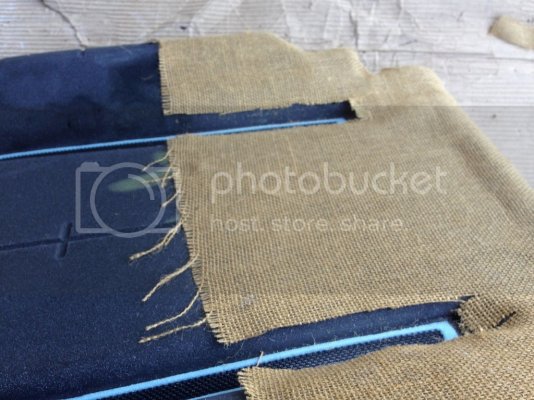
Now, use the spray glue and burlap to cover the factory cushion underside. It's making contact with the frame and that's what another tutorial advised. I took the precaution to wrap the tapered ends and the back half of the seat, as that's where your weight is borne. Wrap the whole cushion, if desired. Just keep the velcro strips open. Frankly, I don't think the burlap is necessary as I saw no abrasion damage. For that matter, I saw no evidence of the banjo wires cutting the foam. The carpet is still worthwhile, I think.
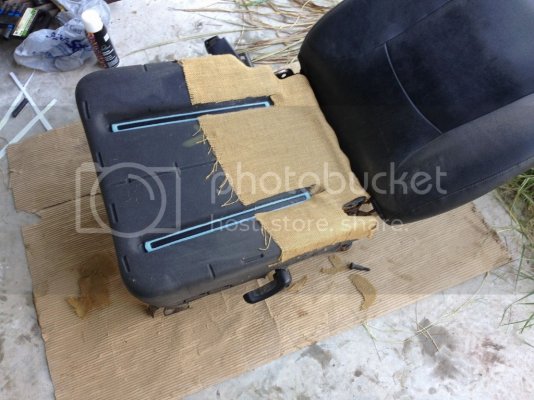
Entire cushioning back in frame. The reason I said to remove the hinge bolts is because the extra thickness makes it difficult to place. You can lift the back to get clearance, but wait until the new cover is on before re-fastening those frame hinge bolts.
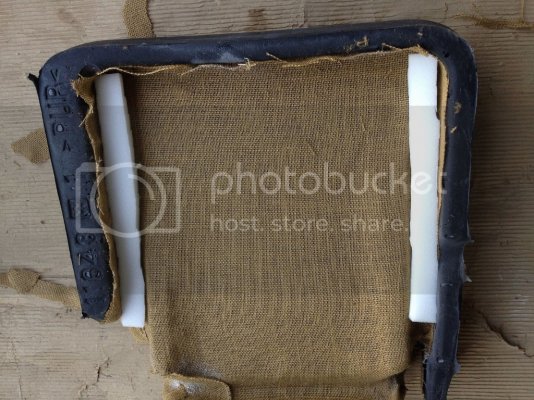
Now, cut two strips of foam ~1" wide. These will go in the cushion underside channels where the cushion would normally contact the frame. But because you're adding (in this case) an extra 1" of foam, you need these filler strips to maintain the same relative exposure of the frame to factory cushion. The other tutorial I read didn't call for it, but I realized if you don't, the bolsters will get flattened out because of only the center having the extra support. I think that man made up for it by overlaying the top with foam. That looks like **** and loses definition in the contour, IMO.
Remainder in next post.
PARTS:
1) One (1X4) four-pack 16"X16"X1" foam; Wal-Mart-$7.00. You'll use ~1 1/4 sheets per seat.
2) One (1) heated seat kit; eBay-~$45.00. This is a complete two bucket seat set. I chose the type with a single, individually-controlled switch. I don't think there's any difference in the Chinese stuff. I think most are manufactured by Kupai and sold by various merchants and possibly privately branded. You'll note that most seem to have the same switch varieties.
3) Two (2) cheap carpet mats, approximately 17"X 24"; Wal-Mart-$12.00 for both. You'll use one per seat.
4) One (1) can spray glue; Hobby Lobby-$7.00.
5) One (1) yard burlap, approximately 45"X36"; Wal-Mart-$3.00. This is enough for both seats.
6) Seat cushions by your requirements. The passenger side was fine, so I needed just one. I ordered it from Steve White Parts (Dodge dealer) from Amazon. Price was ~$150.00 shipped/tax.
7) Seat cover; again, by requirements. I ordered it from DAP Auto Parts. That's some Dodge dealer DBA, I think. Price was again ~$150.00 shipped.
Now, the process. I pulled the seats. The passenger seat is fine, but it's getting the enhancements. This is what I'm starting with.

First, the back. It's not getting enhancements other than the heater. There's a clip on the back bottom that unrolls. get that apart and roll the bottom of the cover up a few inches. Pop loose the velcro and trim the heater pad to the edges of the elements (top/sides only). That will allow the pad to be between the velcro. Undo the tape, inset and position to taste. Roll back down the cover and re-attach. Finish by unbolting the frame hinges for the next part(s).

Now, unclip/remove the old bottom cover and foam. Take one of the carpet mats and cut to fit inside the frame over the banjo wires. I let the carpet overlap the bottom front of the frame, but it's not necessary. Supposedly, this will keep the wires from cutting the foam over time. Note any rough edges and file/hammer to protect the foam. Then take one of the foam sheets and cut to fit the inside bottom frame. Use another piece of foam and cut a filler strip, as seen in the next picture.

Now, use the spray glue and burlap to cover the factory cushion underside. It's making contact with the frame and that's what another tutorial advised. I took the precaution to wrap the tapered ends and the back half of the seat, as that's where your weight is borne. Wrap the whole cushion, if desired. Just keep the velcro strips open. Frankly, I don't think the burlap is necessary as I saw no abrasion damage. For that matter, I saw no evidence of the banjo wires cutting the foam. The carpet is still worthwhile, I think.

Entire cushioning back in frame. The reason I said to remove the hinge bolts is because the extra thickness makes it difficult to place. You can lift the back to get clearance, but wait until the new cover is on before re-fastening those frame hinge bolts.

Now, cut two strips of foam ~1" wide. These will go in the cushion underside channels where the cushion would normally contact the frame. But because you're adding (in this case) an extra 1" of foam, you need these filler strips to maintain the same relative exposure of the frame to factory cushion. The other tutorial I read didn't call for it, but I realized if you don't, the bolsters will get flattened out because of only the center having the extra support. I think that man made up for it by overlaying the top with foam. That looks like **** and loses definition in the contour, IMO.

Remainder in next post.
Last edited:


