2015 Center Console Swap DIY

Disclaimer: Links on this page pointing to Amazon, eBay and other sites may include affiliate code. If you click them and make a purchase, we may earn a small commission.

WTM75

Senior Member
Joined
Apr 25, 2018
Posts
805
Reaction score
349
Location
Upstate NY
Ram Year
2017
Engine
3.6 Pentastar
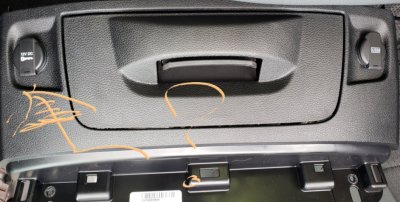
I'm doing the swap right now and the express how has a fully functional console but I've run into a problem with my bighorn.

Where and how can I connect the 12vcig and USB to on my truck?

View attachment 165794

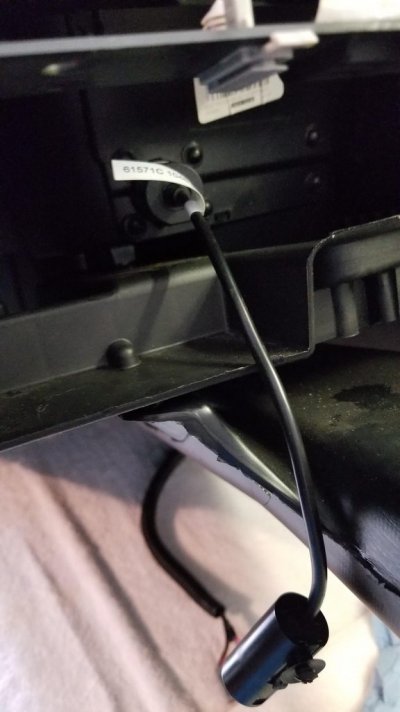
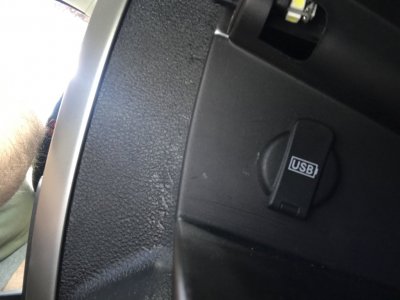
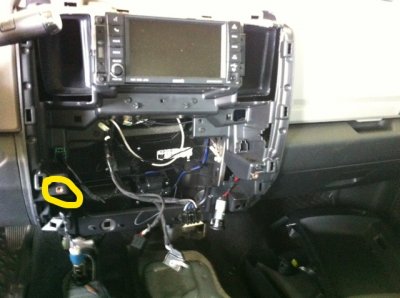
The 12v plug is right behind the panel. The usb plug is plugged in between the bezel and the glove box.
 

WTM75

Senior Member
Joined
Apr 25, 2018
Posts
805
Reaction score
349
Location
Upstate NY
Ram Year
2017
Engine
3.6 Pentastar
I'm doing the swap right now and the express how has a fully functional console but I've run into a problem with my bighorn.

Where and how can I connect the 12vcig and USB to on my truck?

View attachment 165794


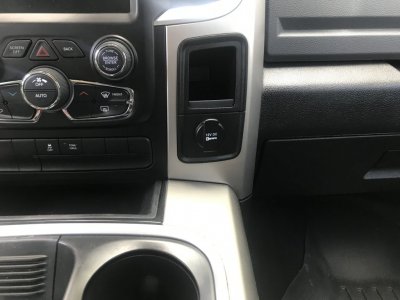
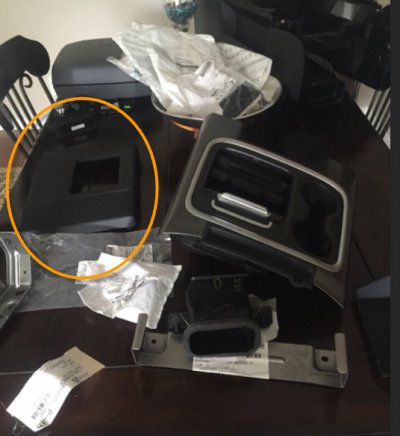
I put the 12volt in the blank space where the 110v would go. I put the usb in the glove box. I never cut any wires.

Edit: I did splice 3” of wire into the 12v so it would reach the other side of the bezel.
 

Gero

Senior Member
Joined
Apr 22, 2018
Posts
513
Reaction score
521
Location
Ontario
Ram Year
2017
Engine
Hemi 5.7
I put the 12volt in the blank space where the 110v would go. I put the usb in the glove box. I never cut any wires.

Edit: I did splice 3” of wire into the 12v so it would reach the other side of the bezel.

I'll have to look again tonight but I didnt see it. The USB probably is there once I remove the upper glove box but i still dont see the 12v that would go on the bottom right. Might have to splice it from the jump seat so I can run to the dash.

Edited: just to be sure you know what I'm talking about I attached a pic.
 
Last edited:

WTM75

Senior Member
Joined
Apr 25, 2018
Posts
805
Reaction score
349
Location
Upstate NY
Ram Year
2017
Engine
3.6 Pentastar
I'll have to look again tonight but I didnt see it. The USB probably is there once I remove the upper glove box but i still dont see the 12v that would go on the bottom right. Might have to splice it from the jump seat so I can run to the dash.

Edited: just to be sure you know what I'm talking about I attached a pic.

The plugs that are being used are not used with the center console. Where they are plugged in behind the dash are just taped up from the factory. The 12v plug that is used in the center console is plugged in in a different location. And you would actually lose the usb.

I took my 12v that was in the bezel on the left side and routed to the right side of the new bezel, as in the picture.

I took the usb that was in the right side of my old bezel and routed it to the upper glove box. I just draped it into the lower box at first, then actually cut it into the upper later on.

It was tough to get to the plug in the dash for the usb, but I did not want to loose it and I was not going to cut it.

EF30748C-F54C-4CE8-B874-1A14B47296E8.jpeg

EF07F463-1D29-41F8-AC01-49571D426458.jpeg
 

SRich2015

Senior Member
Joined
Jul 23, 2017
Posts
269
Reaction score
119
Location
USA
Ram Year
2018
Engine
6.7 Cummins
I usually just unbolt the jump seat from the passenger seat, there are 4 small nuts to remove and the are not that hard to get to.I just unbolt the passenger seat but not remove it!! On my current truck I had to reroute the power/USB plug from under the drivers side seat to the front of the console but that was also easy. You will need to relocate some of the copper nuts on the center dash to where you need them for the console. I also put the usb in my upper glove box and just ******* the 12v power for use later if needed.

Dash teardown_LI.jpg
 

Gero

Senior Member
Joined
Apr 22, 2018
Posts
513
Reaction score
521
Location
Ontario
Ram Year
2017
Engine
Hemi 5.7
Does anyone know the wiring pin out for the 12v cigarette harness?
 

Gero

Senior Member
Joined
Apr 22, 2018
Posts
513
Reaction score
521
Location
Ontario
Ram Year
2017
Engine
Hemi 5.7
So there are plugs hidden for those converting console to jump seat. The USB is foam wrapped beside the glove box and the 12v cig is foam wrapped there as well. The 12v cig isn't working for me, but the USB works fine. I will have to double check tonight regarding a possible fuse for that outlet as my factory equipped console had no use for that harness prior to the swap.
 

78Staff

US Navy Veteran
Military
Joined
Aug 3, 2018
Posts
961
Reaction score
540
Location
NE Florida
Ram Year
2016
Engine
5.7L Hemi
Ok guys I am going to swap the jump seat I have now for a center console. As of this week I have started ordering parts based on list I put together with Benny's help. Next post will be the parts I ordered. Goal is to swap everything out then follow up with Katzkin leather. According to my vin my interior is diesel grey but I'm considering a black armrest as it will match up good with black leather...over next month I will update this thread accordingly. Could use forums feedback on black vs diesel gray armrest?

My parts list is
View attachment 66552
View attachment 66553
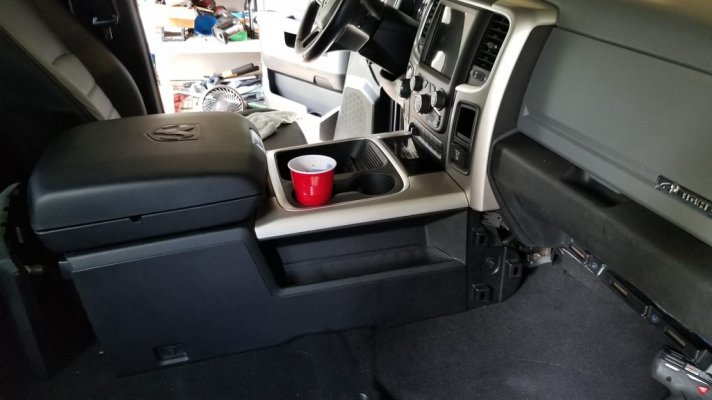
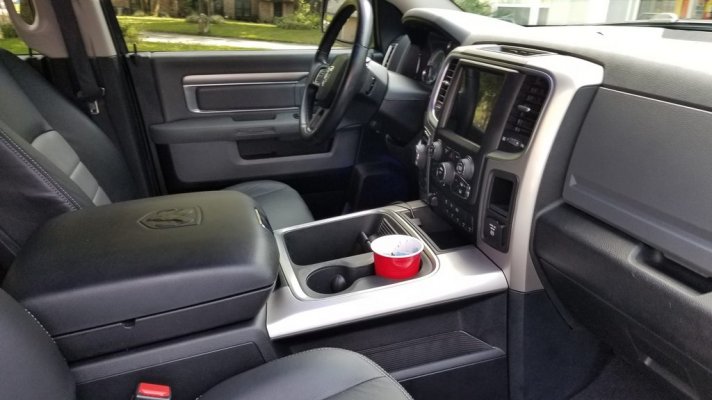
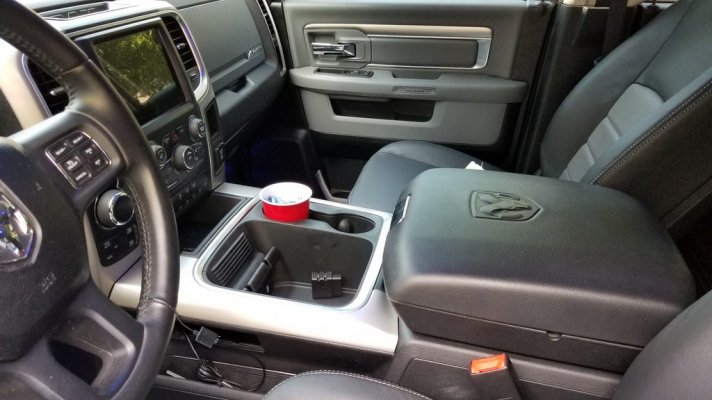
And final product will look like this with either diesel grey or black arm rest View attachment 66554
View attachment 66555

As far as install goes all I know is I'm winging it. Remove driver seat then take from there. Any feedback from members that have performed this mod would be appreciated ...

@hankRam2015 - is the Rear Cover Part No 5NA00DX9AA in your list for the rear cover without air vents shown in your pic? When I search online for that part no. it shows a crew cab type cover with air vents, but not sure if they are just showing a generic drawing?

Since I have a Quad Cab I'm not connecting any rear air, so was considering replacing the cover.

I removed the grey armrest and installed the black one today on the console - I might try to do the console swap tomorrow - I almost started by swapping over the dash bezel etc today but it was raining off and on all day. Maybe I can get started tomorrow on it.

5-13-2019-2-19-12-AM.jpg
 

78Staff

US Navy Veteran
Military
Joined
Aug 3, 2018
Posts
961
Reaction score
540
Location
NE Florida
Ram Year
2016
Engine
5.7L Hemi
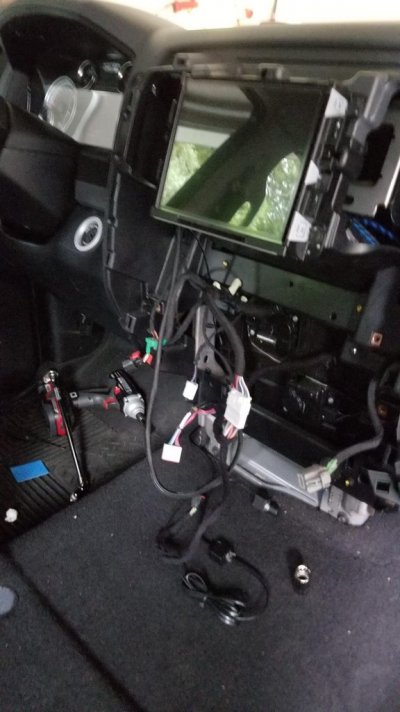
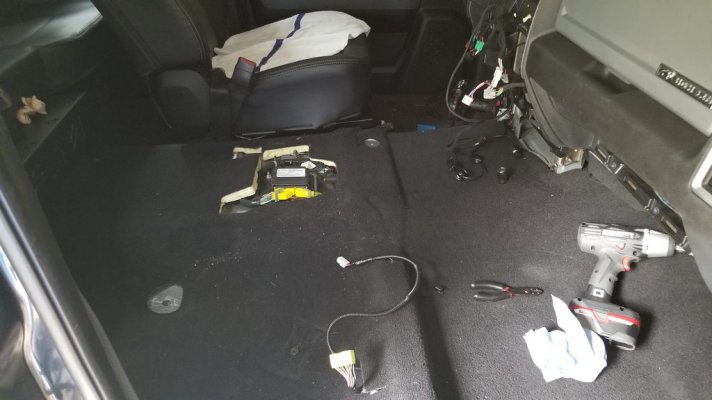
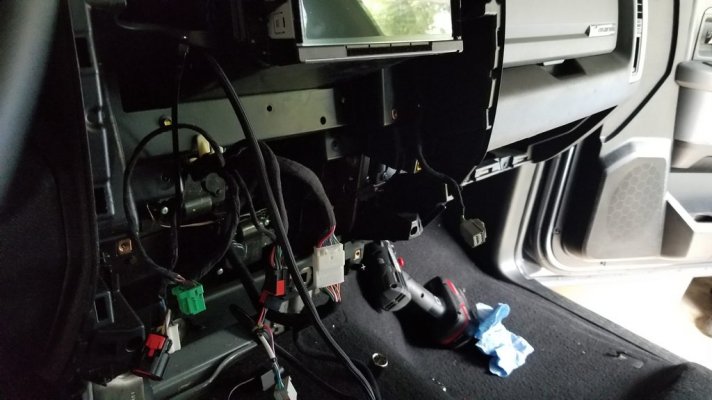
I'm about halfway done I would say - Dash panels and tray pulled, I've swapped everything over to the new dash bezel. Seats are pulled, which is probably the hardest part I think. Two seats are heavy lol. Taking a break as we are about to get one of our afternoon showers. Took a few pics, should have started earlier but forgot.

The only hangup so far is the aftermarker heated seats wiring - they wired for power on the jump seat side of the harness - which I guess makes sense if you never thinking about swapping - as that would make it easier to remove the driver/passenger seats. The pass had a nice removable plug, the jump seat harness they just used taps. I'll likely just use some positaps on the new harness.

USB came out easy, and also my glove light light arrived today, so perfect timing sine I have the upper box out already! :)

Anyway, going to let the showers pass and finish up this afternoon.

zKjPi4Vh.jpg

qDai3oSh.jpg

FKee4tZh.jpg

ETXk0yXh.jpg

l9ATtpGh.png

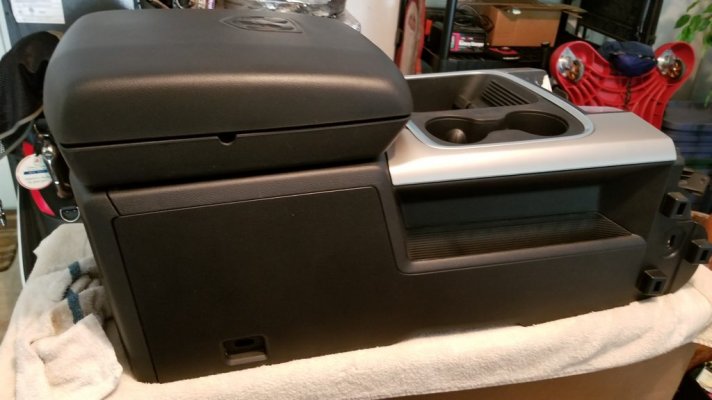
Here's the console with the black armrest swapped over. Will look much better in my interior than the grey (I hope lol).

VPrgnUeh.jpg
 

Gero

Senior Member
Joined
Apr 22, 2018
Posts
513
Reaction score
521
Location
Ontario
Ram Year
2017
Engine
Hemi 5.7
Looking good! You definitely could've gotten away without removing the seats, just unbolt them and prop them up with a rolled towel so you can access the bolt that holds the seat belt buckle and the 4 nuts on the passenger seat.

The pita was removing the duct work from a jump seat vehicle, I had to cut the carpet a bit more to reach the 8mm but holding in on. Reinstalling the duct work was a lot easier and I didnt even bother with reinstalling the nut.

Took me about 6 hours to do the swap on both vehicles. I can probably do it in 4 or 5hrs now that I've done it before.
 

78Staff

US Navy Veteran
Military
Joined
Aug 3, 2018
Posts
961
Reaction score
540
Location
NE Florida
Ram Year
2016
Engine
5.7L Hemi
I didn't have any duct work with the Jump Seat - Quad Cab must not have that, so at least I didn't have to mess with any of that.

She's all done, pretty much. A few issues I need to sort out. The front two smaller bolts are not in, there was not any brass clips in those spots. I see where I can pull them from, but wasn't sure how to pull them without destroying them, so will research that and them move them. That's easy to get to.

I also ran into some issues with the 12v in the smaller cubby. The cable from the truck was no where near long enough to reach the plug, which I think I've read before - I didn't feel like splicing anything right now so thought I was being super clever and just pulled the 12v usb out of the lower panel that was removed. Snapped right in, and gave me some cable length - but for the life of me I could not get that connection to fit. They are the same "cross shape" style connector, but the cig lighter version must be slightly different that the USB version. So I left that alone and may eventually go the splice route I guess. The USB, SD Card etc in the top part of the console is working, so may not even bother. I just wanted this baby in lol

The Front mount bracket was no issue, just used 1" 3/8 bolts and fender washers - a stubby wrench on the back side made it quick and easy to tighten up. The rear bolted in no issues.

Actually, other than the wiring bits, when I took a break for the rain I didn't realize how close I was to being done. It all when together pretty quick from that point. Although if I would have stopped to spice wiring it would have taken longer. I also did the jack mount fix while I had the pass seat out.

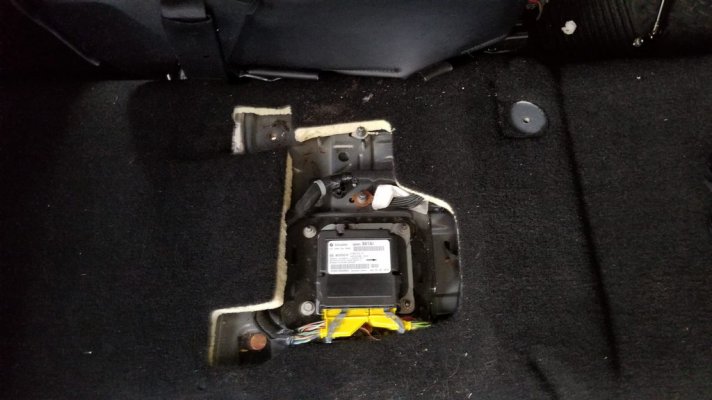
I did get an airbag message first time I key'd everything back on, but I assume that was due to pass seat still be out/disconnected. Once I got it all back in the error went away.

This bright idea didn't pan out :(
ew0Q3c2h.jpg

Getting there...
wmOieIZh.jpg

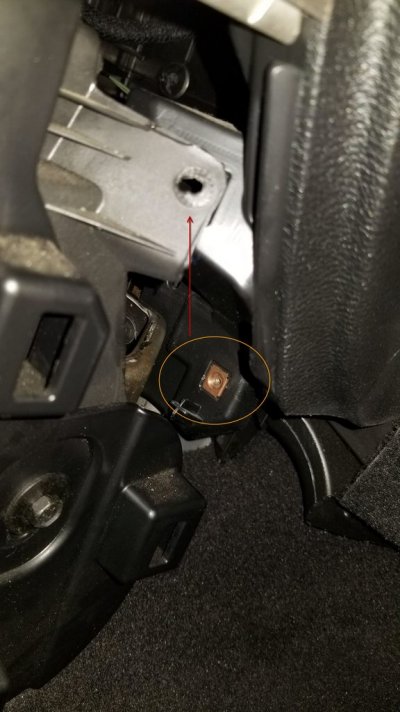
Here's the clip I need to move for the two front screws...
sECjW0Rh.jpg

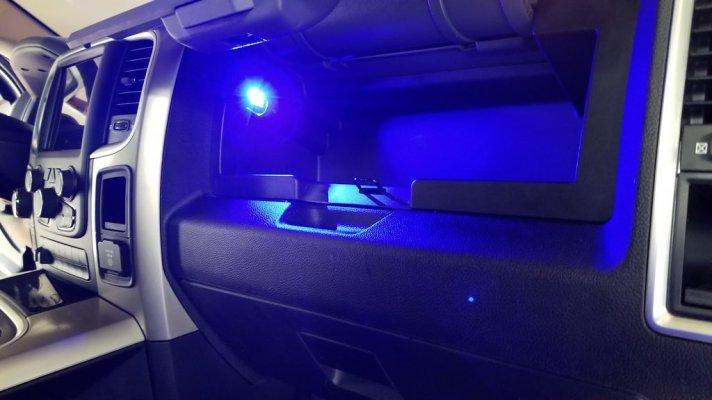
Can't forget the blue LED for the upper glove box lol
0k8U7sIh.jpg

Success (mostly)
e4eUhfAh.jpg

3n7B2qMh.jpg

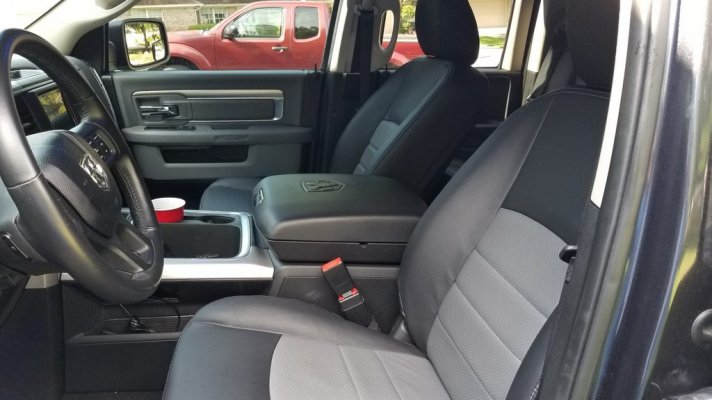
I think the black top was the way to go for sure...
8kpbfjUh.jpg

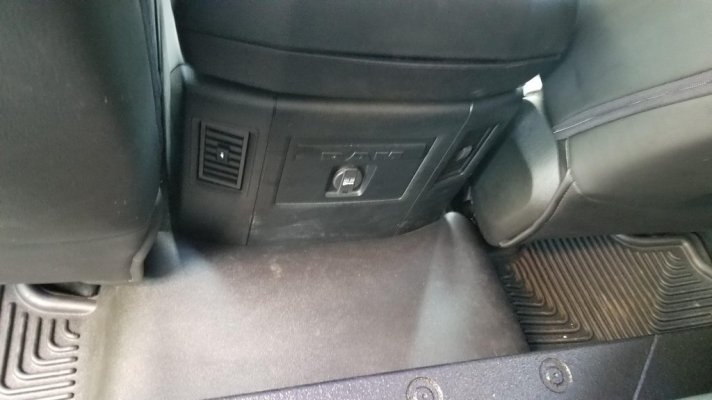
Oh yeah, my Husky rear doesn't quite fit now - I guess they have different version for jump seat vs console. Probably just needs a bit of trimming at the back of the console, it still fits everywhere else...

And these are the non-functional vents - I may replace that panel with a true quad cab style with no vents if I can find the right part number as mentioned a few posts up.

Dirty back panel, I cleaned it after the pic!
WSvziCJh.jpg


Ugh, the aftermath. Going out to dinner first, will clean up later hah!
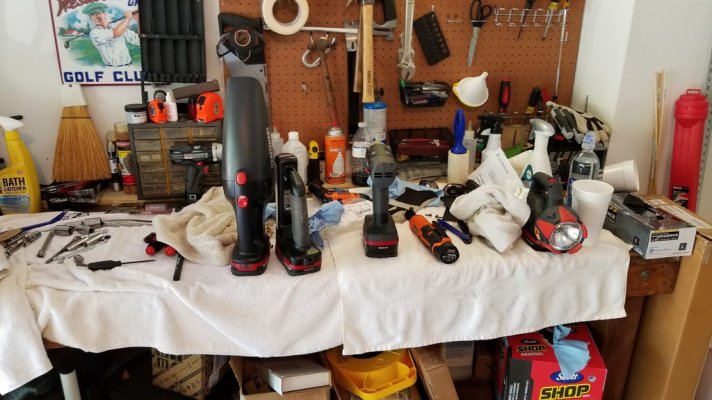
6OGcz26h.jpg

And a large pile of spare parts now...
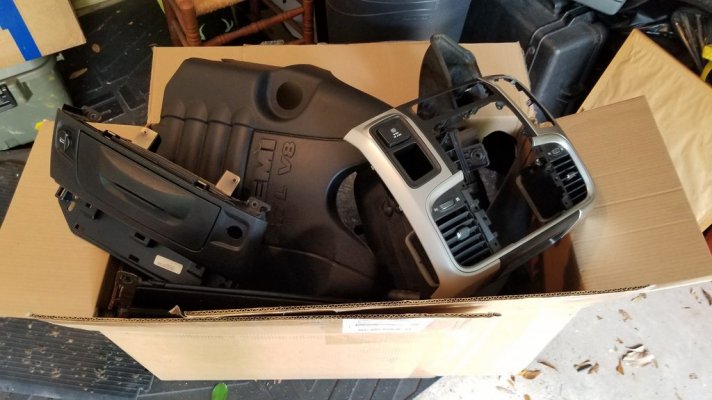
pEOEZwKh.jpg
Mtjydvyh.jpg


I'll be selling off that Jump Seat with Black Leather if anyone is interested. Also that Grey Upper Armrest as well...
 

WTM75

Senior Member
Joined
Apr 25, 2018
Posts
805
Reaction score
349
Location
Upstate NY
Ram Year
2017
Engine
3.6 Pentastar
Looks good! Completely changes the feel of the interior. By far, my favorite mod. The black looks really good, it’s like a unicorn. Lol

The nut plates will(should) pop right out. You should be able to get a small screwdriver or pick and pop them out.

In seems like a big, intimidating mod, but is actually pretty easy.
 

Gero

Senior Member
Joined
Apr 22, 2018
Posts
513
Reaction score
521
Location
Ontario
Ram Year
2017
Engine
Hemi 5.7
Definitely changes the interior for sure. I miss the cell phone holders that my console had but I do welcome the extra leg room the jump seat offers.
 

hdoggie24

Senior Member
Joined
Aug 4, 2012
Posts
209
Reaction score
58
Location
Huntington Beach CA
Ram Year
2016
Engine
hemi 5.7
I went from console to jumpseat…. not a hard mod just time consuming to keep everything organized the right way
 

78Staff

US Navy Veteran
Military
Joined
Aug 3, 2018
Posts
961
Reaction score
540
Location
NE Florida
Ram Year
2016
Engine
5.7L Hemi
Minor after install tidbits...

For whatever reason, the coinholders - although looking exactly the same - did not interchange for me. The Jump seat version (which i used because I had coins in it already :) ) would fall down when the top lid was raised up. The one that came with the Flo Thru Center Console did not fall out. So there must be some minor fitment difference, or maybe it is just a tolerance stacking issue.

Got the seat warmers hooked back up, just installed two new tap receptacles into the new console harness side and they snapped right it.

However - in the "here's your sign" department, I had removed the passenger seat one more time to tilt it back to get the jack mount fix done right and tie up the seat warmer harness that I had cut to remove it the first time, and I freaking snapped off one of the front seat mount bolts with the impact when putting it back in. Stupid! :emotions122:

My attempts with my home-grade easy outs have proved unsuccessful, so I guess I'm going to have to pay a shop to do it. I actually did get it to turn about 1/2 turn but not enough to get any grip or anything. I have local shop I've gone to for 20+ years so I doubt he'll ding me too bad, other than the verbal abuse lol.
 

Gero

Senior Member
Joined
Apr 22, 2018
Posts
513
Reaction score
521
Location
Ontario
Ram Year
2017
Engine
Hemi 5.7
Minor after install tidbits...

For whatever reason, the coinholders - although looking exactly the same - did not interchange for me. The Jump seat version (which i used because I had coins in it already :) ) would fall down when the top lid was raised up. The one that came with the Flo Thru Center Console did not fall out. So there must be some minor fitment difference, or maybe it is just a tolerance stacking issue.

Got the seat warmers hooked back up, just installed two new tap receptacles into the new console harness side and they snapped right it.

However - in the "here's your sign" department, I had removed the passenger seat one more time to tilt it back to get the jack mount fix done right and tie up the seat warmer harness that I had cut to remove it the first time, and I freaking snapped off one of the front seat mount bolts with the impact when putting it back in. Stupid! :emotions122:

My attempts with my home-grade easy outs have proved unsuccessful, so I guess I'm going to have to pay a shop to do it. I actually did get it to turn about 1/2 turn but not enough to get any grip or anything. I have local shop I've gone to for 20+ years so I doubt he'll ding me too bad, other than the verbal abuse lol.

Oh that sucks about the snapped bolt. The 15mm front bolts cant handle that much torque but the rear 19mm however are a different thing. Have you tried drilling it out?
 

78Staff

US Navy Veteran
Military
Joined
Aug 3, 2018
Posts
961
Reaction score
540
Location
NE Florida
Ram Year
2016
Engine
5.7L Hemi
Oh that sucks about the snapped bolt. The 15mm front bolts cant handle that much torque but the rear 19mm however are a different thing. Have you tried drilling it out?

Yeah it's my fault I had done the rears and was snugged up the fronts and just got distracted for a sec and SNAP lol.

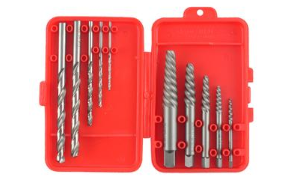
I've got two types of EZ outs, one kit where you have LH drill bit and LH EZout bit, and one where you just have a different style of EZ out. The drill bits aren't doing squat on this bolt. The latter kit with just the screw type bit was able to cut some material and even grabbed for a sec - that's how I got it to move a 1/2 turn. But neither are doing much good. They are the basic craftsman kits. Can anyone can suggest a better option?

screenshot-4.png
 

Gero

Senior Member
Joined
Apr 22, 2018
Posts
513
Reaction score
521
Location
Ontario
Ram Year
2017
Engine
Hemi 5.7
Is it possible to cut a slit with a dremel and remove it with a big flat head?
 

78Staff

US Navy Veteran
Military
Joined
Aug 3, 2018
Posts
961
Reaction score
540
Location
NE Florida
Ram Year
2016
Engine
5.7L Hemi
I'll have to look again... I'll check tomorrow.
 
Top