MagSport
Senior Member
Disclaimer:
I am not responsible for anything you do to your vehicle, yourself, or your tools on your own time. This project is fabrication heavy and if you are not comfortable with a table, circle, or jig saw, don't do this by yourself.
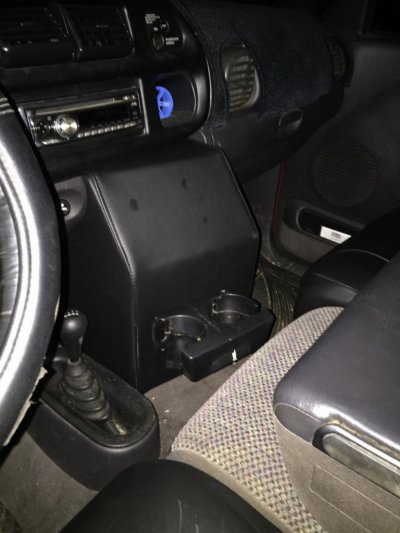
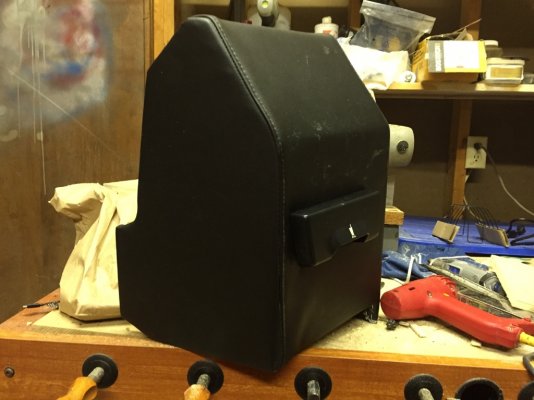
If there is one thing on the interior of our trucks that I have always wanted, it was a center console similar to the ones in the 99-07 Silverados. Kind of aimed at you with a lot of possibilities for switch mounts, boost controller mounts, tablet mounts, tuner mounts, or even a double din radio set up. Using 3-D modeling software and cardboard templates, I removed the cup holders in the dash and created a "driver-centric" center console (Basically everything is aimed at the driver). Afterwards, through some trial and effort and a little trimming, I was able to make a pretty bad ass console. I took it to a local upholster and they made a vinyl cover to match the vinyl on top of the jump seat console to make everything fit in.
Noticeable Panel Gaps:
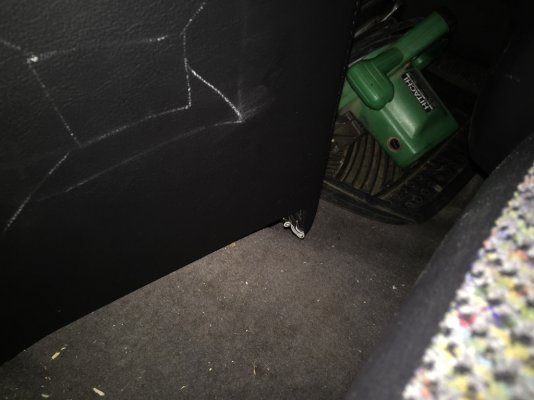
The two largest panel gaps are on the bottom along the floor line/trans-tunnel and behind the console towards the firewall on the drivers side. On that gap a little of the ABS controller cover is exposed.
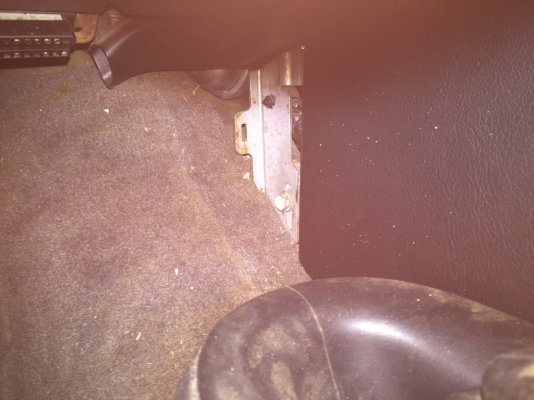
The floor gap is a result of putting a square piece on a roundish trans tunnel. With an extended angle on the front piece, that gap should cover up nicely but since I already had the thing upholstered, I believe I will live with it as it looks pretty awesome the way it is, gaps and all.
Cup Holders:
Since I use cup holders religiously and I can't really justify spending 50$ for the in-console cup holders, I stopped by the local junkyard and picked up some rear bench cup holders that mount under the jump seats on the quad/club cab trucks.
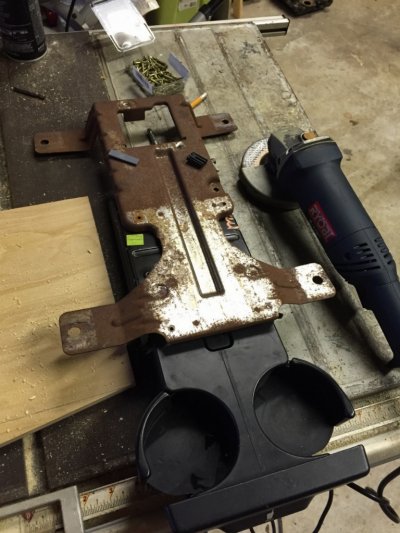
Then, through a process of measure, cut, measure, cut, I mounted the cupholders in the console. I could not use the factory mounting bracket for the cup holders (too big) so using the cup holder sleeve, I attached it (the sleeve) to a wooden plate mounted inside the console.
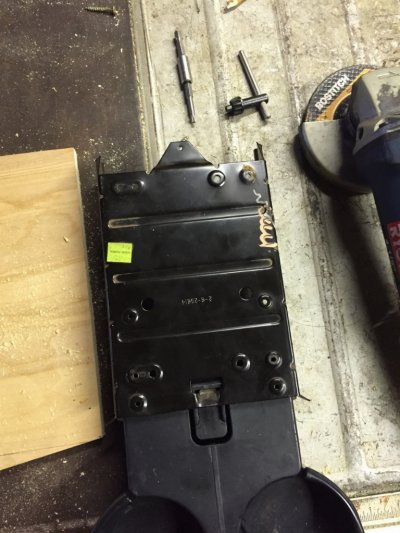
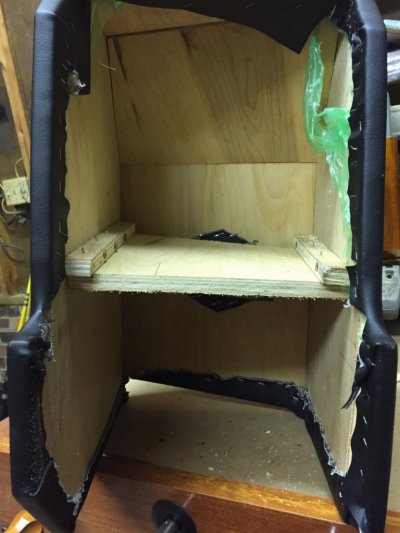
Due to the angle of the console itself and the length of the cup holders, some major trimming of both the sleeve and holders were necessary to ensure a smooth, flush fit between the holder handle and the console face.
Diagrams:
Since I am an engineering student I have access to 3-D modeling software. Normally this kind of project probably wouldn't warrant using a computer to design but it significantly helped in the design of the three middle pieces that make of the top, face, and front of the console between the two sides. I used a cardboard template to make the side panels and then used the modeling software (Solidworks) to draft the three middle pieces. As a result, I have a 3-D model that can be scaled and measured directly off of the computer to aid in the tricky cuts that are involved in this kind of build. One cool feature about Solidworks is the ability to actually draft "blueprints" in pdf form that can be printed and used on the bench for those that don't have access to the software. Here are the links to all of the pdf schematics for this build:
https://drive.google.com/folderview?id=0ByNGFx7f1QxHMzYxQTFnR0hjajg&usp=sharing
For this model, it is crucial to use 1/2" plywood (what I used) or another 1/2" material as a different thickness will change the three central piece's dimensions significantly.
Lighting:
As promised, I ordered red led strips to match my other interior lights and installed them. Here's pics of my set up:
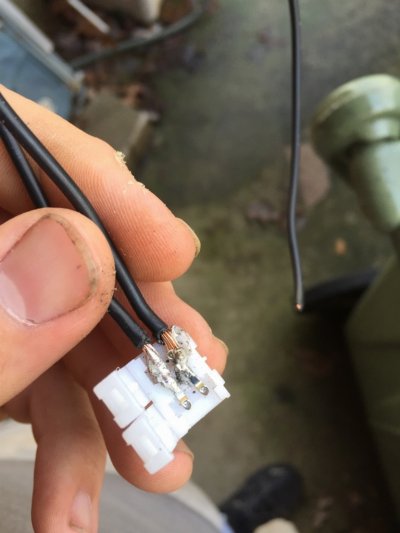
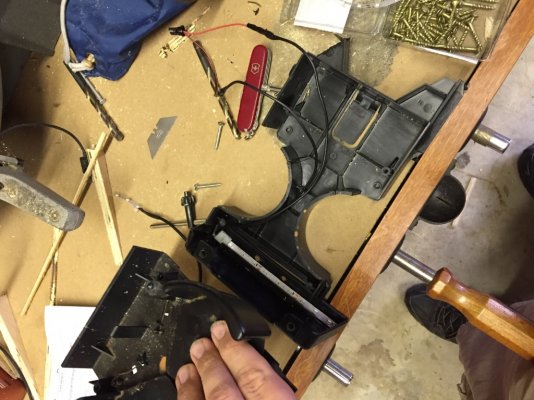
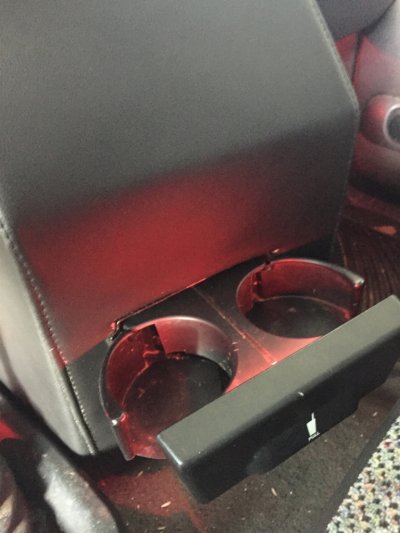 I used a spare t10 wedge base sourced from my halos I bought during my retrofit, and plugged them into the stock cup holder lighting circuit. Notes: be sure to use plenty of wire if mounting the strips to the cup holder themselves as it's super easy to pull the light connector out of the socket every time you open the cup holder, making it a bit of a ***** to reconnect if you already have it mounted (ask me how I know)
Mounting:
This is another area that will be sorted out later, probably with 90 degree angle brackets onto the floor. But in the mean time, to keep the sucker from moving so easily, I drilled sheet metal screws throughl the dash inside the glove compartment area.

The idea of utilizing the stock mounting holes is entirely plausible, even with this exact design a plate should just be attached on the back of the assembly to drill through and mount to the dash in the stock location. You would also have to assemble this console in a way that the front panels are removable, to access the mounting hardware. Due to The way my console is upholstered, that's not an option for me.
And that's it in a nutshell. If anyone here is interested in actually using the 3-D model and have access to Solidworks, Inventor, or another CAD program, pm me and I will be more than happy to email you the model files.

Last edited:

