

- Joined
- Jul 10, 2017
- Posts
- 2,781
- Reaction score
- 2,297
- Location
- Hudson Valley, NY
- Ram Year
- 2014
- Engine
- 5.7L HEMI
I like the look of the Recon Air Dam lights, but $200 for a set of 9 seemed pretty ridiculous to me so I did some research and found that they appear to be re-packaging Maxxima 3/4 LED lights. I was able to get a set of 15 of the clear lens, amber LED ones, including wiring harness for under $100 from R&P Carriages via eBay. And since I only needed 7 for my truck, I'll be selling the remainder to recoup some of the cost. Recon does include chrome bezels with theirs, but as I didn't want them, I did not bother to spend the extra $1 each to get them from R&P.
Here's the link to the set I bought: https://www.ebay.com/itm/291804726249
Note: The stuff you see all over the underside of the truck in many of these shots is the Fluid Film I had applied the week before.
All 15 lit up to test them and the harness:
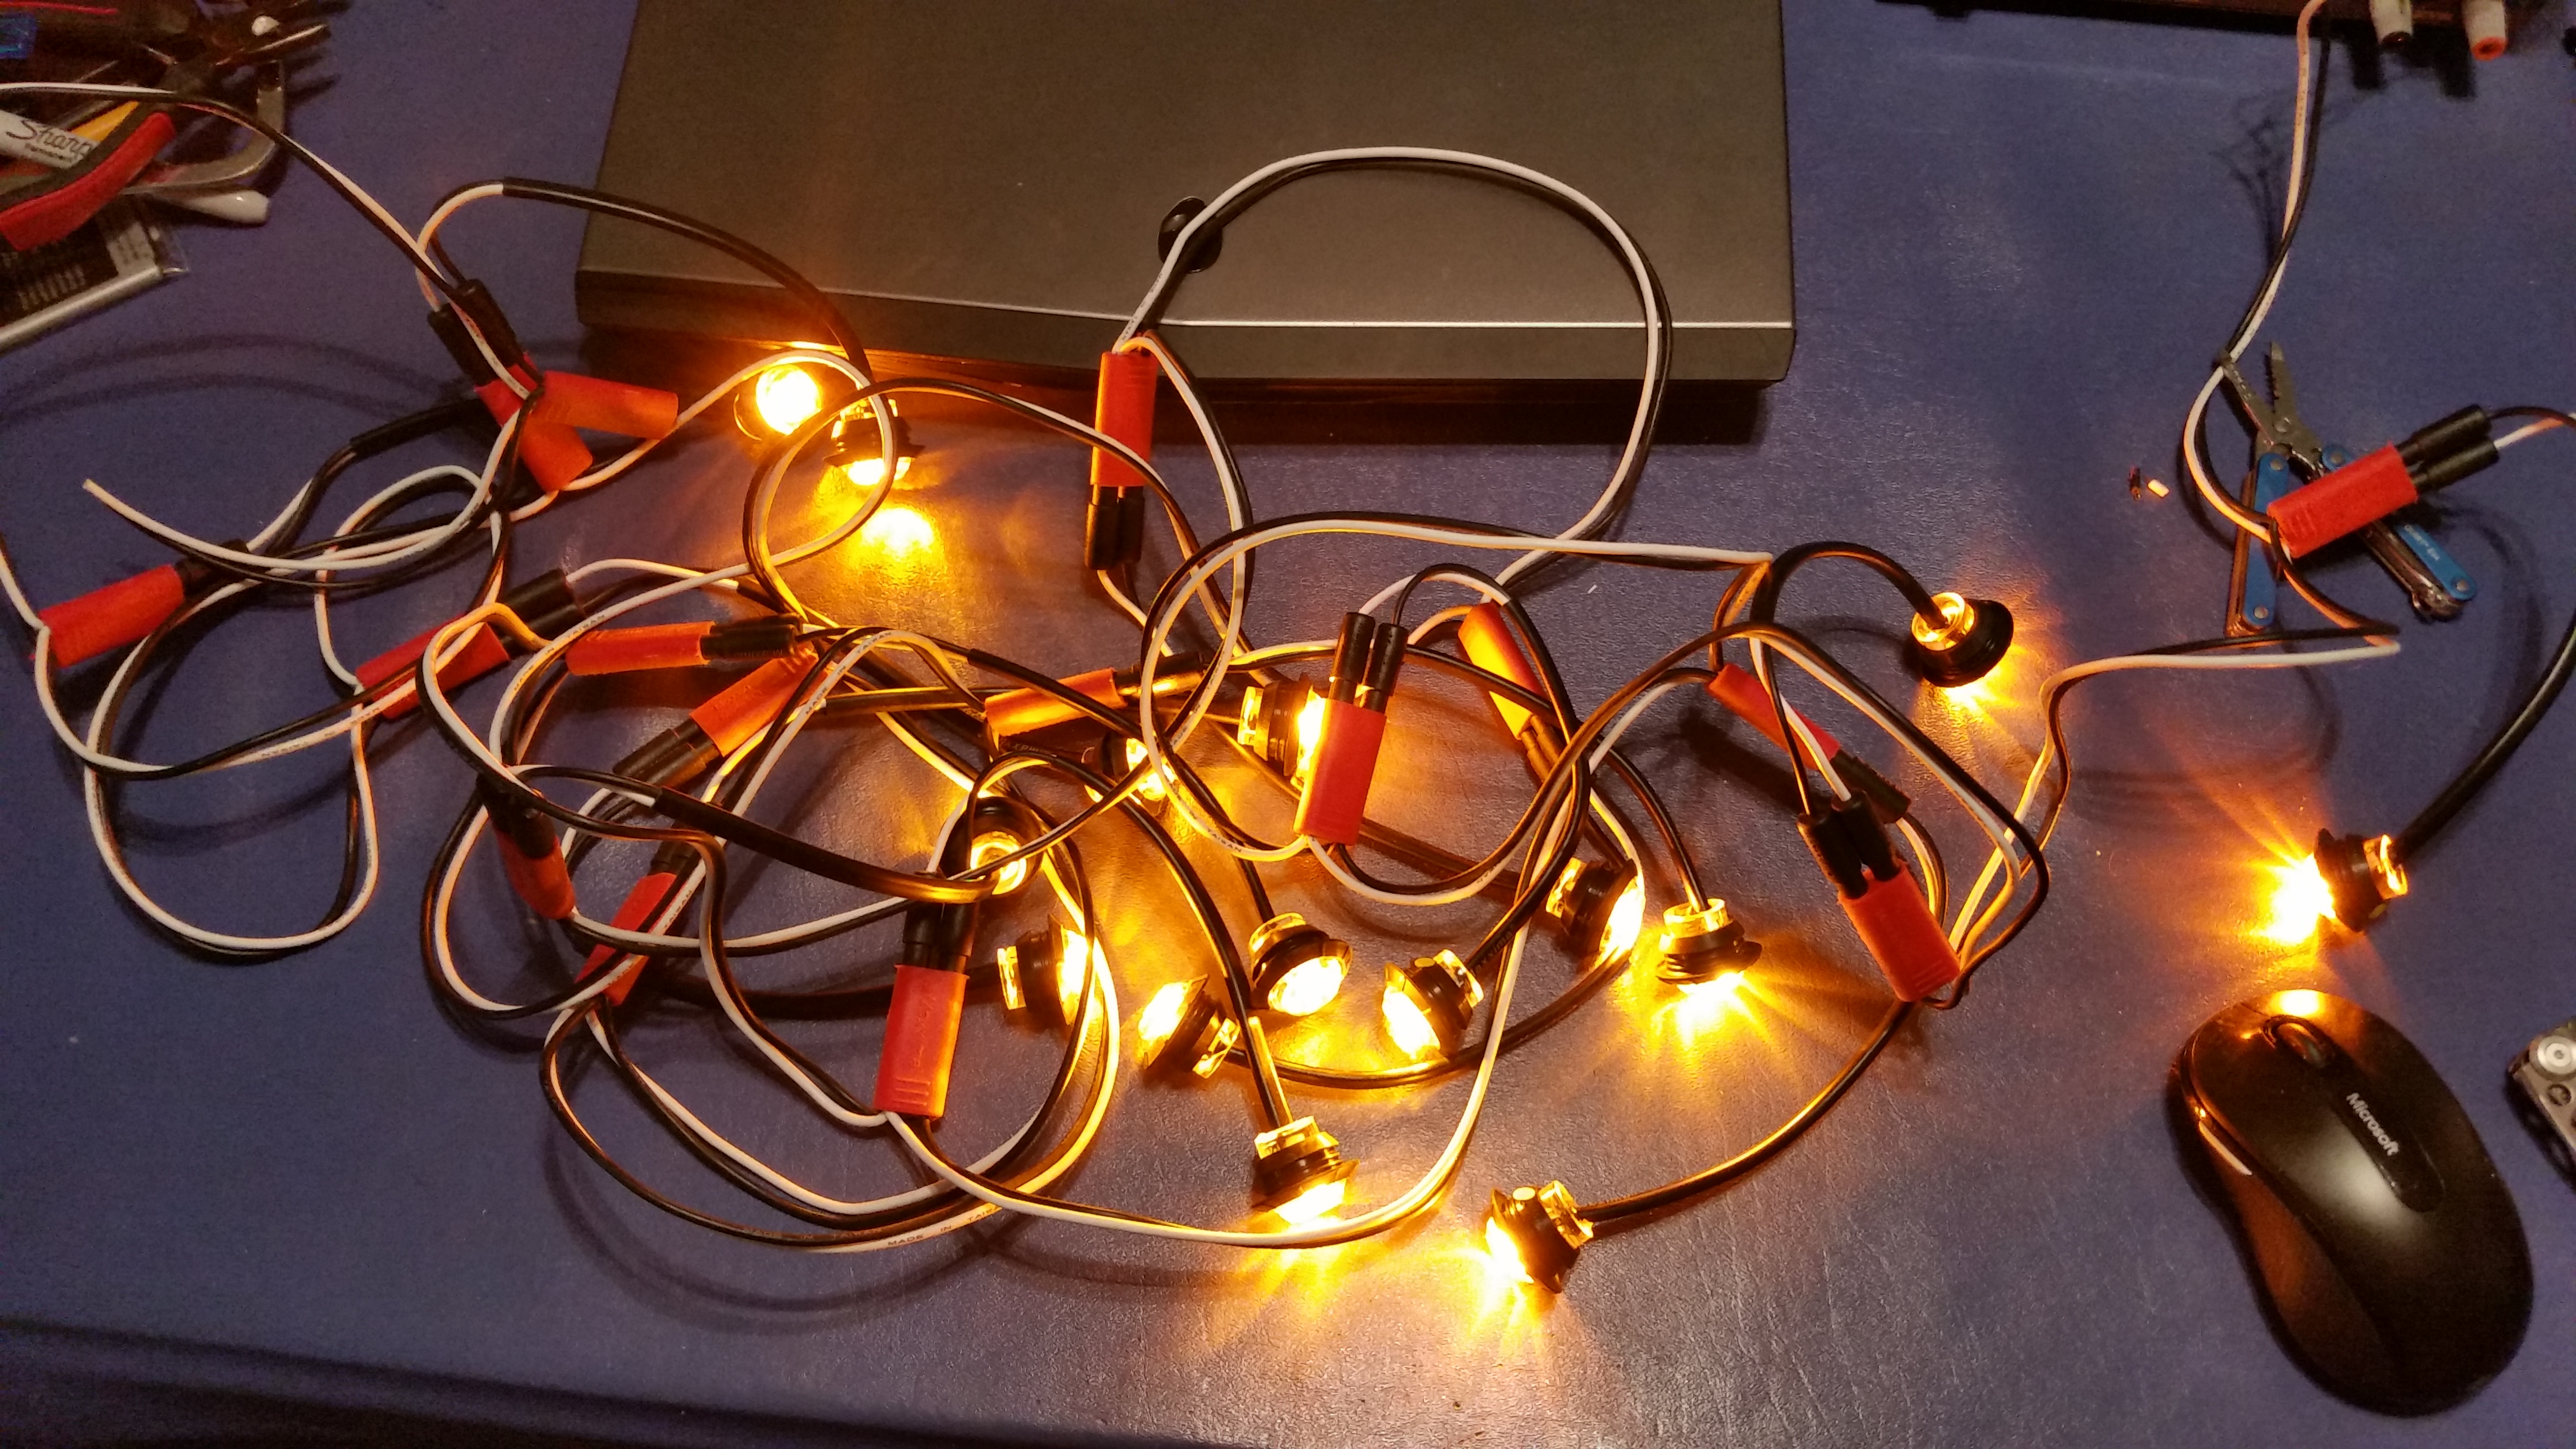
All 15 only use .75 amps so power if not a problem. I recently added wires to the TIPM in my truck from the unused F79, F97 & F98 fuse positions. F79 is the one used for the cab lights on a HD truck and it has power whenever the running lights are on so it seemed to be the perfect one to use here.

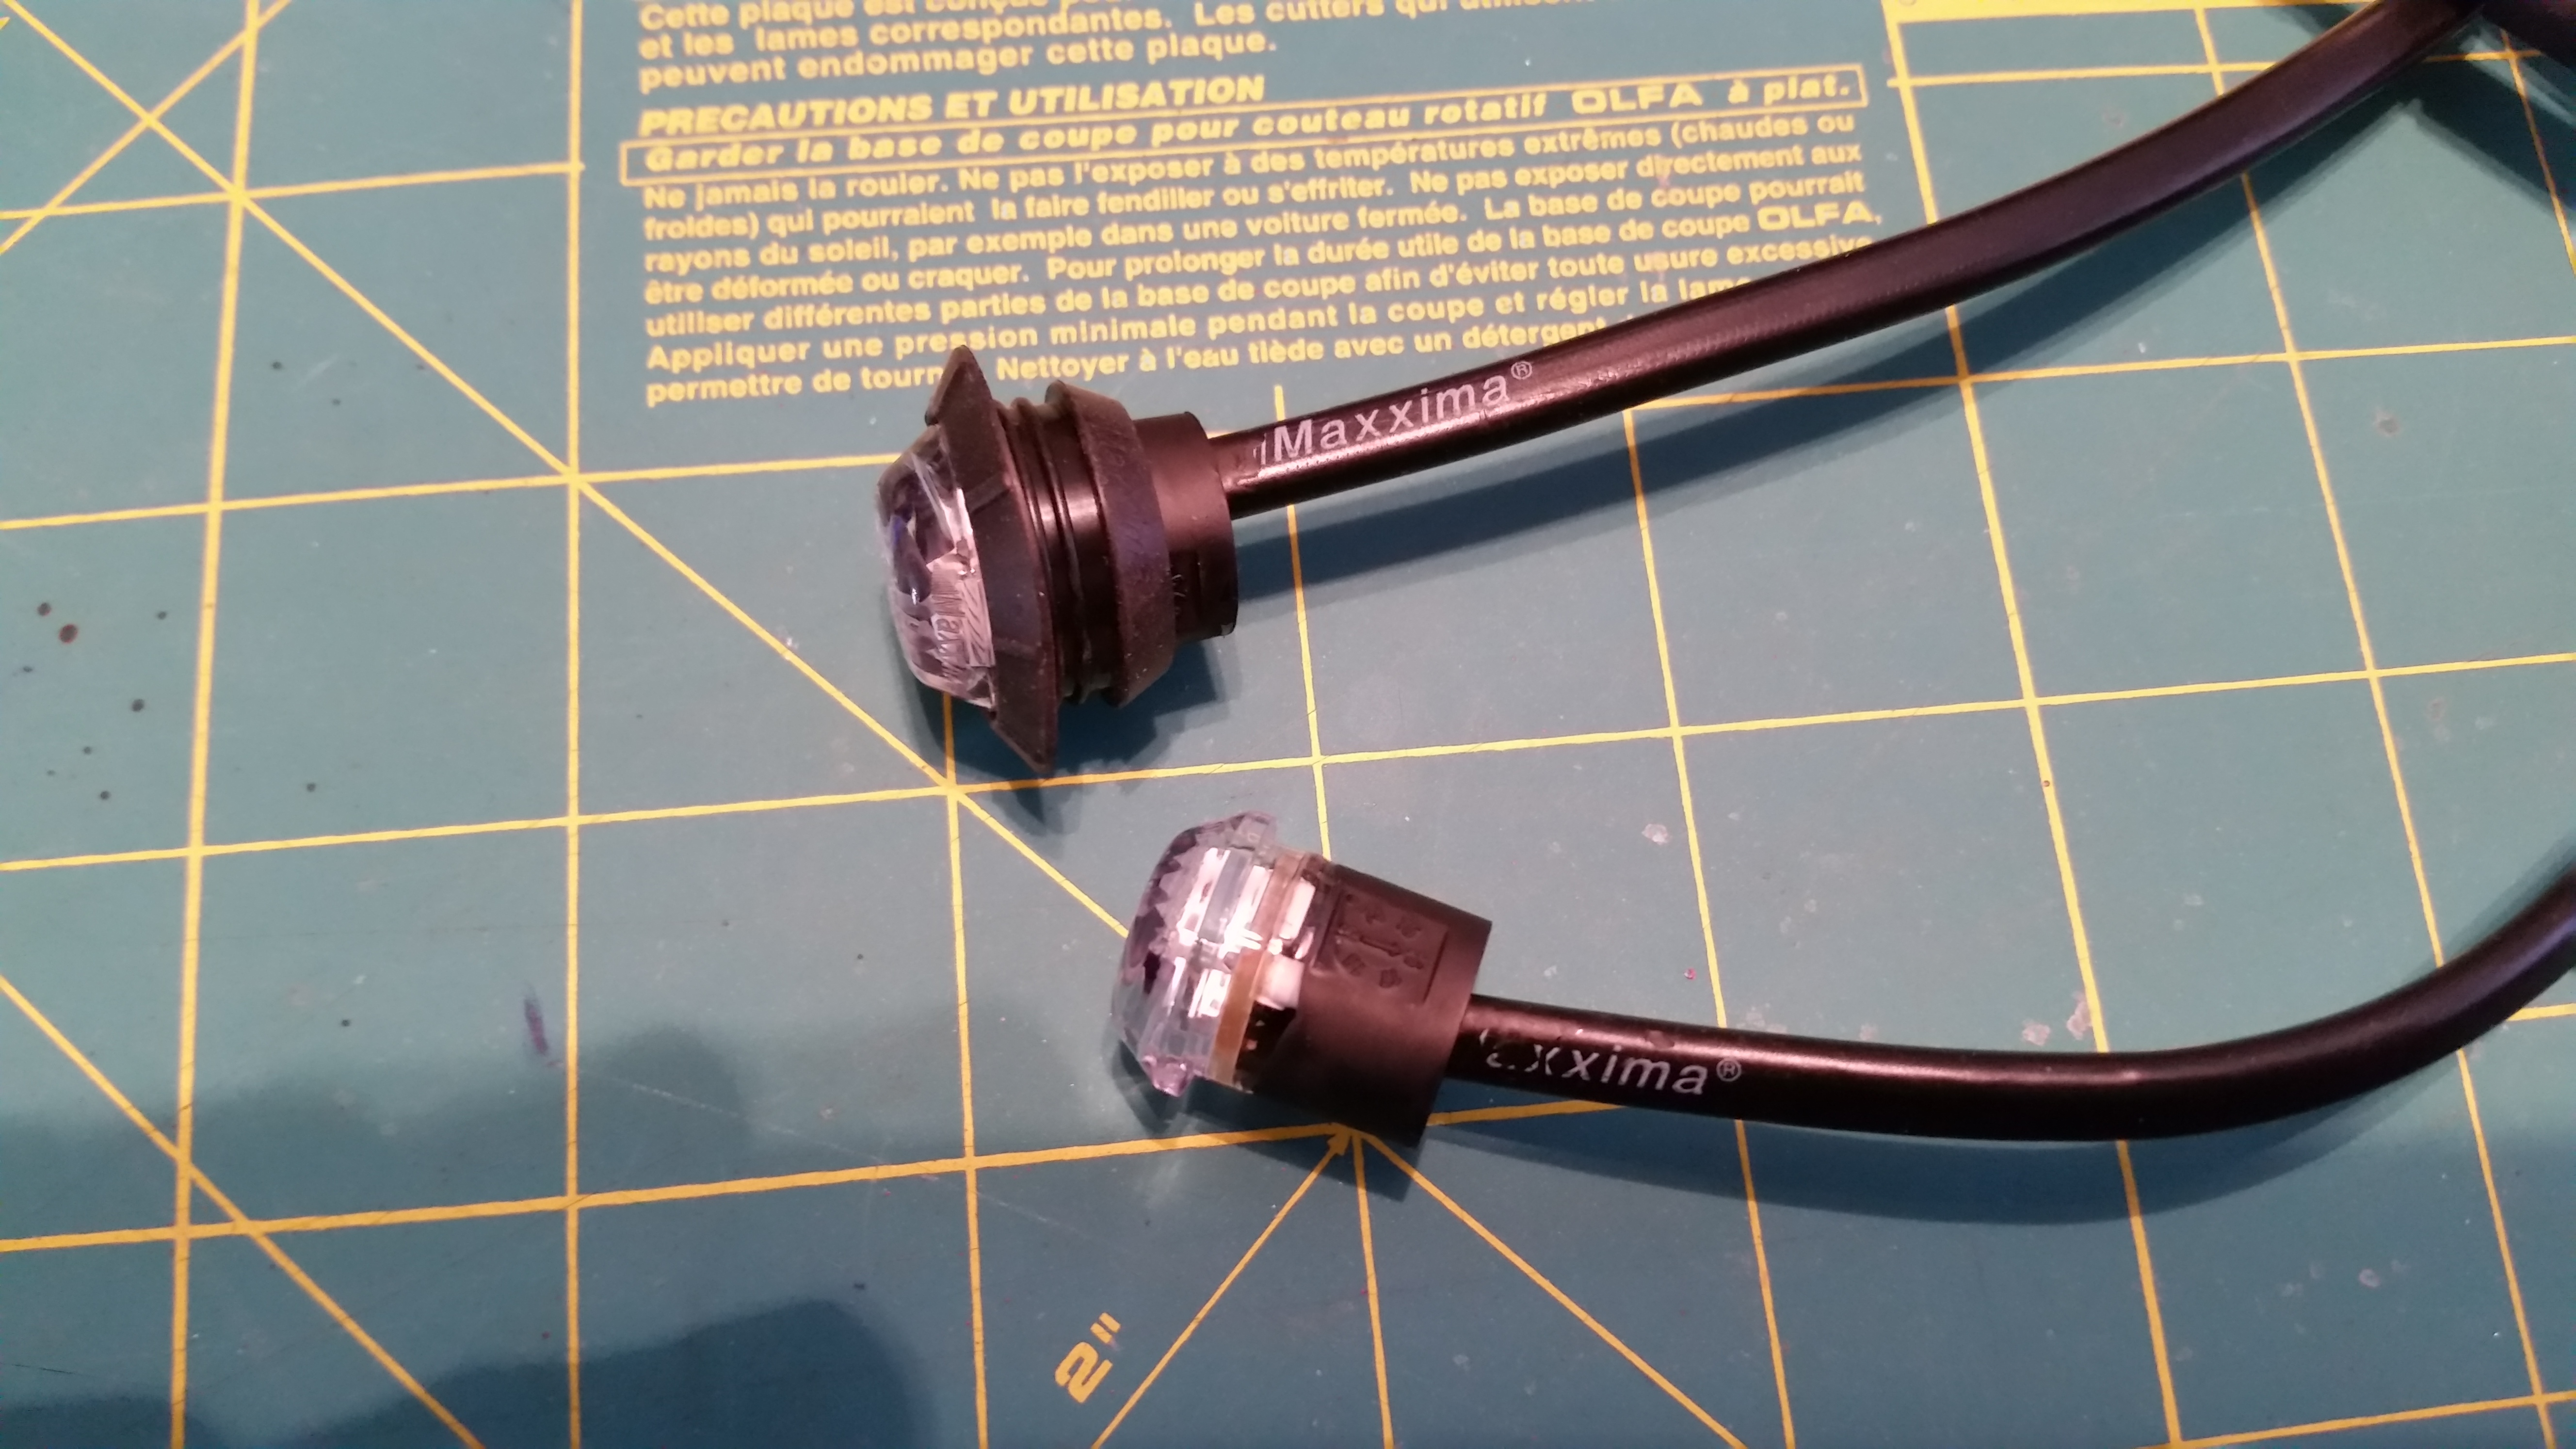
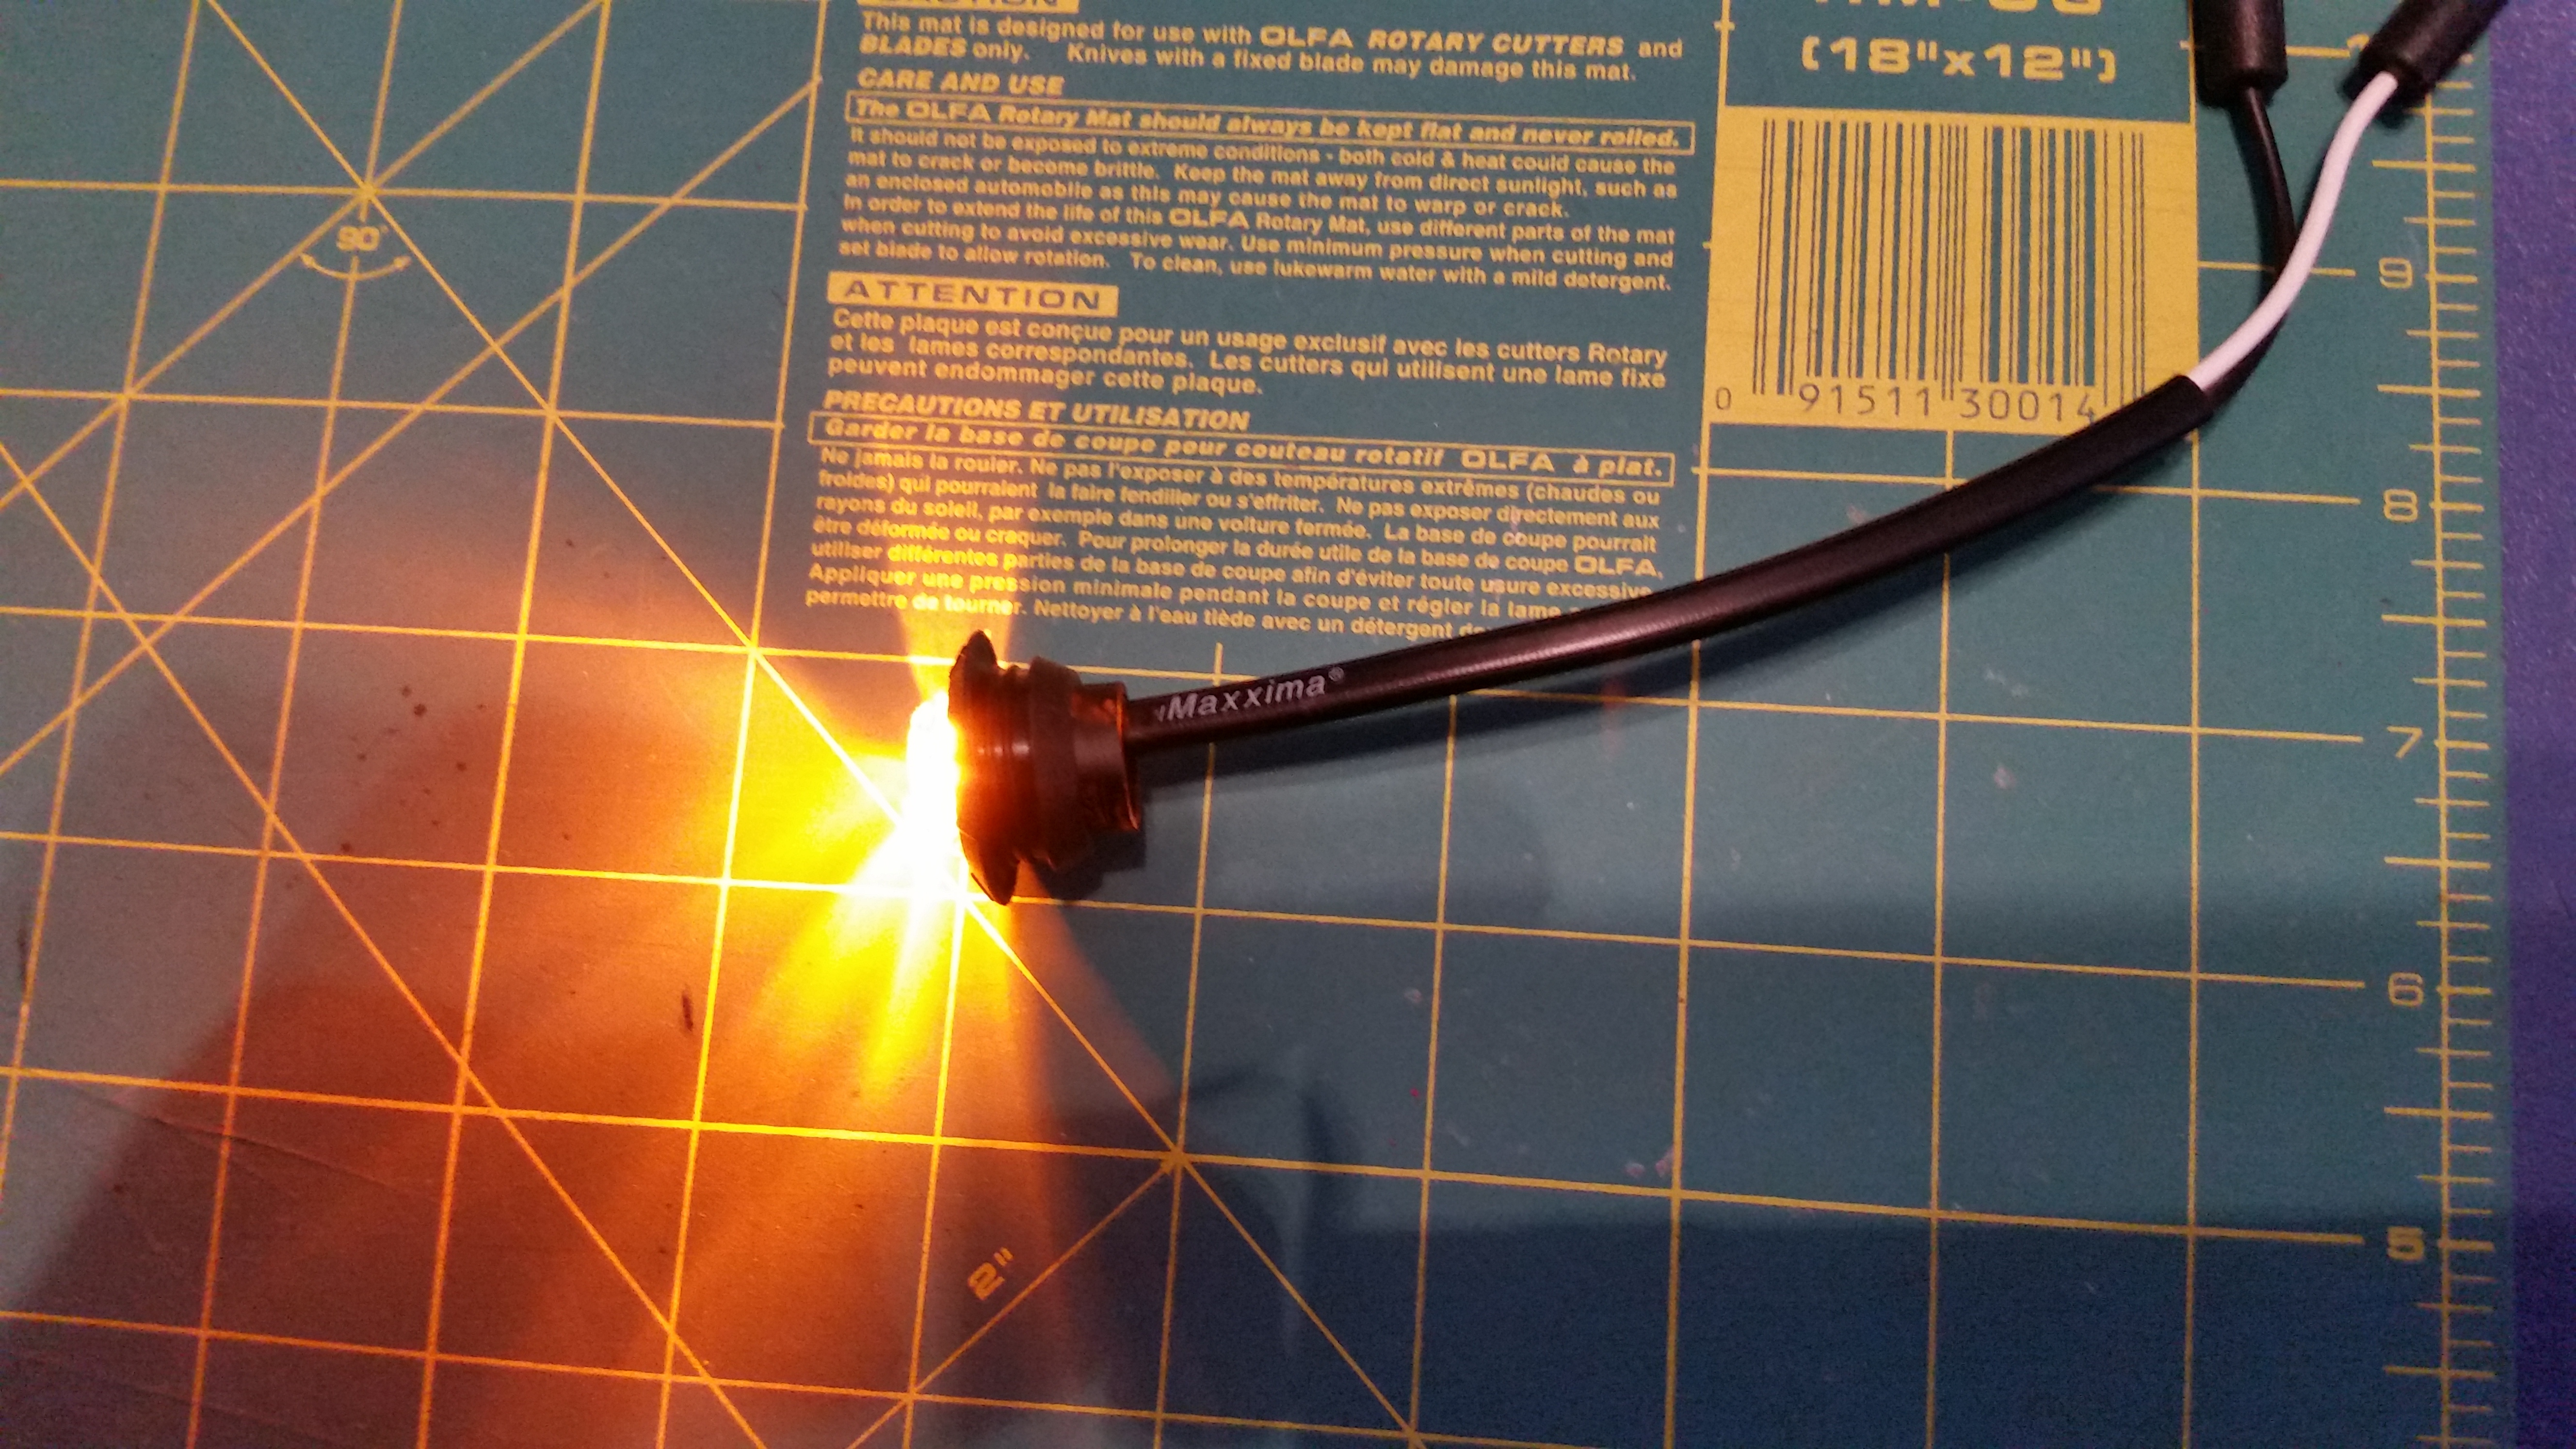
The only concern I had with mounting these lights as air dam lights was that the backs were transparent and some light came out of the back. A few minutes with a bottle of Testors black model paint solved that.
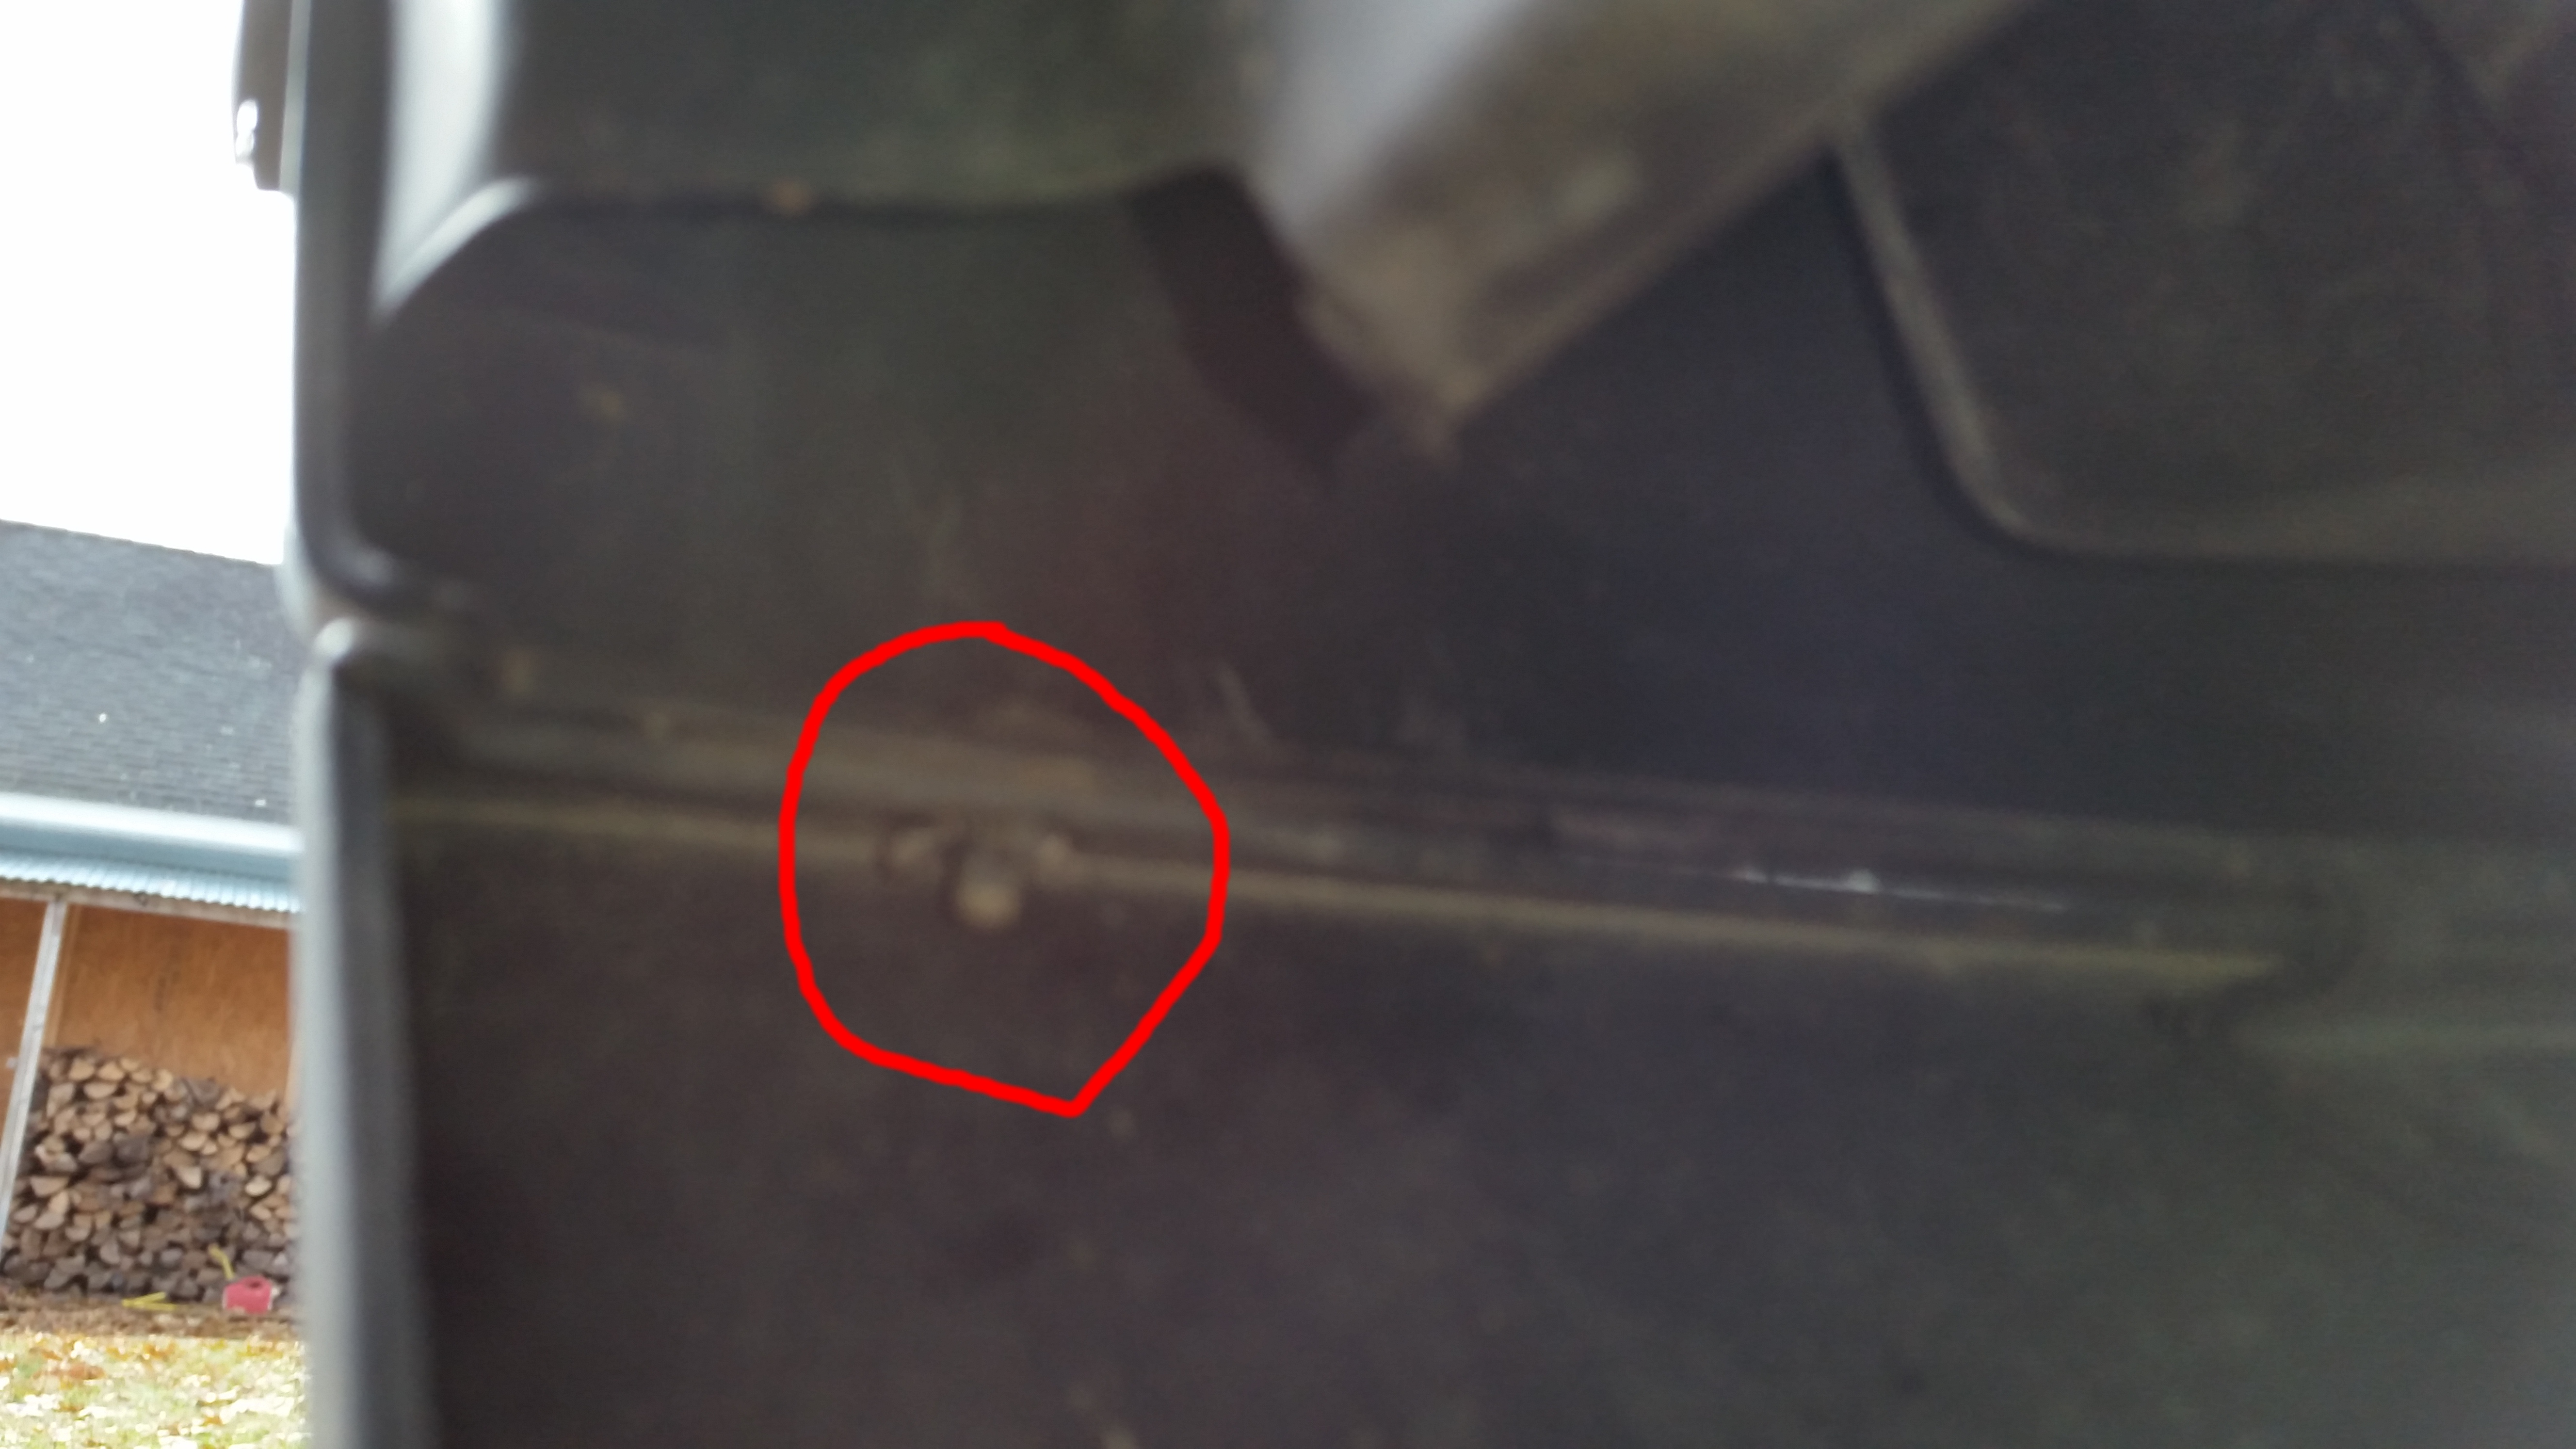
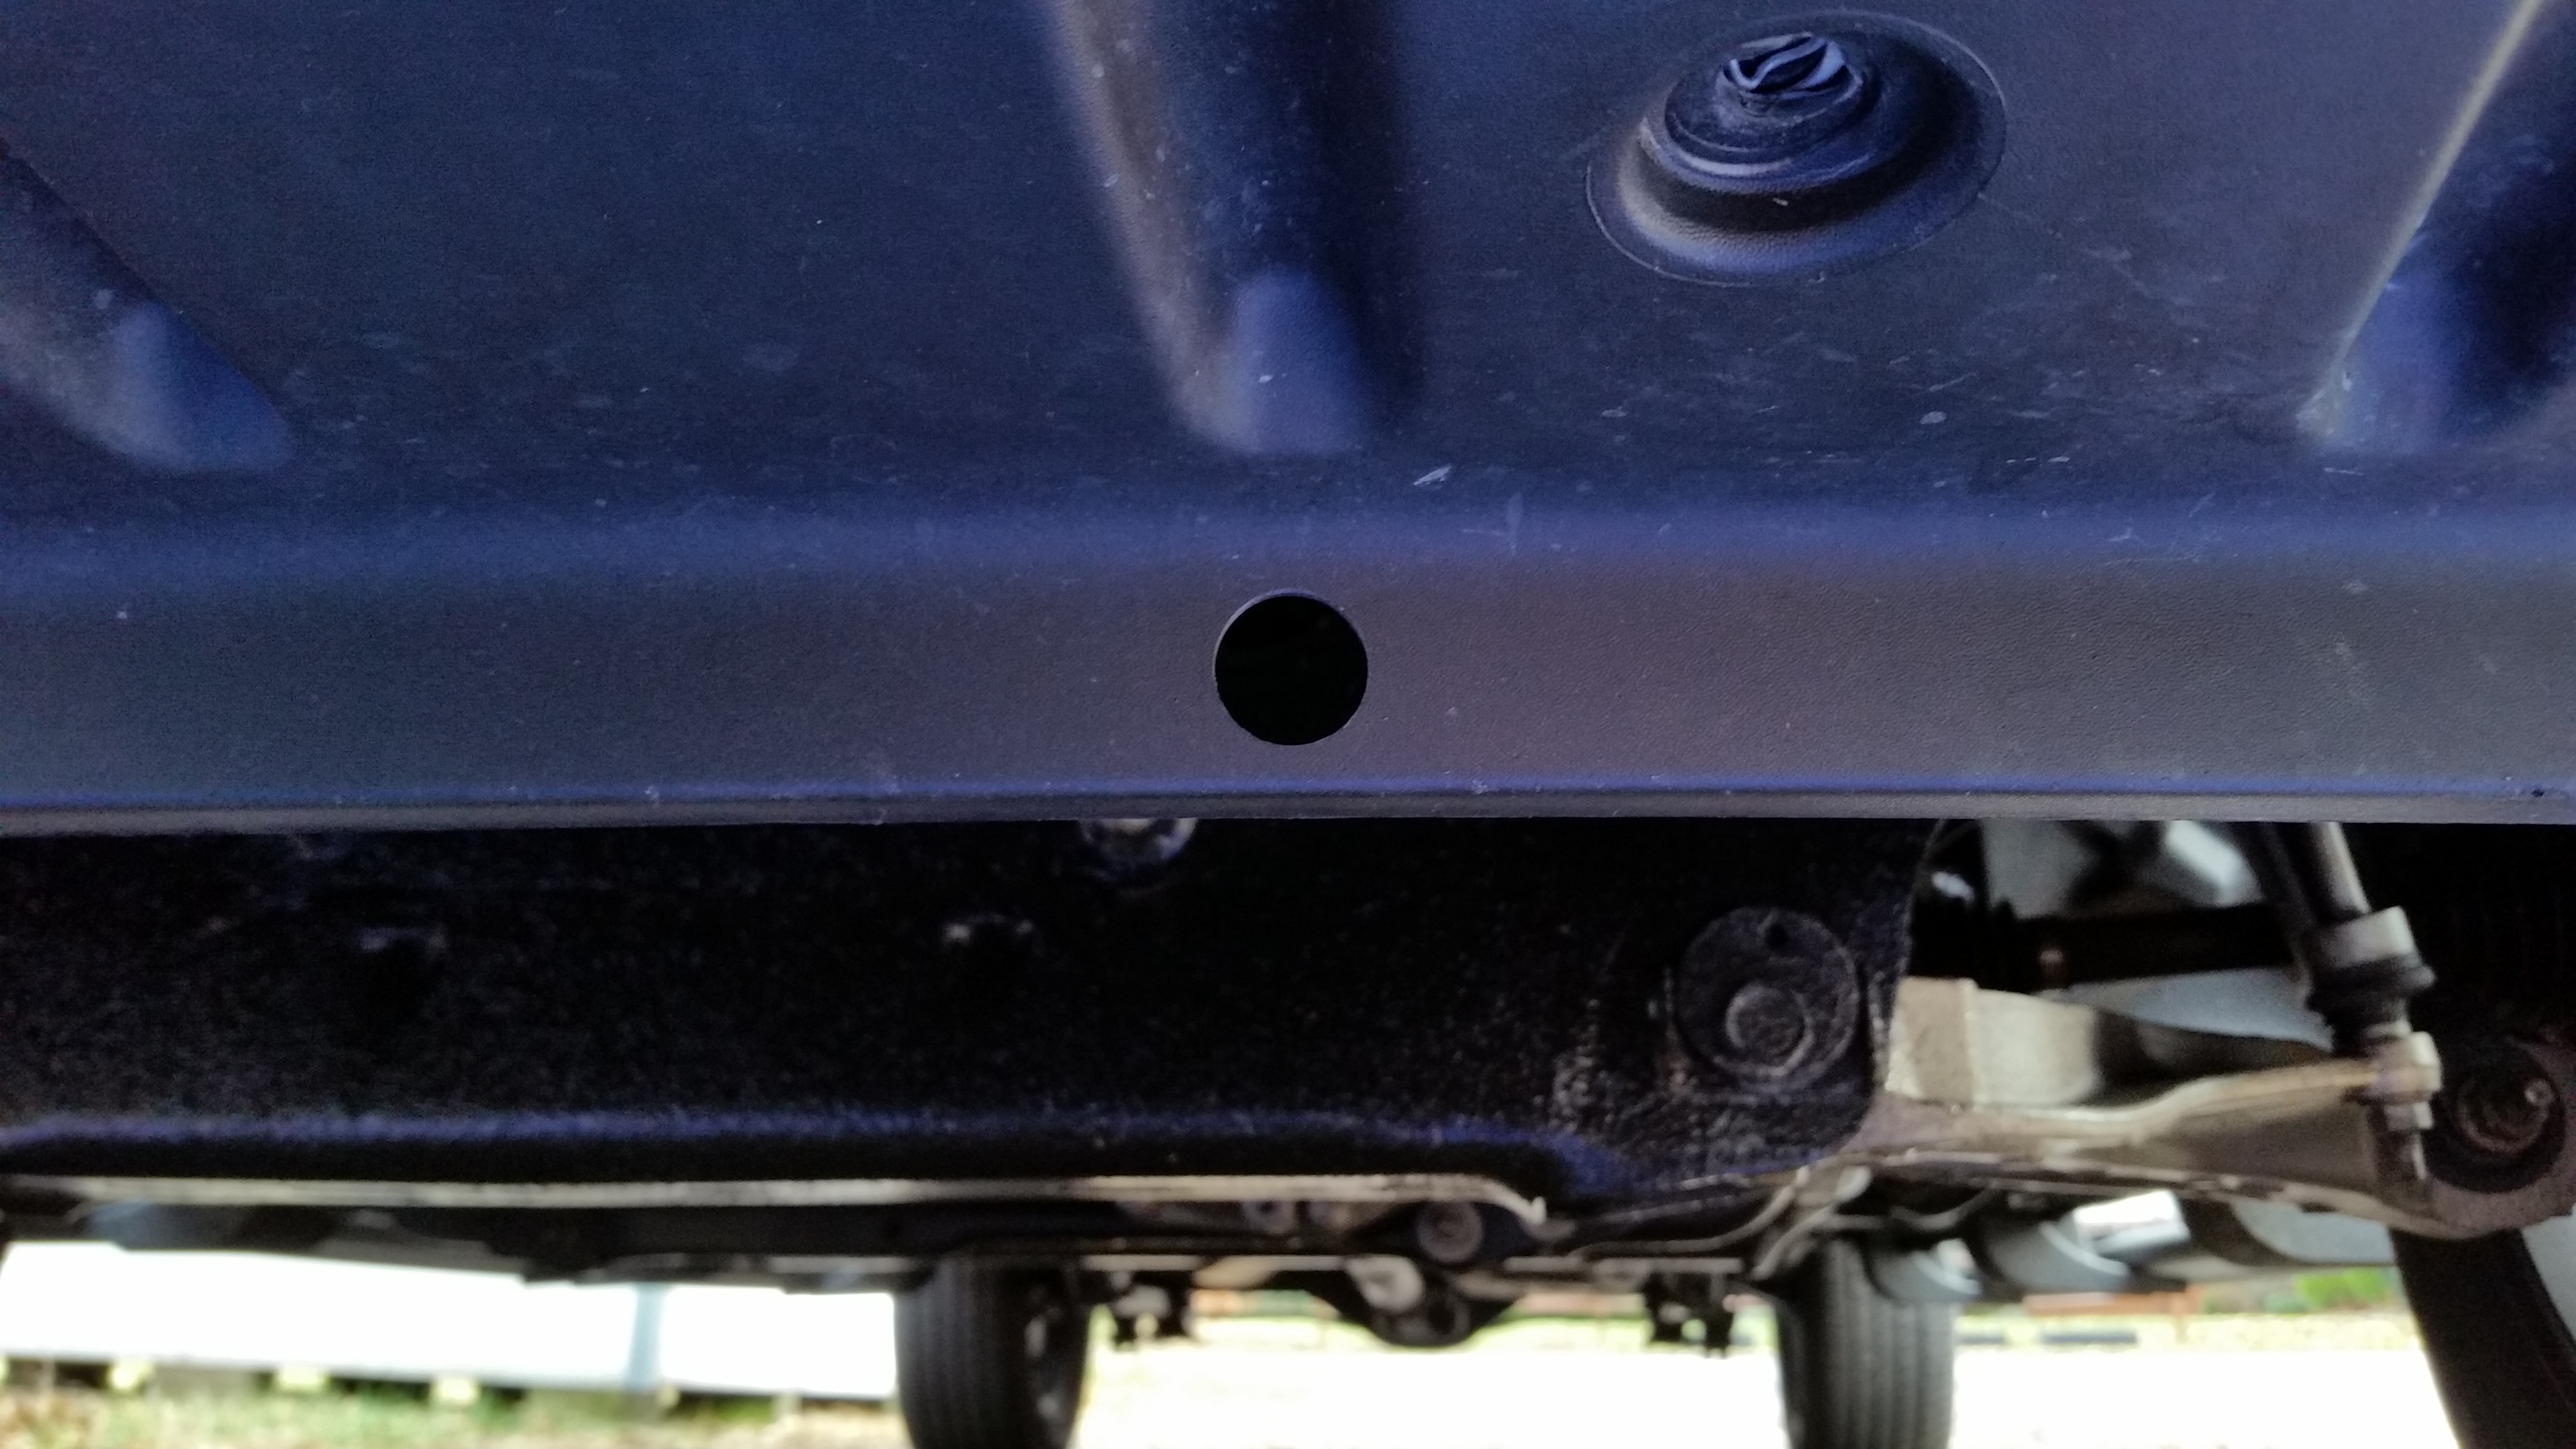
Due to the weather and my aging back I had intended to remove the air dam and bring it inside to mount the lights but when I went to remove it the four bolts and 6 clips came off fine but I discovered that there was a rivet at each end that I was unable to remove. I could not get any clippers I had nor a dremel tool in there to remove them so I ended up doing the entire job with the air dam still attached. This picture is not the best, but it shows the rivet on the driver's side.
I used blue painters tape to give myself a surface to mark and, starting with one in the middle directly below the middle indent on the air dam, I marked out one every 10 inches to either side, halfway up the flat portion of the air dam. This turned out to line up with the indents on 5 of the 7.

I then drilled 3/4" holes using a step bit I purchased from Harbor Freight for $8 with a coupon. I had to run the bit in from both the front nd back as the step was just a tiny bit too shallow to do it all from one side.
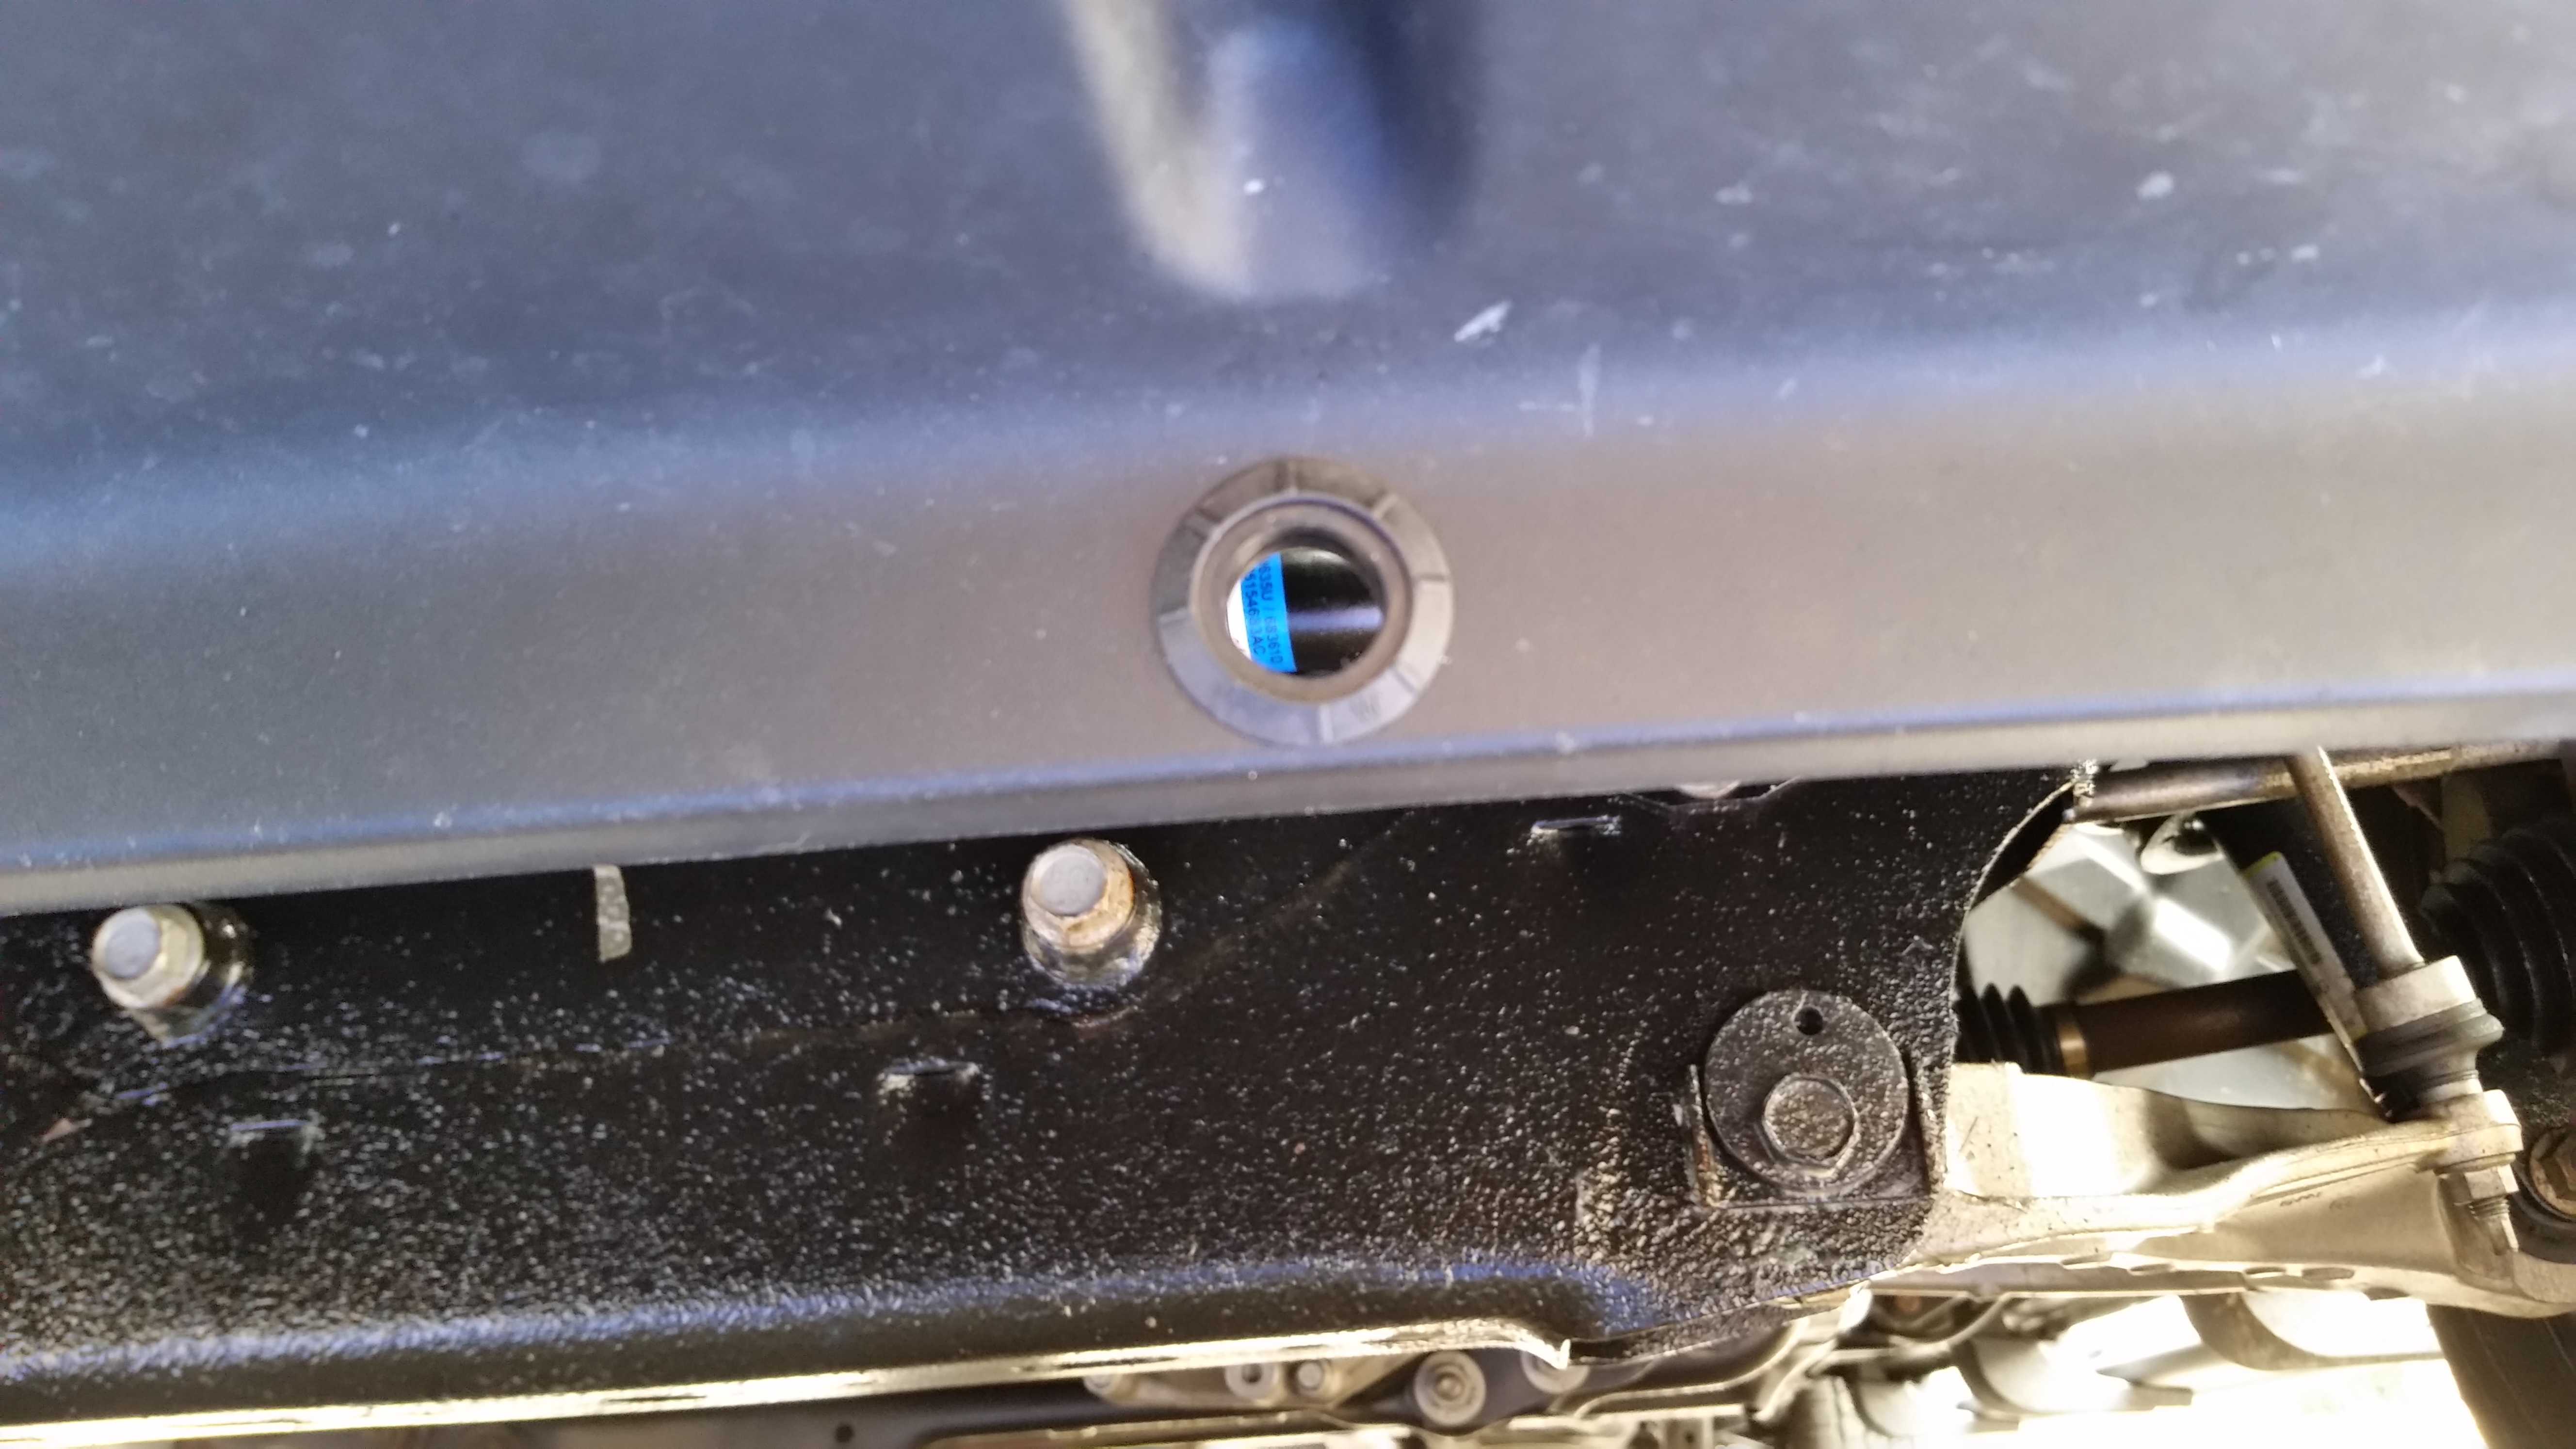
The rubber grommets fit in snugly. It was right around freezing when I did this and I found that warming up the grommets and air dam with a heat gun made them much easier to install.
Insert the lights into the grommets, paying attention to the "top" marking on them.
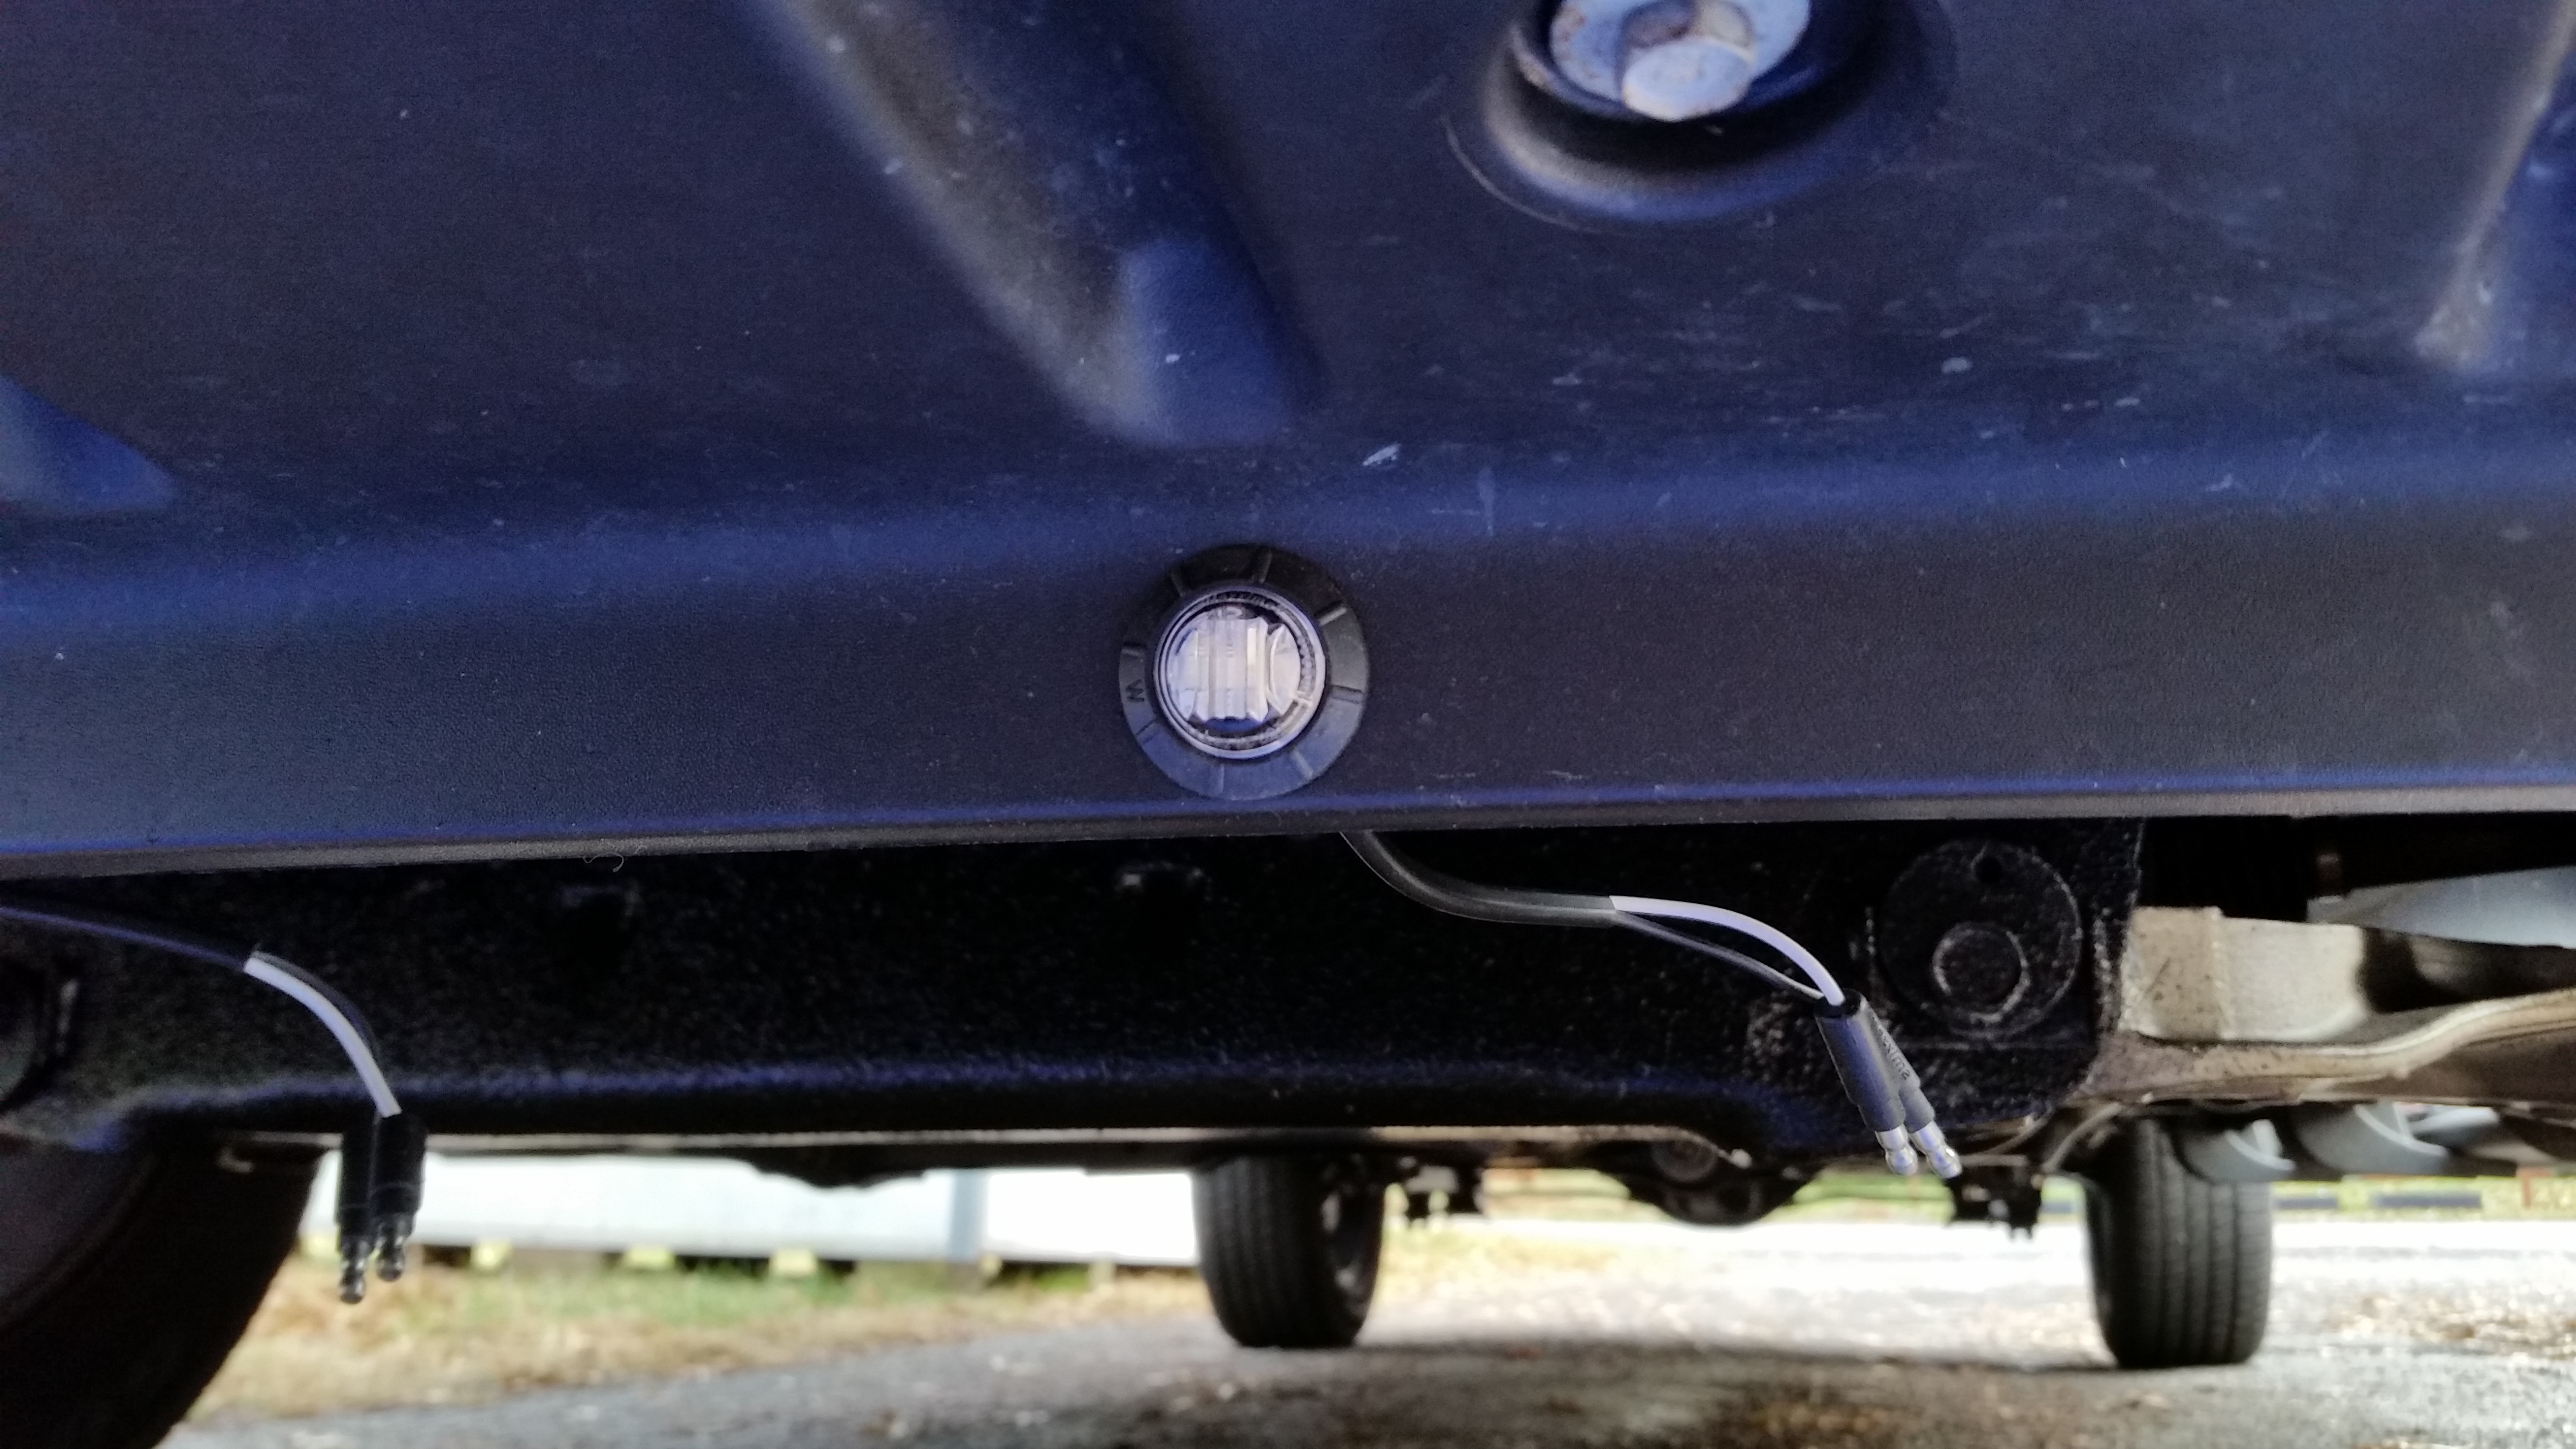
Plug each light into the harness, black to black and white to white. This picture shows the lights wired up and test lit before securing the harness up behind the bumper.
As I mentioned above, I wired mine to the F79 fuse in the TIPM. Your exact power hookup may vary.
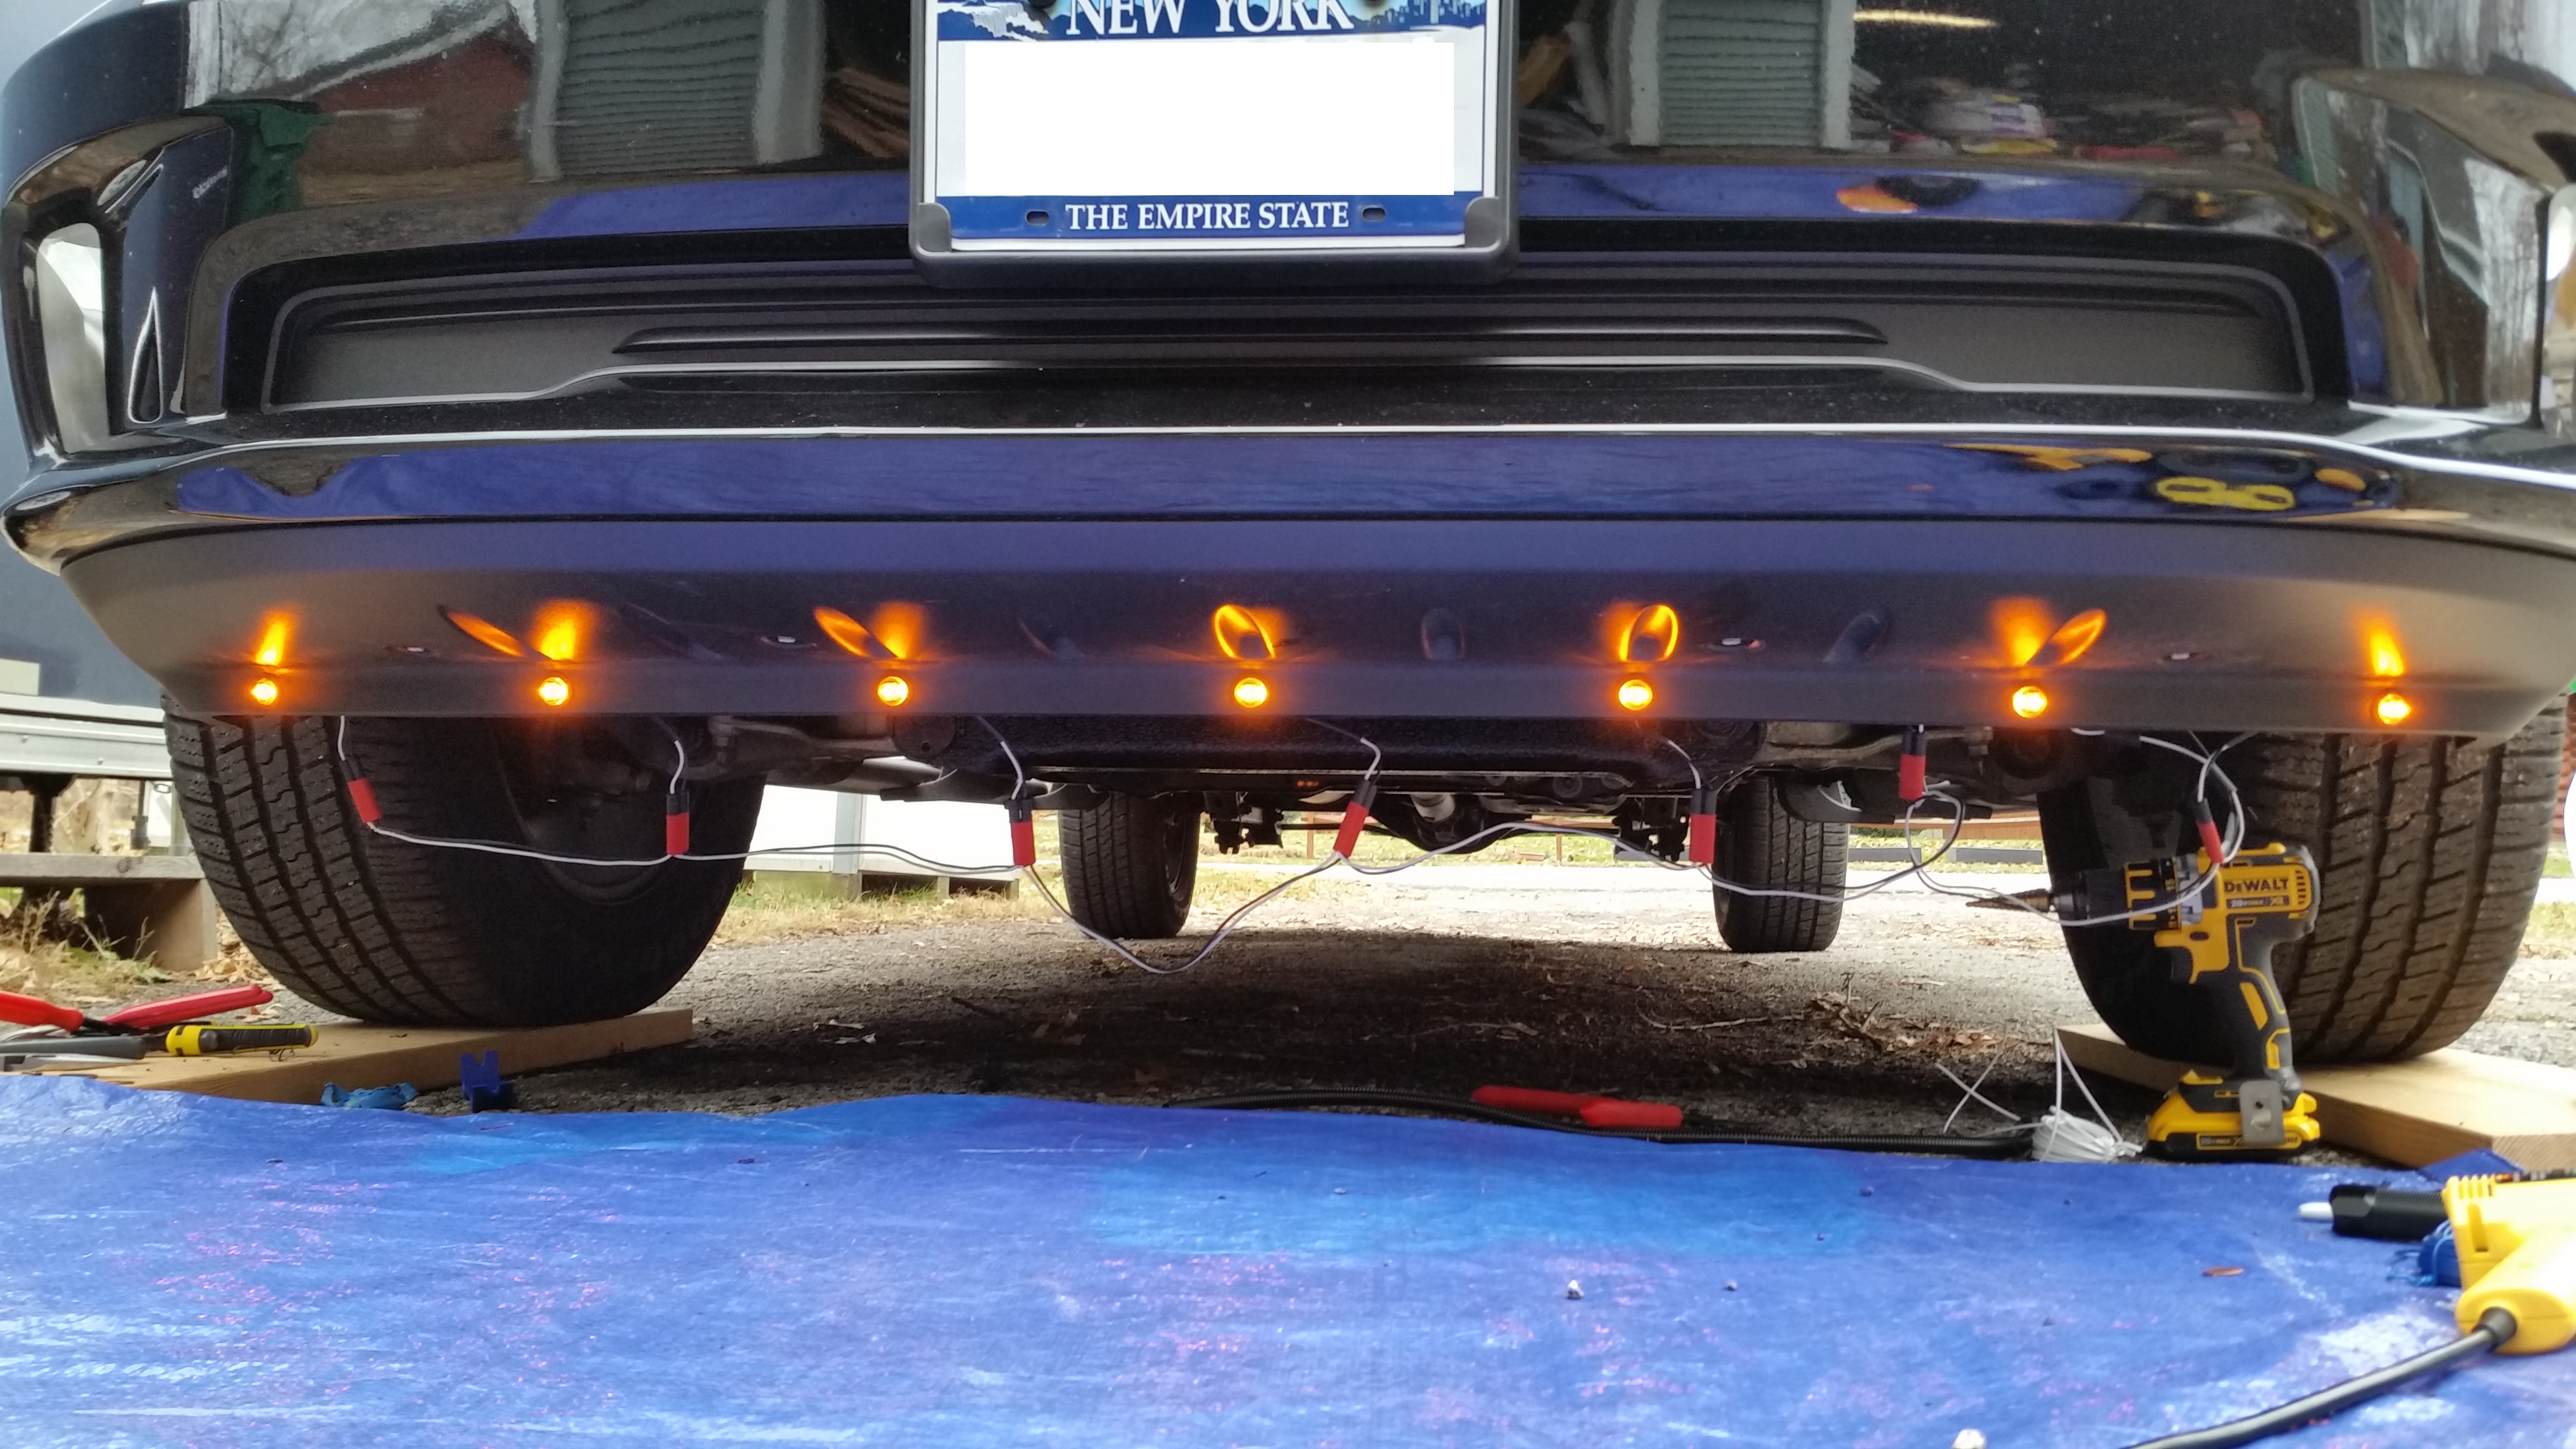
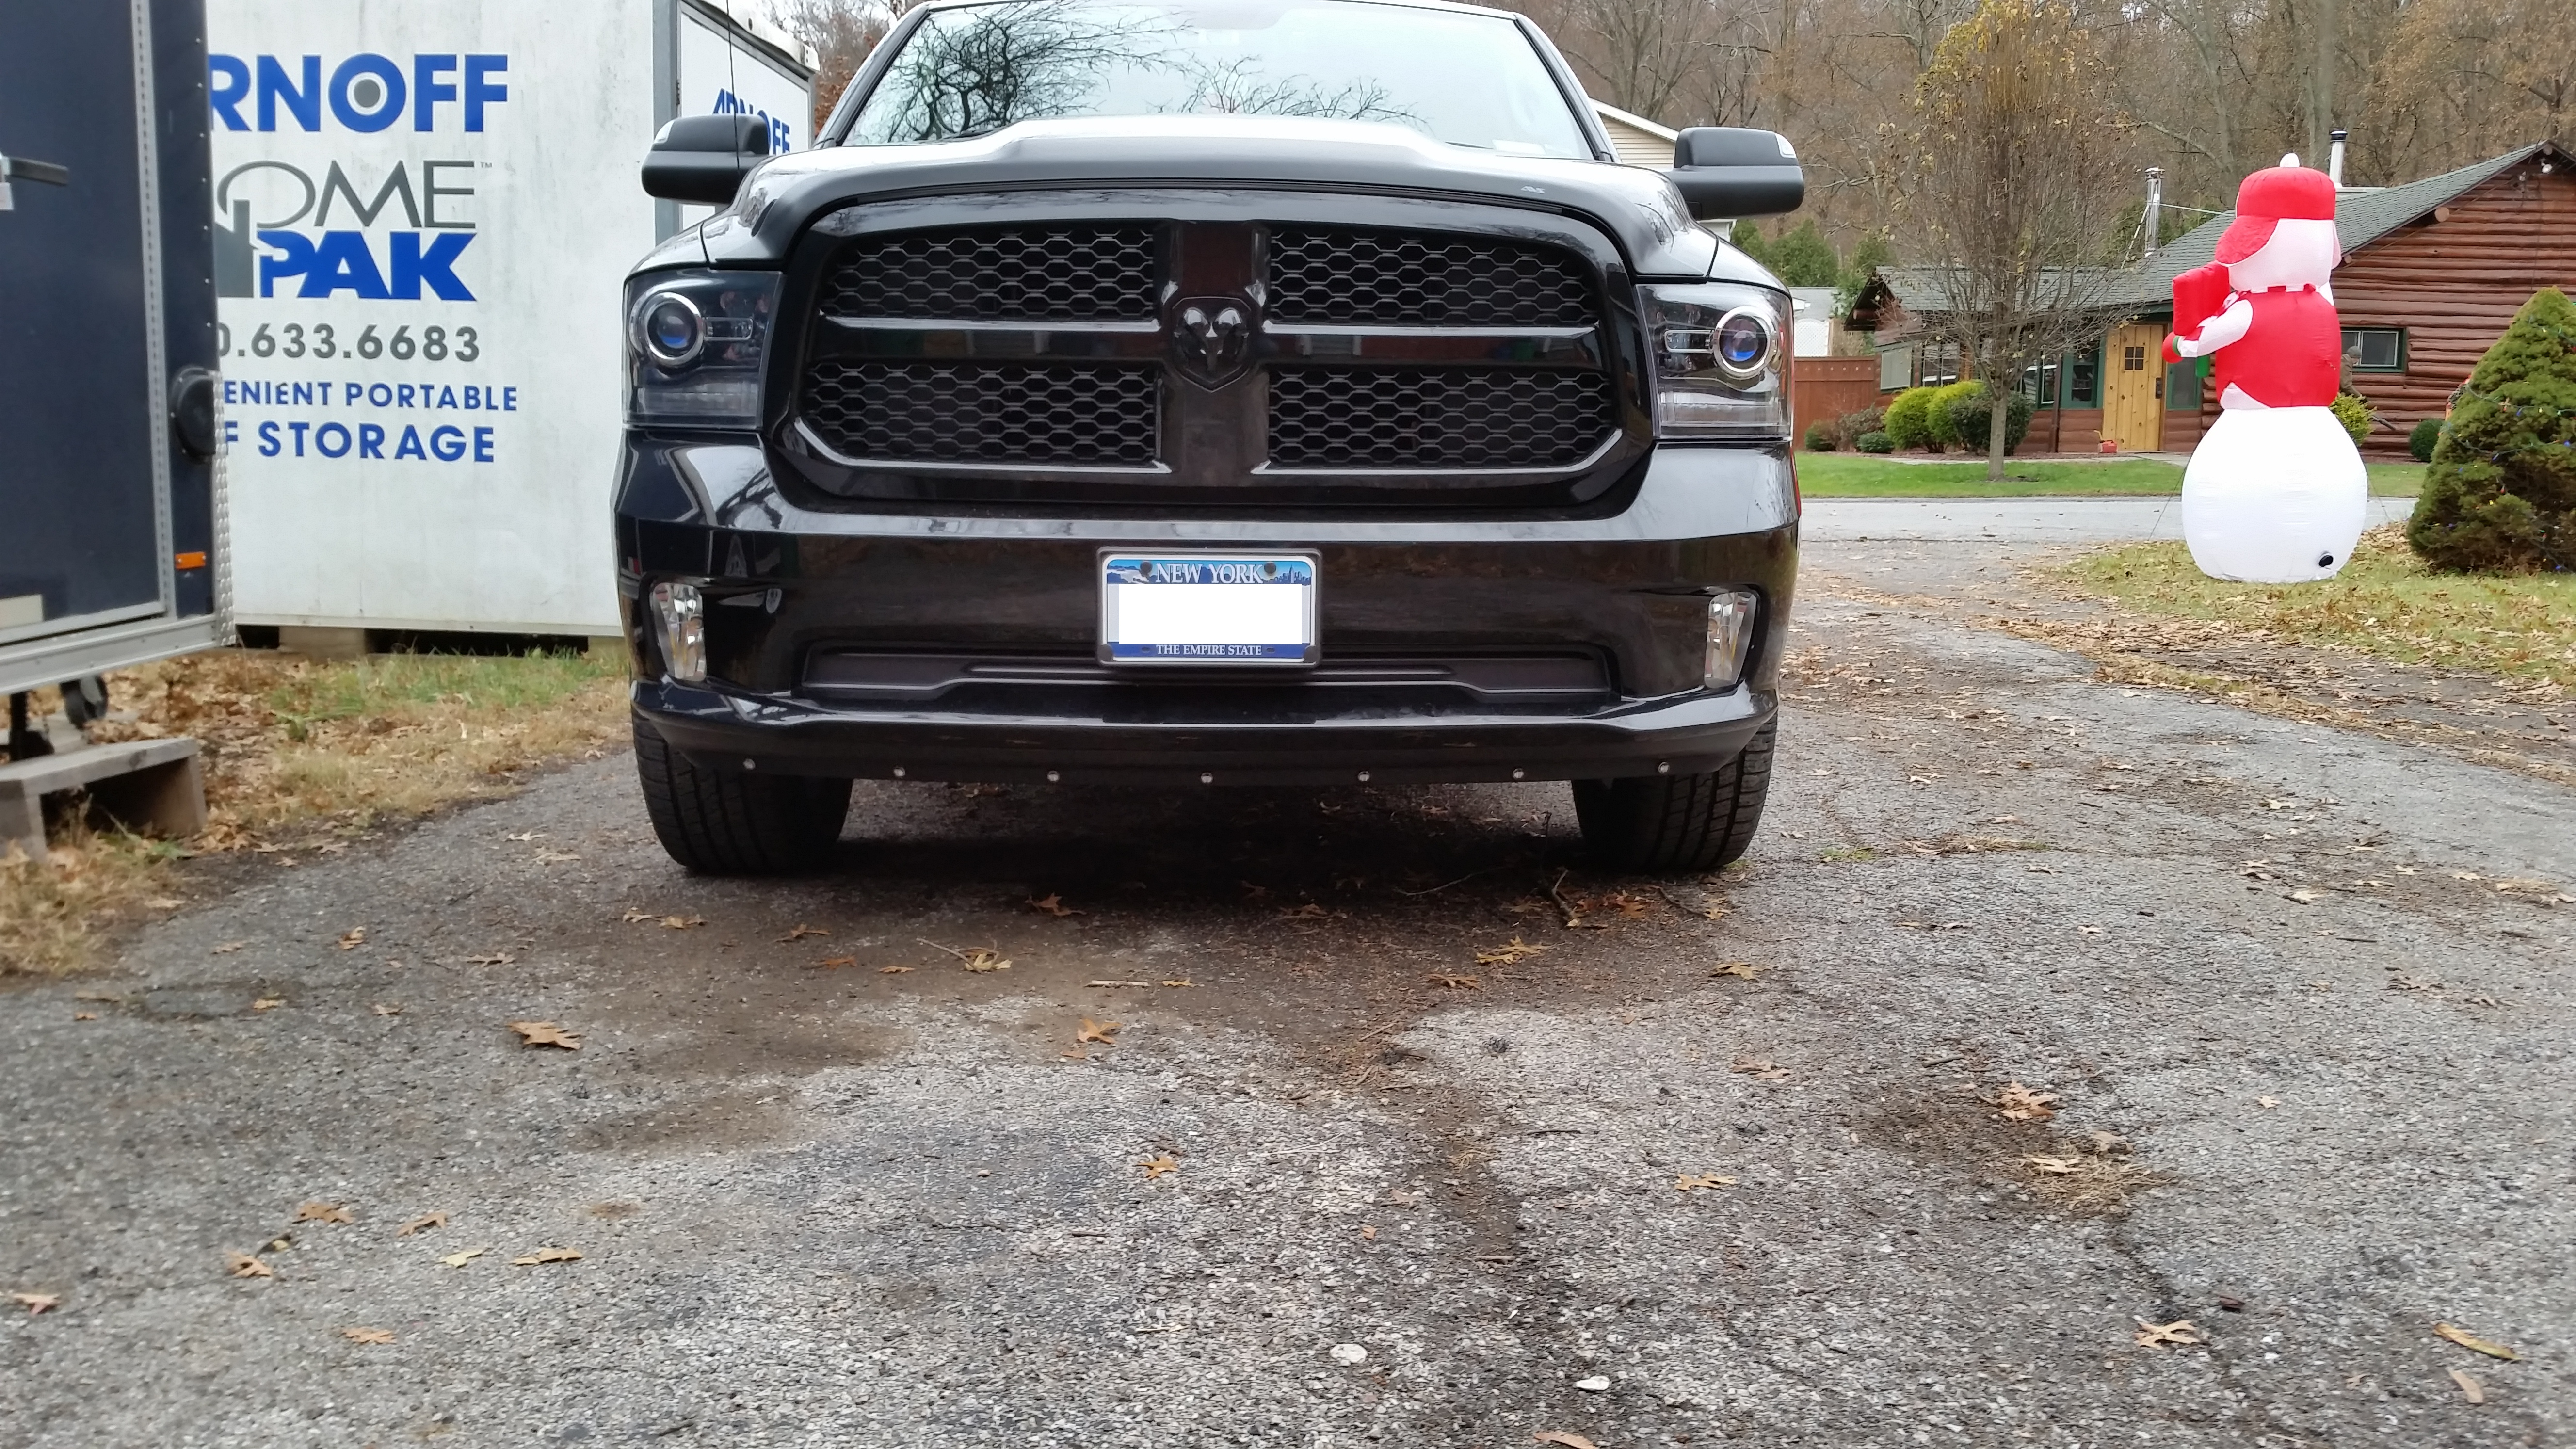
All wired up, but turned off:
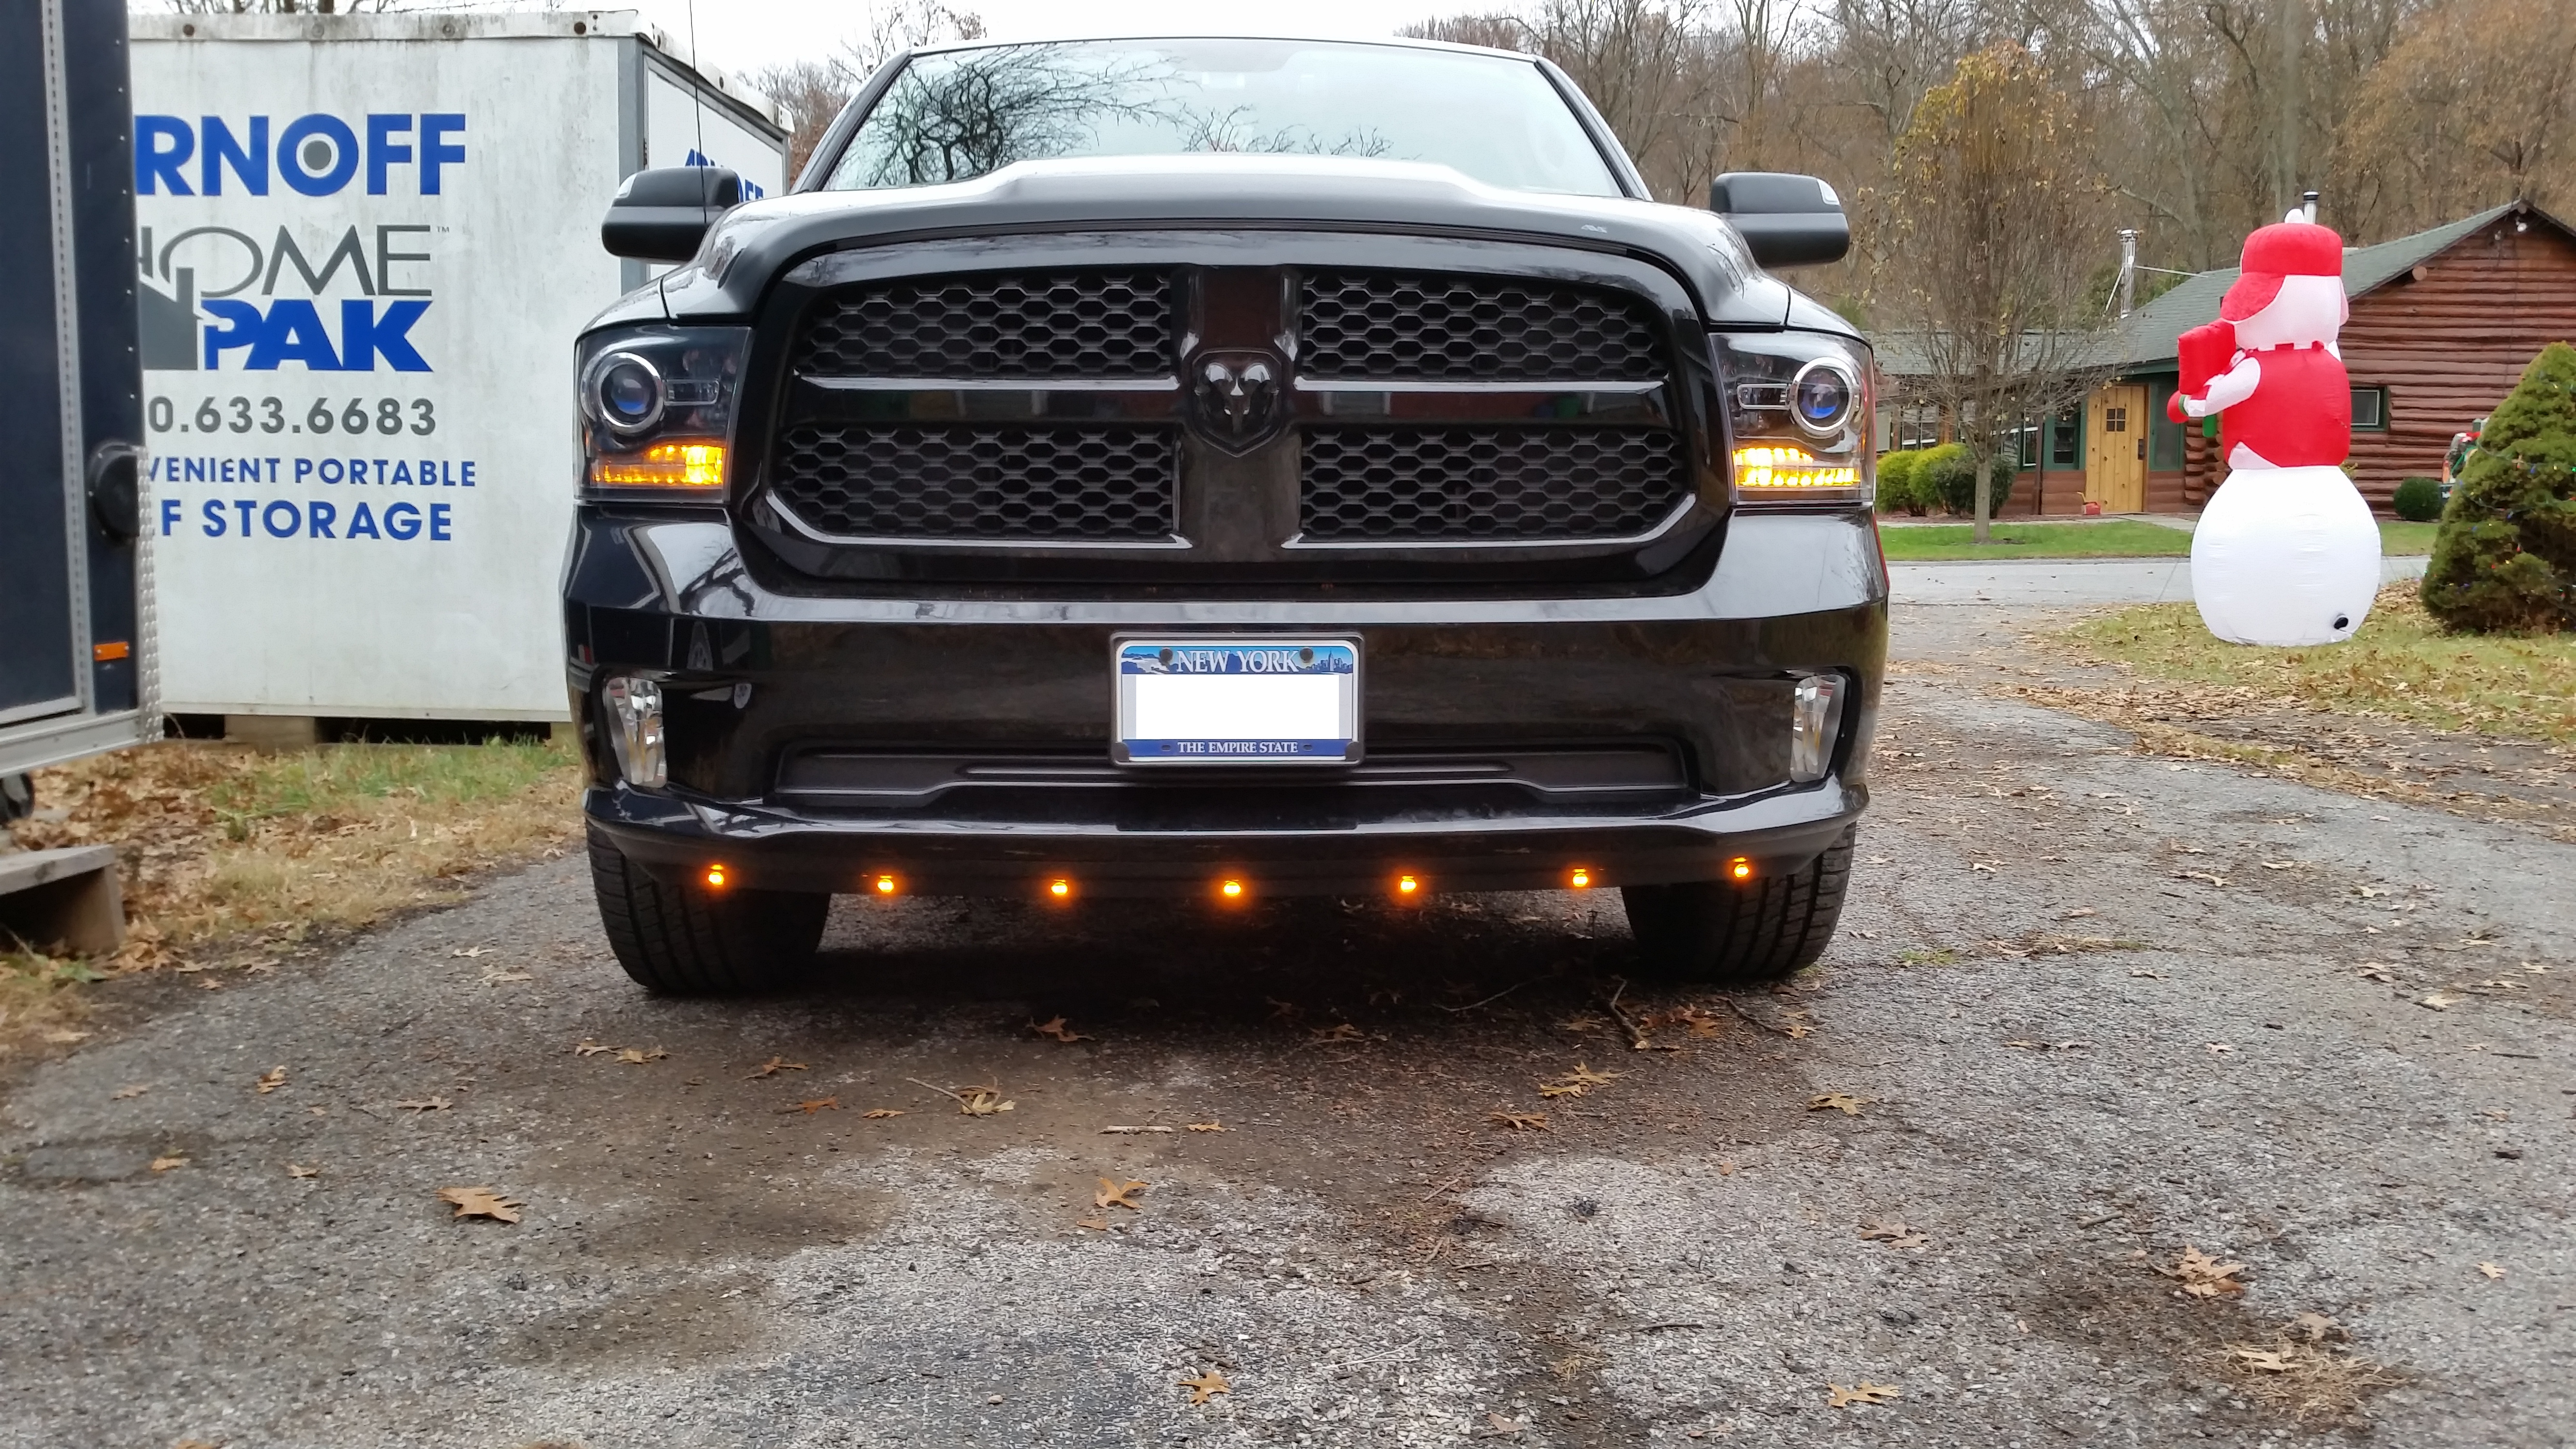
And turned on:
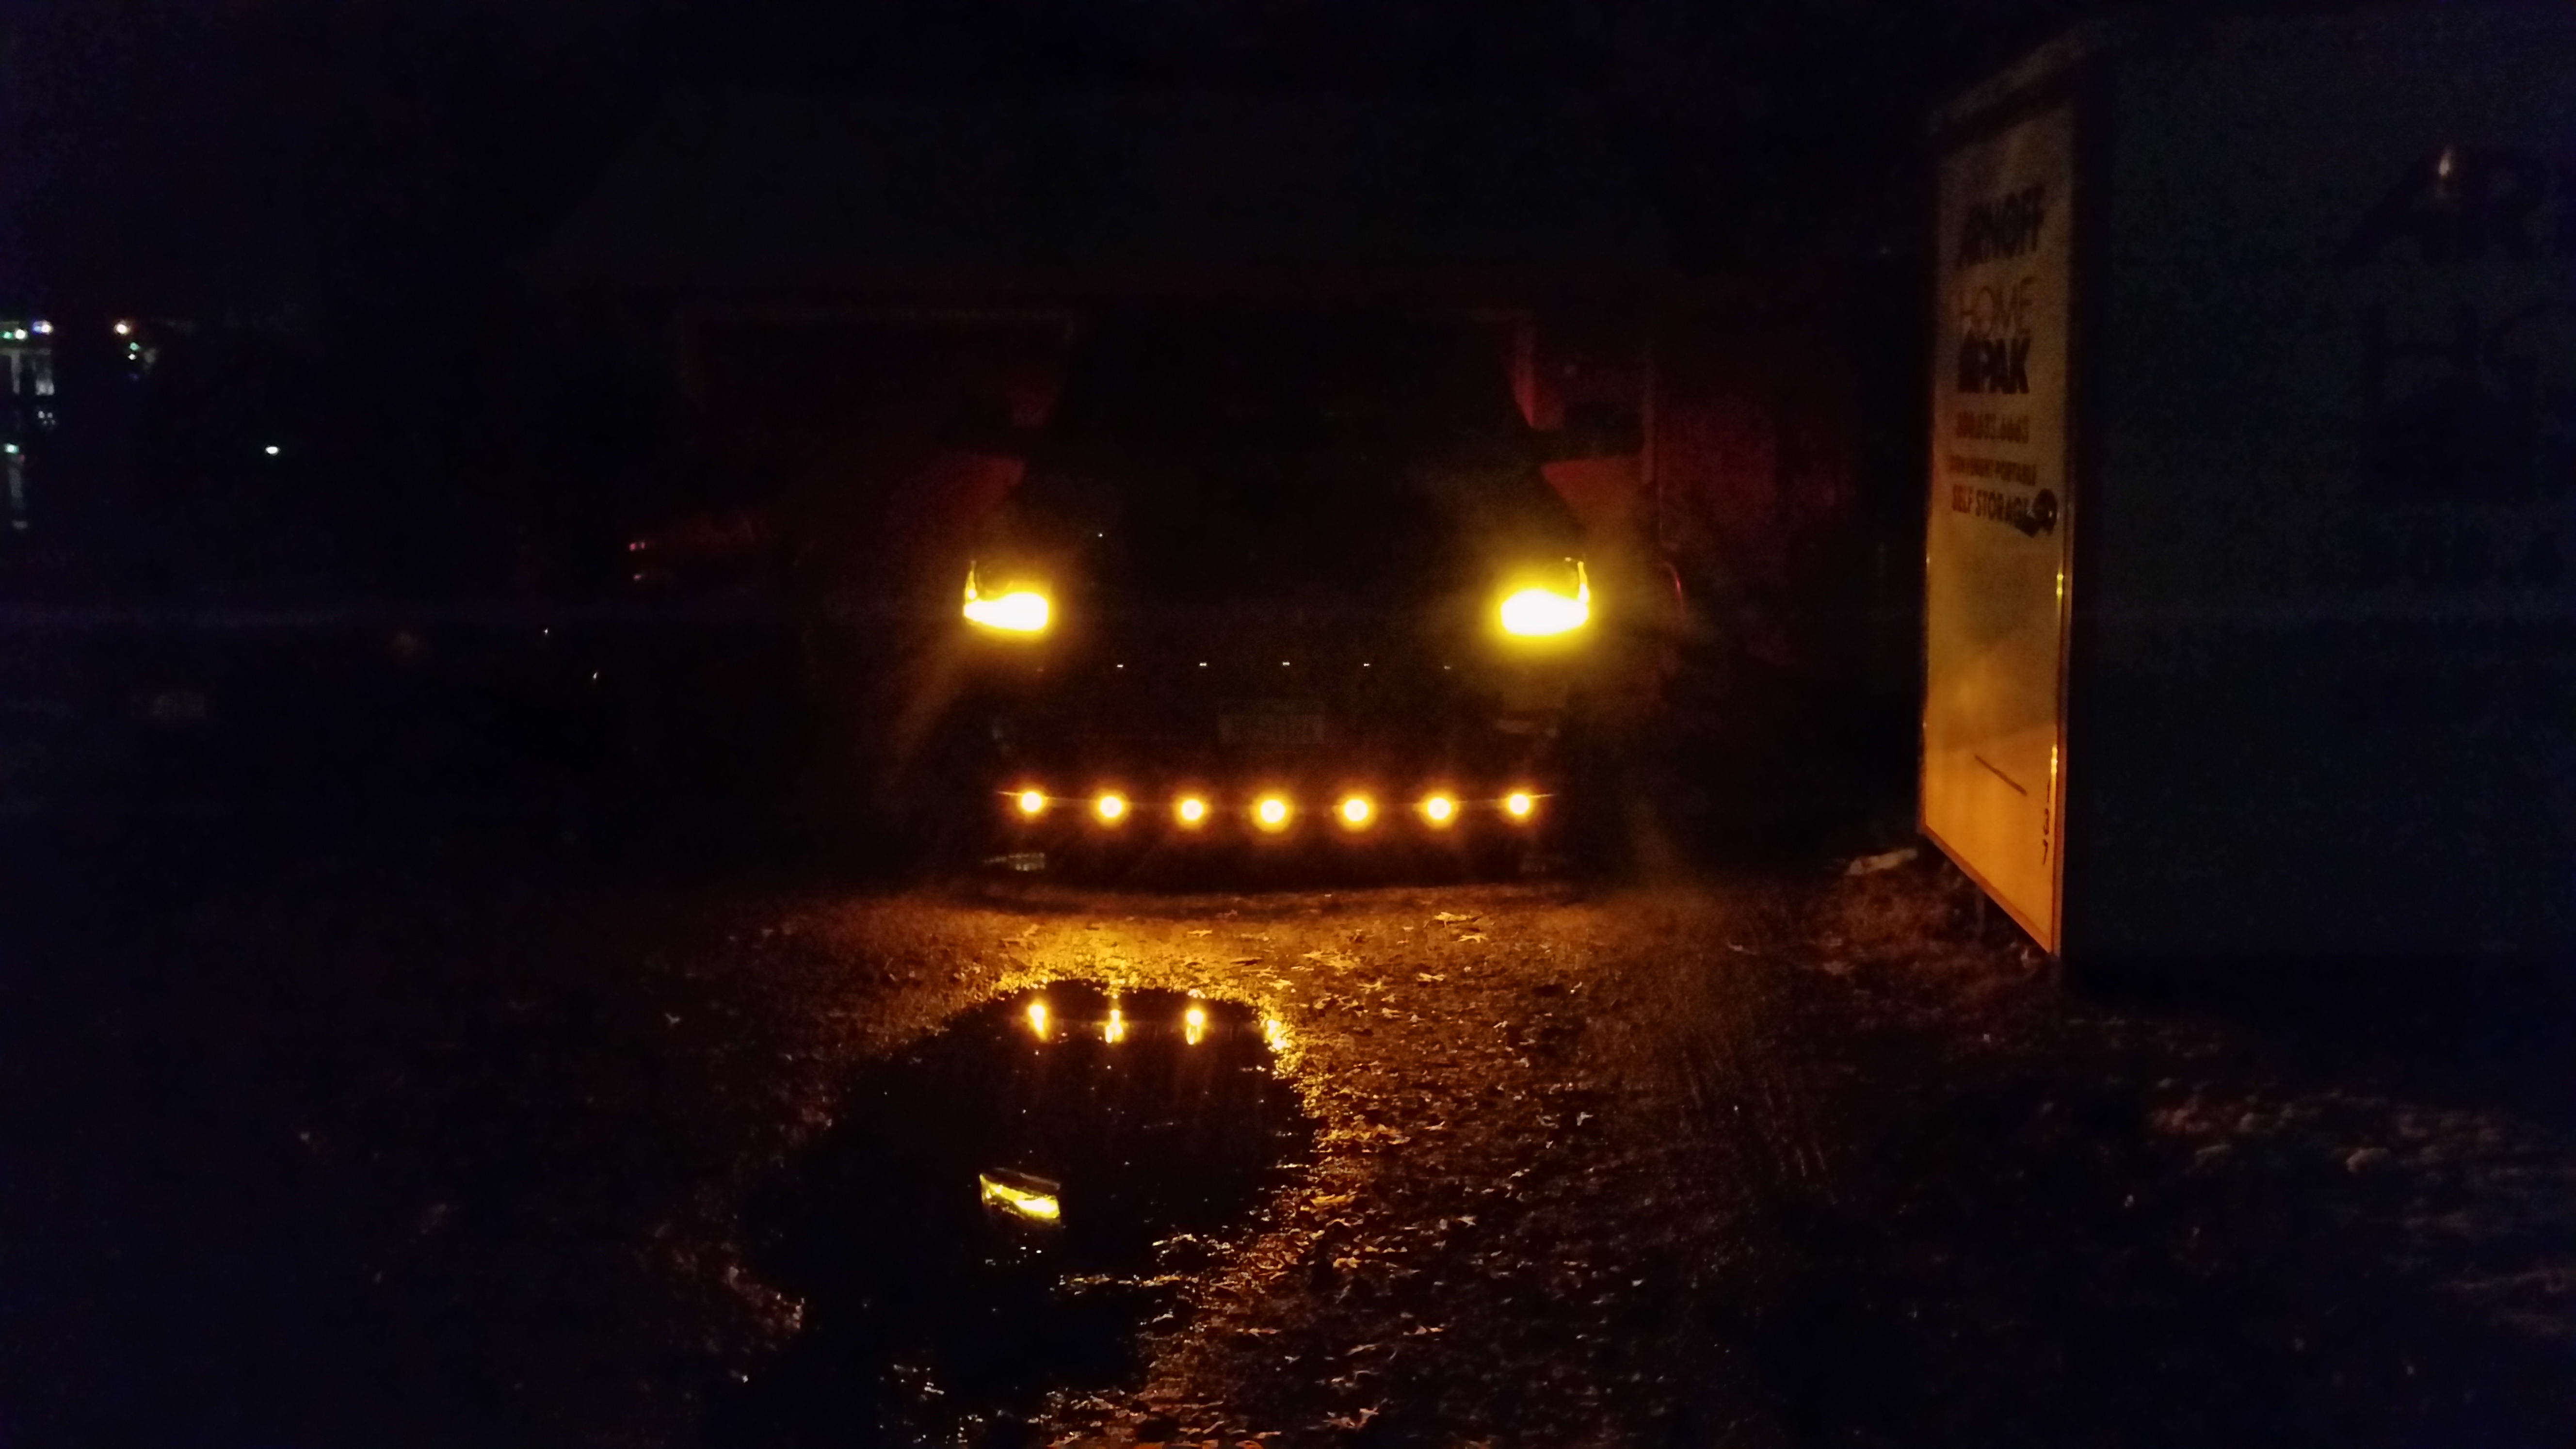
And on after dark:
-K
Here's the link to the set I bought: https://www.ebay.com/itm/291804726249
Note: The stuff you see all over the underside of the truck in many of these shots is the Fluid Film I had applied the week before.
All 15 lit up to test them and the harness:
All 15 only use .75 amps so power if not a problem. I recently added wires to the TIPM in my truck from the unused F79, F97 & F98 fuse positions. F79 is the one used for the cab lights on a HD truck and it has power whenever the running lights are on so it seemed to be the perfect one to use here.
The only concern I had with mounting these lights as air dam lights was that the backs were transparent and some light came out of the back. A few minutes with a bottle of Testors black model paint solved that.
Due to the weather and my aging back I had intended to remove the air dam and bring it inside to mount the lights but when I went to remove it the four bolts and 6 clips came off fine but I discovered that there was a rivet at each end that I was unable to remove. I could not get any clippers I had nor a dremel tool in there to remove them so I ended up doing the entire job with the air dam still attached. This picture is not the best, but it shows the rivet on the driver's side.
I used blue painters tape to give myself a surface to mark and, starting with one in the middle directly below the middle indent on the air dam, I marked out one every 10 inches to either side, halfway up the flat portion of the air dam. This turned out to line up with the indents on 5 of the 7.
I then drilled 3/4" holes using a step bit I purchased from Harbor Freight for $8 with a coupon. I had to run the bit in from both the front nd back as the step was just a tiny bit too shallow to do it all from one side.
The rubber grommets fit in snugly. It was right around freezing when I did this and I found that warming up the grommets and air dam with a heat gun made them much easier to install.
Insert the lights into the grommets, paying attention to the "top" marking on them.
Plug each light into the harness, black to black and white to white. This picture shows the lights wired up and test lit before securing the harness up behind the bumper.
As I mentioned above, I wired mine to the F79 fuse in the TIPM. Your exact power hookup may vary.
All wired up, but turned off:
And turned on:
And on after dark:
-K