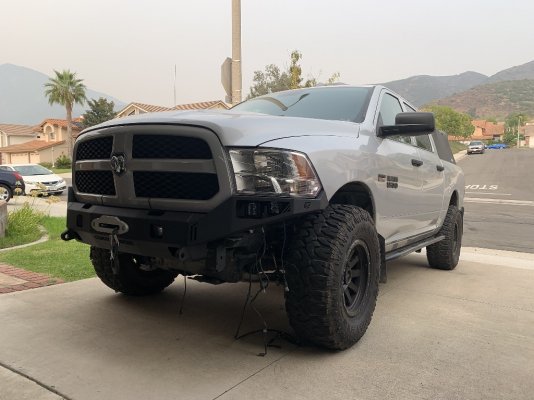
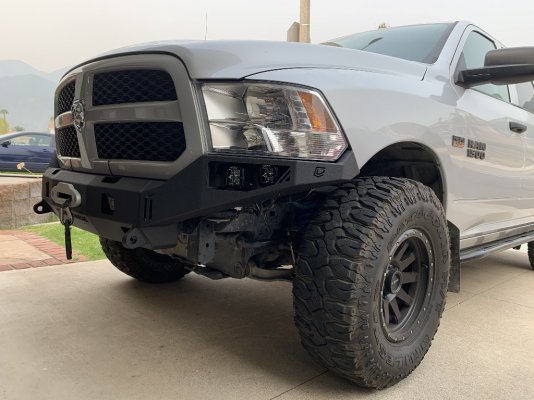
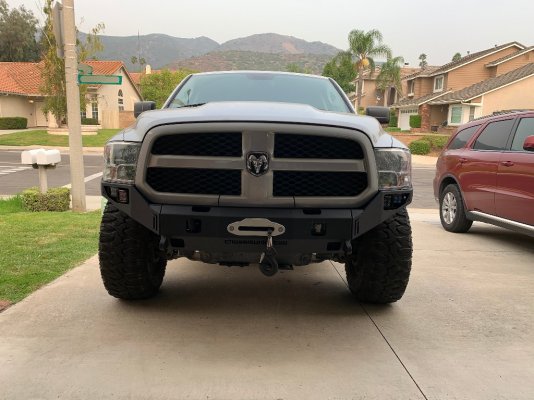
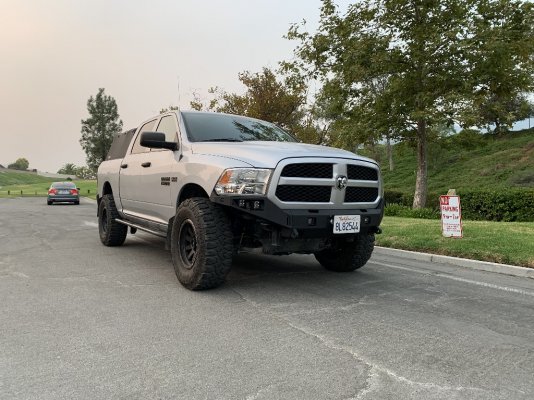
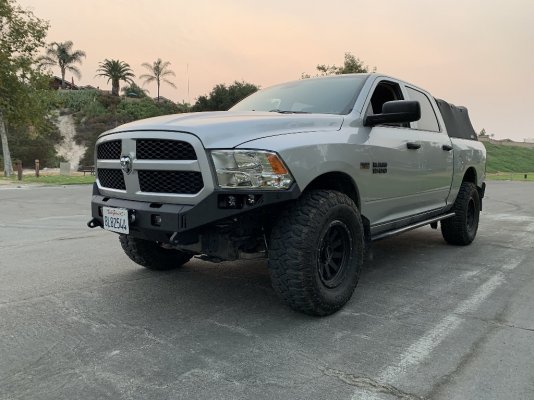
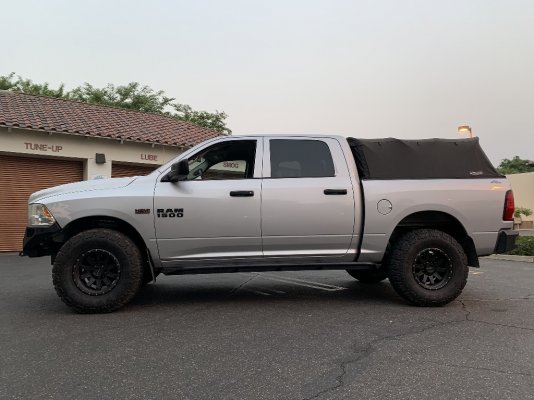
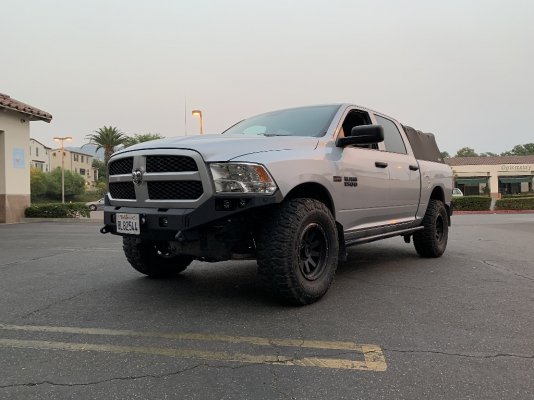
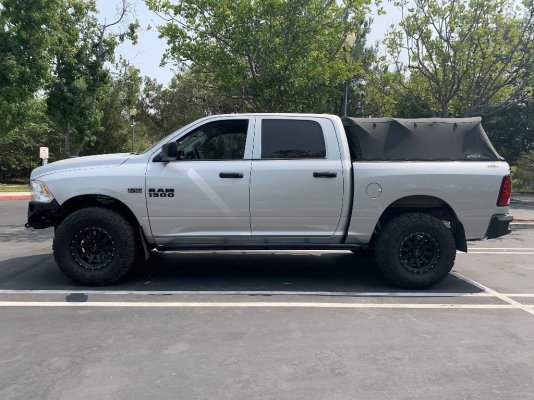
2014 RAM 1500 Express Crew Cab

Disclaimer: Links on this page pointing to Amazon, eBay and other sites may include affiliate code. If you click them and make a purchase, we may earn a small commission.

BombSq030

Member
Joined
Sep 11, 2018
Posts
82
Reaction score
80
Location
FE Warren AFB, WY
Ram Year
2016
Engine
5.7L Hemi
Not to highjack your thread, but how do you think the freedom track bar compares to the core 4x4? It's literally half the price lol. Not sure if you have experience with core
 
OP
OP
ram1500rsm

ram1500rsm

Senior Member
Joined
Jul 24, 2018
Posts
4,817
Reaction score
5,283
Location
Trabuco Canyon, CA
Ram Year
2014
Engine
Hemi 5.7
Not to highjack your thread, but how do you think the freedom track bar compares to the core 4x4? It's literally half the price lol. Not sure if you have experience with core
Don't worry about it. Ask as many questions as you want.
I haven't used the Core4x4 TB, i can only imagine that the bushings will be better than the FO's but yet again it's a trackbar and it's only purpose is to center the axel and prevent the axel from moving side to side. With that said the thing does the work well for half of the price, and the bushings look brand new still so i'd think they will last a long time like the stockers did.

The bar is thicker and stronger than the whimpy stock one and it doesn't flex one like the stocker did. I also like its double adjusters so when needed you can move the axel in any way you want with the bar mounted without having to take it off.
My only experience with Core is the rear sway bar links i have now, and i like their price better than the Jeep JK links i was using before :)
 
OP
OP
ram1500rsm

ram1500rsm

Senior Member
Joined
Jul 24, 2018
Posts
4,817
Reaction score
5,283
Location
Trabuco Canyon, CA
Ram Year
2014
Engine
Hemi 5.7
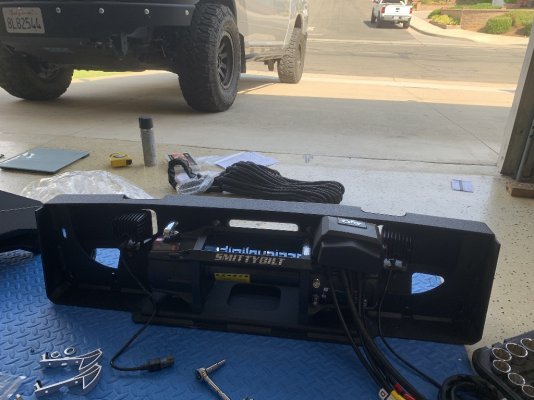
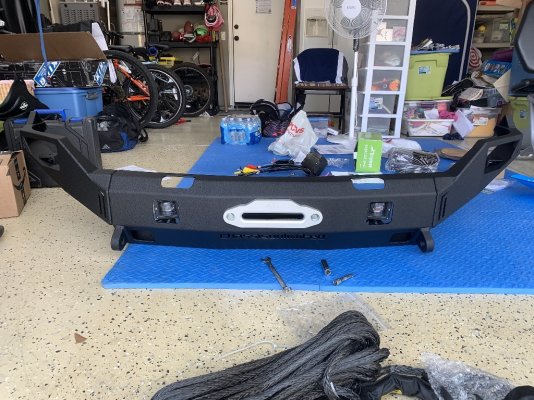
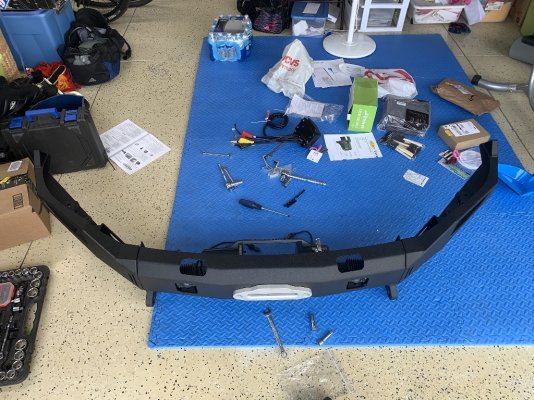
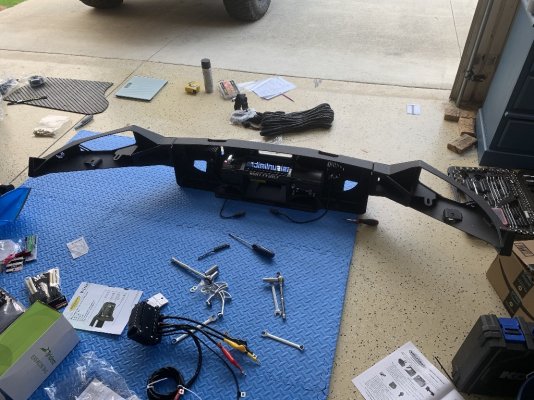
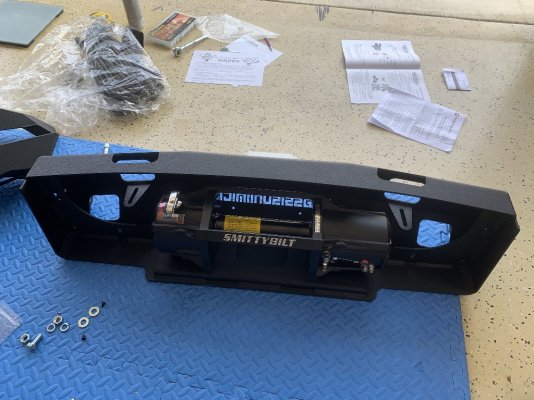
Started assembling the bumper and winch.

50325748867_4a3832aa5d_k.jpgUntitled by RAM RSM, on Flickr

From the instructions i must install everything in the bumper before mounting the bumper to the truck.
Using my bath scale i weighted all the pieces together to have an idea of actual weight.
Chassis Unlimited Octane Winch Bumper is 87 lbs
Procomp x20 12k Comp Winch is 58lbs
So that will be a total of 145lbs, not counting the lights.

I ordered another pair of Rigid pods so i'll put 2 of them in each bumper wing, and use the Amazon SAE fogs i have in the bumper center piece. Should have the new pods by Friday.

Also I'm trying to find out how to mount the winch control box. The instructions are basic and the only pic seems to be something piece of plastic i may need to shave to mount the bumper up. The control box can't be mounted on top of the winch because it won't fit the bumper mounted and it can't be mounted on the top side of the Winch motor either. I tried doing so but the box still wouldn't fit properly.

50325900332_b8447903f0_k.jpgUntitled by RAM RSM, on Flickr

I've contacted the vendor to see if they can send me couple of pics with how they may have mounted the thing. Maybe i'll find an easy way once i get the bumper mounted but since i'm waiting for the new pods, i won't be able to do so until Saturday.

50324907708_d16abd292c_k.jpgUntitled by RAM RSM, on Flickr

50324910343_15f6676bde_k.jpgUntitled by RAM RSM, on Flickr

50325752917_b538c7f197_k.jpgUntitled by RAM RSM, on Flickr
 

crazykid1994

Senior Member
Joined
Sep 21, 2013
Posts
5,040
Reaction score
4,966
Location
Florida
Ram Year
2017
Engine
Hemi 5.7
That looks cool. Can you mount the winch controller on the radiator support by the tipm? That’s what I’m looking at doing whenever I get around to building my winch tray and ordering a winch. May require some custom brackets
 
OP
OP
ram1500rsm

ram1500rsm

Senior Member
Joined
Jul 24, 2018
Posts
4,817
Reaction score
5,283
Location
Trabuco Canyon, CA
Ram Year
2014
Engine
Hemi 5.7
That looks cool. Can you mount the winch controller on the radiator support by the tipm? That’s what I’m looking at doing whenever I get around to building my winch tray and ordering a winch. May require some custom brackets
Ty. I haven't looked underneath yet. I think once i get the bumper mounted in the truck it should be easier to figure out where to mount the control box. Chassis Unlimited said they were going to look for a couple of pics i could use as examples today as well.
 
OP
OP
ram1500rsm

ram1500rsm

Senior Member
Joined
Jul 24, 2018
Posts
4,817
Reaction score
5,283
Location
Trabuco Canyon, CA
Ram Year
2014
Engine
Hemi 5.7
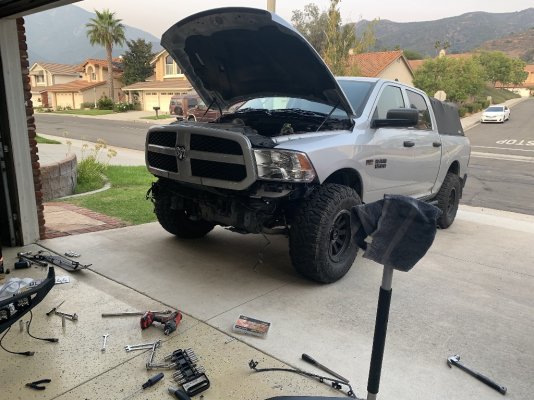
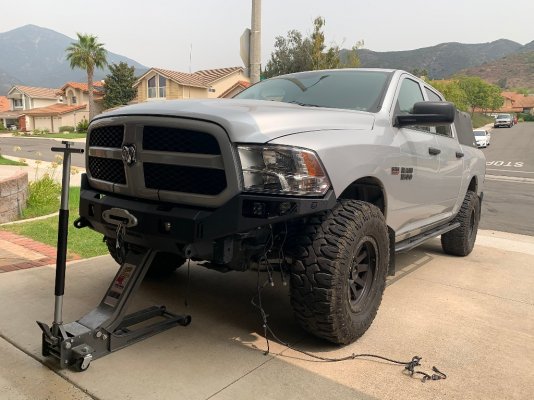
And started the Chassis Unlimited install, i was trying to mock up how the thing will fall in place but i have more work to do.

50331642538_e2880a0b56_k.jpgUntitled by RAM RSM, on Flickr

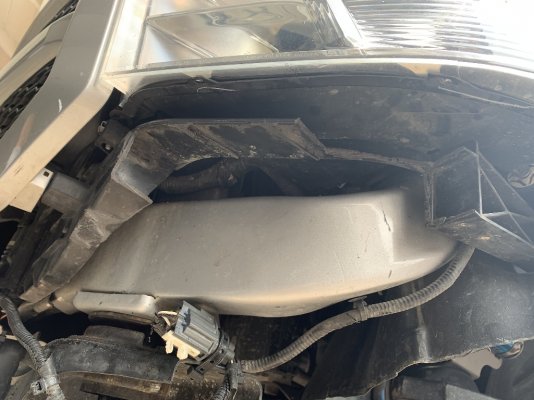
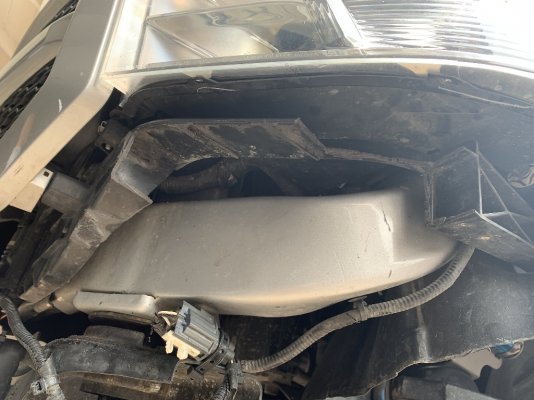
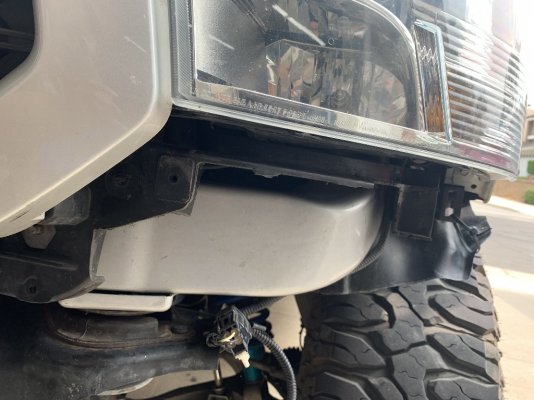
I have to cut the plastic support underneath the headlights so they won't interfere with the pods behind the bumper wings. Still have to spool the winch rope.
I also orderered a license plate holder that should work with the hawse fairlead.
https://www.amazon.com/gp/product/B01N4AKOEB/ref=ppx_yo_dt_b_asin_title_o00_s00?ie=UTF8&psc=1


Then i have to take care of the lights electrical wiring mostly the Rigids. i'm still using the factory harness and switch for the fogs. Rigids also use DT connectors so i'll use a small portion of the wires that come with them and wire each pod pair to my light bars + - connectors. Everything is wired already to a relay so i don't have to deal with routing cables inside the cabin and find ground etc.

Still need figure where to mount the winch control box.Will see when everything is mounted where it should. Also need to figure the wiring for the Winch as well.
 
Last edited:

4eyedconekiller

Senior Member
Joined
Sep 23, 2012
Posts
822
Reaction score
693
Location
North MS
Ram Year
2014
Engine
EcoDiesel
Going to look awesome when you get it on! You’re more trusting of the bumper’s balance than I would have been, lol
 
OP
OP
ram1500rsm

ram1500rsm

Senior Member
Joined
Jul 24, 2018
Posts
4,817
Reaction score
5,283
Location
Trabuco Canyon, CA
Ram Year
2014
Engine
Hemi 5.7
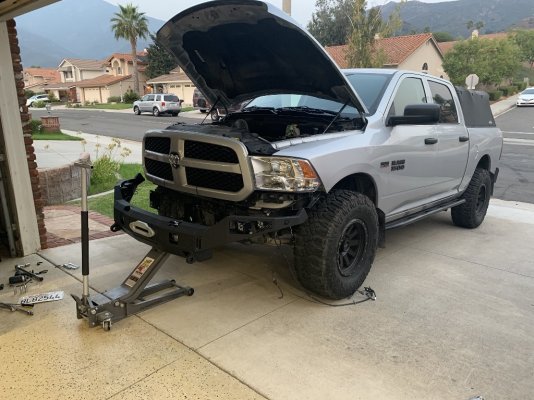
Got some more done today. Bumper is in. had to cut some plastic from underneath the headlights and that took some work as i had to maneuver the damn bumper up and down several times. Honestly without a jack, and in my case a long reach jack, i would have needed 2 more people to complete the job. The way the thing is designed makes it a pita to bolt in.
I did a lot of this all day, up and down, lol
50335980387_a567592f98_k.jpgUntitled by RAM RSM, on Flickr

These are all the areas i needed to preapre, if you don't cut this chit up the pods will never fit
50335825376_54b8ebf9e6_k.jpgUntitled by RAM RSM, on Flickr

50335825376_54b8ebf9e6_k.jpgUntitled by RAM RSM, on Flickr

50335138493_6d33ab04d6_k.jpgUntitled by RAM RSM, on Flickr

50335980707_95b7045667_k.jpgUntitled by RAM RSM, on Flickr

50335980707_95b7045667_k.jpgUntitled by RAM RSM, on Flickr

50335138133_2d9534cedb_k.jpgUntitled by RAM RSM, on Flickr

Had to clean the horn mount holes, the bolts are 1/2 by 1.75, so i just a 1/2 drill bit to clean it out o
50335825361_dcc2d3685e_k.jpgUntitled by RAM RSM, on Flickr

Still need to do the wiring
50335138118_a18951e5c1_k.jpgUntitled by RAM RSM, on Flickr

I tucked all the wires up at least to give me an idea of final product.
50335825316_74cd0bd2ba_k.jpg
Untitled by RAM RSM, on Flickr

I need to get rid of those 2 tie racks in the grill. I left them like that to better support the grill after i did the ICI Bumper install, they were hidden before behind the lightbar
50335980727_ac83e1c081_k.jpgUntitled by RAM RSM, on Flickr

Hoping to finish wiring the lights tomorrow, and hopefully the winch too.
 
OP
OP
ram1500rsm

ram1500rsm

Senior Member
Joined
Jul 24, 2018
Posts
4,817
Reaction score
5,283
Location
Trabuco Canyon, CA
Ram Year
2014
Engine
Hemi 5.7
Got all the lights wired up and got my license plate holder in place as well. There is no easy way to mount the winch control box. Funny as the instructions say is super easy to mount the box besides the winch. Have no idea what that means yet. I spooled up the winch line by hand so i'll leave it as it's for now until i figure how to give power to the winch. Front went down some because of the new extra weight. Forgot to measure anything height wise but i see the front seems a bit lower. i'll add couple of turns to the coilovers when i get a chance.

50340141422_a0a8e9f7ae_k.jpgUntitled by RAM RSM, on Flickr

50339984916_209765bdce_k.jpgUntitled by RAM RSM, on Flickr

50340141247_c510d0fa74_k.jpgUntitled by RAM RSM, on Flickr

50339296713_f0c266eb4c_k.jpgUntitled by RAM RSM, on Flickr
 
OP
OP
ram1500rsm

ram1500rsm

Senior Member
Joined
Jul 24, 2018
Posts
4,817
Reaction score
5,283
Location
Trabuco Canyon, CA
Ram Year
2014
Engine
Hemi 5.7
End up doing one turn in the passenger side and two on the driver side, so i have total 12" open threads in the driver side, 11 in the passenger side.

https://accutuneoffroad.com/oem-front-coilover-shock-setup/

How to Measure your coilovers

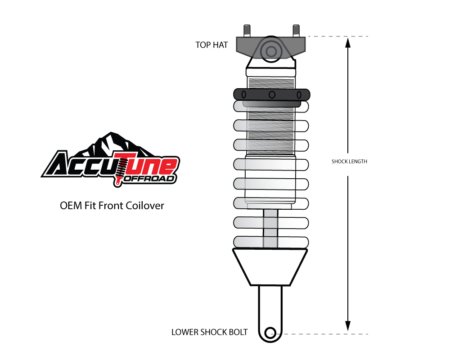
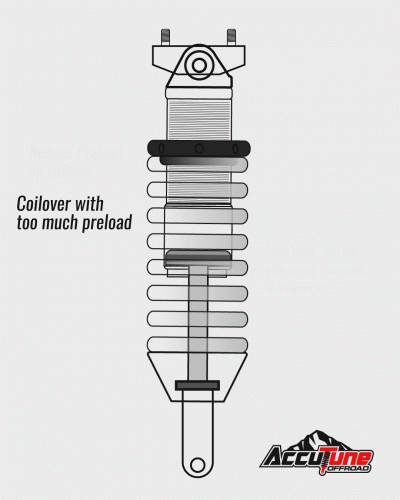
With your vehicle at ride height on level ground, measure from the top of the “top cap” to the center of the lower shock bolt. This is the shock length at ride height with the vehicle weight on the shocks. With some quick math, we can figure out where the shock is sitting and how much up or down travel it has from that point.
(see chart for max height suggestions)
measuring-shock-length-450x360.jpg

In my case Coilover top hat to lower shock nut eyelet at ride height: 20 1/2". I called Accutune this morning to find out how much more preload i could add. I have 1” preload above my adjuster nut. Accutune asked me to measure the length of the coilover at ride height and recommended not to exceed 21" for our King application. Total extended length in the coilover is 22.5"

So i have ground to fender is 39 1/2 front", 42" rear.
I could go up another 1/2" but i don't want to sacrifice that last 1/2" travel for now. good to know i can add an extra 1/2” to the total length using preload.


coilover-animate.gif


50342254878_943ff25728_k.jpgUntitled by RAM RSM, on Flickr
 
Last edited:

revitupmoto33

Senior Member
Joined
Mar 11, 2018
Posts
875
Reaction score
1,741
Location
Flagstaff
Ram Year
2017
Engine
Ecodiesel
End up doing one turn in the passenger side and two on the driver side, so i have total 12" open threads in the driver side, 11 in the passenger side.

https://accutuneoffroad.com/oem-front-coilover-shock-setup/

How to Measure your coilovers

With your vehicle at ride height on level ground, measure from the top of the “top cap” to the center of the lower shock bolt. This is the shock length at ride height with the vehicles weight on the shocks. With some quick math, we can figure out where the shock is sitting and how much up or down travel it has from that point.
(see chart for max height suggestions)
measuring-shock-length-450x360.jpg

In my case Coilover top hat to lower shock nut eyelet at ride height: 20 1/2". I called Accutune this morning to find out how much more preload i could add.
Accutune recommended not to exceed 21" for our King application. Total extended lenght in the coilover is 22.5"

So i have ground to fender is 39 1/2 front", 42" rear.
I could go up another 1/2" but i don't want to sacrifice that last 1/2" travel for now. good to know i can add an extra 1/2 on top of what i have already via preload.


coilover-animate.gif


50342254878_943ff25728_k.jpgUntitled by RAM RSM, on Flickr
Great info regarding the amount recommended preload on the Kings.
 
OP
OP
ram1500rsm

ram1500rsm

Senior Member
Joined
Jul 24, 2018
Posts
4,817
Reaction score
5,283
Location
Trabuco Canyon, CA
Ram Year
2014
Engine
Hemi 5.7
Found Vice Design have a winch control box relocation kit specific to our RAM's, and in this case they have one for the Smittybilt X20 Comp winch and another for Warn VR Evo winch. Little expensive but what that heck i want to be done with it so just ordered the Smitty version tonight.

https://www.vicedesign.ca/collections/control-box-relocation-kits
 

revitupmoto33

Senior Member
Joined
Mar 11, 2018
Posts
875
Reaction score
1,741
Location
Flagstaff
Ram Year
2017
Engine
Ecodiesel
Top