Light Setup
This post is sort of part 1 of an install. First I'll offer up an explanation, then a bit of what I did and I'll list links to everything at the end of the post. Part 2 will be the install into the truck.
So the plan from pretty much day 1 (maybe when I woke up on day 2) was to add additional lights to the bed and add lights for the side steps. My original plan was to keep it simple and use white LED strips, utilize relay's to trigger each light. But the more I thought about it I wanted to add more of a cool factor and have messed around PLENTY with RGB LED's.
The great thing about RGBW LED strips is that there are two separate diodes, one that is purely just white and one that is RGB. In my configuration the white LED's will operate just as you would expect them to; for the foot steps they will tie into the footwell lights so when the doors are unlocked, or the door is opened they will illuminate the steps. The bed lights will do the same for the additional light in the bed.
Once the truck is started (relayed off the ignition) I'll have control of the RGB part of the LED strips using my phone as the remote. The RGB part will PURELY be for fun and because "I can". I have ZERO intention to drive around with them on or do anything else stupid with them. I am also adding a 12 volt plug in one of the ram boxes as well as possibly adding USB power to the center console (I don't like the factory location of the USB plugs and why not)
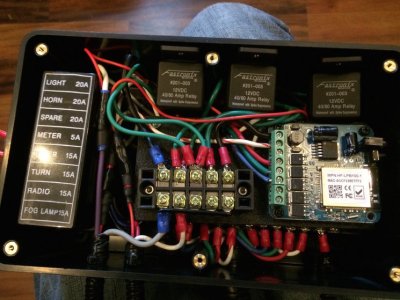
I'm pretty shocked I was able to fit everything into the project box I got, originally I was going to have the relays externally and go with a different fuse panel, basically just mount the terminal blocks and wifi RGB controller in the project box but I opted to go with a smaller fuse panel and cram it all in. It is a TIGHT fit and if I want to add anything down the road (which I will, and is why I picked up an 8 position fuse panel) I'll need to go to a bigger, or secondary project box.
Here's what is going on, one relay is getting its trigger from the footwell lights in the cab, that will give power to the footstep lights (White only). A second relay is getting its trigger from the existing bed lights and that will give power to the additional bed lights (White only). The third relay is triggered by an ignition source in the engine bay and gives power to the RGB Controller.
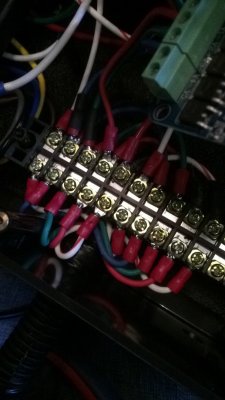
The led strips work on a common anode system, a positive source is supplied constantly and the final color result is determined by the cathode side (negative signal). So both strips are receiving a constant 12 VOLT power source. The R+G+B signals are hooked up to one of the terminal blocks and distributed out to 2 pigtails.
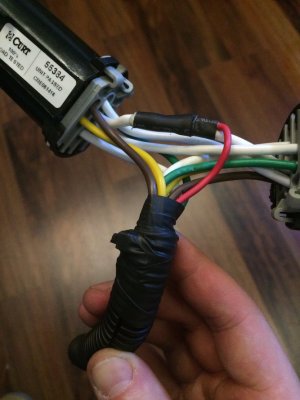
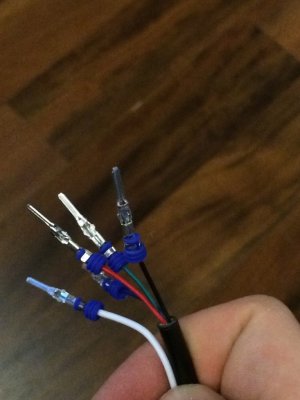
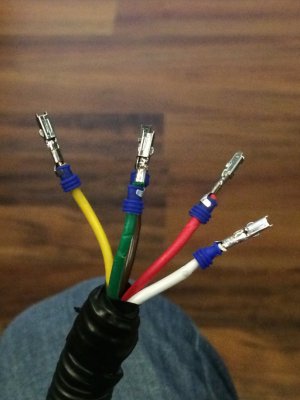
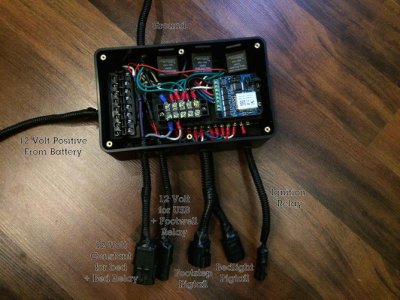
I decided to go with pigtails out of the box for hookup versus trying to surface mount the connectors and thank goodness I did because I never would have fit them all into the box. I'll create the necessary harnesses to run throughout the truck. In the last picture you can see the box how it sits now, each pigtail has a ziptie inside the box to act as a strain relief and is siliconed to protect it, i was going to use grommets but could not find ones with the right wall thickness.
This may seem like a huge post for such a little amount of work, and for not actually doing ANYTHING with the truck yet but this will make installation much simpler. My next step is to create my harnesses and then attach the LEDs to the truck, tap the necessary wires and connect everything.
Project Box
Fuse Panel
Relays
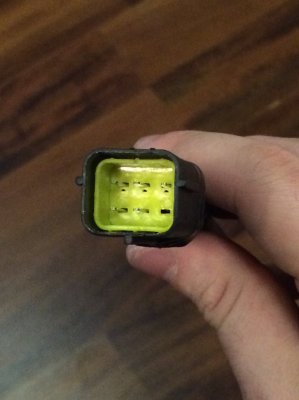
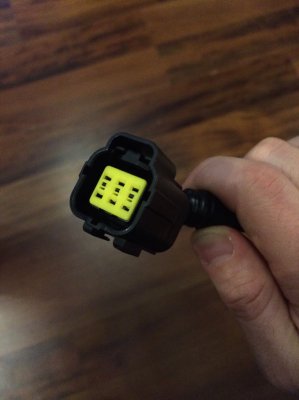
6 Pin Connectors
3 Pin Connectors
1 Pin Connectors (using for the relay trigger wires)
Terminal Block (12 position)
Terminal Block (5 Position)
5 Meter RGBW LED Strips