- Joined
- May 17, 2022
- Posts
- 582
- Reaction score
- 839
- Location
- Reno, Nevada
- Ram Year
- 2012
- Engine
- Hemi 5.7
Any update on your build?


Disclaimer: Links on this page pointing to Amazon, eBay and other sites may include affiliate code. If you click them and make a purchase, we may earn a small commission.
Any update on your build?


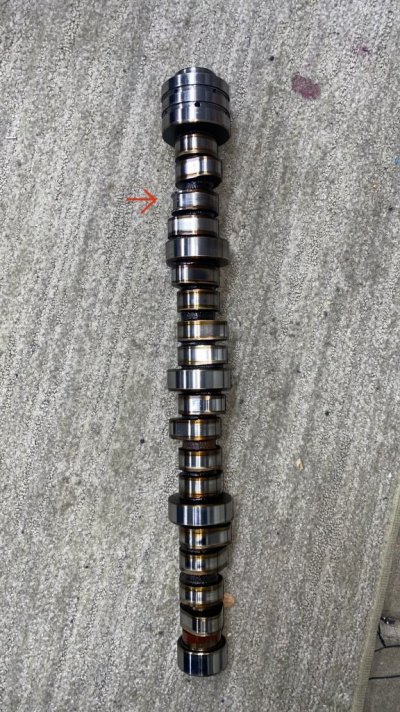
Learn my lesson on this one. Texas Speed kit is great but had bug after bug and got an amateur tuner to do it and still have some slight problems i am working out.Hp tuners and Flyin' Ryan.
Don't buy a cam kits from places that dont do custom tunes.
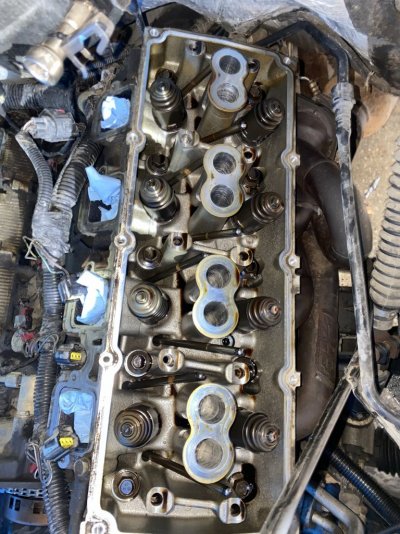
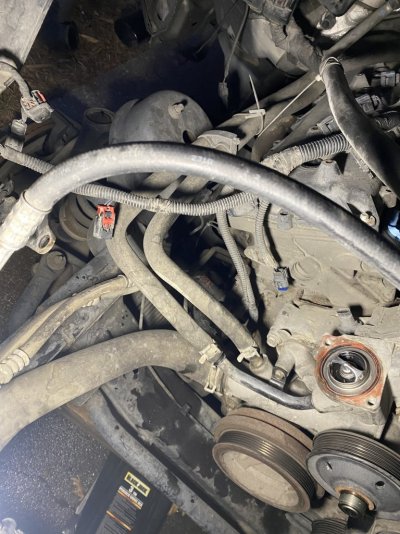
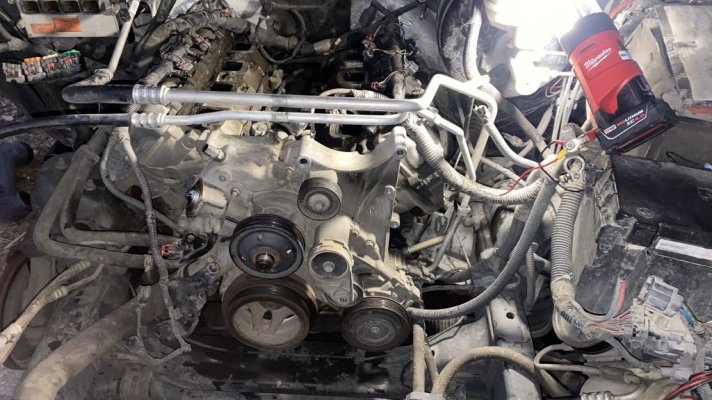
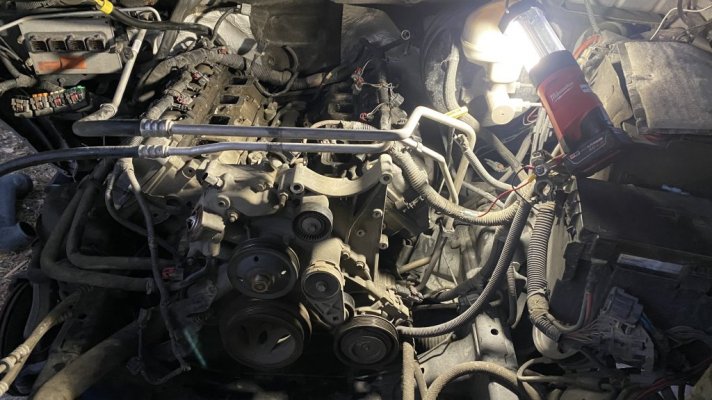
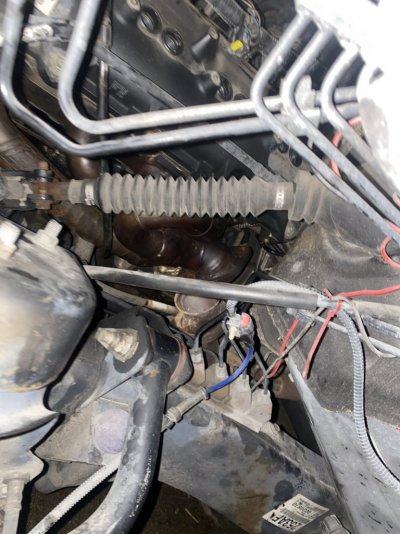
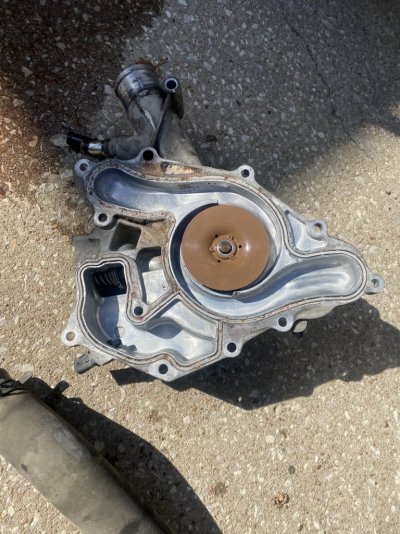
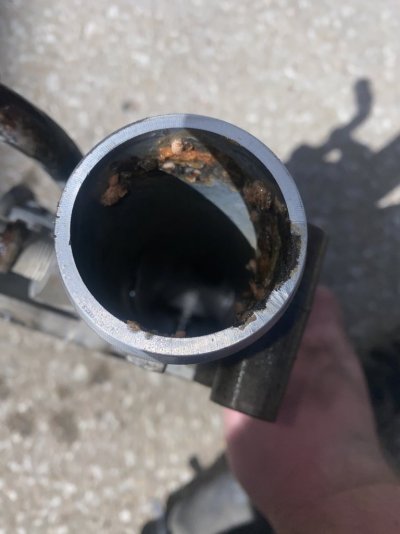
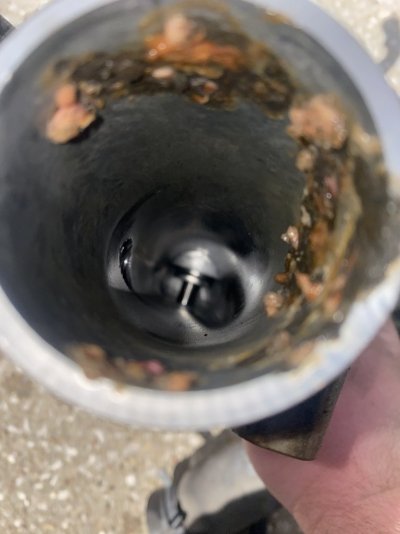
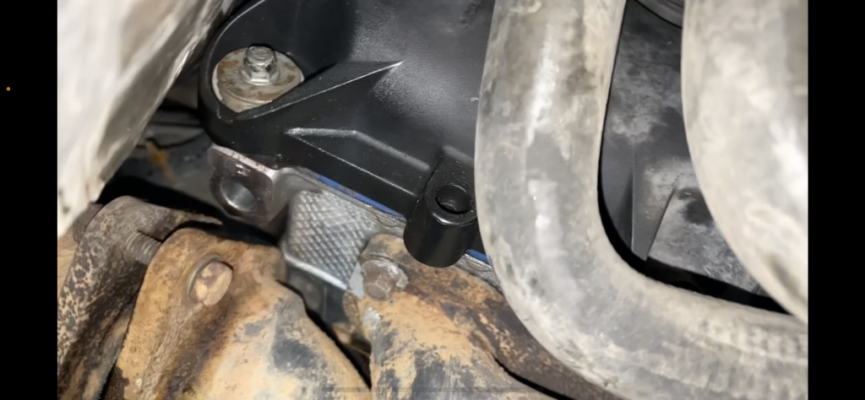
I'm chasing a similar drippy oil leak. Thought it was from the mds delete plugs loosening up after a year, so I took the intake manifold off. Sure enough a couple were loose and oil was pooled up in the grooves around there. I took out the plugs, rtv'd the gaskets, loctited and tightened the bolts. After that I'm still getting a drip leak from about the same spot that burns off on the header. Looks like the back of the valve cover. Will try a new gasket. At least the wet area that the leaking mds plugs was causing dried up.
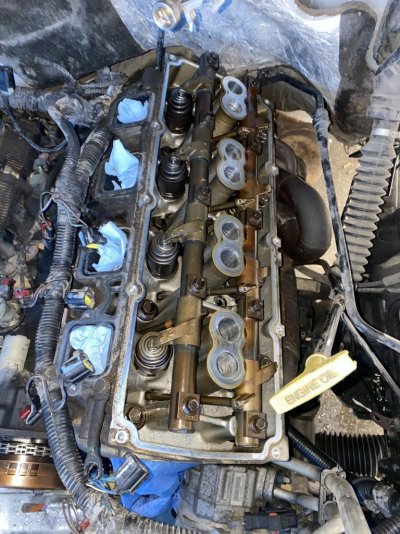
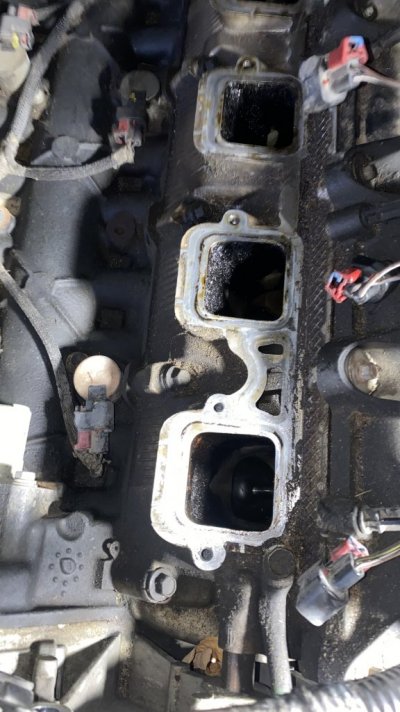
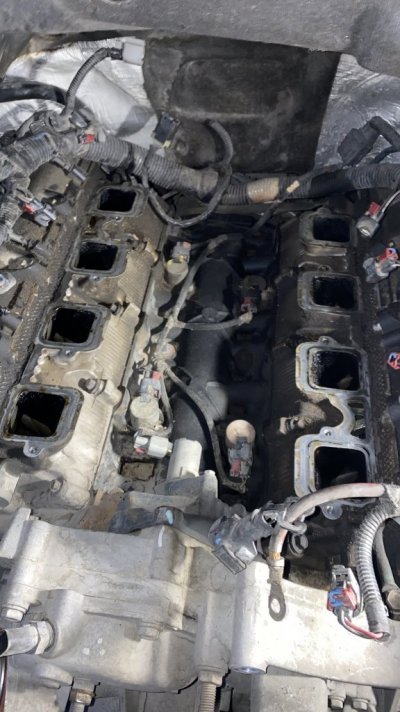
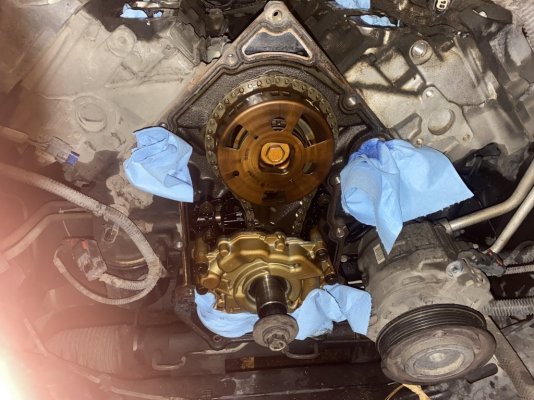
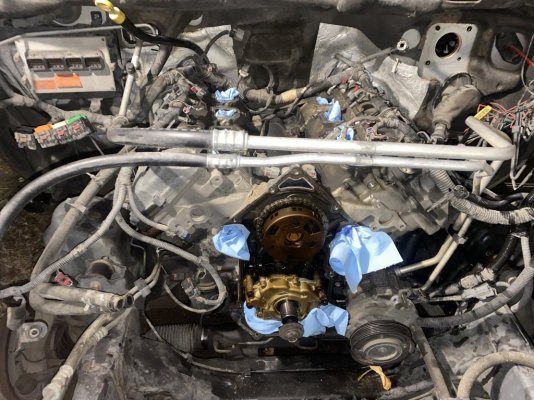
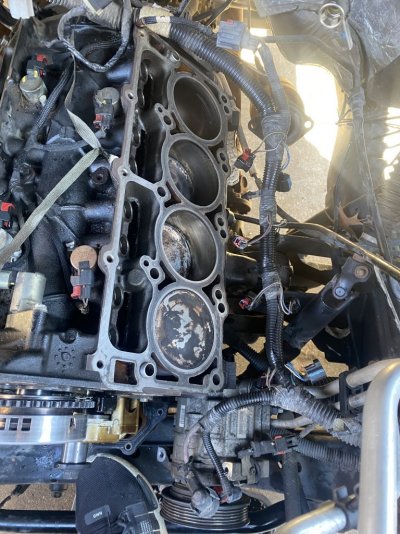
Without the pad in there you can see one of them with a flashlight. I might pick up a cheap borescope just so I don't have to take the intake off again to check themI don’t have the intake gallery pad in my engine any more. It was broken in a bunch of pieces so left it out. I might check it in a few hundred miles to see if they popped out or not.
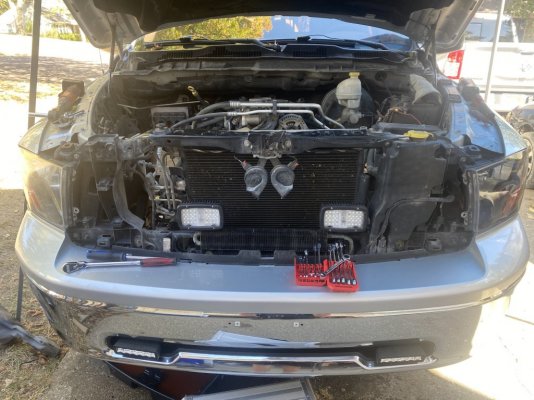
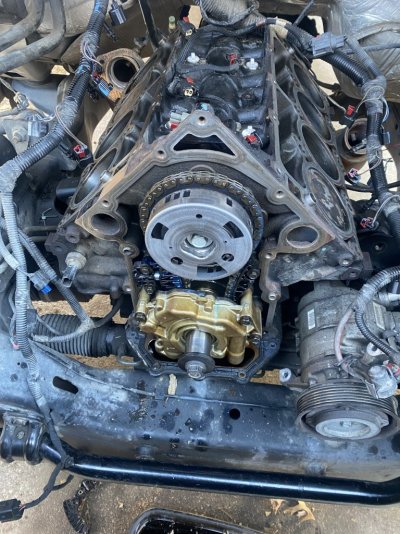
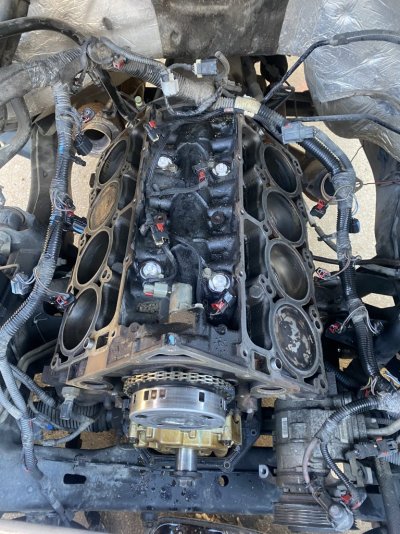
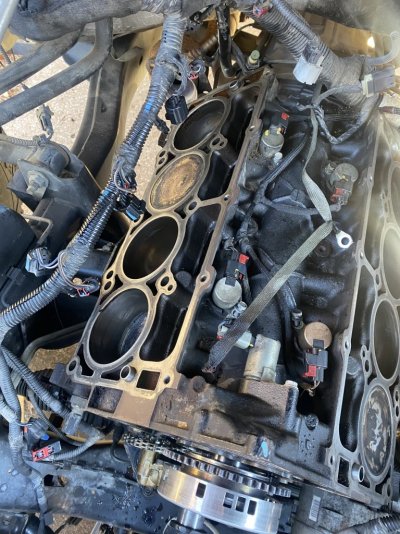
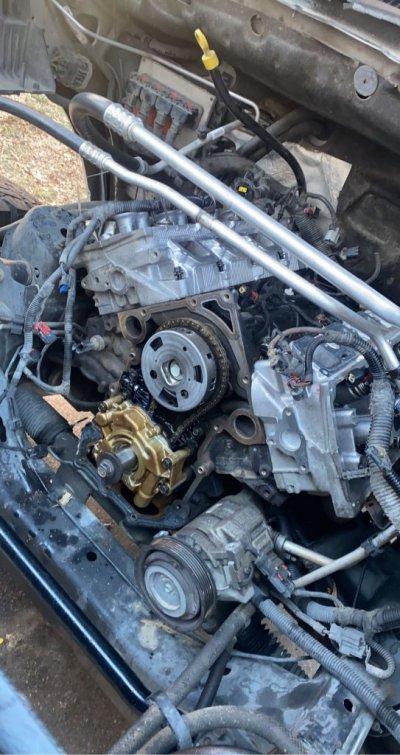
Thank you. I will say it does look very very daunting but after having everything apart and putting it back together. Its actually not that bad of a job, just time consuming. Thing that helped me was I bought a bunch of ziplock sandwich bags and some gallon bags. I labeled all of the nuts and bolts to make sure I knew where they went as well as the pushrods. The connectors on the harness were pretty easy to figure out I didn't label them because I maybe had to unplug 4 or 5 connectors for the passenger front side of the engine, like coolant temp sensor, oil temp sensor, I believe oil pressure sensor and 1 or 2 more.You are a warrior I will give you that. After reading all your work and peaks and valleys if i ever have this issue i will have someone replace the engine or buy a new vehicle..geez what a job..good on ya!
Without the pad in there you can see one of them with a flashlight. I might pick up a cheap borescope just so I don't have to take the intake off again to check them