Simpleman
Senior Member
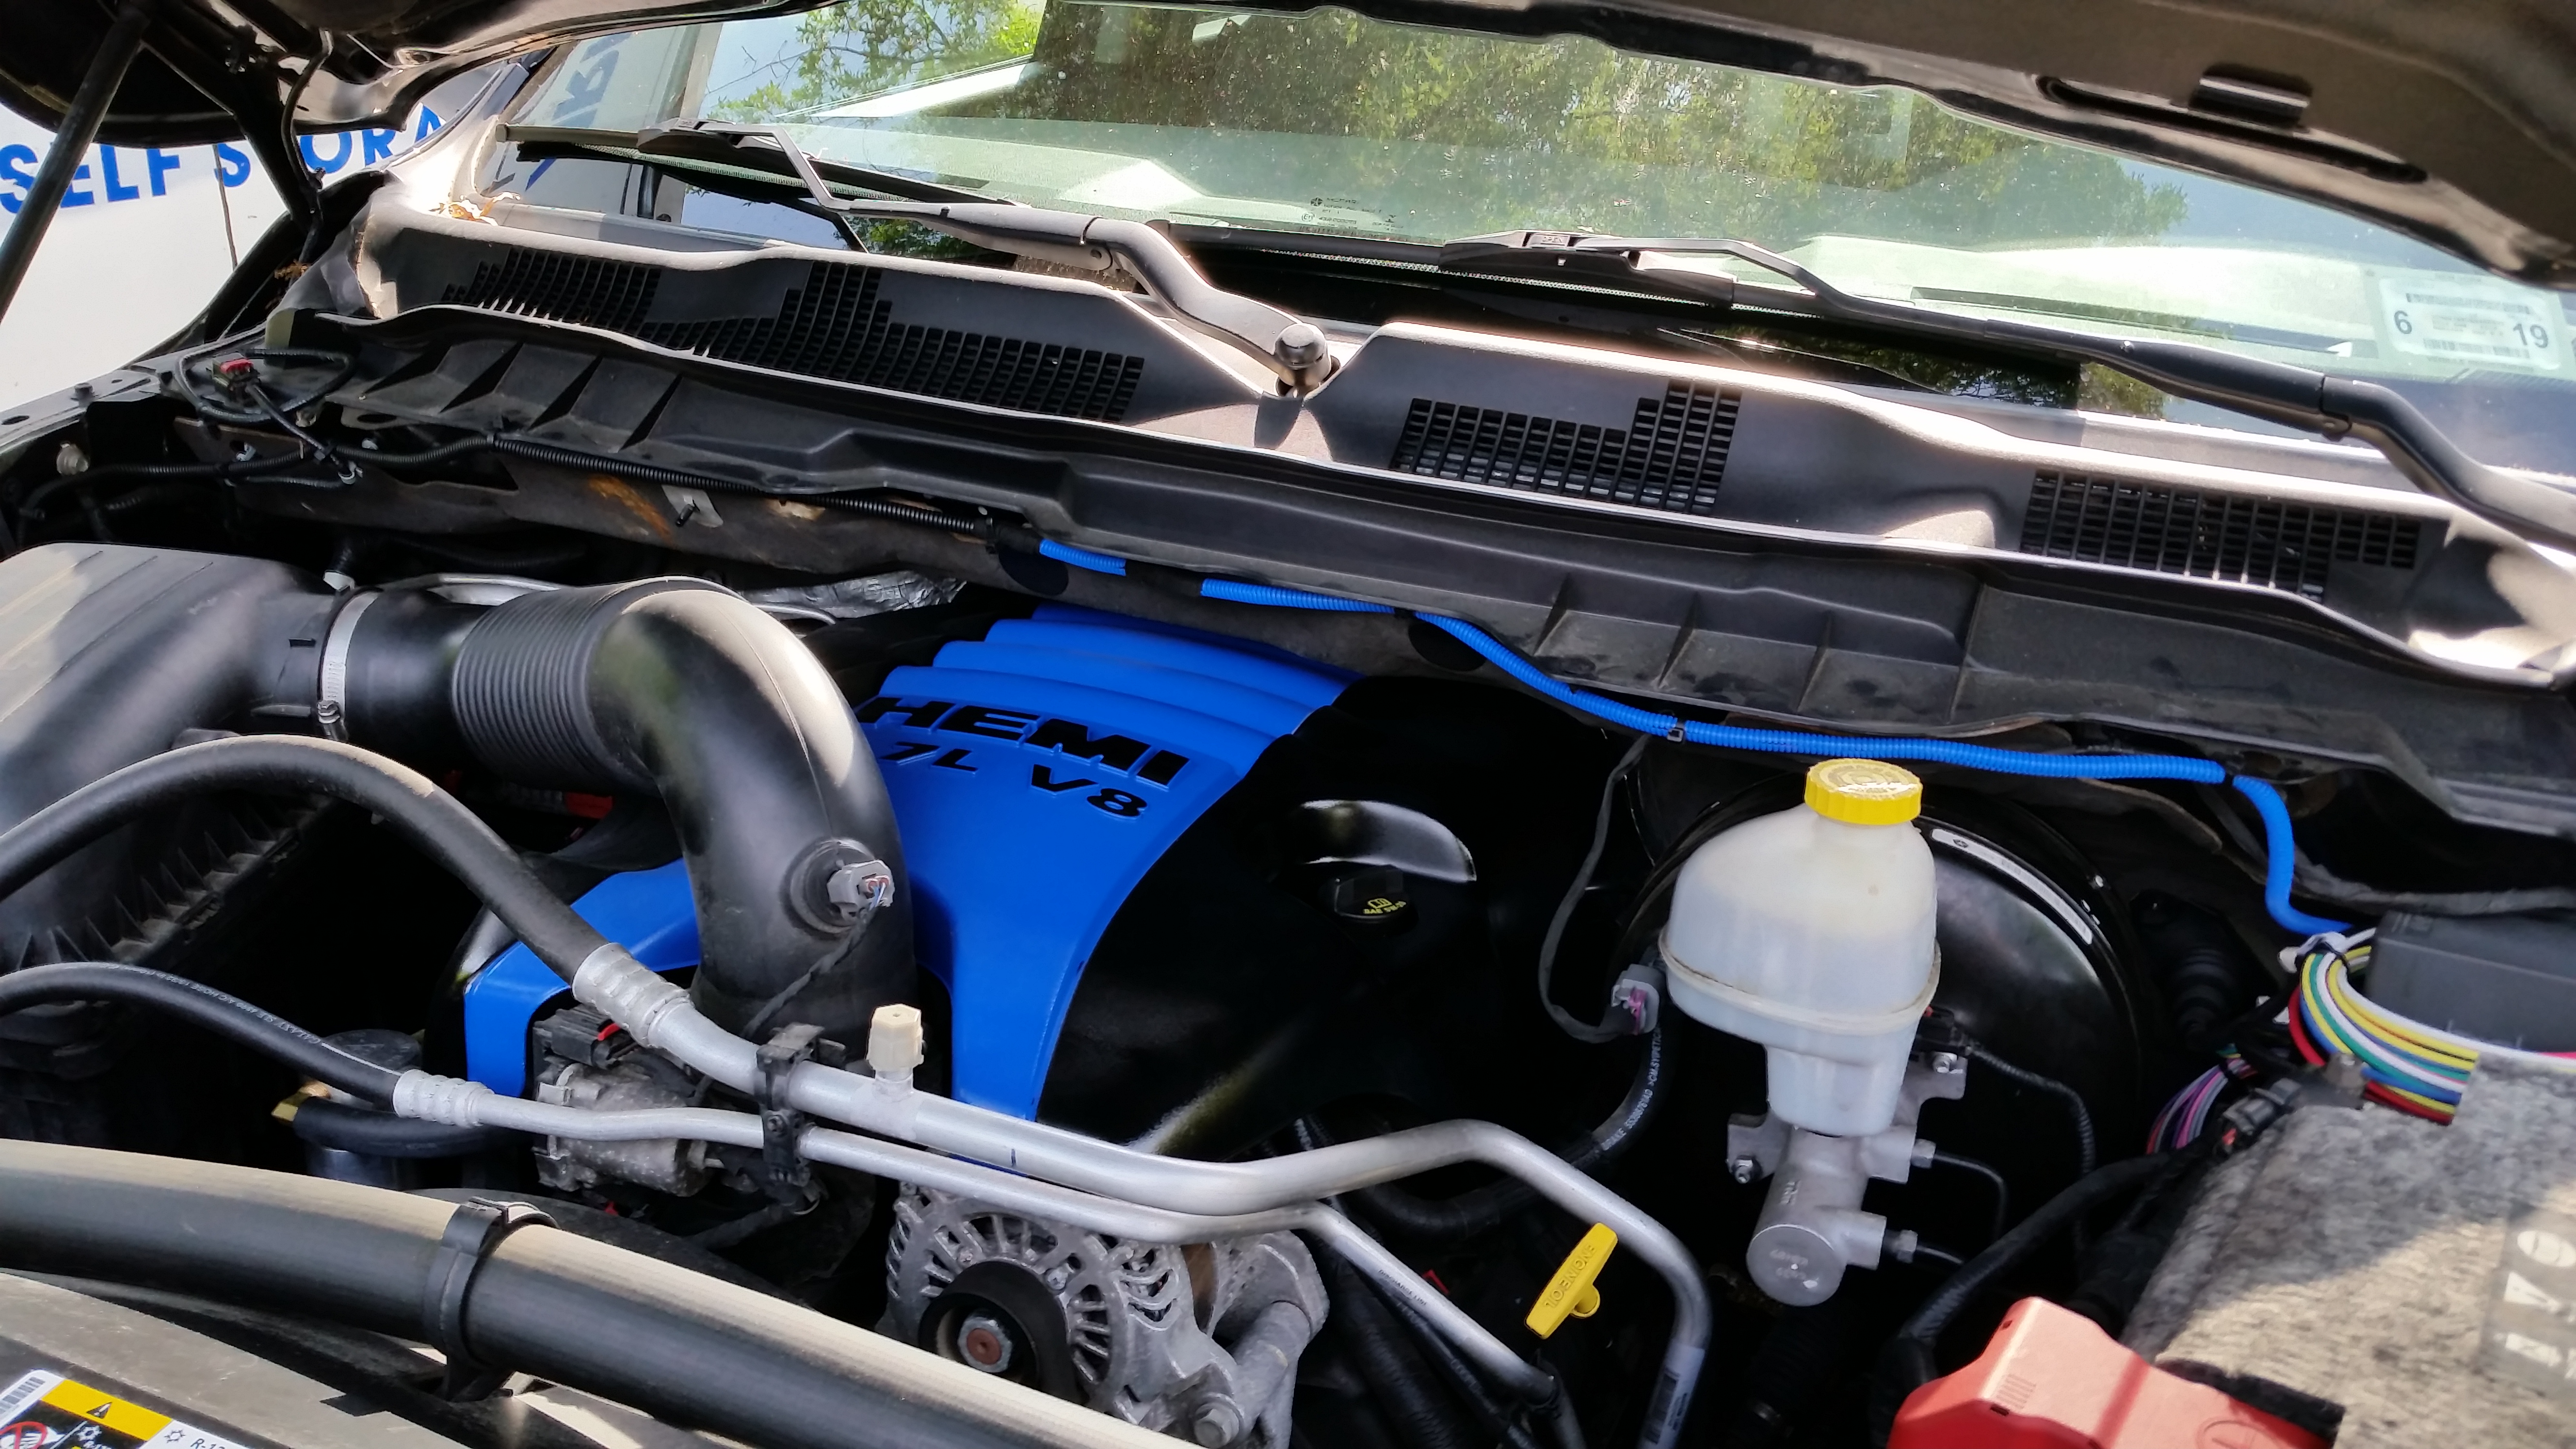
painted only the center of my engine cover silver metallic & put on gloss black decals. Anybody else do there engine covers? If so show them off


Disclaimer: Links on this page pointing to Amazon, eBay and other sites may include affiliate code. If you click them and make a purchase, we may earn a small commission.

I spray 4 coats and the fourth coat i laid on a little heavy and fine sanded in between coats and 1 coat of clear coat the company is called reflective concepts. They sent me 2 sets for $20 with adhesion promoter and its licensed by mopar. they're quality decals and super fast shipping hope this helps youHow many coats of silver you use? It looks damn good
Have a link for the decals?
Sent from my SM-N960U1 using Tapatalk
That looks awesome!painted only the center of my engine cover silver metallic & put on gloss black decals. Anybody else do there engine covers? If so show them off
View attachment 207799
View attachment 207800
Thanks brotherThat looks awesome!
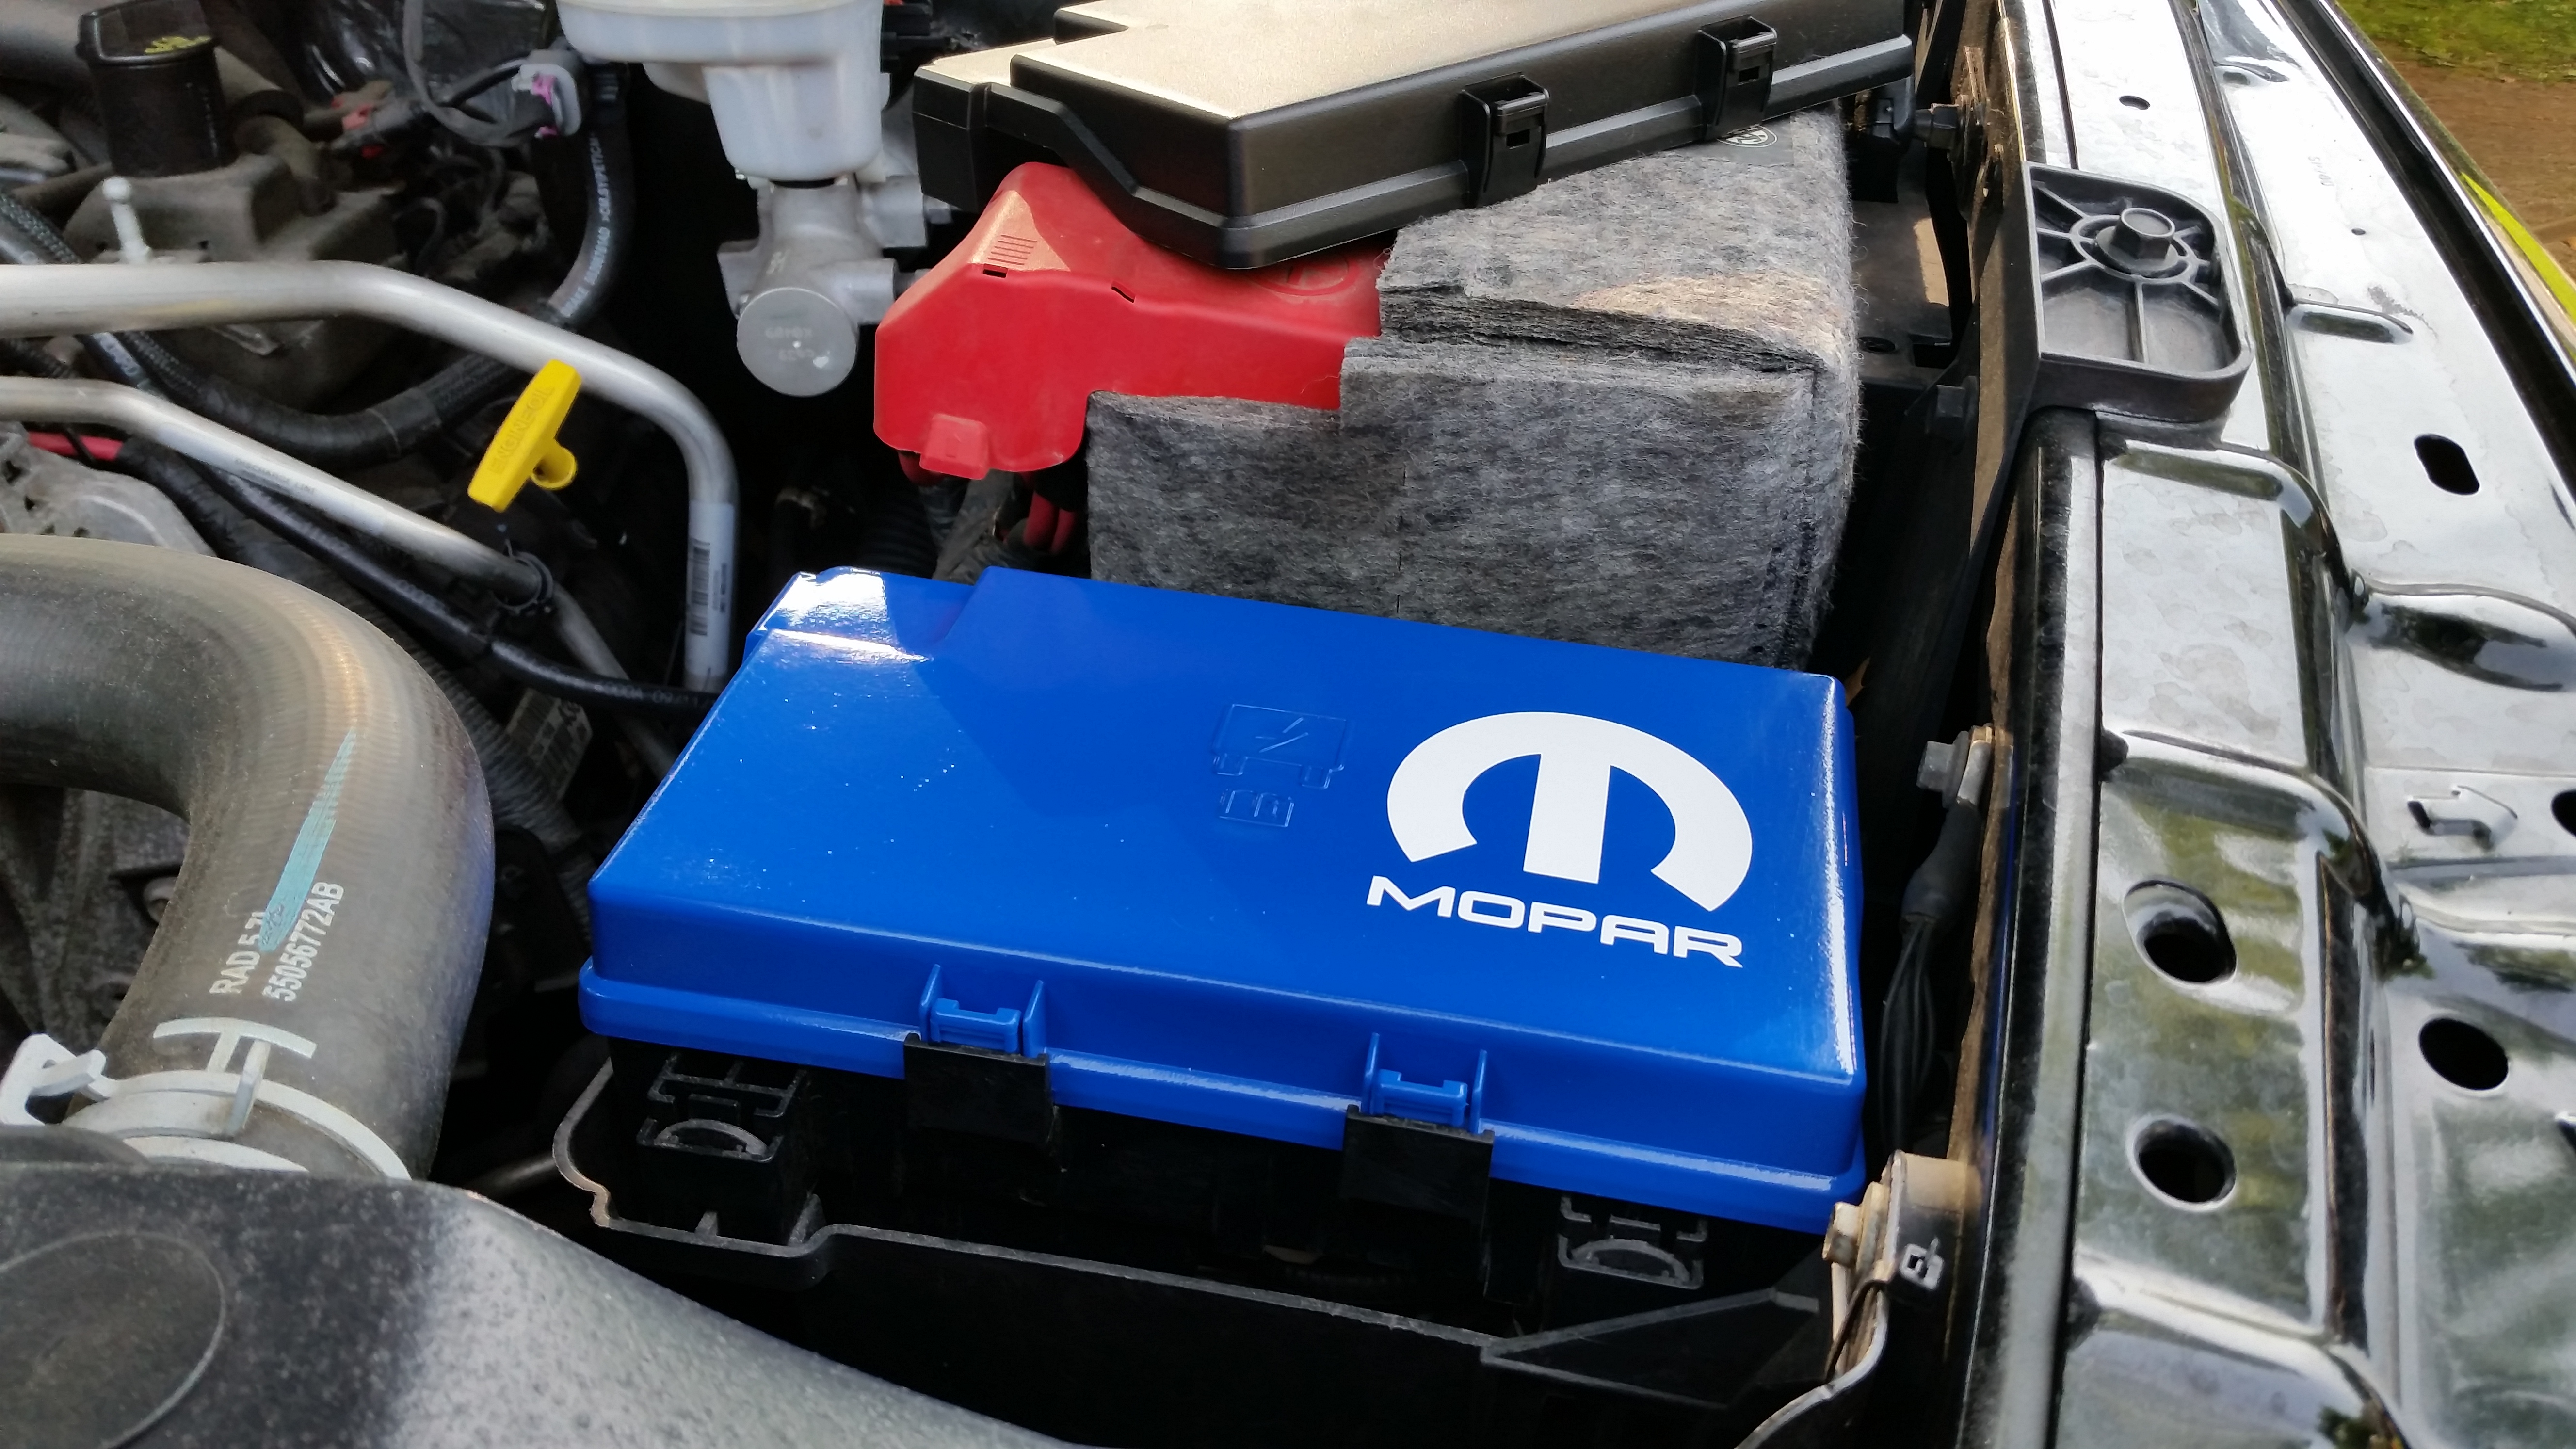
That looks sweet i like the tipm box cover i was thinking of doing the billet kit im running out of mods to doI think there's a couple of other threads on this kicking round, but here's mine.
These are older pics, there's a whole matching Billet Tech kit in blue under there as well now. I need to take new pictures...
-K


That looks sweet you guys are giving me the idea of painting my tipm cover thats why i love this forum we all help each other and get new ideas how do you like the vararam? I was thinking about getting that i have a S & B cai nowOld truck the WhytRam I painted the cover as well as airbox and tipmView attachment 207810
Then I did the vararam. Ran like this for a while then pulled cover off
View attachment 207811
That looks sweet you guys are giving me the idea of painting my tipm cover thats why i love this forum we all help each other and get new ideas how do you like the vararam? I was thinking about getting that i have a S & B cai now


Guess most members dont do anything under the hood they must like it all dirty & dustySorry.
Did not mean to bring this thread to an end.
Like looking at what guys do to the engine Covers.
Same as mine, accept I went full black and red VHT engine paint with their clear coat. I’ll post a pic today once I get out and clean it lol. Isolation with dirt roads isn’t good for pics!Love this Painted Engine Cover threads.
Great source for ideas.
Cheap and effective Mod.
For those interested in how I did this one:
https://www.ramforum.com/posts/1260424/
First, I got some of those plastic gloves, not unlike what you see in a doctors office. Skin has oils and those oils will cause paint issues. Fish eyes and the like.
Next, I used a quality paint thinner and a clean linen rag.
Old T-shirts work well.
Then used those, liberally doused with paint thinner, to clean the entire engine cover. Once cleaned, allowed it to dry.
Grabbed a can of plastic adhesive promoter, which can be bought at wal-mart or automotive parts store. (NOTE: Try to stay within the same brand for all your paints. Just makes things a little easier, since they are designed to work together, I do not recommend one, over another.)
Sprayed very light coats, on the well cleaned engine cover, according to directions on the can.
Figured it was far better to lay down the adhesive promoter, LIGHTLY, LIGHTLY, LIGHTLY. And allowing it plenty of time to dry, properly.
I want that STICK, to the engine cover, so my paint can stick, to it.
Once the adhesive promoter was dry. I then did the same with the Primer.
Applying light coats, according to the can itself.
Did more than a few coats of Primer, since I was going to sand this down, to try and smooth out the texture of the engine cover. If you look closely, it has a slightly bumpy surface. I wanted it smooth as a baby's bottom.
After sanding the primer, needed to re-clean the engine cover, as stated above. Then applied final coat of primer.
After that final coat of primer dried, started in on paint.
Now, some guys have gone all out, using lots of colors, some have even done fine artwork. I;m not an Artist and figured two colors was plenty. The color of my truck and good old black, everything matches black.
Masked off & painted the middle section, first.
Once dry, taped it off and painted the sides.
(NOTE: If you are planning on doing two different colors, in your middle section. Say, Gloss black and flat black, this is the time to do second color.)
Once the completed middle section was done and dry, taped it off.
Simply too my time, used good paint tape.
Letters could have been bought, on ebay , as perfect fit stickers but then it is only the top of the letter that has color. I decided to tape off the letters allowing me to get paint on the sides of the letters too.
Once everything was painted, clear coat everything.
I used four coats of paint, followed by four coats of clear.
Gofishin--You should start a business doing these cover-give a choice of color combos. Customer comes in-you remove cover and ask what color combo-they drive away and come back when its done. Most vehicles today have them and can run without themLove this Painted Engine Cover threads.
Great source for ideas.
Cheap and effective Mod.
For those interested in how I did this one:
https://www.ramforum.com/posts/1260424/
First, I got some of those plastic gloves, not unlike what you see in a doctors office. Skin has oils and those oils will cause paint issues. Fish eyes and the like.
Next, I used a quality paint thinner and a clean linen rag.
Old T-shirts work well.
Then used those, liberally doused with paint thinner, to clean the entire engine cover. Once cleaned, allowed it to dry.
Grabbed a can of plastic adhesive promoter, which can be bought at wal-mart or automotive parts store. (NOTE: Try to stay within the same brand for all your paints. Just makes things a little easier, since they are designed to work together, I do not recommend one, over another.)
Sprayed very light coats, on the well cleaned engine cover, according to directions on the can.
Figured it was far better to lay down the adhesive promoter, LIGHTLY, LIGHTLY, LIGHTLY. And allowing it plenty of time to dry, properly.
I want that STICK, to the engine cover, so my paint can stick, to it.
Once the adhesive promoter was dry. I then did the same with the Primer.
Applying light coats, according to the can itself.
Did more than a few coats of Primer, since I was going to sand this down, to try and smooth out the texture of the engine cover. If you look closely, it has a slightly bumpy surface. I wanted it smooth as a baby's bottom.
After sanding the primer, needed to re-clean the engine cover, as stated above. Then applied final coat of primer.
After that final coat of primer dried, started in on paint.
Now, some guys have gone all out, using lots of colors, some have even done fine artwork. I;m not an Artist and figured two colors was plenty. The color of my truck and good old black, everything matches black.
Masked off & painted the middle section, first.
Once dry, taped it off and painted the sides.
(NOTE: If you are planning on doing two different colors, in your middle section. Say, Gloss black and flat black, this is the time to do second color.)
Once the completed middle section was done and dry, taped it off.
Simply too my time, used good paint tape.
Letters could have been bought, on ebay , as perfect fit stickers but then it is only the top of the letter that has color. I decided to tape off the letters allowing me to get paint on the sides of the letters too.
Once everything was painted, clear coat everything.
I used four coats of paint, followed by four coats of clear.

Since you posted your Vararam, I thought I would too.Old truck the WhytRam I painted the cover as well as airbox and tipmView attachment 207810
Then I did the vararam. Ran like this for a while then pulled cover off
View attachment 207811


