dan.belcher.5
Junior Member
Kleinn Pre-Production Ram 1500-734
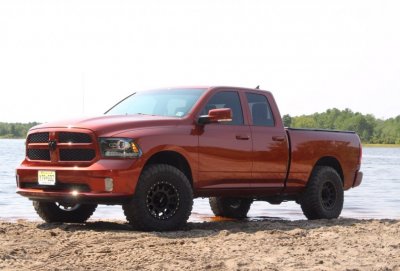
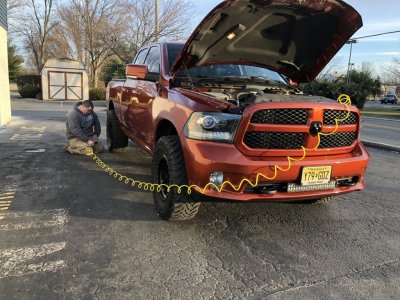
2013 Ram 1500 Sport 4x4
Mopar Tow Hooks Installed on the Sport bumper (not a factory option)
20” light bar installed in bumper.
sPod Switch Panel
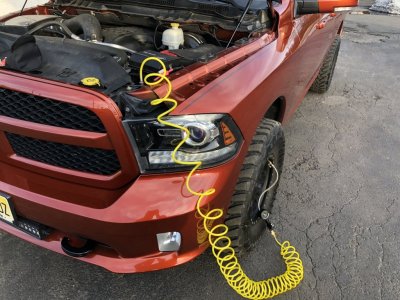
Over all this is an awesome kit. The on board air function works amazing and can fill my 35” tires in no time. The “Demon” air/train horns are insane! They are crazy loud outside but surprisingly muffled in the cab which is nice. The first day I went to work I almost gave my coworker a heart attack as he was walking to his truck.
As far as installation goes, it had its ups and downs. Granted, I did this in the street in front of my house with nothing but simple hand tools. It was about 50 degrees and windy so that always makes things harder. I read through the instructions before I even opened the box to make sure I had a good understanding of what exactly was going to be involved.
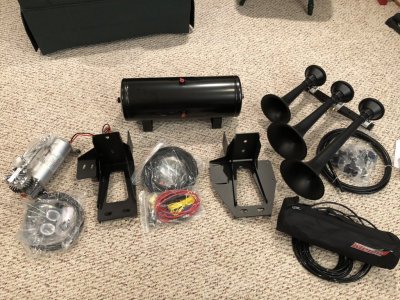
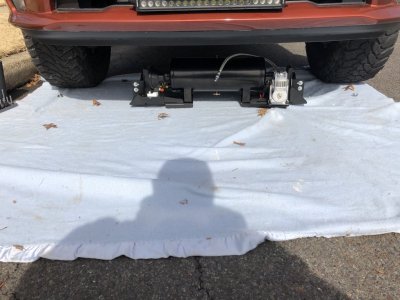
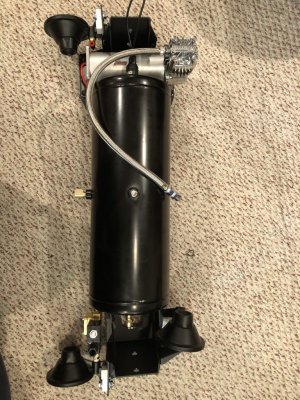
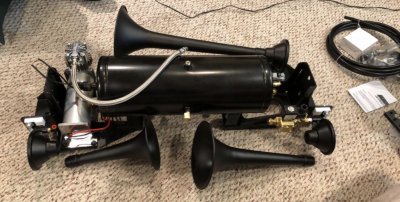
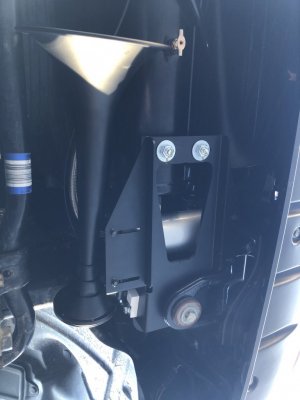
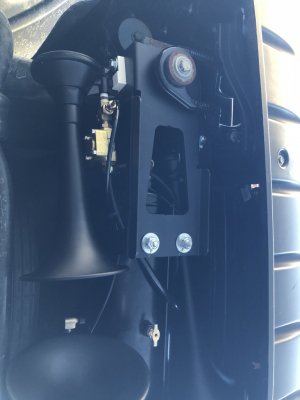
As instructed, I pre-assembled the brackets, compressor, tank, and horns ahead of time in my basement. Then I carried it outside and got them mounted up. I dropped the nutserts in the designated location and made sure the holes all lined up. (They were perfect). Due to the weight and awkwardness of laying under the truck, I had my dad help me out and hold one side while I was able to run the permanent bolts in. Then I went to reinstall my tow hooks. This is where I ran into the first issue. The driver side hook went in no problem. The passenger side however did not fit with the new bracket in place. I was able to take the bracket off and grind off the section that was hitting. Reinstalled and the hook went in no problem. This only occurred because I have a sport bumper with the OEM tow hooks installed. This setup requires the tow hooks to be installed on opposite sides without modifying the bumper itself. Really this is not Kleinn’s fault and will be a rare occurrence that I made them aware off. After this, Then I tightened the tank to the brackets and torqued. After this the instructions said to install the trumpets. I did, and tightened the mounting brackets down but then I realized they were going to be nothing but in the way of the wiring and air lines. I took them back off and put them in the back seat
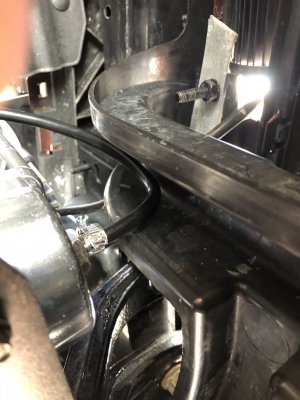
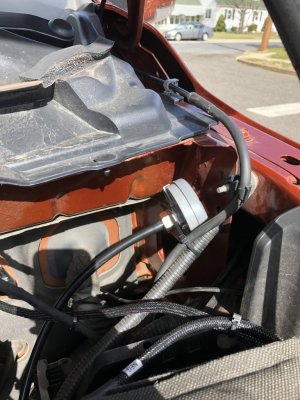
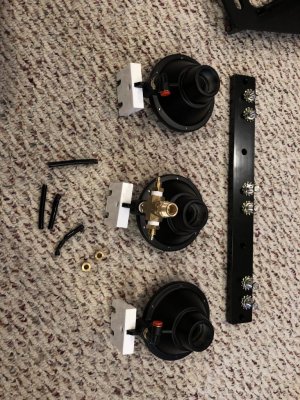
Now it was time to run the air lines (I have never run air lines, but I do a lot of gas line for work). The hardest line to hook up was the horn solenoid to the tank. The tank fitting is in a terribly awkward position but I was able to get my arms up and around the tank to make the connection. (Probably much easier if using a lift.) Running the lines from horn to horn was simple, as well as the remote quick disconnect which I mounted in the engine bay in front of the fuse box using some stainless steel self tappers. The quick disconnect air fittings are amazing. I have never worked with these before and they made install simple. Then I ran the compressor intake line. This was also very difficult. There is not much room between the straight fitting on the compressor and the front bumper support. Had this been a 90 degree elbow fitting this would have been a breeze. It was a very tight bend and had to be very very careful not to kink the line (kinked it once and had to start over). Due to the angle and pressure on the line, I put a hose clamp on the hose and fitting just as a precaution and ran the remote filter up behind the battery near the firewall.
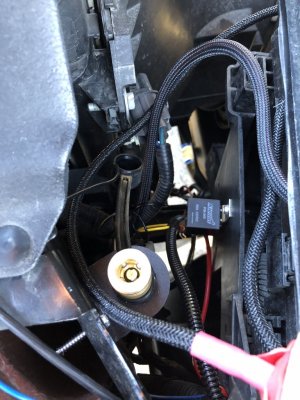
Now it was time for the wiring. Since I wasn’t using an ignition key source and was going to use a designated switch on my sPod, I had to do things slightly different than the instructions and wiring diagram. Instead of running the yellow wire to an ignition source, I simply connected it to the sPod relay panel on top of my fuse box. The other yellow wire off the pressure switch went to the supplied relay. These two connections were very difficult to make above the compressor simply for the fact that there wasn’t much room for hands or tools. It would have been beneficial to make these connections before mounting the kit. I used weather resistant connectors that you melt/seal with heat for every connection but the supplied connections would work just fine. The positive wire on the compressor was a little short and really limited the location of the relay. I ended up mounting to the front of the fuse box tray using a small self tapping screw. The ground wire was super easy because the vehicle ground is right on the other side of the frame near the suspension. The power wire and fuse was also an easy task and I was able to keep it nice and clean.
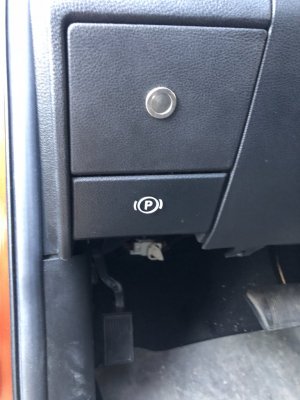
The instructions for wiring the horn solenoid were a little vague. I went to youtube and found a video and figured it out pretty easily. Grounded the solenoid to the frame and ran the purple wire up through the firewall into the driver-side foot well. This is where I realized I didn’t have enough wire to run the switch to the battery. I had some spare wire laying around so I used that. I took the panel off directly above the e-brake release and drilled the hole using a stepper bit to make the perfect size for the switch. Inserted the switch, tightened down the nut, connected the wires and popped the panel back in place. Zip tied the wires above the pedals to keep everything clean. I used some electrical putty to seal the hole in the firewall. I put an inline fuse on the power wire of the switch just for good measures (not included). Then I wrapped all the wires in the provided plastic corrugated tubing and zip tied everything in place so that nothing would rattle or get in the way of any moving parts. Pay close attention to the compressor and feed line because they will get hot so you don’t want to tie anything to those. Once everything was secured, I reinstalled the trumpets and made sure the clearances were met.
Overall the installation went rather smooth beside a few hiccups and using a few extra pieces that weren’t supplied. I would have liked to see some type of skid plate to protect the exposed horns just case something was to kick up off the road. I might fab something up just for good measures. Now it was time to test the kit. I started the truck and flipped the switch. Compressor kicked on, ran for about two minutes and turned off. While the compressor was running I heard a rattle. Hopped under the truck checked all wires and fittings, and cant find the rattle. Sounds internal either in the compressor or in the tank itself. After speaking with customer service, I was told it was common and normally goes away after breaking in. I can already hear it getting better a week later. Anyways, hit the horn a few times (neighbors love me) and the compressor kicked on and turned off when it reached pressure. I set up the supplied tire inflation hose and topped off all four tires. Little disappointed by the tire chuck since it doesn’t have a gauge and have to keep disconnecting to check the pressure. I upgraded to a inflator with built in gauge and pressure release valve. I had no leaks on any of my fittings and the tank held pressure for over night. When I flipped the switch in the morning the compressor didnt kick on until I used the horn. Now I find it very hard to drive around without hitting the horn. I love it!
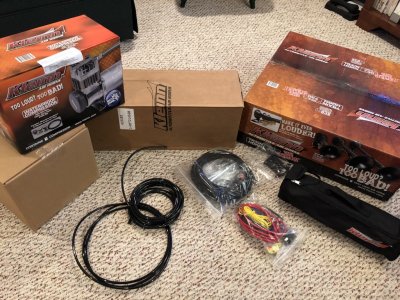
I would definitely recommend this kit to anyone with a Ram or any vehicle that Kleinn makes a bolt on kit for. Time consuming, (about 8 hours all said and done) but pretty easy to install. Really anyone can install this kit as long as you can make some air and electrical connections and turn a wrench. Other than that the instructions will walk you through it. Its really helpful to have the interactive pdf instructions because you can click the links to get exact instructions for certain parts of the kit for more clarification. I originally purchased the Kleinn HK7 kit and planned to make my own brackets and install. It was not going to be easy to try and fit everything under the truck and in a safe place and I am not an experienced welder so it was going to take a really long time. I couldn’t even find a shop near me willing to take the job. Luckily for me, Kleinn came out with the bolt on kit and I was able to return the HK7 to the store where I purchased. Definitely worth the extra cost. I will post a link in the comments when I finish up
My Install video on youtube so you can get a better look at the kit overall.
Pros:
Strong Brackets
Quality Tank
Quality Compressor
All air lines included with plenty of extra
Easy to follow instructions
Accurate required tool list
Crazy Loud quality horns
Bolts right up (if i didn’t have tow hooks that aren’t meant for the sport bumper)
Easy to follow wiring diagram. (Electrical is not my strong suit)
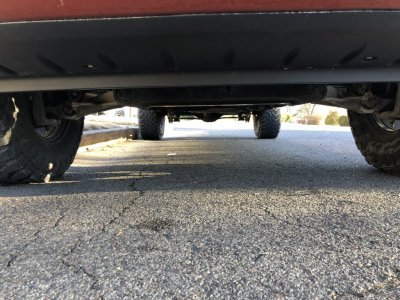
Mostly hidden under the truck
Really nice tire inflation kit and storage bag.
Anyone can install as long as you can make electrical connections and turn a wrench
Relatively easy install
Awesome customer support.
Cons:
Had to cut passenger bracket to accommodate tow hooks in a sport bumper.
Not enough wire to connect the horn switch to the battery.
No inline fuse supplied for horn switch
Straight Fitting instead of elbow on compressor intake.
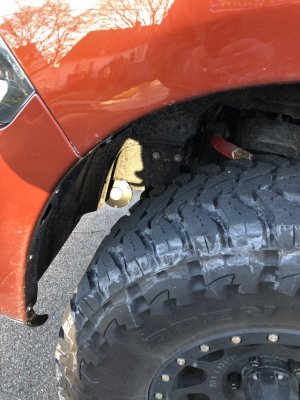
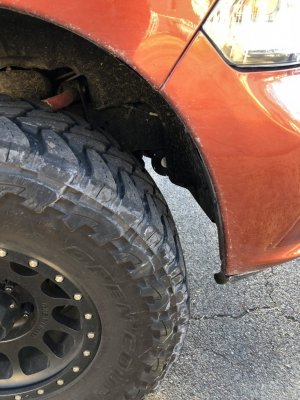
Can see the horn in font of the tire on both the driver and passenger side.
Time consuming install
No skid plate


