Jared4.7
Senior Member
- Joined
- Feb 8, 2013
- Posts
- 864
- Reaction score
- 196
- Location
- Olathe, KS
- Ram Year
- 2017 Bighorn CC
- Engine
- 5.7
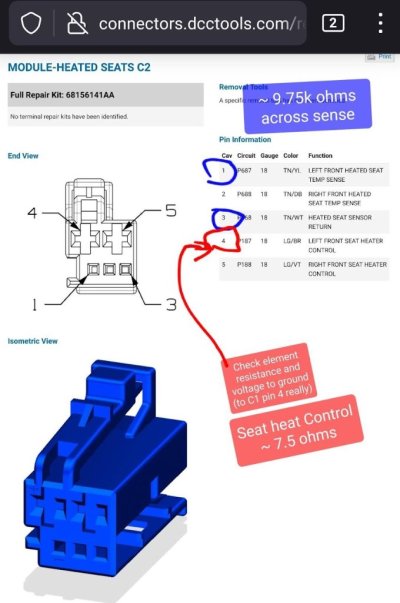
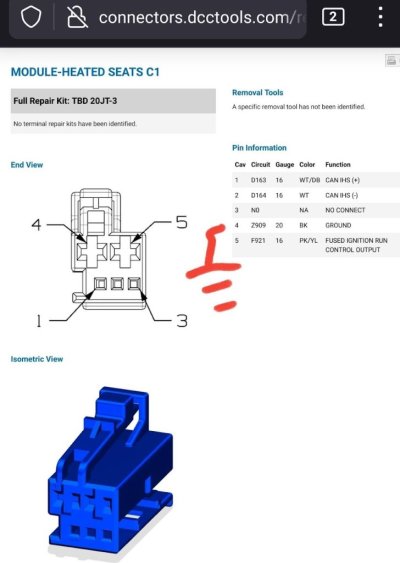
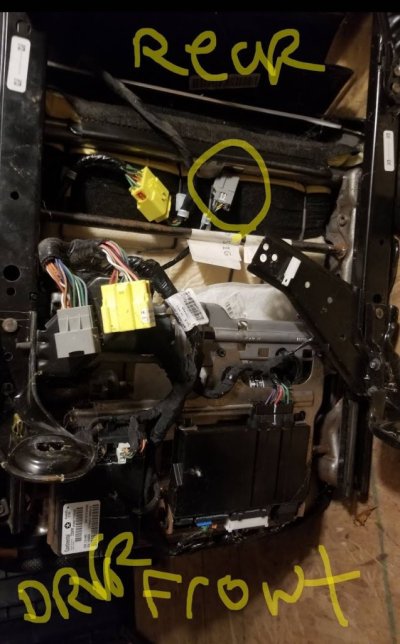
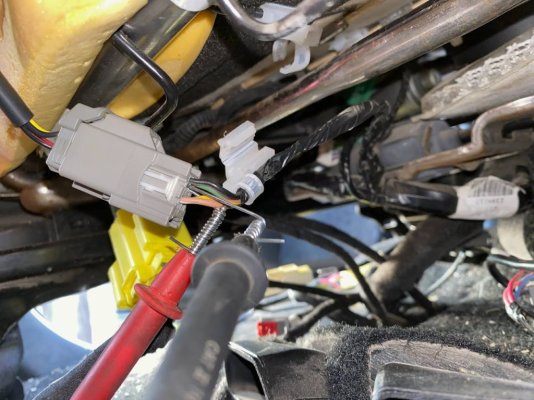
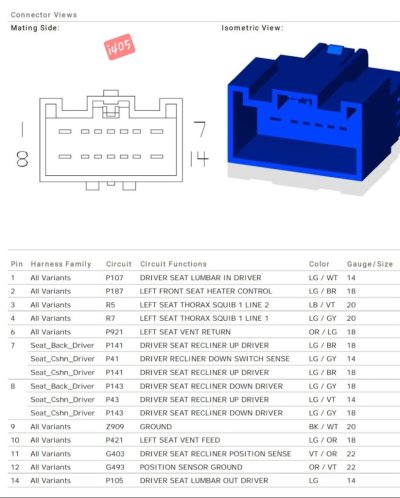
Howdy gents!!! Been a long time since Ive posted anything here. Recently had some heated seat issues in my 2017 Big Horn. Heated seat light would come on and quickly go out. ALFA confirmed a logged B1EB1 fault (front left seat heat sensor circuit resistance above threshold). Meter showed feedback circuit had an open on the drivers side and passenger side showed some resistance. So, ordered a 4610134AB base pad and tore my seat open. Part number is located on a white tag on the wiring to the pad itself at the rear of the seat.
-Remove 1 phillips screw from the plastic trim located at the rear of the seat
-Pull the seat control panel which was tough, be patient with the clips
-Remove 1 chtistmas tree fastener holding the seat cover from the side near the seat-back pivot
-Take out a large phillips screw behind the control panel
-Plastic around the seat pivot needs unsnapped so, take your time here and it will separate and the plastic trim will slide off.
-Unclipped the seat cover under the front lip and sides leaving back attached
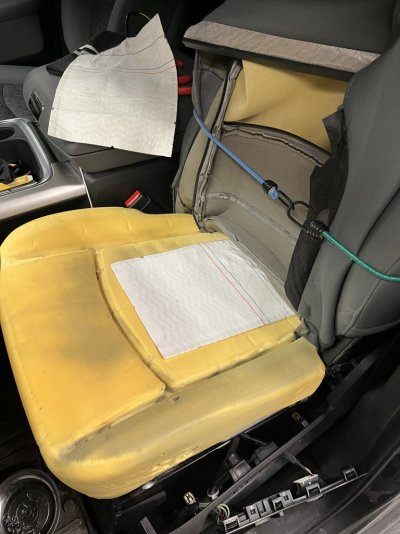
-Pull the cover off the foam and fold it up against the back, I used bungees to hold it there
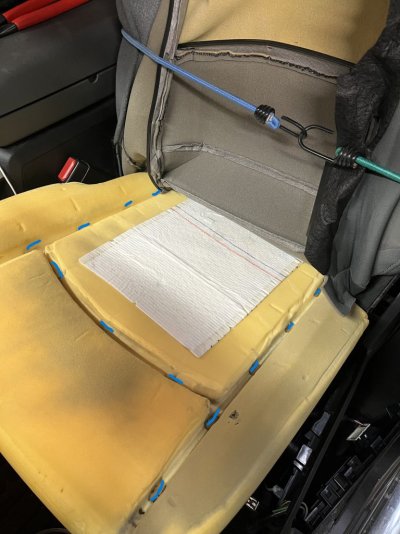
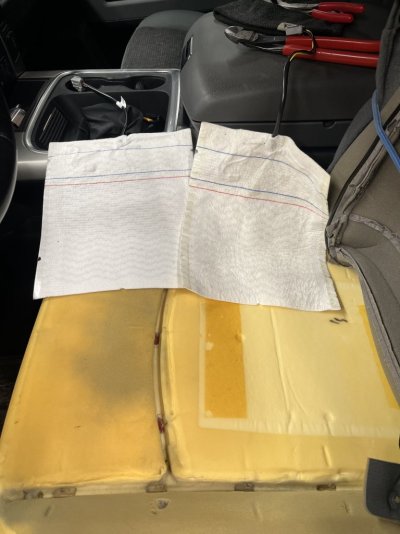
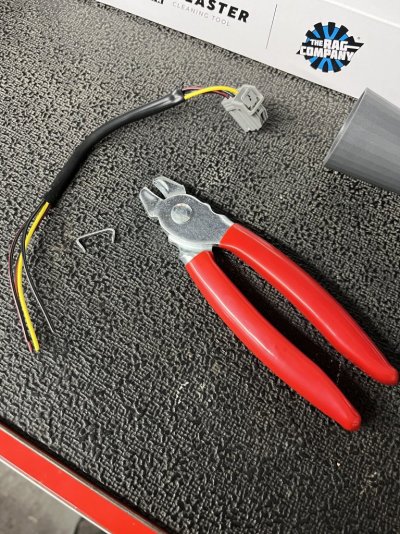
-I had to cut a few hog rings loose on the seat cover that ran the perimeter of the pad in the foam grooves (picture one you can see the grooves and ring locations in blue)
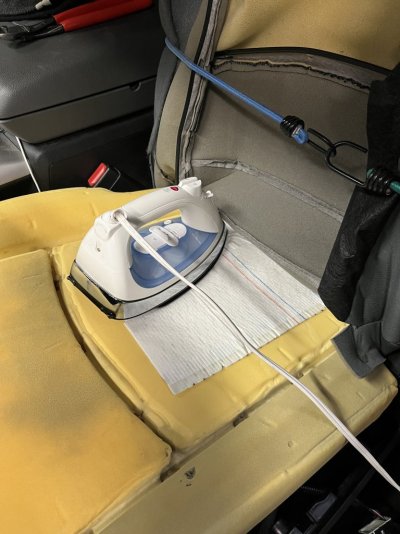
-Pad is held down with adhesive that comes attached to the pad itself. New pad DOES have this adhesive present (third picture shows the adhesive locations, foam is darker colored)!! I marked around the pad with a sharpie so I didnt put it in the wrong spot. If you just go at the old pad and pull it off it will remove chunks of foam! I heated up the front and rear of the pad where the adhesive is present and the pad lifted right off without issue.
-Unplug the pad at the back under the seat
-Place the new pad, pull the adhesive backing off and stick it down then pug it back in a the back of the seat.
-I did use large hog rings to re-fasten the cover back to the pad in the locations where stock rings were removed (pic one for ring locations) Seat cover does has small cuts where the rings go through. **The ring goes around a plastic tab sewn to the underside of the cover and a metal clip molded into the foam grooves!!**
-Re-clip the cover down, reinstall the trim and thats pretty much it.
-Cleared the faults in ALFA, started up the truck to test and all is well!
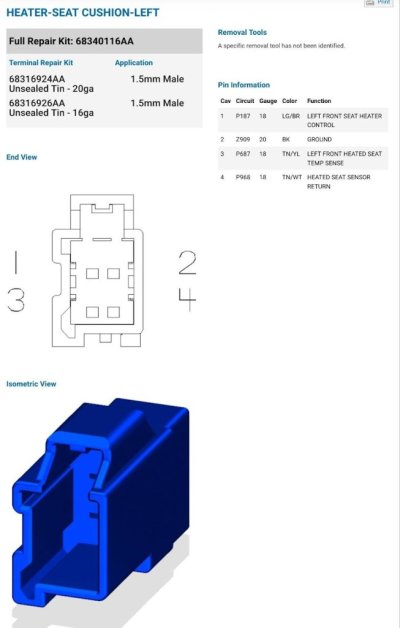
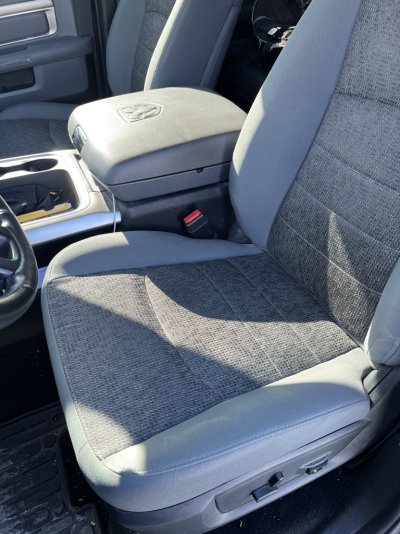
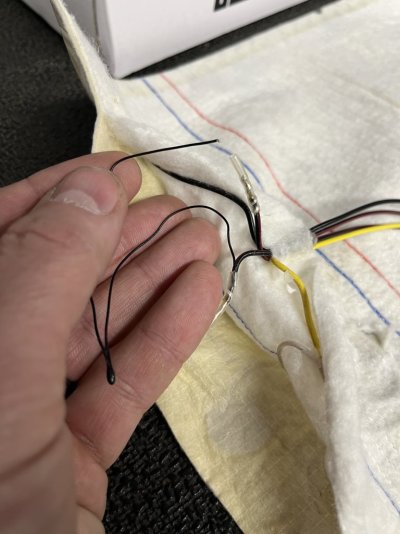
Probably not the most detailed write-up but, I at least wanted to share the pics. I wasnt sure how I was going to get the old pad off without jacking up the seat foam. Wifes iron on lowest setting ended up doing the trick!! Last pic is inspection of the old pad where I found a broken wire to the feedback sensor.


Last edited:


