Bigtman07
Registered User
- Joined
- Jun 28, 2010
- Posts
- 9,329
- Reaction score
- 287
- Location
- Piqua, Ohio
- Ram Year
- 2000
- Engine
- Cummins 5.9
Note this DIY was performed on a 1998 1500 with the new style dash. The 1997 and older dash's should be similar.
Ramforum and I accept no responsability for your equipment while attempting this mod. In other words we aren't responsible if you mess up your truck.
With that done on to the DIY.
Ok so to start with The tools you are going to need.
7mm Socket and a small ratchet. 1/4" Drive seemed to work well
A small flat head screwdriver. I mean tiny like and eye glass screw driver. You can pick these up at any Radioshack.
A knife or something to pry with.
Phillips head screwdriver
Super LED's WLED-x4-x: 4 LED Wedge Base Bulb
Dodge puts a blue film in the cluster so take that into account when choosing a color.
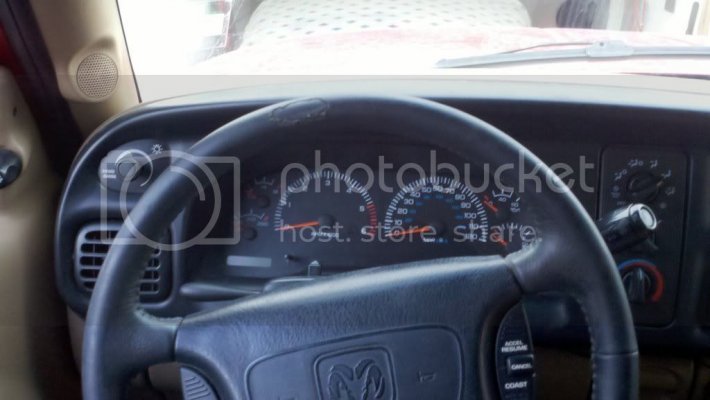
Step1: Remove the outer black dash bezel by lowering the tilt column and the cupholder to allow access to the seems. Remove the screw that is by the outlet cover Shown Below use the 7mm socket.
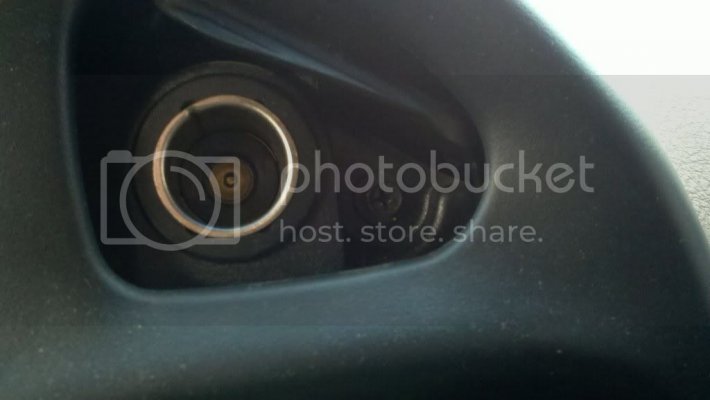
(Note this screw is only on 1998 models.)
Insert your prying tool as shown below.
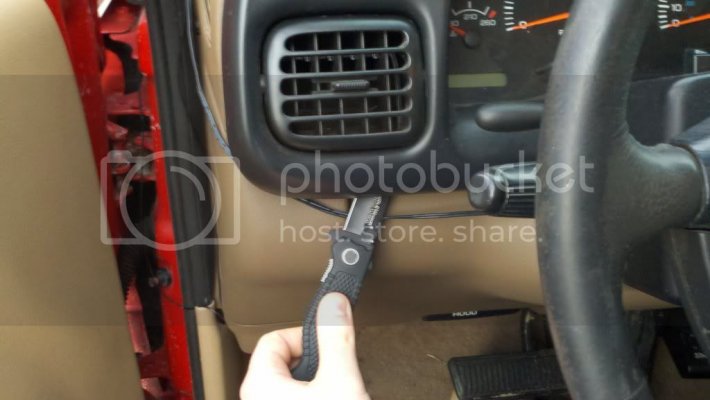
Step 2: After the outer bezel is removed your dash should look like below.
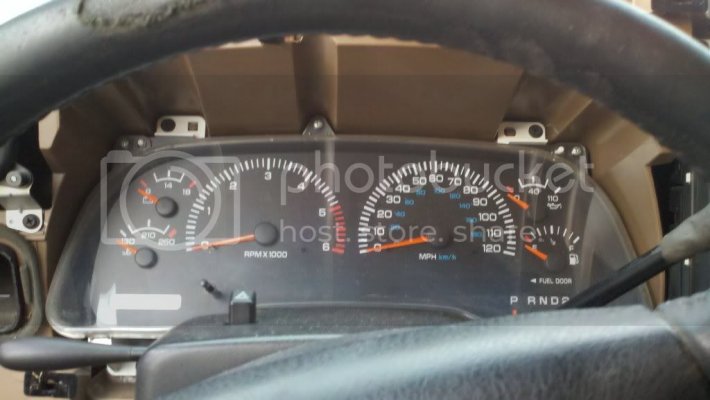
Locate the 5 Black screws that hold the cluster to the Dash. Use the 7mm socket to remove these Screws.
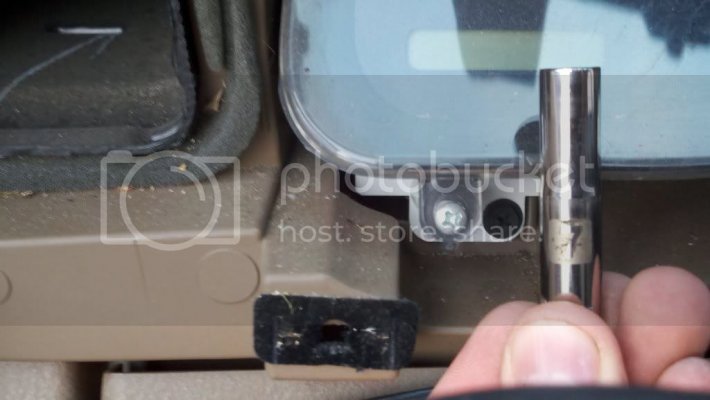
Step 3: After removing all the screw gently pull on the cluster. It will be held in by the wires on the back so slight tugging may be required to free the cluster.
Step 4: After the cluster is free from the plugs in the rear it will still be attached by the shift indicator. To remove the shift indicator pull and rotate the cluster to access the back of the cluster. Yes it is a pain. You will see 2 black screws. Remove these 2 and the indicator will slide out.
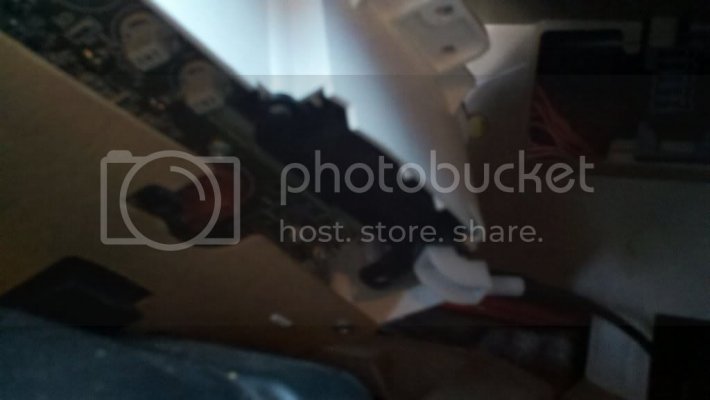
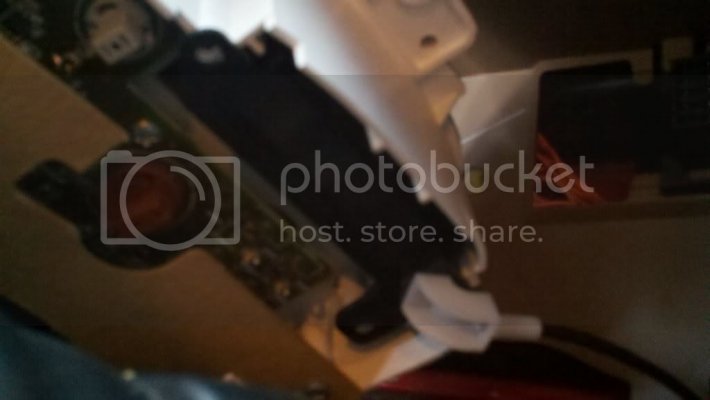
Step 5: After the cluster is removed from the dash take it your work area.
(Note: a clean area to work is a plus you will be working with super tiny parts) Place the cluster upside down on the work area as shown below.
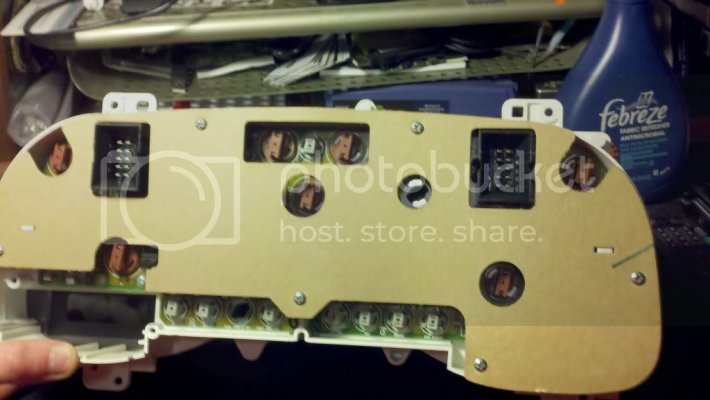
Step 6: Use a Phillips head screwdriver to remove the silver screws that are holding the cardboard backing in place. After the cardboard is removed your cluster should resemble below.
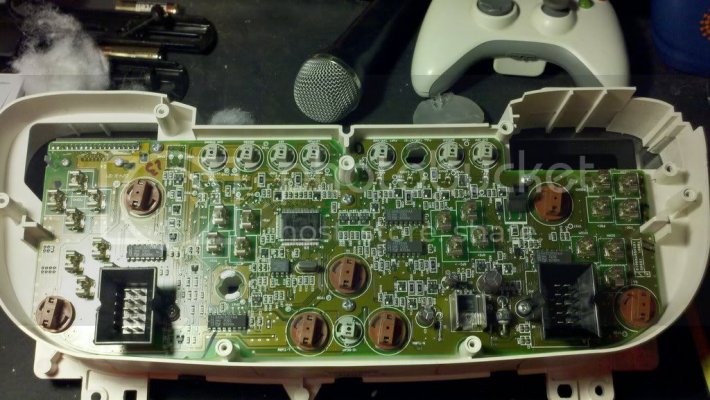
Step 7: Note the brownish twists on the cluster. These are the bulbs that will be replaced. They all unlock with a small turn to the left. DO NOT FORCE THEM!! If you force them to turn they will break and you will be in trouble. They will turn only one way.
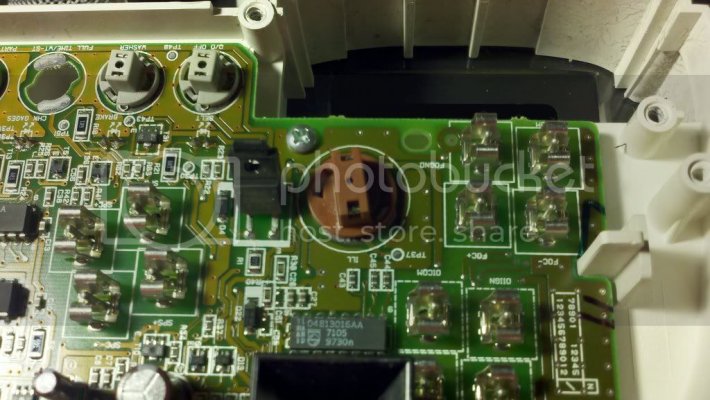
Step 8: Remove a single bulb by twisting and removing. After removing this is what it will look like.
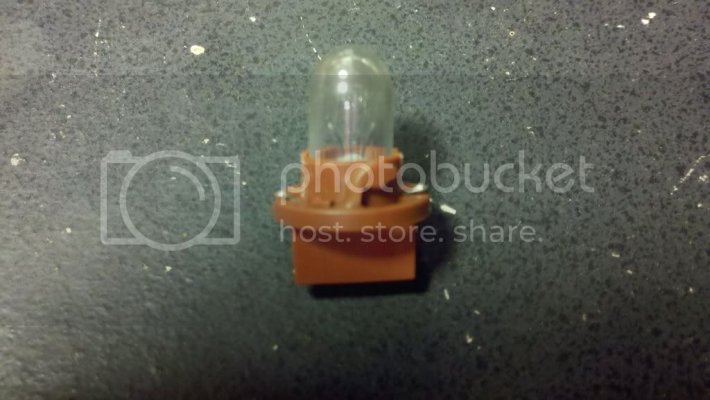
Step 8: Use the tiny Flat head screwdriver to gently pry up on the little silver tab from the bottom. (See pictures below to understand better)
After gently prying the silver from the base pull gently on the bulb it should slide right out.
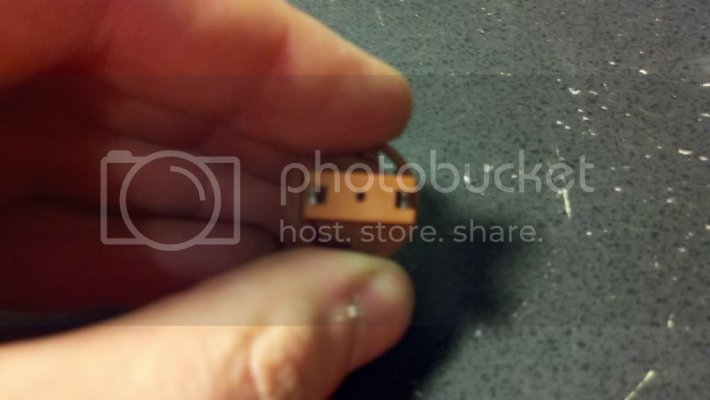
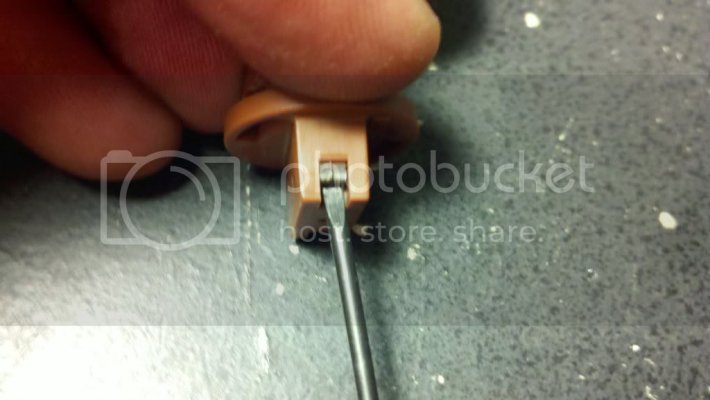
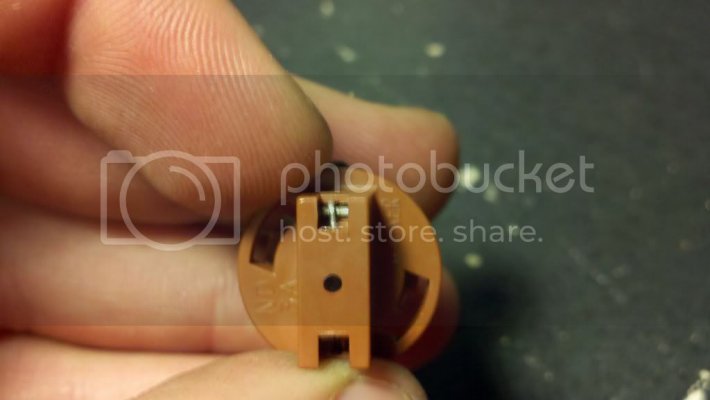
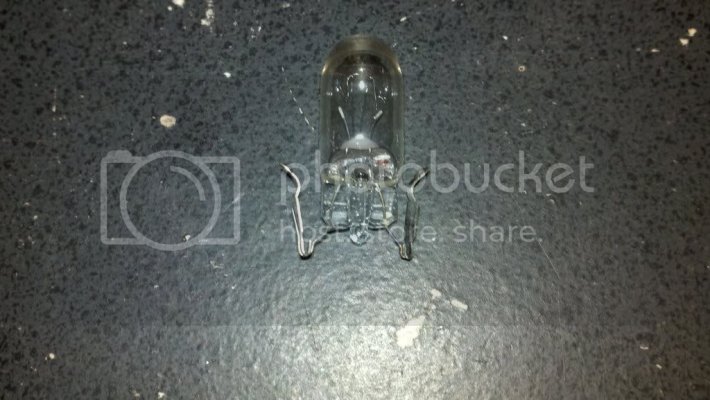
After the bulb is removed take the little silver pieces off of the tabs. DO NOT LOOSE THEM!!! They have to go back in.
Step 9: Prep the new LED Bulbs. Take the wires and bend them outward from the side so that they look like wings.
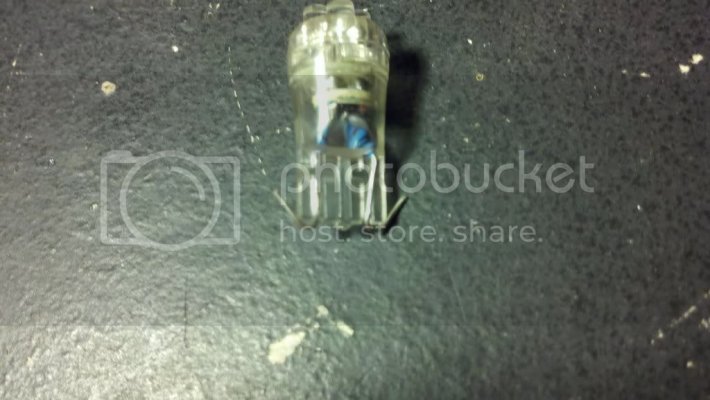
Step 10: Insert the Bulb into the brown housing a little bit. Then re-insert the tabs the same way they cam out and push the bulb and the tabs down into the housing. This can get tedious. Your goal here is to make contact with the tabs and the wires. The contact needs to be good enough to light the bulb reliably over bumps.
Step 11: Take the new bulb and the recycled housing and put it back into the cluster the same way you took it out. Make sure the tabs are making good contact with the cluster surface and the wires from the bulb.
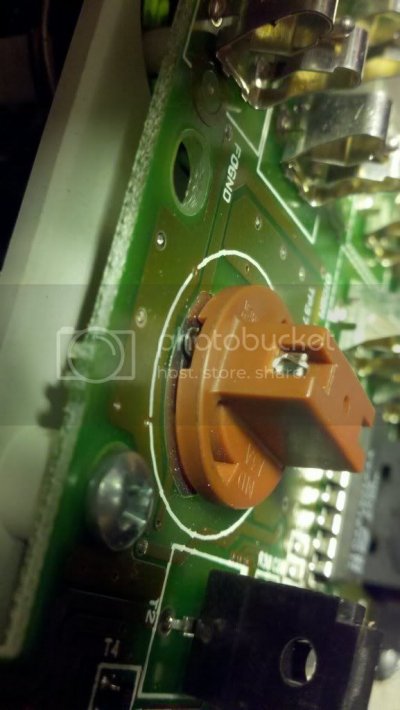
Step 12: Do all the remaining bulbs. (Take note that the top 2 for the cluster are the turn signals. If you want to keep those green do not replace those.)
Step 13: After you have done all the bulbs on the cluster that you want to do you are ready to reinstall. Follow the steps backwards to reinstall your cluster. Re install the cardboard with the phillips screws.
A Word of caution. The speed and tach like to move when the cluster is tilted. Keep an eye on them and try to keep them as close to zero while reinstalling to prevent damage.
1: Put the cluster back to the dash and connect the drive indicator
2: Push gently on the cluster to snap it back into the connectors.
3: Re insert the screws and tighten to tight. DO NOT TORQUE THEM! Snug them up good
4:turn the key and flip on the lights and admire your work.

Enjoy Folks!
Ramforum and I accept no responsability for your equipment while attempting this mod. In other words we aren't responsible if you mess up your truck.
With that done on to the DIY.
Ok so to start with The tools you are going to need.
7mm Socket and a small ratchet. 1/4" Drive seemed to work well
A small flat head screwdriver. I mean tiny like and eye glass screw driver. You can pick these up at any Radioshack.
A knife or something to pry with.
Phillips head screwdriver
Super LED's WLED-x4-x: 4 LED Wedge Base Bulb
Dodge puts a blue film in the cluster so take that into account when choosing a color.

Step1: Remove the outer black dash bezel by lowering the tilt column and the cupholder to allow access to the seems. Remove the screw that is by the outlet cover Shown Below use the 7mm socket.

(Note this screw is only on 1998 models.)
Insert your prying tool as shown below.

Step 2: After the outer bezel is removed your dash should look like below.

Locate the 5 Black screws that hold the cluster to the Dash. Use the 7mm socket to remove these Screws.

Step 3: After removing all the screw gently pull on the cluster. It will be held in by the wires on the back so slight tugging may be required to free the cluster.
Step 4: After the cluster is free from the plugs in the rear it will still be attached by the shift indicator. To remove the shift indicator pull and rotate the cluster to access the back of the cluster. Yes it is a pain. You will see 2 black screws. Remove these 2 and the indicator will slide out.


Step 5: After the cluster is removed from the dash take it your work area.
(Note: a clean area to work is a plus you will be working with super tiny parts) Place the cluster upside down on the work area as shown below.

Step 6: Use a Phillips head screwdriver to remove the silver screws that are holding the cardboard backing in place. After the cardboard is removed your cluster should resemble below.

Step 7: Note the brownish twists on the cluster. These are the bulbs that will be replaced. They all unlock with a small turn to the left. DO NOT FORCE THEM!! If you force them to turn they will break and you will be in trouble. They will turn only one way.

Step 8: Remove a single bulb by twisting and removing. After removing this is what it will look like.

Step 8: Use the tiny Flat head screwdriver to gently pry up on the little silver tab from the bottom. (See pictures below to understand better)
After gently prying the silver from the base pull gently on the bulb it should slide right out.


After the bulb is removed take the little silver pieces off of the tabs. DO NOT LOOSE THEM!!! They have to go back in.
Step 9: Prep the new LED Bulbs. Take the wires and bend them outward from the side so that they look like wings.

Step 10: Insert the Bulb into the brown housing a little bit. Then re-insert the tabs the same way they cam out and push the bulb and the tabs down into the housing. This can get tedious. Your goal here is to make contact with the tabs and the wires. The contact needs to be good enough to light the bulb reliably over bumps.
Step 11: Take the new bulb and the recycled housing and put it back into the cluster the same way you took it out. Make sure the tabs are making good contact with the cluster surface and the wires from the bulb.

Step 12: Do all the remaining bulbs. (Take note that the top 2 for the cluster are the turn signals. If you want to keep those green do not replace those.)
Step 13: After you have done all the bulbs on the cluster that you want to do you are ready to reinstall. Follow the steps backwards to reinstall your cluster. Re install the cardboard with the phillips screws.
A Word of caution. The speed and tach like to move when the cluster is tilted. Keep an eye on them and try to keep them as close to zero while reinstalling to prevent damage.
1: Put the cluster back to the dash and connect the drive indicator
2: Push gently on the cluster to snap it back into the connectors.
3: Re insert the screws and tighten to tight. DO NOT TORQUE THEM! Snug them up good
4:turn the key and flip on the lights and admire your work.

Enjoy Folks!
Last edited:


