Ian_Olivas
Senior Member
- Joined
- Oct 19, 2016
- Posts
- 325
- Reaction score
- 67
- Location
- San Antonio,Tx
- Ram Year
- 2002
- Engine
- 4.7L Magnum
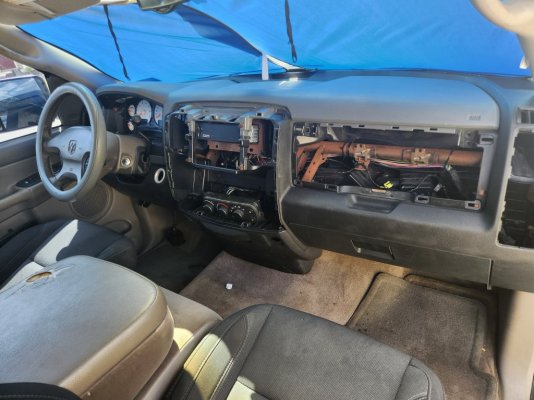
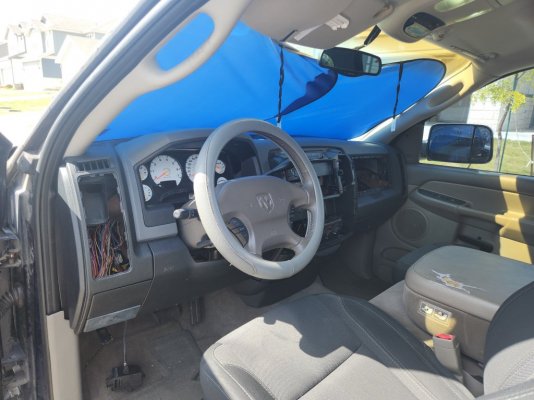
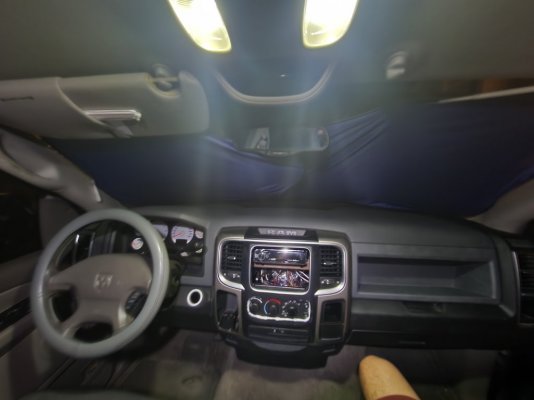
I finally did a 4th gen dash install on my truck. Thought I'd put up some pictures and talk about it a bit since I know it's a question asked a lot.
The dash mounts up perfect to the truck I did no trimming and re-used the same bolt holes. Obviously re-use the wiring harness on your third gen, and you'll need to cut it out of the plastic thing it's wrapped in. I ziptied it to the new metal frame of the dash.
For the Air bag cut the tabs on the sides and it will attach where the mount is on the 4th gen dash. For the guage cluster it was kind of a pain to get to fit. I trimmed off the mounting tabs but them found the clear plastic was too deep and the new cluster place was too shallow. So I removed the clear plastic entirely, other people that have done this cut into the dash to make it fit, I didn't feel like doing that and found it easier to remove the clear cover off the cluster. For the head light switch I trimmed it to fit and then used JB plastic weld to keep it in place, if it ever foes back I'll just unscrew the backside and replace the inside with the replacement. For the A/C controls I've seen pictures of several people that have made it a perfect fit and flush but they didn't mention how, how they mounted it, or showed the back side of the bezel. So mine doesn't look the best but used plastic putty and more JB plastic weld. I will buy another radio bezel and actually try to make it look better, I just needed the A/C controls to not fly around and get the truck driving again.
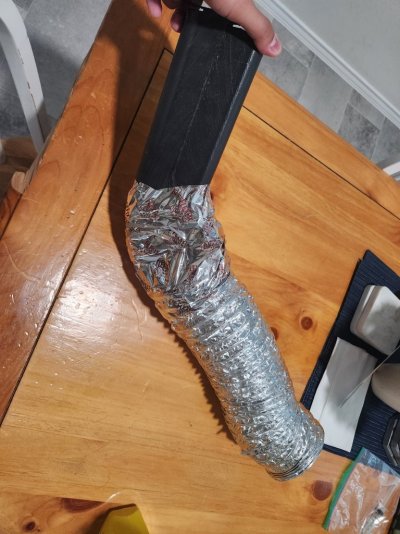
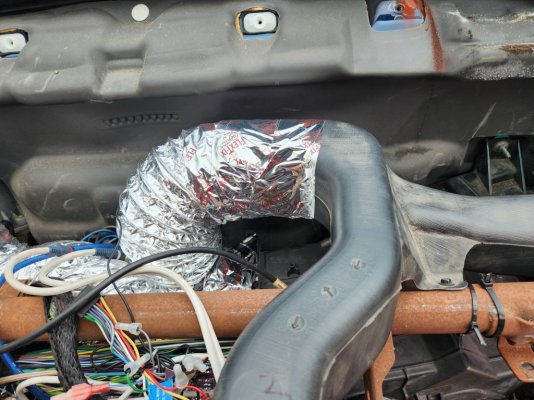
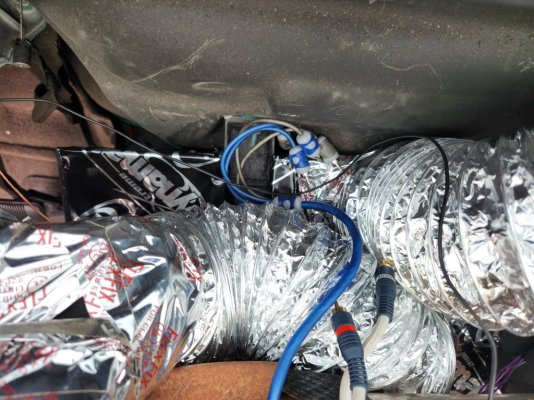
The A/C ductwork takes some imagination. I gave it some thought and found the best way was to cut the 4th gen ducts and then use dryer vent tubing to attach to the 4th gen ducts. I used left over dynamat to cover the HVAC box area where the vents would originally sit on top of and then cut a small square and shoved the dryer vent in and used some more dynamat with aluminum foil tape for a good seal. I also used dynamat to cover the area on the HVAC box where the venting went to the windshield. I didn't try to get those vents connected.
I believe I covered everything, the only fitment problem I noticed was the column shifter, while it does stay in park fine it does come in contact with the dash a bit. I will be clearing away a little of the dash in that spot just for piece of mind.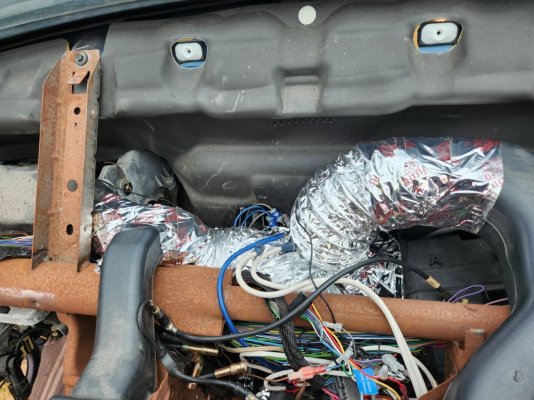


