charonblk07
Senior Member
- Joined
- Mar 14, 2013
- Posts
- 4,056
- Reaction score
- 2,072
- Location
- Calgary, Ab
- Ram Year
- 2009
- Engine
- F1-A forged 349ci
I'm am relocating my battery and adding a second battery to the bed of the truck. I need to replace my aging Yellow Top because I'm now getting a red lightening bolt every so often and I know it's not an issue with the throttle body.
The plan is to use welding cable from the local supply shop as it tends to have a higher strand count and remain flexible in the stupid cold temps out here. I hydraulically crimped every connector and ordered a 10 ton hydraulic crimping tool for $45, it survived this job so it's money well spent.
The setup will be:
Dual Optima Yellow Tops relocated to the tool box in the bed, wired in parallel w/ 1/0Ga, no solenoid
1/0Ga cable from the alt to batteries w/ 300A fuse (I've blown 250A fuses here before)
1/0Ga cable from batteries to Amp distribution block
1/0Ga cable from batteries to Moroso 74102 power shut off switch in the roll pan
1/0Ga cable from shut off switch to (1) 1/0Ga to (2) 1/0Ga distribution block
1/0Ga cable from distribution block to starter
1/0Ga cable from distribution block to (1) 1/0Ga IN to (3) 8Ga OUT distribution block
8Ga cables to fuse box, auxillary fuse box breaker, and spare
Grounds:
1/0Ga engine-frame
(2) 1/0Ga battery-frame
I debated using one Red Top and one Yellow Top but I've decided I really don't want to have a solenoid in between the two like I had originally planned. This will give me a much longer off-key run time and shouldn't cause issues with the charging system. I do forsee requiring an high amp output alternator upgrade in the future, but we'll see what happens with the JL HD 900/5s and (2) 12W6-V3s. I don't like capacitors, so I won't be using any in this build.
Got started on the install yesterday. Pretty straightforward so far. I just need to cut the floor of my tool box and bed to pass the cables through now and run them the length of the truck, everything else is installed.
I like the bracket, but it's obvious that the manufacturer didn't have a bolt in the nut when they welded it together as the nuts were warped slightly and snapped one of the grade 3 bolts they supply with just moderate pressure. So I had to tap out the holes again and I used stainless hardware instead.
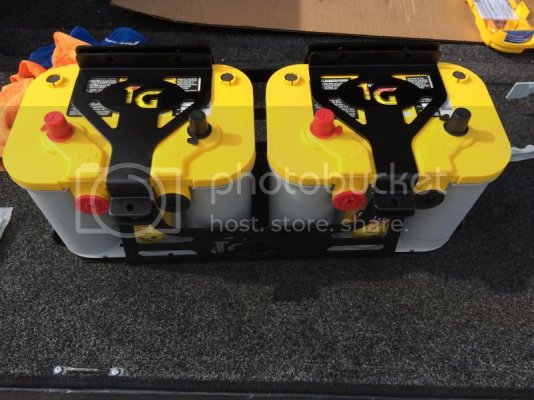
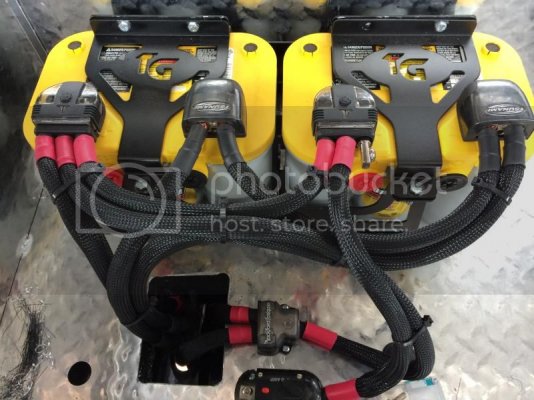
Here's the battery bracket painted and with the dual yellow tops installed.
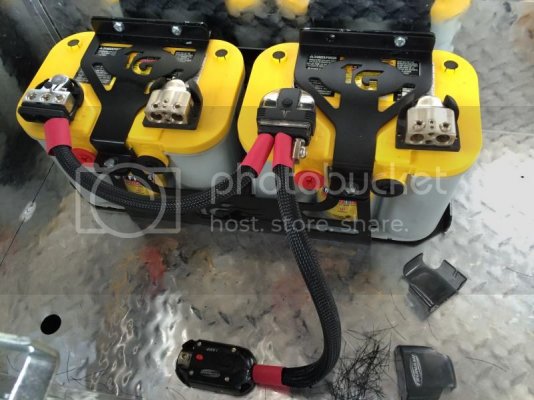
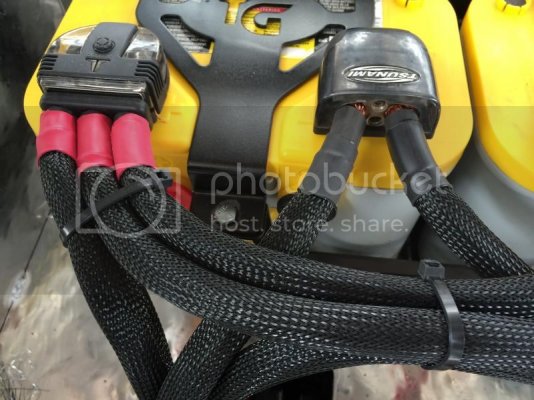
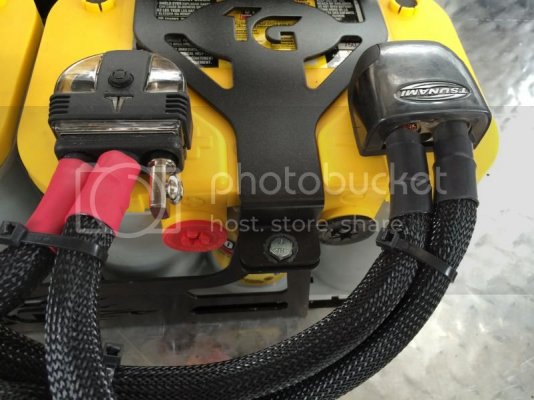
Then I started the wiring using 1/0ga welding cable. Everything is techflexed with corresponding heat shrink.
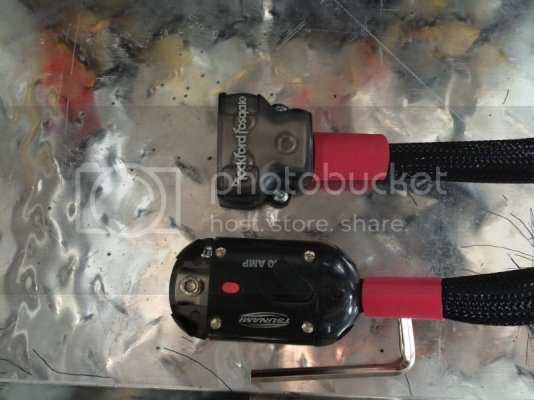
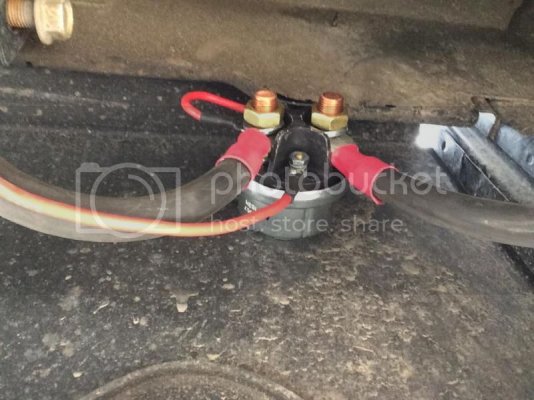
A look at the power distribution blocks. The audio system is running off a 140A breaker and the main power distribution will run one cable directly to the starter and the other will run to the Master shut-off switch then to the fuse box.
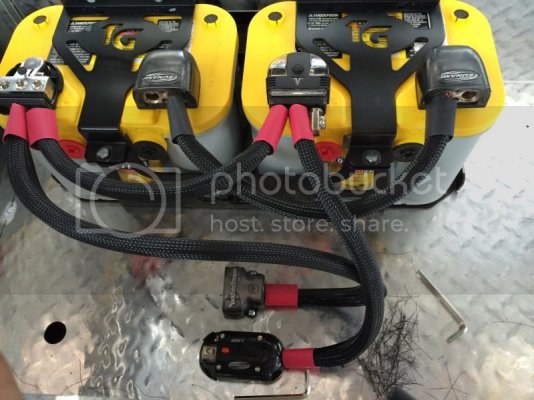
Just need to run grounds to the frame, and the long power cables. I plan to upgrade the engine-frame ground as well.
Batteries are fully installed. I couldn't get the firewall bushings to work, not enough room on the ribs of the bed floor so I resorted to good old grommets.
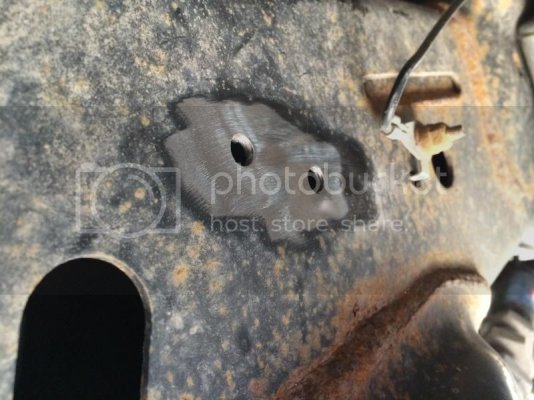
Grounds are right under the box. I drilled and taped the frame and cleaned off the paint. Bolted right into the frame, I can't get a better ground without welding directly to the frame.
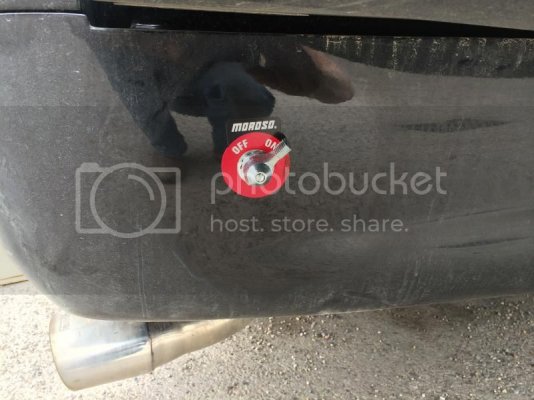
Installed the Moroso shut off in the roll pan.
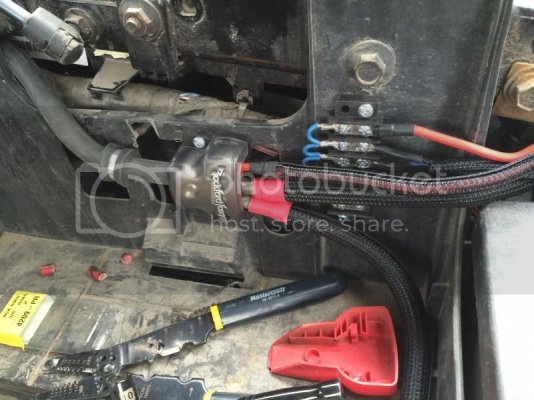
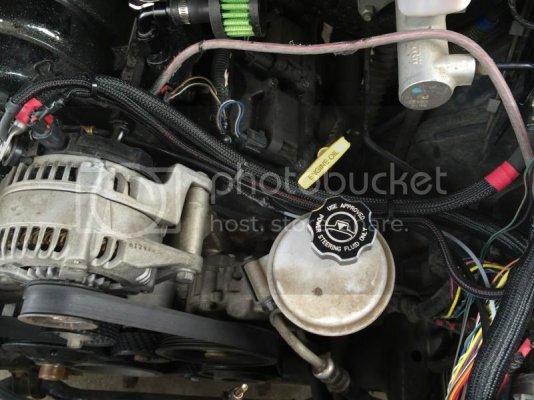
Battery is now out of the engine bay, the space was then used to install the new wiring. I also installed a ground distribution block to simplify any future underhood mods. The bolt you see is connecting the alternator to the distribution block, and it's sticking up far enough that I can get a jumper cable on it if ever required.
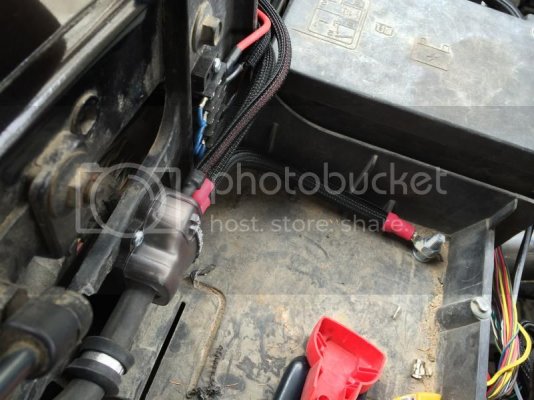
Wired right up to the alternator and runs all the way back to the batteries in the box.
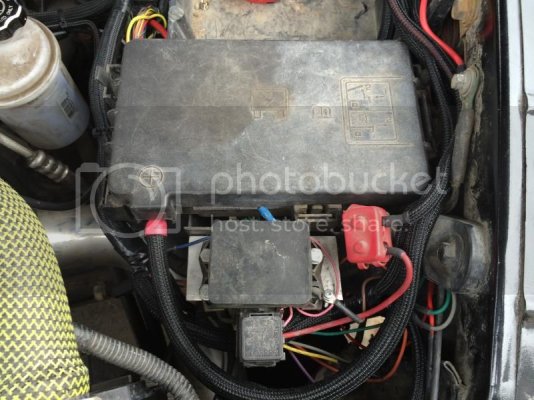
Here's the mostly cleaned up wiring with my auxiliary fuse block.
The plan is to use welding cable from the local supply shop as it tends to have a higher strand count and remain flexible in the stupid cold temps out here. I hydraulically crimped every connector and ordered a 10 ton hydraulic crimping tool for $45, it survived this job so it's money well spent.
The setup will be:
Dual Optima Yellow Tops relocated to the tool box in the bed, wired in parallel w/ 1/0Ga, no solenoid
1/0Ga cable from the alt to batteries w/ 300A fuse (I've blown 250A fuses here before)
1/0Ga cable from batteries to Amp distribution block
1/0Ga cable from batteries to Moroso 74102 power shut off switch in the roll pan
1/0Ga cable from shut off switch to (1) 1/0Ga to (2) 1/0Ga distribution block
1/0Ga cable from distribution block to starter
1/0Ga cable from distribution block to (1) 1/0Ga IN to (3) 8Ga OUT distribution block
8Ga cables to fuse box, auxillary fuse box breaker, and spare
Grounds:
1/0Ga engine-frame
(2) 1/0Ga battery-frame
I debated using one Red Top and one Yellow Top but I've decided I really don't want to have a solenoid in between the two like I had originally planned. This will give me a much longer off-key run time and shouldn't cause issues with the charging system. I do forsee requiring an high amp output alternator upgrade in the future, but we'll see what happens with the JL HD 900/5s and (2) 12W6-V3s. I don't like capacitors, so I won't be using any in this build.
Got started on the install yesterday. Pretty straightforward so far. I just need to cut the floor of my tool box and bed to pass the cables through now and run them the length of the truck, everything else is installed.
I like the bracket, but it's obvious that the manufacturer didn't have a bolt in the nut when they welded it together as the nuts were warped slightly and snapped one of the grade 3 bolts they supply with just moderate pressure. So I had to tap out the holes again and I used stainless hardware instead.
Here's the battery bracket painted and with the dual yellow tops installed.

Then I started the wiring using 1/0ga welding cable. Everything is techflexed with corresponding heat shrink.

A look at the power distribution blocks. The audio system is running off a 140A breaker and the main power distribution will run one cable directly to the starter and the other will run to the Master shut-off switch then to the fuse box.

Just need to run grounds to the frame, and the long power cables. I plan to upgrade the engine-frame ground as well.

Batteries are fully installed. I couldn't get the firewall bushings to work, not enough room on the ribs of the bed floor so I resorted to good old grommets.


Grounds are right under the box. I drilled and taped the frame and cleaned off the paint. Bolted right into the frame, I can't get a better ground without welding directly to the frame.

Installed the Moroso shut off in the roll pan.


Battery is now out of the engine bay, the space was then used to install the new wiring. I also installed a ground distribution block to simplify any future underhood mods. The bolt you see is connecting the alternator to the distribution block, and it's sticking up far enough that I can get a jumper cable on it if ever required.


Wired right up to the alternator and runs all the way back to the batteries in the box.

Here's the mostly cleaned up wiring with my auxiliary fuse block.


