Best Mods for Under $100

Disclaimer: Links on this page pointing to Amazon, eBay and other sites may include affiliate code. If you click them and make a purchase, we may earn a small commission.

JOHRY

Senior Member
Joined
Apr 5, 2018
Posts
189
Reaction score
94
Location
Ontario, Canada
Ram Year
2019
Engine
EcoDiesel 3.0
I cannot find the Glovebox kit (Diesel Grey) for under $100 anywhere. If anyone comes across one (USA or Can) PM me.
 

DocCasualty

Junior Member
Joined
Apr 1, 2018
Posts
22
Reaction score
23
Location
Northern Michigan
Ram Year
2015 Big Horn
Engine
5.7L Hemi
Did the cabin filter mod yesterday. Kind of tough working under there. I used a Dremel and it didn’t look pretty but function is fine. Thank goodness it’s hidden away!

I decided to use the K&N VF2013 reusable filter; seems like a cost effective approach with the price of the disposable filters.
 

Ramm5.7

Senior Member
Supporting Member
Joined
Sep 23, 2017
Posts
5,321
Reaction score
7,351
Location
So Cal
Ram Year
2019 Ram 1500 Classic Bighorn
Engine
5.7 Hemi
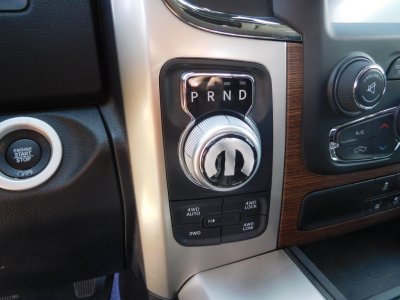
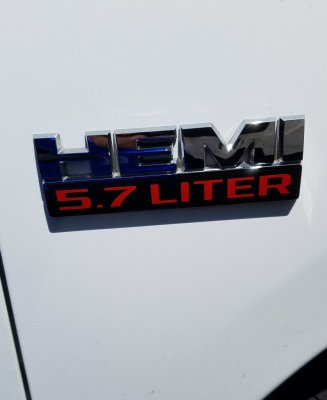
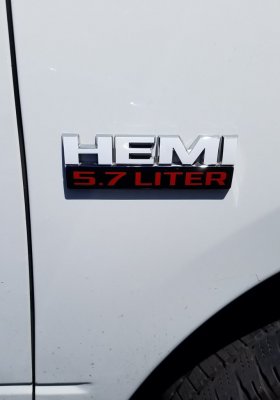
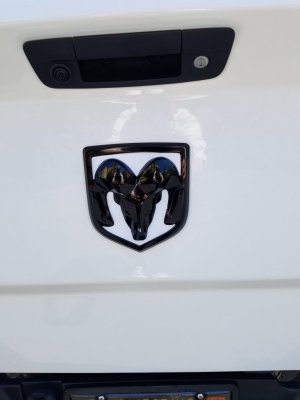
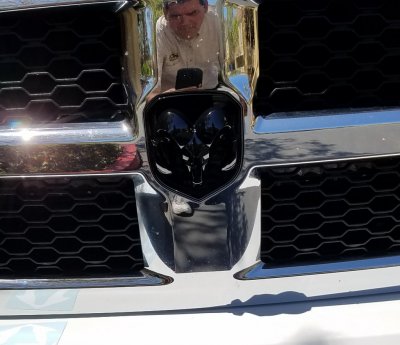
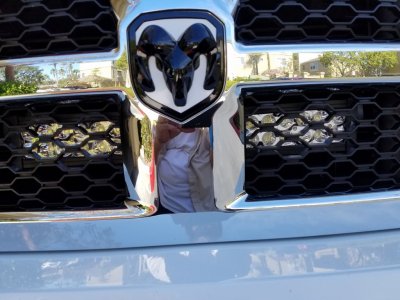
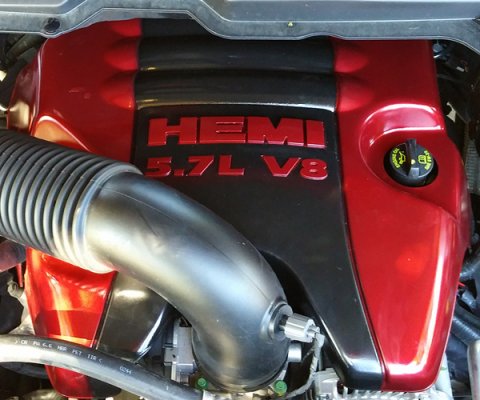
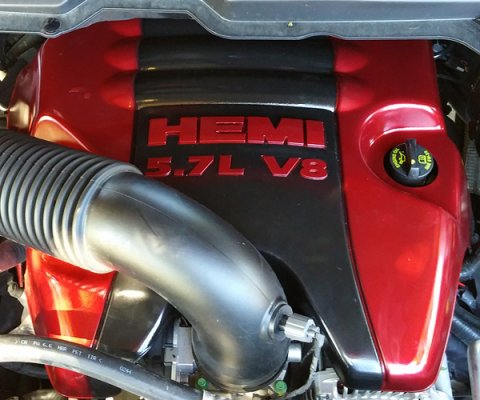
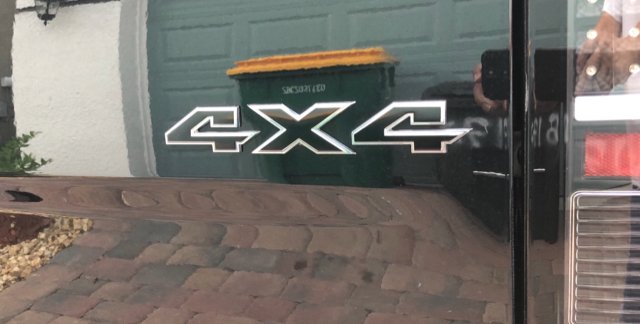
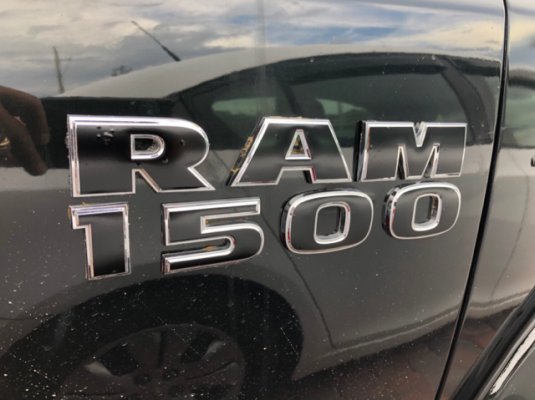
Emblem stickers....24$ for these..12 more for engine cover (not on yet)

20180507_111517.jpg

20180507_112021.jpg

20180507_111118.jpg

20180507_113432.jpg

20180508_145811.jpg
 

gofishn

Senior Member
Joined
Sep 12, 2014
Posts
5,082
Reaction score
10,143
Location
Iowa
Ram Year
2022 Ram 1500 5th Gen, Big Horn, 4X4, Crew Cab, 6'4" Box
Engine
hemi 5.7L, 345 cu in
Looks good!
What did you use to paint it?

From my build thread:
http://www.ramforum.com/threads/gof...s-crew-cab-4x4-cherry-red-build-thread.83021/

First, I got some of those plastic gloves, not unlike what you see in a doctors office. Skin has oils and those oils will cause paint issues. Fish eyes and the like.

Next, I used a quality paint thinner and a clean linen rag.
Old T-shirts work well.
Then used those, liberally doused with paint thinner, to clean the entire engine cover. Once cleaned, allowed it to dry.

Grabbed a can of plastic adhesive promoter, which can be bought at wal-mart or automotive parts store. (NOTE: Try to stay within the same brand for all your paints. Just makes things a little easier, since they are designed to work together, I do not recommend one, over another.)

Sprayed very light coats, on the well cleaned engine cover, according to directions on the can.

Figured it was far better to lay down the adhesive promoter, LIGHTLY, LIGHTLY, LIGHTLY. And allowing it plenty of time to dry, properly.

I want that STICK, to the engine cover, so my paint can stick, to it.

Once the adhesive promoter was dry. I then did the same with the Primer.
Applying light coats, according to the can itself.

Did more than a few coats of Primer, since I was going to sand this down, to try and smooth out the texture of the engine cover. If you look closely, it has a slightly bumpy surface. I wanted it smooth as a baby's bottom.

After sanding the primer, needed to re-clean the engine cover, as stated above. Then applied final coat of primer.

After that final coat of primer dried, started in on paint.

Now, some guys have gone all out, using lots of colors, some have even done fine artwork. I;m not an Artist and figured two colors was plenty. The color of my truck and good old black, everything matches black.

Masked off & painted the middle section, first.

Once dry, taped it off and painted the sides.
(NOTE: If you are planning on doing two different colors, in your middle section. Say, Gloss black and flat black, this is the time to do second color.)

Once the completed middle section was done and dry, taped it off.

Simply too my time, used good paint tape.

Letters could have been bought, on ebay , as perfect fit stickers but then it is only the top of the letter that has color. I decided to tape off the letters allowing me to get paint on the sides of the letters too.

Once everything was painted, clear coat everything.
I used four coats of paint, followed by four coats of clear.
 

Hansolo

Junior Member
Joined
Apr 21, 2018
Posts
24
Reaction score
17
Location
Woodlands, TX
Ram Year
2018 Ram 1500 Express Quad cab
Engine
Hemi 5.7
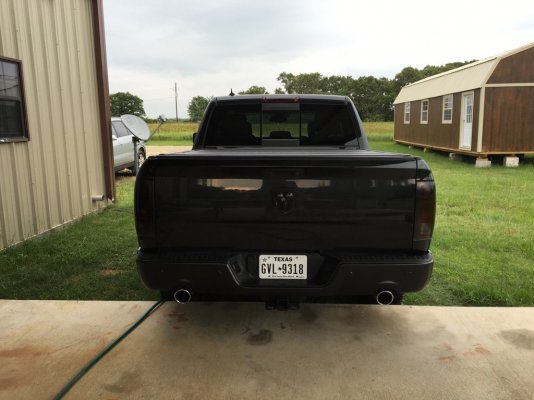
Got some reflective concepts overlays.

621c372287de5597f0a121600312a356.jpg


Your paint job is so reflective that I almost couldn't tell what color it was! Ha

Didn't know they came in the 'mirror' color. ;)
 

BiGMERF

Senior Member
Joined
May 9, 2017
Posts
1,738
Reaction score
793
Location
Florida
Ram Year
2017 SLT 4x4
Engine
v6
Your paint job is so reflective that I almost couldn't tell what color it was! Ha

Didn't know they came in the 'mirror' color. ;)

Lol. Glossy black.


Sent from my iPhone using Tapatalk
 

HEMI_Finn

U.S. ARMY Veteran
Joined
Aug 12, 2016
Posts
535
Reaction score
309
Location
N.E. Ohio
Ram Year
2014
Engine
5.7 HEMI
Replaced the factory fog bulbs with PIAA ION Yellow 2500K bulbs. Looks great sitting in the garage, actually looking forward to some crappy weather to really see what they can do. Best part is they were only $50 shipped, new, on ebay!
 

HandyAndy09

Member
Joined
May 14, 2015
Posts
50
Reaction score
48
Location
Edmonton, Alta
Ram Year
2017
Engine
6.4 HEMI
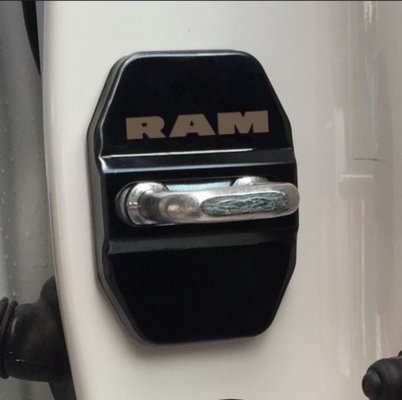
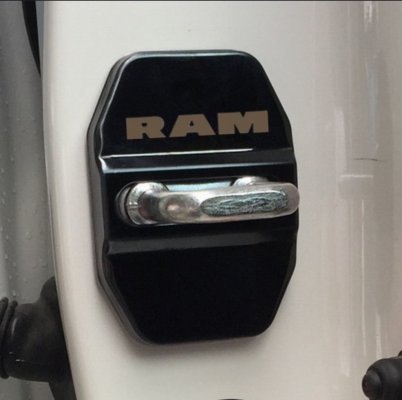
Question for all of you who bought and installed this covers

4196f206a8a455b8f22ef0d45fd39c78.jpg

Did you have any problems with installation? In my 2500 no mater what I do , I can’t get them to stick properly and even with completely squished tape between them I have 1/8” gap all around and I’m not able to close doors with them like that. What am I doing wrong?


Sent from my iPhone using Tapatalk
 

kad

Senior Member
Supporting Member
Joined
Jul 10, 2017
Posts
2,781
Reaction score
2,299
Location
Hudson Valley, NY
Ram Year
2014
Engine
5.7L HEMI
Question for all of you who bought and installed this covers

4196f206a8a455b8f22ef0d45fd39c78.jpg

Did you have any problems with installation? In my 2500 no mater what I do , I can’t get them to stick properly and even with completely squished tape between them I have 1/8” gap all around and I’m not able to close doors with them like that. What am I doing wrong?


Sent from my iPhone using Tapatalk

I have them installed, but on a 1500. There is a small gap, but only about 1/16" and the doors close with no problems. As far as getting them to stick, I cleaned the area thoroughly, first with a degreaser (simple green) and then a wipedown with 93% rubbing alcohol just before installation. It's been a couple of months and they're sticking fine so far.

-K
 
Top