Aux Switch Location Suggestions

Disclaimer: Links on this page pointing to Amazon, eBay and other sites may include affiliate code. If you click them and make a purchase, we may earn a small commission.

shadowhawk

Senior Member
Joined
Oct 30, 2017
Posts
3,620
Reaction score
2,813
Location
Southeast WI
Ram Year
Black metallic 2016 Sport- born 05/2016
Engine
hemi 5.7 with I2 tune
I was wondering the same thing, so either bed lights, or aux lights for the back of the truck. The oem panel suggested might be ok if you don't have a 2-row panel already installed. I have 2 rows of switches already, but I have an open spot. I'd rather take the open spot and use an OEM switch if I could.
 

MarshRam

Senior Member
Joined
May 24, 2017
Posts
2,209
Reaction score
1,414
Location
Florida
Ram Year
2014 SLT 4x4, 2012 ST
Engine
Hemi 5.7
Im considering fitting this panel inside the tray below my head unit. It will provide easy/quick access to the switches. Obviously only needed if you plan on needing a few switches.

switch panel,12 volt on off switch
 

JB1

Senior Member
TOTM Winner
Joined
Nov 3, 2011
Posts
8,366
Reaction score
7,529
Location
Houston, Texas
Ram Year
2017
Engine
Hemi 5.7
Here's where I put a couple. Decent room and easy to get at

2b95d3eb952f34e146c2c8e277f05503.jpg


2011 Laramie crew,295/65R20 Toyo AT2s extreme,bully dog tuner, led light conversion inside and out, iron cross bumper,12,000lbs warnwinch 1/2" spectra line,levelled,red bumper halos with led fog lights,black grills with led pods behind


How do you remove that panel?
 

tylerlewis_89

Member
Joined
Jun 18, 2017
Posts
52
Reaction score
19
Ram Year
2011
Engine
5.7
How do you remove that panel?


You start by removing the panel below the steering wheel that has the hood pull on it there is 2 hex screws at the bottom then just a bit of pull force.
After that there is 3 hex screws at the top dash cluster that takes a bit of force as well and playing the the tilt steering a bit.
Then if I recall the other piece where I put the switches is just a snap in piece that pulls off.
You have to do a bit of aligning of where there switches will go to make sure everything recesses properly to snap back together. There is a hole behind to run wires. Kinda hard to explain but you will see what I mean when you have it apart. I had to do some filing to make thing fit properly and cuz I didn’t want the switch wires being all pushed tight and the prongs bent.

It’s pretty straight forward only couple of screws most of the dash is pop together. I used some plastic tools to pop dash part but but did resort to the steel ones after the other ones proved useless

Hope that helps Never bin good at writing or remembering haha


Sent from my iPhone using Tapatalk
 

muddy12

Senior Member
Joined
Jul 26, 2016
Posts
1,030
Reaction score
800
Location
Indiana
Ram Year
2012
Engine
5.7 Hemi
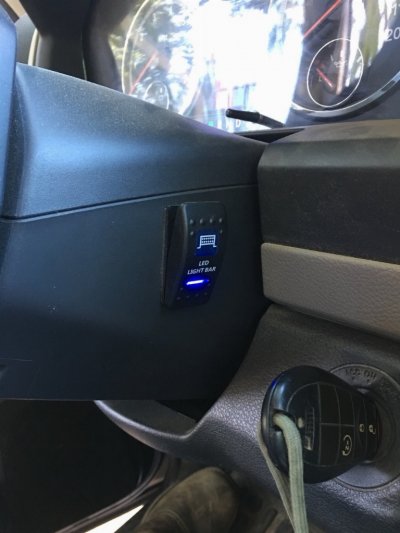
Think there was a pic in the other thread, but here’s where I mounted the switch for my LED bar.
1d2e77f238f787fe823b74f51e512097.jpg


Sent from my iPhone using Tapatalk
 
OP
OP
stimpy433

stimpy433

Senior Member
Joined
Mar 10, 2016
Posts
3,583
Reaction score
3,165
Location
IOWA
Ram Year
2014
Engine
3.6
Here's where I put a couple. Decent room and easy to get at

2b95d3eb952f34e146c2c8e277f05503.jpg

I thought about putting my switch there but thought that was part of the whole dash and not a separate little piece by itself. I will have to check that out this weekend.
 
Joined
Dec 2, 2017
Posts
57
Reaction score
28
Location
Manchester, CT
Ram Year
2014
Engine
5.7
Let me know what is said if you hear anything, I am going to opt for the factory aux switches from a 2500.
 
OP
OP
stimpy433

stimpy433

Senior Member
Joined
Mar 10, 2016
Posts
3,583
Reaction score
3,165
Location
IOWA
Ram Year
2014
Engine
3.6
I thought about putting my switch there but thought that was part of the whole dash and not a separate little piece by itself. I will have to check that out this weekend.

Well, on my 2014 that part of the dash trim isn't a separate piece, it's part of the whole dash. That sucks!!!
 

JRam5.7

Senior Member
Joined
Oct 17, 2017
Posts
143
Reaction score
90
Location
Treasure Coast FL
Ram Year
2017
Engine
5.7L
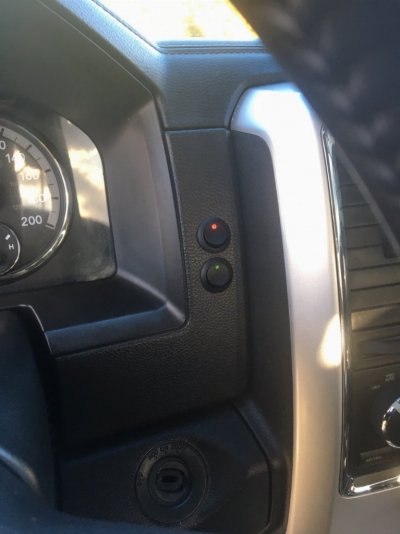
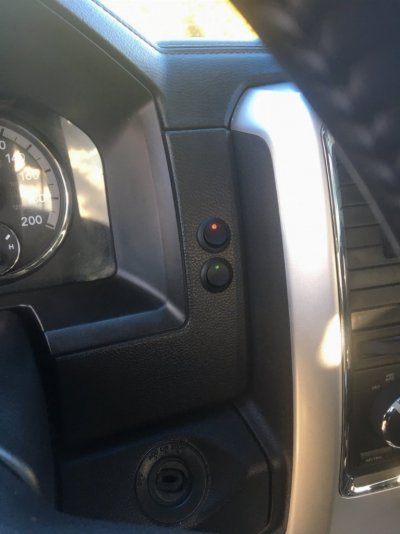
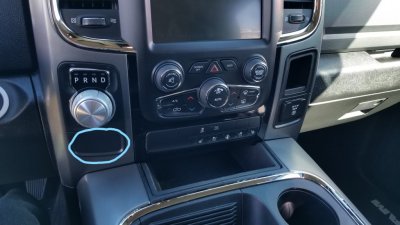
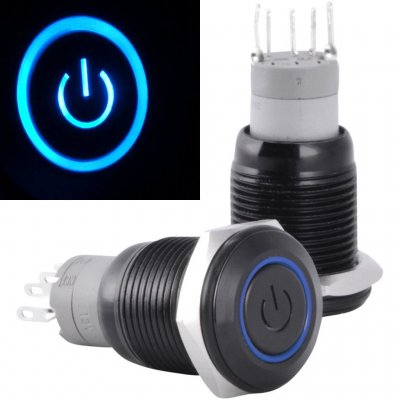
I'm hoping this setup will work for my front camera and lightbar, 2 latching led 16mm buttons under the shift dial....

20171231_111355_LI.jpg

s-l1600.jpg
 

MarshRam

Senior Member
Joined
May 24, 2017
Posts
2,209
Reaction score
1,414
Location
Florida
Ram Year
2014 SLT 4x4, 2012 ST
Engine
Hemi 5.7
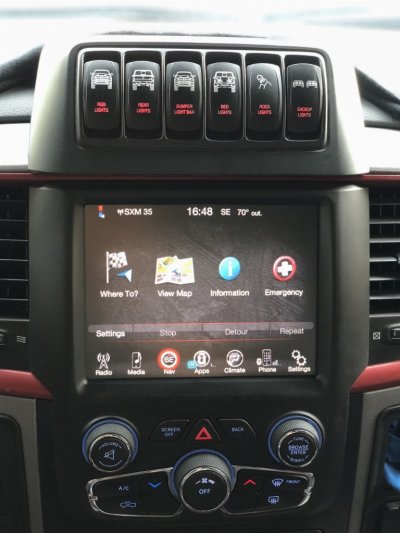
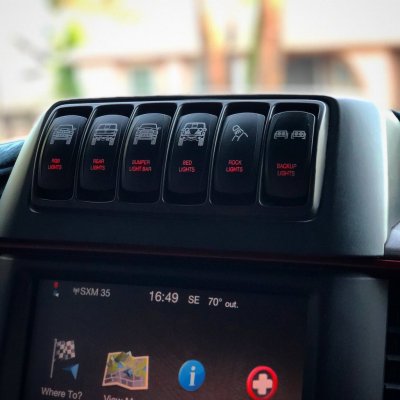
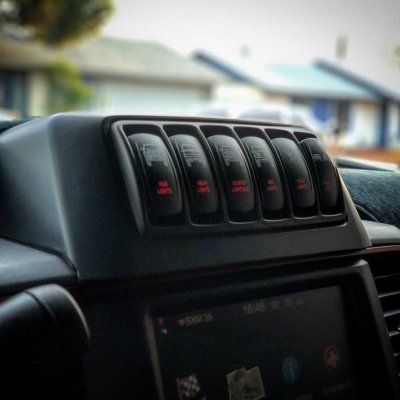
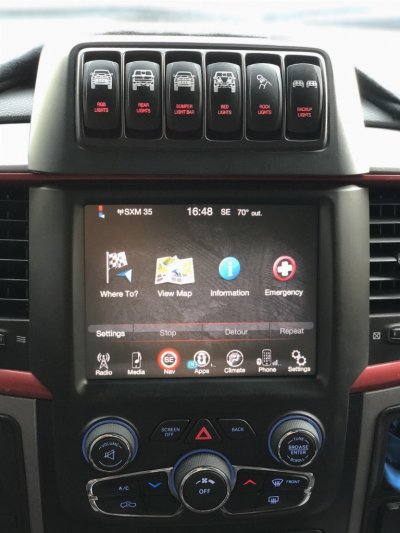
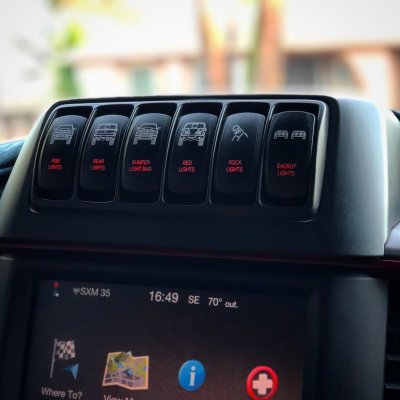
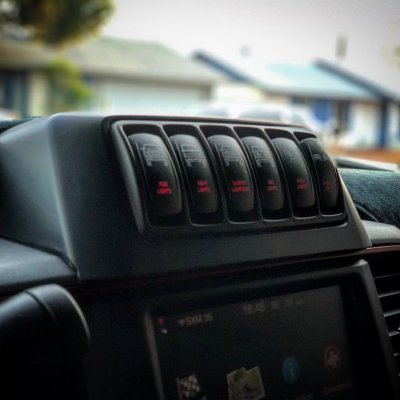
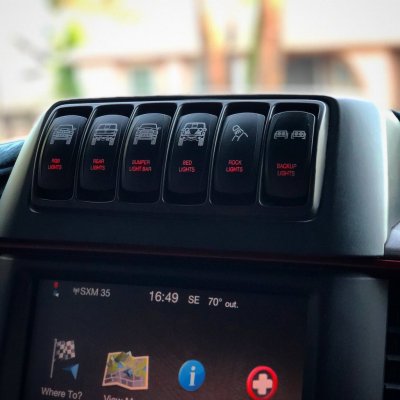
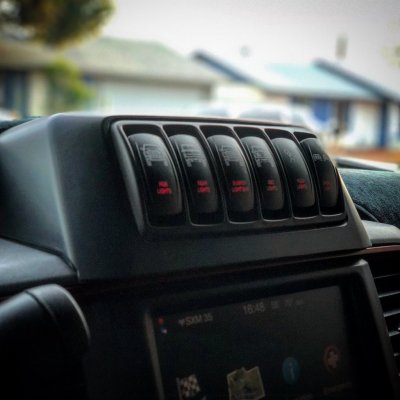
I recently installed this AEV Conversions switch panel with switches from OTRATTW:


Tell us more, a few of us have been eyeballing this switch pod. Pros/Cons? I believe you have to buy the switches separately from the pod, did you go with their recommended switches or another brand? What were your costs? Did you hook something up to each switch, etc.....really interested to hear about your overall experience.

Thanks!

uLjfCkZ.jpg
YofkXeq.jpg
rkLjbfv.jpg
 

wangatang

Member
Joined
May 30, 2014
Posts
52
Reaction score
28
Location
AZ
Ram Year
2014
Engine
Cummins 6.7
Tell us more, a few of us have been eyeballing this switch pod. Pros/Cons? I believe you have to buy the switches separately from the pod, did you go with their recommended switches or another brand? What were your costs? Did you hook something up to each switch, etc.....really interested to hear about your overall experience.

I bought the switches from OTRATTW. Check their site for pricing on the switches you'd want. I had 3 of them installed in the panel above the parking brake release, and 2 installed in the knee panel below the steering wheel. They're Contura V switches; AEV recommends Contura II and I can see why: the V switches are a bit wider and rub on the framework of the panel. It's a tight fit but all switches work fine, just a bit tight is all. The switch bodies for Contura 2/5 are the same, it's just the rocker that's different.

The switches trigger a relay panel I bought a couple years ago, one of the waterproof Bussman boxes. Here's a link on how to make one yourself if you're so inclined: http://www.bodenzord.com/archives/473. The switches are rated for 15a or so, but I don't want that much current coming inside the cab so I kept the wiring simpler and only used relay triggers.

As far as wiring, AEV recommends quick disconnects for the switch wiring and I 1000% agree with this. IF you don't put a quick disconnect up at the panel, you'll have to disconnect each switch to remove your dash bezel. I used some two 8-pin EPS computer cable extensions and spliced my switch wiring to that. Here's a cheap cable on Amazon as an example: https://www.amazon.com/StarTech-com...&qid=1515604467&sr=8-4&keywords=eps+extension

Can go crazy with other colors too if you wanted: https://www.amazon.com/BitFenix-Alc...qid=1515604467&sr=8-16&keywords=eps+extension


All in all, the process was fairly simple. I just had to extend the wiring from my existing switch locations to the new panel. I spent a couple hours in the house making the new wiring harness, and spent about an hour in the cab running the new harness and making the connections. The physical panel install took all of 5-10 minutes. AEV's instructions are good, but I've also removed my dash bezel a few times doing the RA4 swap and such.
 

MarshRam

Senior Member
Joined
May 24, 2017
Posts
2,209
Reaction score
1,414
Location
Florida
Ram Year
2014 SLT 4x4, 2012 ST
Engine
Hemi 5.7
I bought the switches from OTRATTW. Check their site for pricing on the switches you'd want. I had 3 of them installed in the panel above the parking brake release, and 2 installed in the knee panel below the steering wheel. They're Contura V switches; AEV recommends Contura II and I can see why: the V switches are a bit wider and rub on the framework of the panel. It's a tight fit but all switches work fine, just a bit tight is all. The switch bodies for Contura 2/5 are the same, it's just the rocker that's different.

The switches trigger a relay panel I bought a couple years ago, one of the waterproof Bussman boxes. Here's a link on how to make one yourself if you're so inclined: http://www.bodenzord.com/archives/473. The switches are rated for 15a or so, but I don't want that much current coming inside the cab so I kept the wiring simpler and only used relay triggers.

As far as wiring, AEV recommends quick disconnects for the switch wiring and I 1000% agree with this. IF you don't put a quick disconnect up at the panel, you'll have to disconnect each switch to remove your dash bezel. I used some two 8-pin EPS computer cable extensions and spliced my switch wiring to that. Here's a cheap cable on Amazon as an example: https://www.amazon.com/StarTech-com...&qid=1515604467&sr=8-4&keywords=eps+extension

Can go crazy with other colors too if you wanted: https://www.amazon.com/BitFenix-Alc...qid=1515604467&sr=8-16&keywords=eps+extension


All in all, the process was fairly simple. I just had to extend the wiring from my existing switch locations to the new panel. I spent a couple hours in the house making the new wiring harness, and spent about an hour in the cab running the new harness and making the connections. The physical panel install took all of 5-10 minutes. AEV's instructions are good, but I've also removed my dash bezel a few times doing the RA4 swap and such.

Excellent info. Thanks!
 

blackbetty14

Senior Member
Joined
Oct 23, 2014
Posts
2,701
Reaction score
1,425
Location
CT
Ram Year
2024
Engine
Hemi 5.7 VVT/Etorque
I recently installed this AEV Conversions switch panel with switches from OTRATTW:

uLjfCkZ.jpg
YofkXeq.jpg
rkLjbfv.jpg

Did u photoshop the last image? Otherwise your last button on the right just dissapears lol.
 
Top