

henrymills69
Junior Member
First post here, so be gentle (or not)!
If you are reading this, you probably have information overload on the process of putting a center console where it never existed from the factory. There are PLENTY of knowledgeable members here so I'm not going to rake over the same info, but hopefully my pics and the explanations are on point. I don't know how to insert explanations next to pics so sorry ahead of time for that, but they are uploaded in order (let the first post trash talk begin)! Shall we?
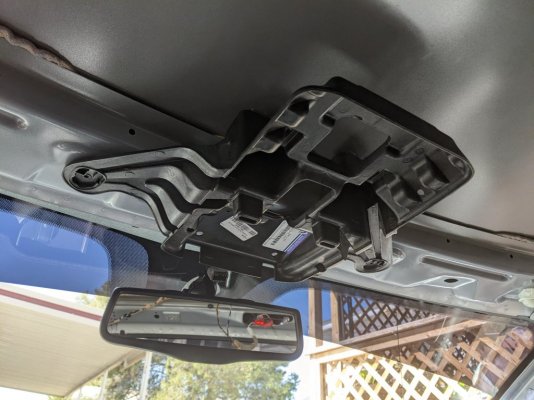
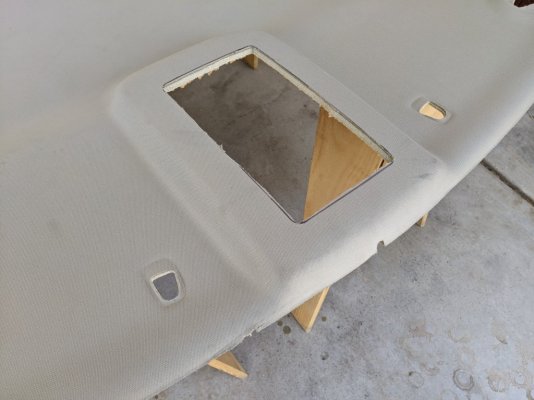
I have a regular cab, so removing the headliner is WIN! Put your mount in place (the one that screws on through the visor clips), then use the black inside piece of the overhead (not the grey frame) to pencil where to cut on the headliner. I probably went right next to the mounting clip holes on the sides, but an eighth of an inch inwards on the top and bottom edges.
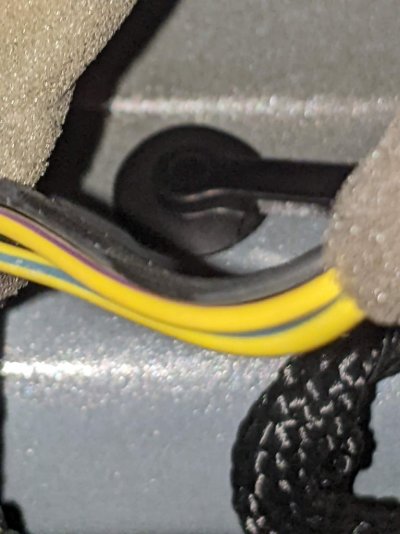
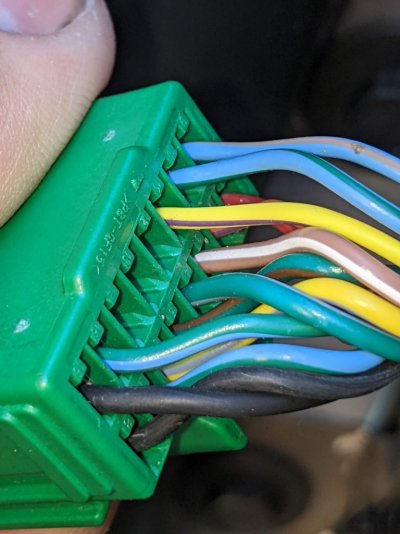
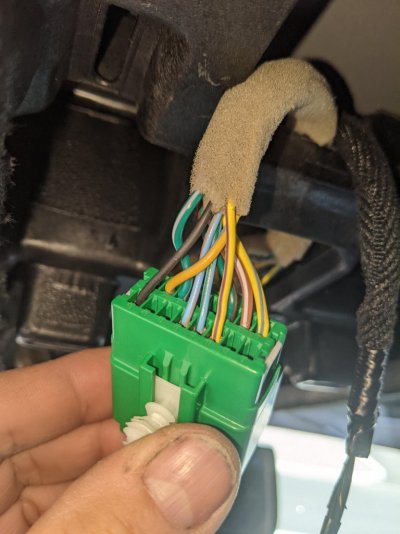
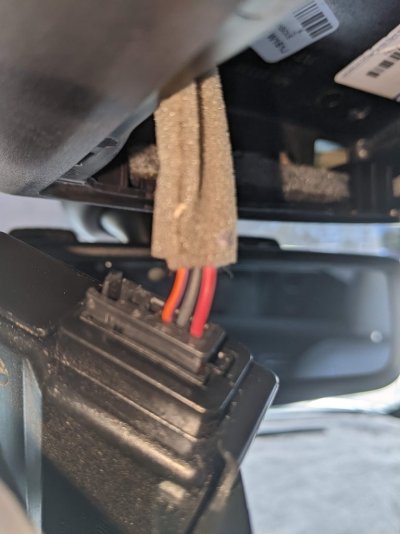
The famed YW/BL wire for the lights. My truck is a 2015 tradesman. The harness (and overhead) I got on ebay was off a 2017 who knows what. When looking at the bottom side of green plug on my truck, the wiring was there for both the overhead lights and the compass. The YL/BL wire on the harness I got on eBay is there coming off the 3 wire plug for the lamps, BUT it makes a u-turn upstream, where you now plug in your dome light that was originally way down A pillar land. Oh and look... see that light blue wire with green stripe? Yeah... the juice you are looking for. If you haven't installed everything yet, go ahead and put a jumper from YL/BL to LT blue/Grn. You shouldn't need to mess with moving pins, cutting, etc. Unless you already closed everything up that is... then it's decision time.
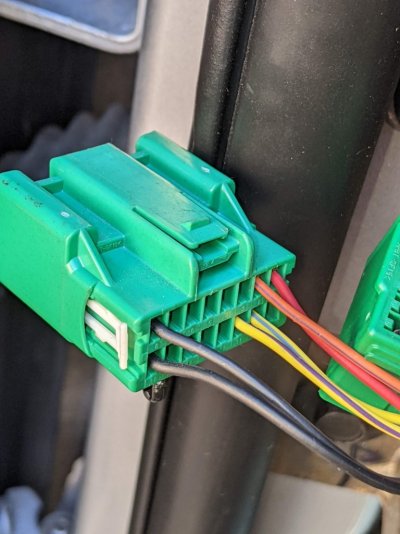
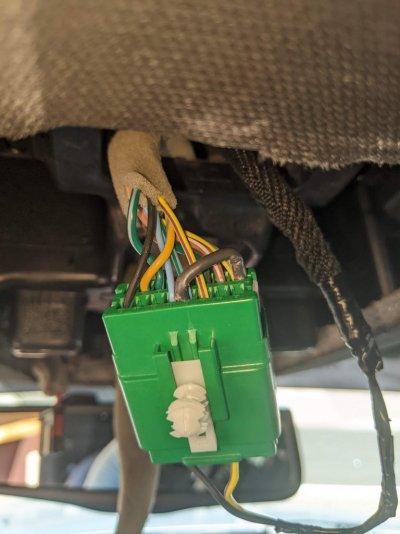
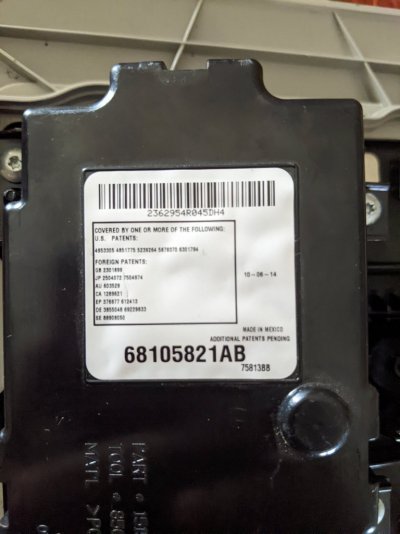
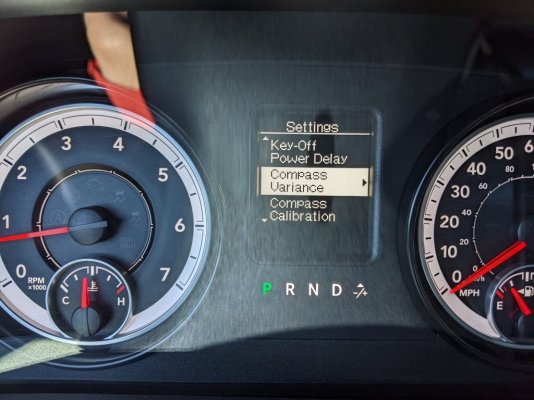
The compass. My eBay harness also had the plug for the compass. There's a pic here of the compass part # that came with my overhead, and the plug too. It has 4 holes, but only three wires going to it. All I can say here is shop wisely. This part could not be easier than just plug and play. BUT, don't get sucked into the void of, "Why is it not working?" AlfaOBD is the clue. In my case and hopefully yours, the truck had the wiring there but you need to turn 4 things on in the Body Control Module menu, then there is a 'customer misc' options area in there somewhere (sorry for the ball drop) where you need to set the following settings:
Show Compass Heading - YES
Compass Mounting Orientation/Angle - 0 degrees
EOM Present - YES (this one is the answer to the dashes on the screen you've read about)
Compass Variance - YES (this is a number depending on where you live... do a google search for 'compass variance' and you get your answer for later)
Compass Calibration - YES
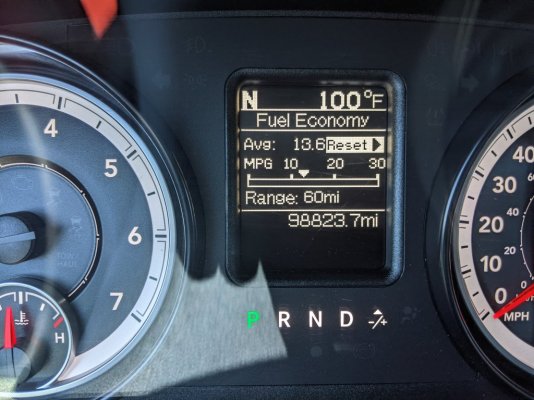
Once you have those set, then you will see the compass settings in the menu. Set your compass variance number from earlier, then select to calibrate compass and drive in a circle 2 or 3 times. I suggest a shopping center parking lot... no reason. Why do you ask?
Crack open that tasty beverage and bask in all the glory of 'you'!
H
If you are reading this, you probably have information overload on the process of putting a center console where it never existed from the factory. There are PLENTY of knowledgeable members here so I'm not going to rake over the same info, but hopefully my pics and the explanations are on point. I don't know how to insert explanations next to pics so sorry ahead of time for that, but they are uploaded in order (let the first post trash talk begin)! Shall we?
I have a regular cab, so removing the headliner is WIN! Put your mount in place (the one that screws on through the visor clips), then use the black inside piece of the overhead (not the grey frame) to pencil where to cut on the headliner. I probably went right next to the mounting clip holes on the sides, but an eighth of an inch inwards on the top and bottom edges.
The famed YW/BL wire for the lights. My truck is a 2015 tradesman. The harness (and overhead) I got on ebay was off a 2017 who knows what. When looking at the bottom side of green plug on my truck, the wiring was there for both the overhead lights and the compass. The YL/BL wire on the harness I got on eBay is there coming off the 3 wire plug for the lamps, BUT it makes a u-turn upstream, where you now plug in your dome light that was originally way down A pillar land. Oh and look... see that light blue wire with green stripe? Yeah... the juice you are looking for. If you haven't installed everything yet, go ahead and put a jumper from YL/BL to LT blue/Grn. You shouldn't need to mess with moving pins, cutting, etc. Unless you already closed everything up that is... then it's decision time.
The compass. My eBay harness also had the plug for the compass. There's a pic here of the compass part # that came with my overhead, and the plug too. It has 4 holes, but only three wires going to it. All I can say here is shop wisely. This part could not be easier than just plug and play. BUT, don't get sucked into the void of, "Why is it not working?" AlfaOBD is the clue. In my case and hopefully yours, the truck had the wiring there but you need to turn 4 things on in the Body Control Module menu, then there is a 'customer misc' options area in there somewhere (sorry for the ball drop) where you need to set the following settings:
Show Compass Heading - YES
Compass Mounting Orientation/Angle - 0 degrees
EOM Present - YES (this one is the answer to the dashes on the screen you've read about)
Compass Variance - YES (this is a number depending on where you live... do a google search for 'compass variance' and you get your answer for later)
Compass Calibration - YES
Once you have those set, then you will see the compass settings in the menu. Set your compass variance number from earlier, then select to calibrate compass and drive in a circle 2 or 3 times. I suggest a shopping center parking lot... no reason. Why do you ask?
Crack open that tasty beverage and bask in all the glory of 'you'!
H
Attachments
-
 PXL_20220511_164222542.MP.jpg139.2 KB · Views: 42
 -
 PXL_20220511_184511185.MP.jpg144.9 KB · Views: 42
 -
 PXL_20220516_042256248.jpg99.1 KB · Views: 38
 -
 PXL_20220516_151629263.jpg116.9 KB · Views: 39
 -
 PXL_20220516_153129021.jpg109.2 KB · Views: 37
 -
 PXL_20220516_170214844.jpg113.4 KB · Views: 38
 -
 PXL_20220516_170551552.jpg99.1 KB · Views: 38
 -
 PXL_20220507_172351107.MP.jpg94.8 KB · Views: 39
 -
 PXL_20220516_173208148.jpg90.8 KB · Views: 41
 -
 PXL_20220516_201600268.MP.jpg133.5 KB · Views: 41
 -
 PXL_20220516_201640712.MP.jpg147.9 KB · Views: 41