breal201999
Senior Member
- Joined
- Aug 7, 2016
- Posts
- 274
- Reaction score
- 179
- Ram Year
- 2016
- Engine
- Hemi 5.7
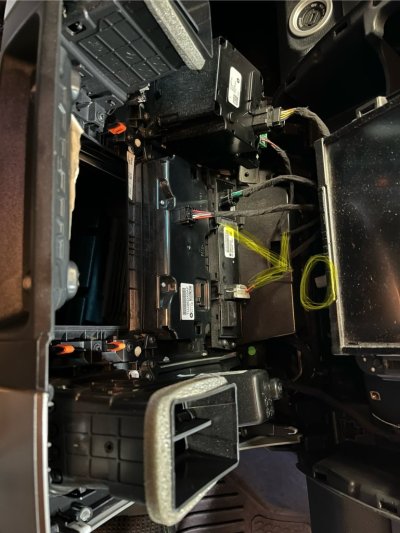
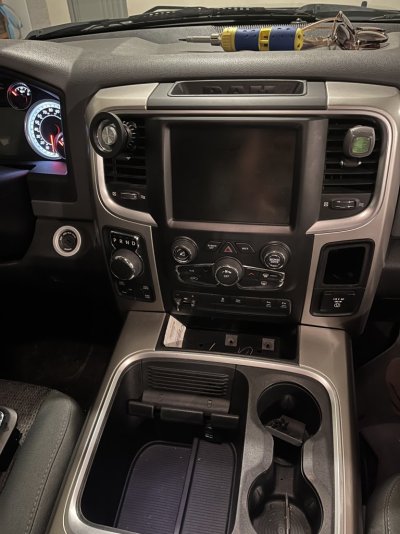
I’ve got to replace the HVAC controls due to busted volume knob, and I’ve unscrewed the two at the top, two at the bottom, and the one above the outlet. I can pull straight back and it disconnects from the tabs. But it still seems stuck toward the bottom, and won’t tilt out. I’m thinking I’ve got to remove the whole center console??? Or at least loosen the console to finally remove the dash panel???
Attachments
Last edited: