Put a sandwich Baggie on your hand, feel your paint. If its not smooth... Clay and clay well. Always check your work before moving onto the next step.
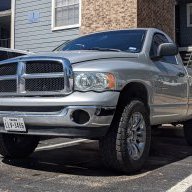
I'm in the middle of a 20-25 hour correction myself. On my NEW truck. I took from dealer stock, so the level of zippers, jacket metal, belt buckles, purse hardware, pant rivets, kids dragging fingers... On my paint is heavy. This truck has 130 mi on it. 89 mi by me.
I'm using a Flex and a PC.
Using a mix of my fav products. The ONLY Meg's products I use is the M105 and M205. that's a heavy cut correcting polish to get out the damage, then I step it down with Adams Swirl/Haze Remover then to M205 Polish.
After that, Adams machine Super Sealant (or quick sealant if you'd like). I'll let that ride on the truck for a few days. Then wash again and top off with brilliant glaze (Adams) and Americana Paste Wax.
Once I go thru all that, it's a must to use a 2 bucket wash and dry proper. That keeps my hard work alive and I shouldn't have to go to this level of repair again.
I'll add a pic. It's an iphone5 pic tho...
Look around the halogen lights and you'll see the swirls and cuts in the clear coat. THAT... Is all over this 130mi truck.
The sandwich baggie or plastic grocery bag works AWESOME! Only do this on a freshly cleaned car however. Also, don't just do it on the hood and think the whole car is good. behind the wheels and the tailgate or back of a car are almost always the worst areas for contamination to stick. It's a negative pressure area so dirt just gloms on and never gets blown away.
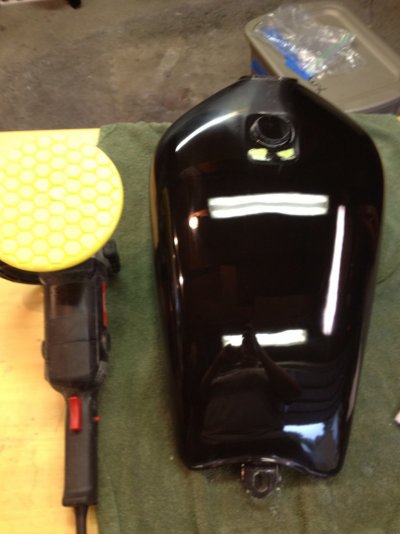
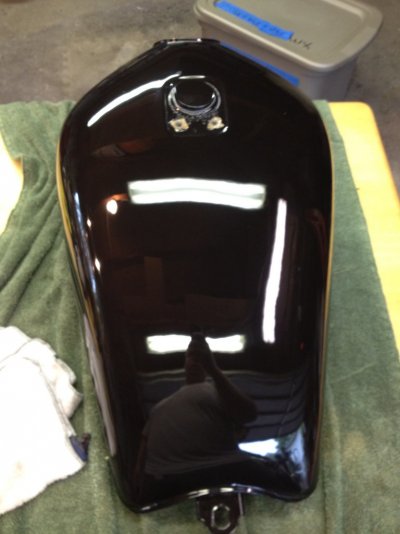
Look at that tank... That was all done with Adams. Severe Swirl Remove, Swirl and Haze Remover, and Fine Machine Polish...
Junk, are you using the Megs because you've had it and just want to use it up or because you prefer it?
In a little while, I think you'll dump your Megs... There's some cool stuff coming around the bend at Adams... Name simplification for one!

Adams goal from the beginning was to do something others in the industry weren't doing. He wanted to create a product line that was easy to use, easy to understand, and was safe for the home enthusiast like us. If you notice, most of his chemicals colors, match the applicator or tool used with them so that it takes SOME (not all) of the guess work out of it. You use the orange polish with the orange pad and the green polish with the green pad and on and on...
A key thing to keep in mind (not directed at you Junk) is to use the least aggressive product possible to correct your paint. This DOES remove clear coat so less is more as long as you're getting the results in a timely manner. You could sit there for days and get the results with the finest cutting polish, but who wants to?

I can't stress enough that people wanting to venture down the "correction road" should watch these videos or like videos and when you're done, re-watch them and take notes!!! It shows you how to correctly wash your vehicle so that you impart less damage when cleaning, and how to correct the paint as well as MANY other things. 90% of the scratches you see in your paint, are put there in the washing process. Washing it right, will not eliminate scratches, but will reduce the severity and the amount dramatically.
Instructional Detailing Videos
If you want to know how bad your paint REALLY is, shot a flash into it on macro... Below is a picture of corrected paint.