Stlram21
Member
- Joined
- May 25, 2015
- Posts
- 97
- Reaction score
- 31
- Location
- St. Charles, MO
- Ram Year
- 2012
- Engine
- Hemi 5.7
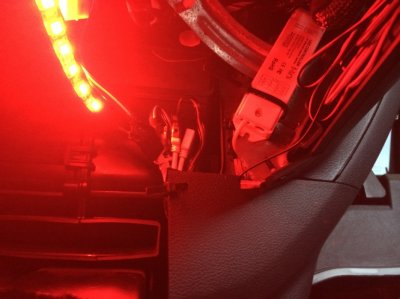
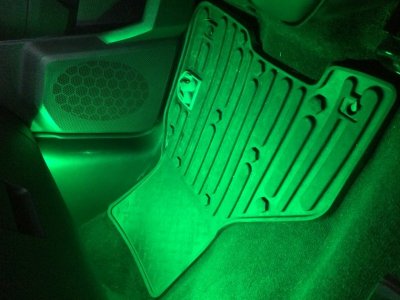
The only panel Incompletely took off the was the panel around the head unit to get to the bolt that holds the lower panel around the 12v outlet under the ignition. Routing the wires weren't too bad other than have to crawl around everywhere. I did drill a small hole into the plastic next to the gas petel, just below the ac and heater components to run a zip tie through to hold the controller module where you connect all your wires. It's not visible unless you crawl in the floorboard and look for it. I was able to tuck the module and connections behind that plastic as well so you don't see anything. Pictures will better illustrate what I'm trying to describe. Once I'm off working in the morning, I'll crawl around and took some photos to show what I mean.