2008 Ram Quad McGauphy's 2/4.5 kit install

Disclaimer: Links on this page pointing to Amazon, eBay and other sites may include affiliate code. If you click them and make a purchase, we may earn a small commission.

mikehutch

Member
Joined
Jul 26, 2011
Posts
83
Reaction score
3
Location
New Boston, Mi
Ram Year
2008
Engine
4,7
2008 Ram Quad McGaughy's 2/4.5 kit install

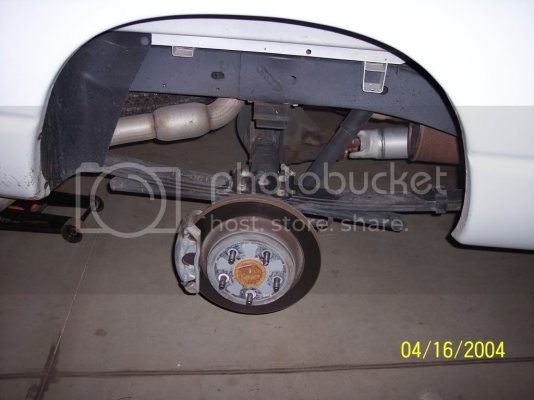
Well today I began the installation of the drop kit. Some of my photos didn't come out so I'll probably do some ninja edits to get them inserted. Pay no attendtion to the dates on some photos, the camera was off. :) Quite a feat to take a pic of a 2008 in 2004.

So I did a pre-measurement:
------------Ground to top of wheel opening Center of wheel to top of wheel opening.
Front Left ----------37----------------21.5
Front Right ---------36.5--------------21.25
Rear Left------------39.5--------------24
Rear Right-----------39----------------23.5

Truck had a bit of a lean.

First to get the Ram in the garage.
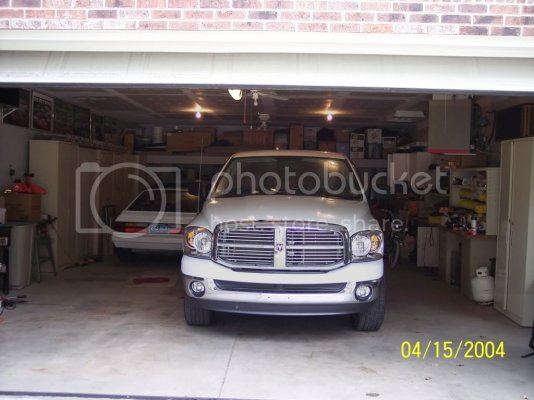
101_2118.jpg

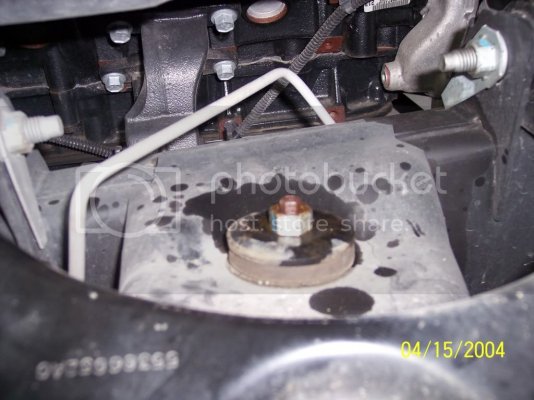
I started with the front. After getting truck on stands and wheels removed.

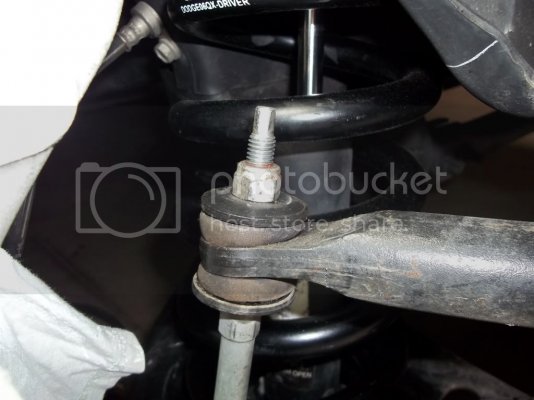
Removed the shock, and stabilizer link...note the use of PB blaster to help smooth the way. :)
101_2119.jpg

100_0149.jpg

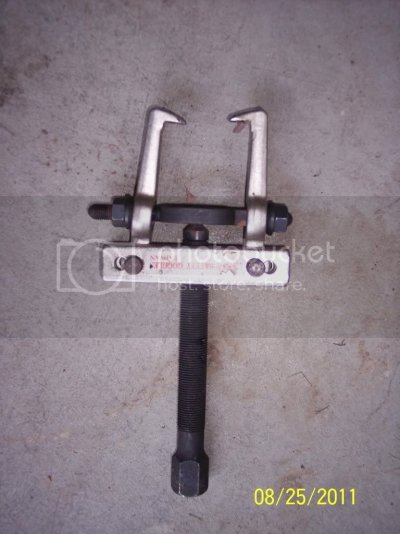
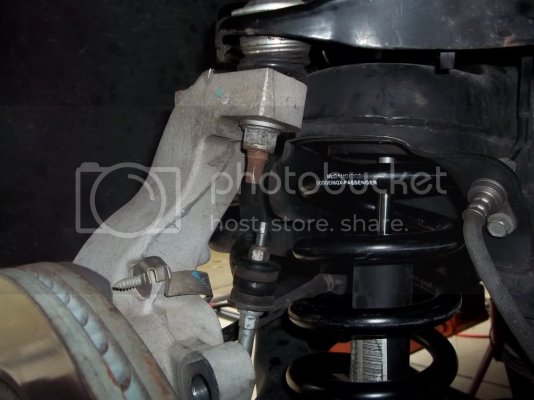
I started off trying to pop out the lower ball joint from the spindle but was not very successfuly. So I moved on to the upper one. I had a puller I was able to use like a ball joint press to pop this one out.
100_0153.jpg

101_2144.jpg

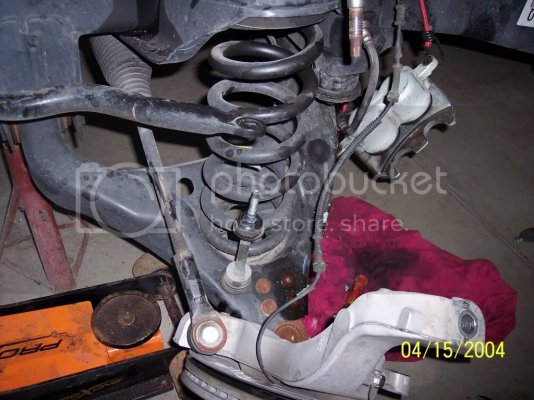
You can now drop everything down. The spring doesn't just come and will need a little encouragement and is still slightly compressed. But a good crowbar will pop it out.
101_2135.jpg

Here's the difference. (Springs upside down in photo so that would stand up)
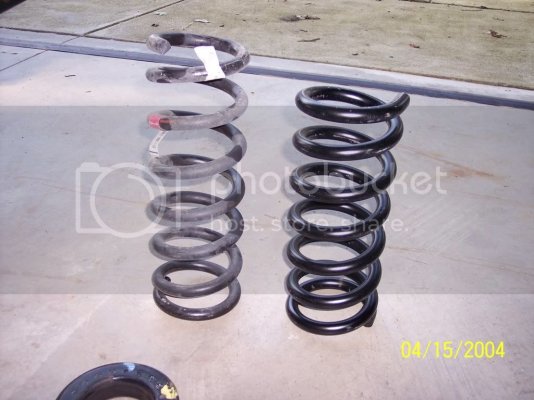
101_2132.jpg

Now put the isolator on the top of the new spring and start to reverse the process. This will slip in with little effort due to the shorter height.
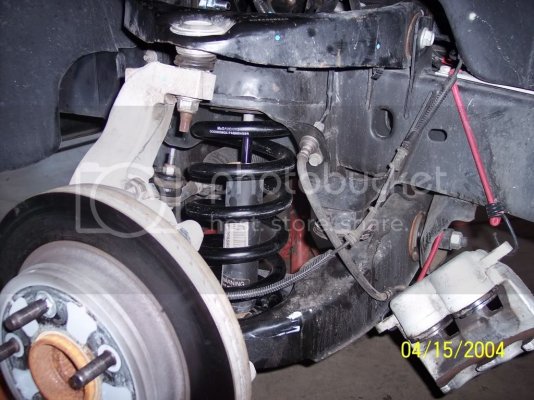
101_2137.jpg

While in here I also installed the Moog Alignment kit. After looking it over not sure it does too much but I already bought it so I installed it. This installs on the front upper control arm mount. Hopefully there will be plenty of adjustments to allow the shop to get the alignment right on.
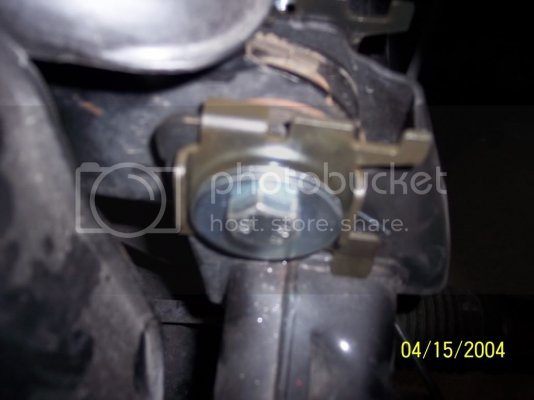
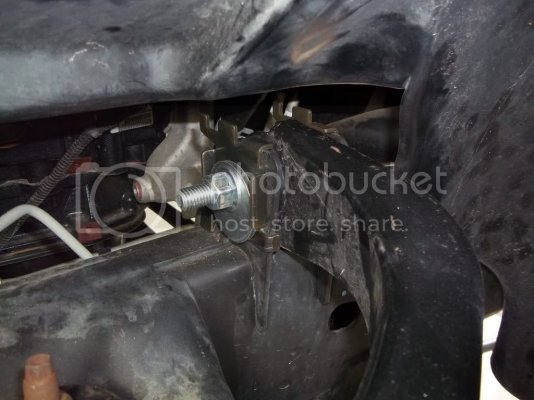
101_2129.jpg

100_0148.jpg

Well I'm still working on the rear and plan to paint the calipers before a final button up....so stay tuned.
 
Last edited:
OP
OP
mikehutch

mikehutch

Member
Joined
Jul 26, 2011
Posts
83
Reaction score
3
Location
New Boston, Mi
Ram Year
2008
Engine
4,7
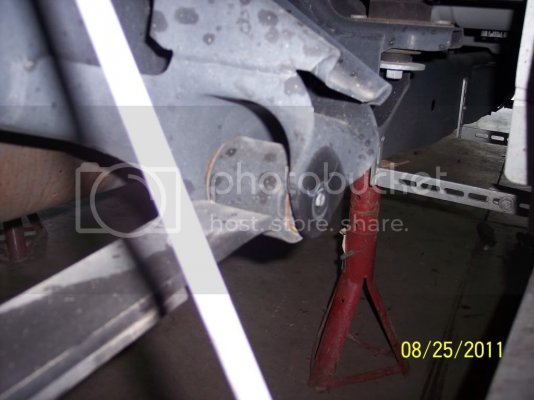
Ok here's what I have on the rear. Same as front put truck on stands and remove the wheels. Get jacks, stands, etc. for rear axle also.

101_2138.jpg

Remove the u-bolts from the axle.

101_2141.jpg

Remove the front and rear leaf spring bolts.

101_2142.jpg

101_2143.jpg

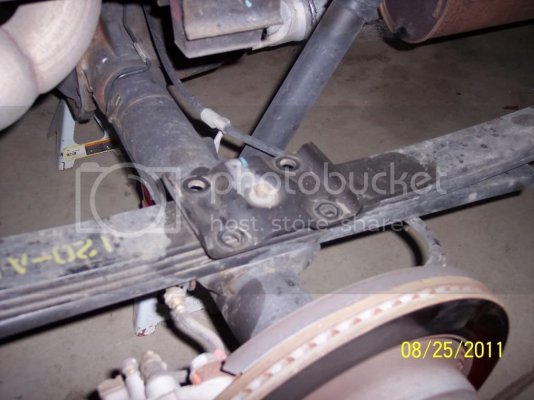
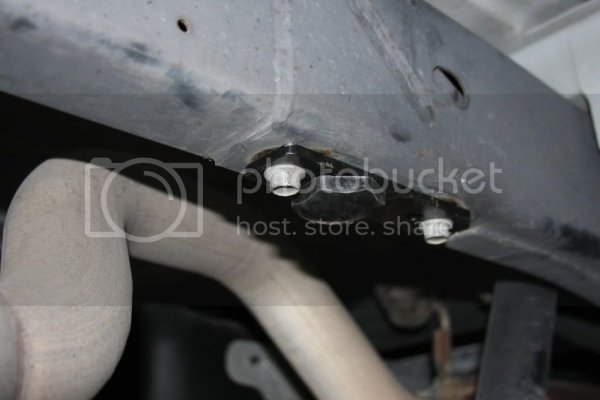
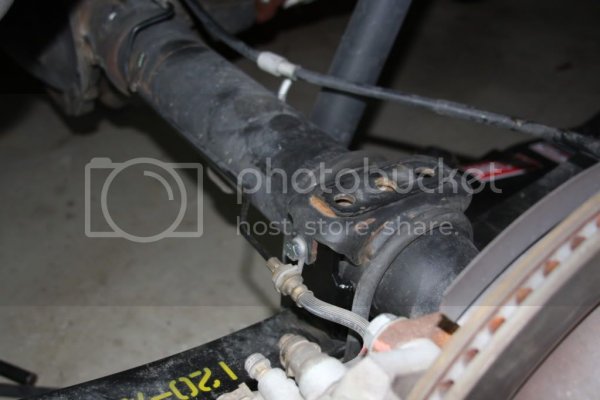
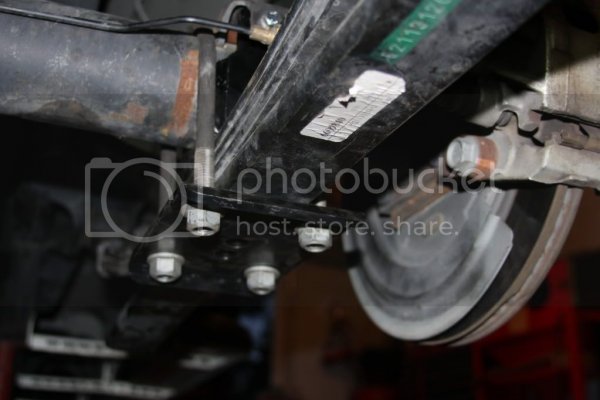
Now you need to remove the factory u-bolt plate. It has a nut, followed by two additional tinnerman nuts to be removed. I also found that the bolt was just slightly above the new flip kit. Plus the dowel pin going through the springs stuck up above the spring surface.....so out came the grinder.

101_2148.jpg

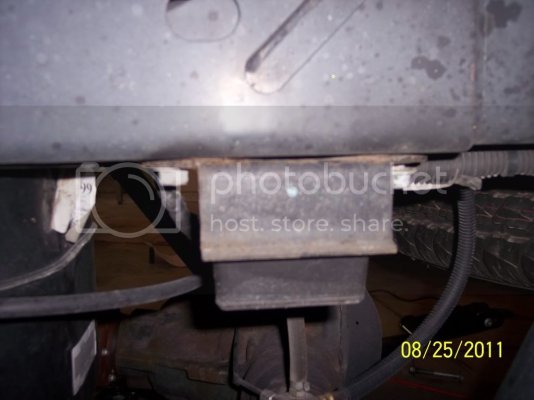
Need to swap out the factory bump stops for the ones supplied with the kit.

101_2149.jpg

IMG_1203.jpg

The instructions said to only do one spring at a time. I tried it this way but found that it was pretty difficult to get the load off the leafs to get the bolts out with one side still attached. So I ignored the instructions and dropped the axle off both leaf springs. The challege with this method was keeping the axle supported. Now if I had a second set of hand this would certainly go eaiser. Note: Need to get one my girls involved in working on autos. :)

Still working on it just taking a break to get in some football. I gotta take the good camera out to the garage sitting here doing this these photos stink.


Edited and added:

Picture from top, note new shorter brake hose bolt.

IMG_1200.jpg

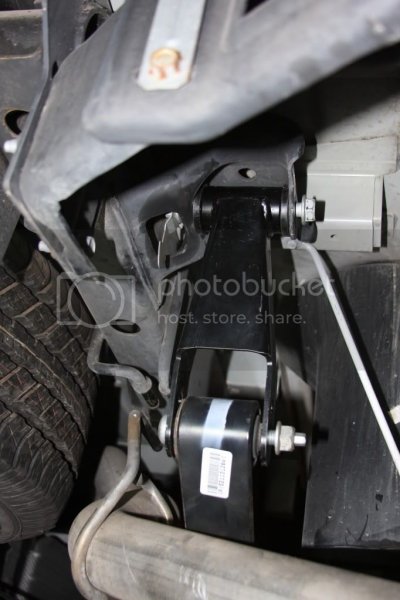
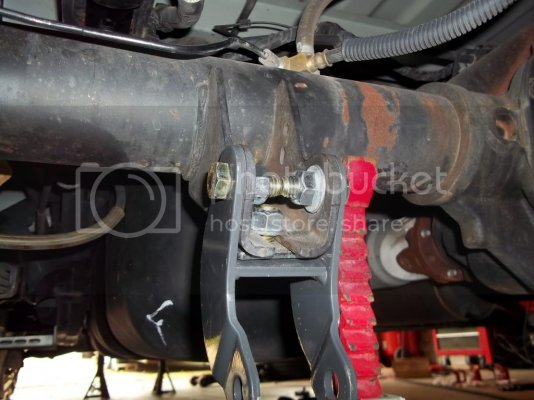
Rear shackle in place (not torqued up yet)

IMG_1206.jpg

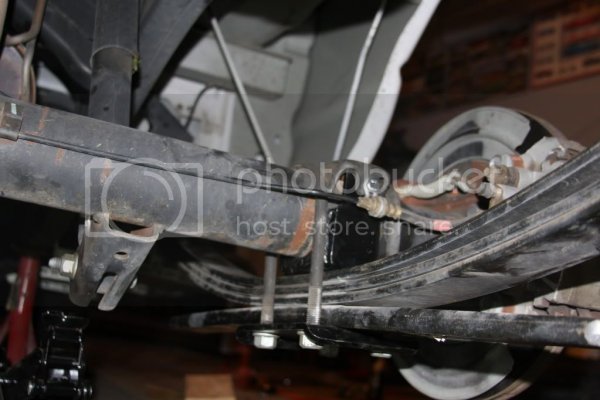
Couple more shots of the rear installed:

IMG_1209.jpg

IMG_1208.jpg
 
Last edited:

zack

Senior Member
Supporting Member
Joined
Jan 27, 2011
Posts
1,803
Reaction score
104
Location
pa
Ram Year
2004.5 packing the smarty
Engine
5.9 cummins ho
Sweet deal man going to look sweet
 

jhemi

Senior Member
Joined
Apr 5, 2011
Posts
475
Reaction score
15
Location
wisconsin
Ram Year
2004
Engine
hemi 5.7
nice rite up, when i did my rear i had a motorcycle jack i put right under the rear axle worked great, i also did both sides at once seemed easier
 
OP
OP
mikehutch

mikehutch

Member
Joined
Jul 26, 2011
Posts
83
Reaction score
3
Location
New Boston, Mi
Ram Year
2008
Engine
4,7
Well still working on it today. Set it down on tires to start torquing things up. Without a settle in the front is about 1/2 higher than the front. Front is 35 ish and rear is 34.5 ish. So pretty much a 2/4.5 drop. A 3" on the front would have been really good. But we'll see how it settles in, stay tuned.

Need to really look into the front bump stop. It appears to be already touching the front control arm. I found another thread where they put some different bump stops on which I also bought but have yet to install. Looks like these will go on while I let the caliper paint dry. Hope to get some paint on the calipers today.
 

HemiBabe

Senior Member
Joined
Dec 6, 2010
Posts
7,214
Reaction score
921
Location
DFW
Ram Year
2004
Engine
Hemi
Sounds great! Can't wait to see how your truck looks. On the front bump stops, you will need smaller ones, and I took off my rear bump stops because if you dont you'll bottom out everywhere and it'll be one bumpy ride lol or you could take them off and cut the rubber down so you wont have to ever worry about hittin frame. I have only hit frame twice and it was on HUGE bumps that I will never go down those roads again LOL but it does scare the crap out of you haha
 
OP
OP
mikehutch

mikehutch

Member
Joined
Jul 26, 2011
Posts
83
Reaction score
3
Location
New Boston, Mi
Ram Year
2008
Engine
4,7
Ok so I took the better camera to the garage today and updated some photos above by editing the post.

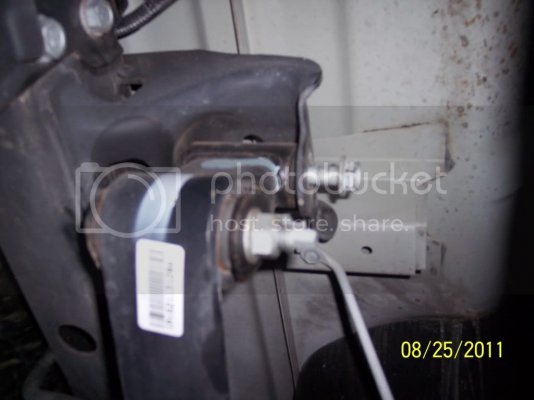
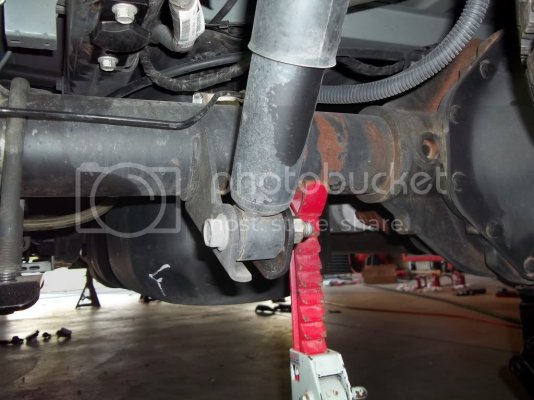
To finish off the rear I needed to install the shock mount.

100_0164.jpg

The instruction that came with the kit were pretty worthless in regards to mounting this. And this setup is a bit lacking in real engineering. I would think a single bolt and sleeve would have been better. Looks kind of hokey.

100_0165.jpg

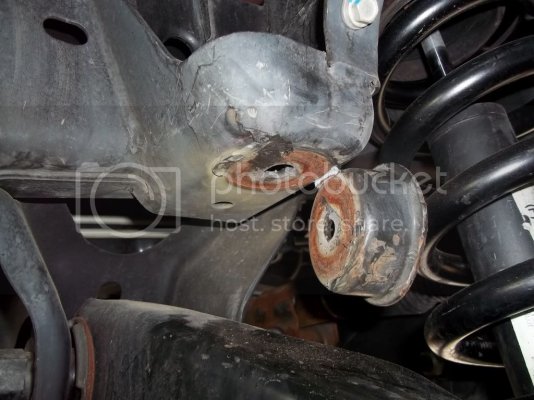
So back to the front and the bump stop. Photo is with truck on the ground so probably not much suspension travel going to be happening.

100_0143.jpg

So out comes the cutoff wheel and the BFH.

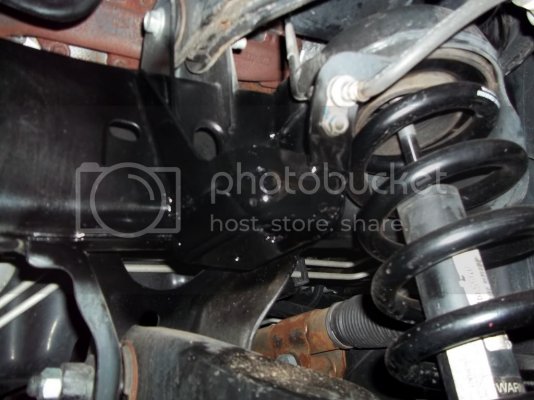
100_0170.jpg

A little wire wheel and some rattle can paint.

100_0171.jpg

To be continued when I get the new bump stops mounted. Stay tuned.

EDIT
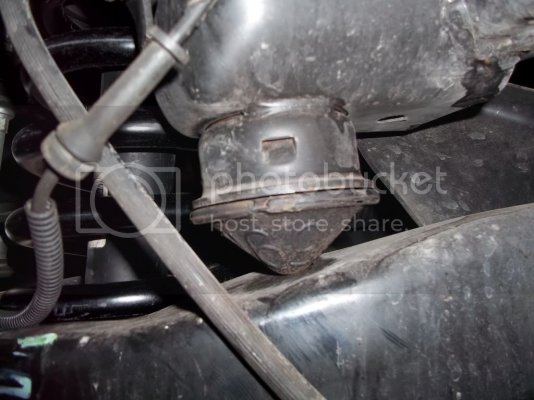
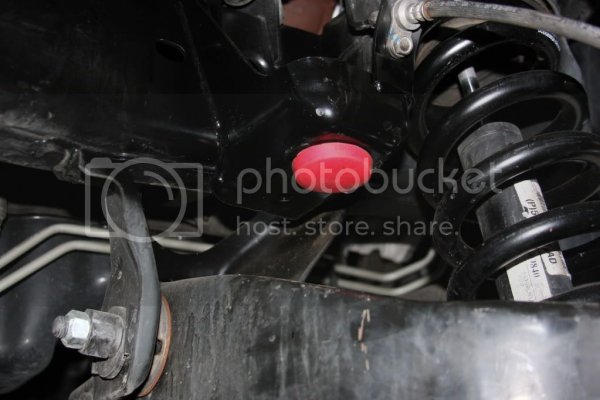
Ok so here is the new bump stop:

IMG_1219.jpg

It's an Energy Suspension 9.9102R. I think it was less than $10 for the pair directly from energy suspension.

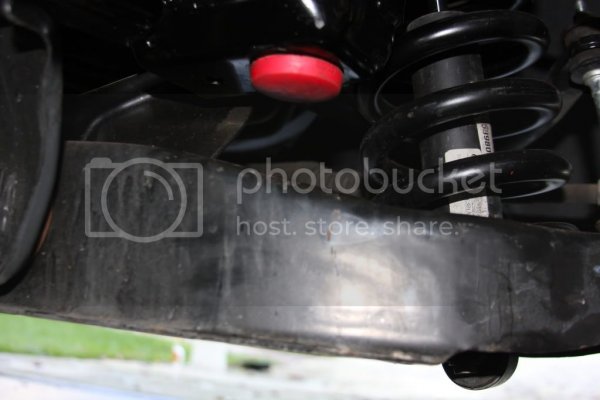
And with the truck on the ground.

IMG_1228.jpg
 
Last edited:
OP
OP
mikehutch

mikehutch

Member
Joined
Jul 26, 2011
Posts
83
Reaction score
3
Location
New Boston, Mi
Ram Year
2008
Engine
4,7
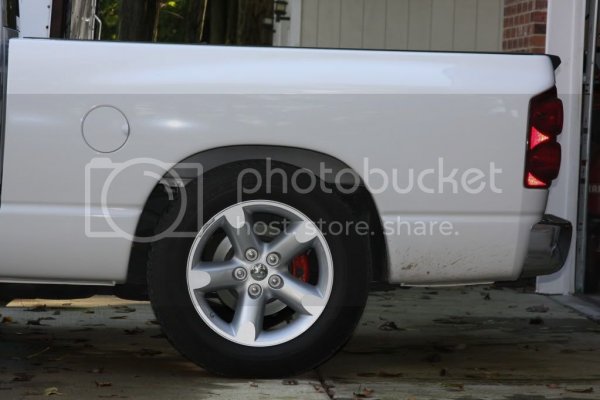
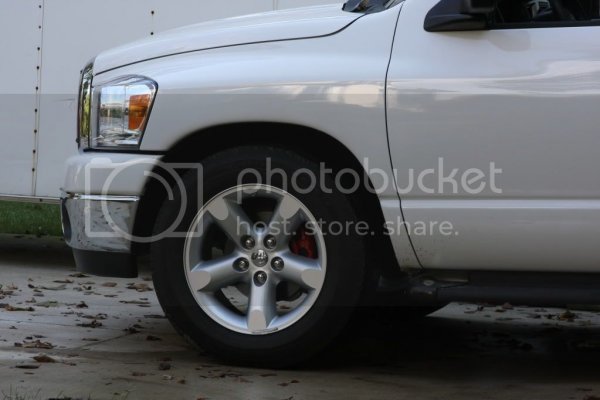
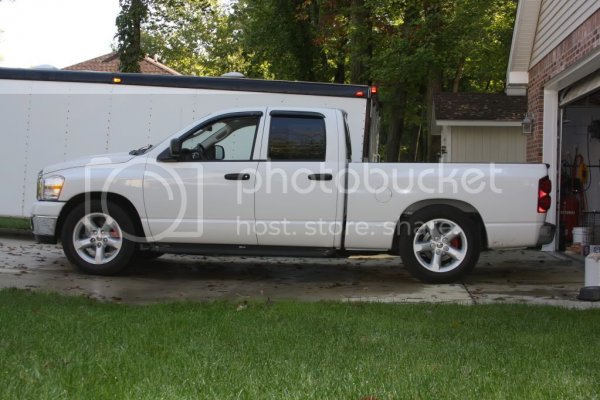
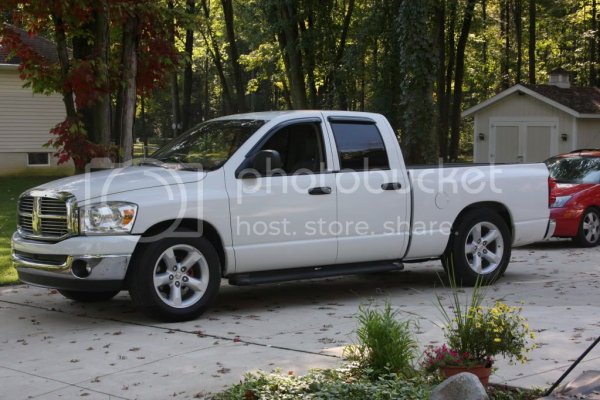
Ok so for now it's done. I did a quick trip down the rumble stip...aka the roads in my area and here's where she sits:

So for the post-measurement:
------------Ground to top of wheel opening Center of wheel to top of wheel opening.
Front Left ----------35----------------19.5
Front Right ---------34.875--------------19.375
Rear Left------------34.625--------------19.125
Rear Right-----------34.75----------------19.25

So still a tad higher in the front for now but I'll hit the rumble strip a few more times and recheck. A 3" in the front would have been perfect. So here's a few shots. I'll get to a better location once I give her a bath and have a few spare minutes. My driveway isn't the best as there are no level portions.

IMG_1231.jpg

IMG_1230.jpg

IMG_1229.jpg

IMG_1234.jpg
 

wermbang

Senior Member
Joined
Jun 29, 2010
Posts
9,724
Reaction score
214
Location
Iowa
Ram Year
2001 Off Road
Engine
5.9L V8 Sport
Looks pretty good
 

0212353

Vendor
Preferred Vendor
Joined
Jun 29, 2010
Posts
26,467
Reaction score
2,023
Location
Florissant, MO
Ram Year
2019 1500 Laramie Sport Crew, 2019 1500 Big Horn Sport Crew & 2016 Charger SRT Hellcat
Engine
2x 5.7L & 6.2L
looks GREAT!
 

WhiteExpress

Senior Member
Joined
Sep 8, 2011
Posts
18,185
Reaction score
3,275
Location
Midland, TX
Ram Year
2004
Engine
5.7 Hemi
Looks great! couple pieces of advice from the past:

1: Weld those GD Axle Flip brackets to the axle ASAP! I had one bend up the factory leaf mount (because it is in NO way designed to handle the load put on it) and bent my driveshaft, snapped the u joint etc. No fun. Just do it. Do it now.

2: Measure your tire clearance vs upward travel with new bumpstops. Also learned this one the hard way after putting on the same bumpstops. Shredded a tire, luckly no body damage.

That being said. Looks awesome! I bet after a few days the front will settle in, if it doesn't, take off a 1/4 coil.
 

HemiBabe

Senior Member
Joined
Dec 6, 2010
Posts
7,214
Reaction score
921
Location
DFW
Ram Year
2004
Engine
Hemi
1: Weld those GD Axle Flip brackets to the axle ASAP! I had one bend up the factory leaf mount (because it is in NO way designed to handle the load put on it) and bent my driveshaft, snapped the u joint etc. No fun. Just do it. Do it now.

Definitely, I had mine welded too


Loosk AWESOME! :naughty:
 

KGBIGCOUNTRY

Senior Member
Joined
Jun 29, 2010
Posts
13,309
Reaction score
475
Location
MECH, VA
Ram Year
2004 RCSB/2005 QCSB
Engine
5.7 / 5.7
Yep the perches need to be welded to withstand the axel wrap.
 
Top