Travis77
Junior Member
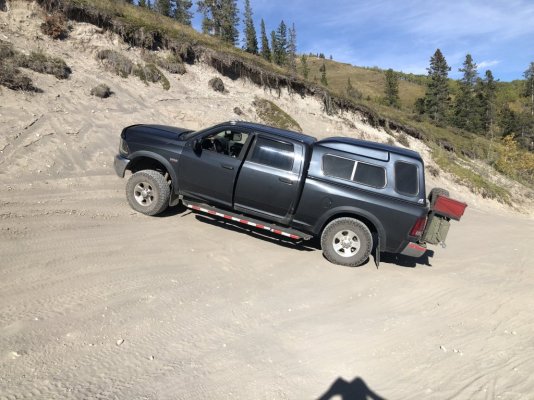
After installing several of these Chinese Diesel Heaters for friends living in vans, I cobbled together one from parts and decided to install it in my 2005 Dodge Ram 2500. On average, these heaters last someone (living in a van) about one winter, and then it's best to replace them for the next season. In my opinion, at $180, they are essentially disposable. The biggest problem is diesel growing algae when left in a clear, exterior-mounted tank all summer, and the fan bearings only seem to last 1 - 2 years.
Overall, I am pretty impressed with them for the price. I believe my cobbled-together one from used parts will last significantly longer with just a little bit of maintenance (and changing the diesel in the tank before the next winter use).
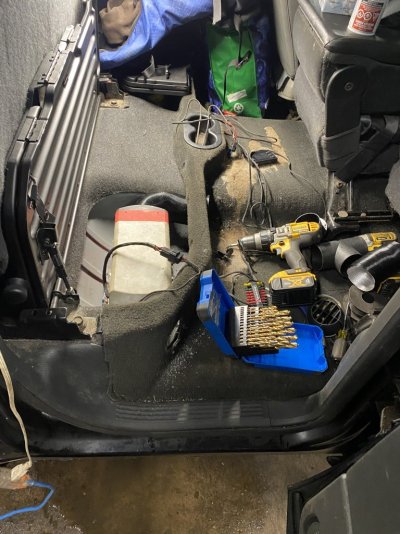
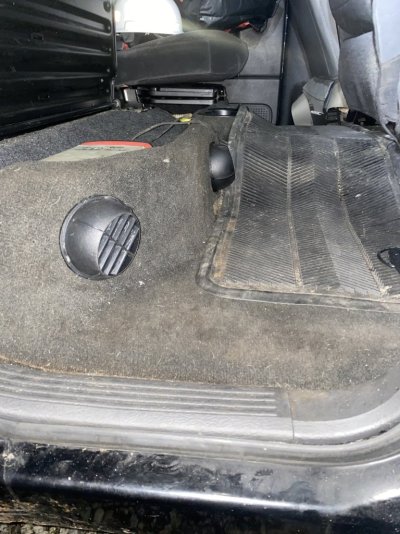
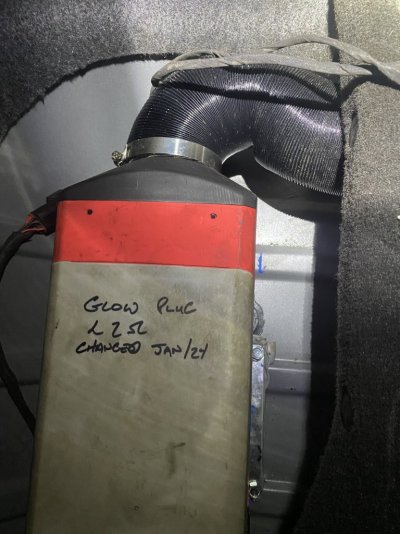
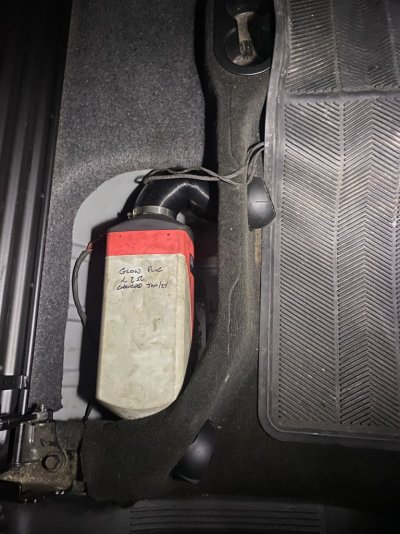
Mostly out of laziness, I decided not to build a bracket for it under the cab or truck. Instead, I installed it under the rear passenger seat.
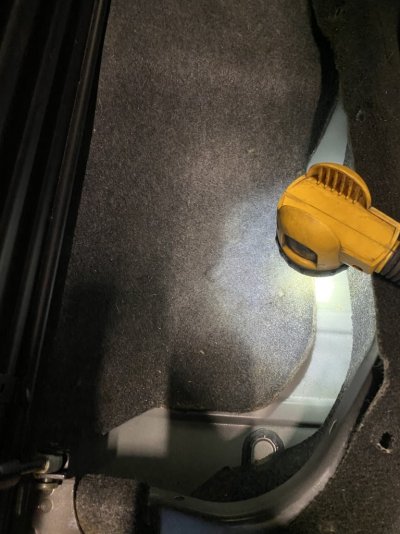
On a side note, there is a significant amount of wasted space under the rear seat hidden by the molded carpet. If I had known earlier, I would have cut it out and kept a small toolbox in that space.
The installation was very straightforward. The worst part (mentally) is cutting the ~3-1/2" hole through the floor under the seat. It is a very tight space for the heater. I cut three holes in total: one through the floor for the exhaust, intake air, fuel line, and then two smaller holes in the sheet metal support for the seat, for venting the air in and out of the heater itself.
I installed one of the small plastic tanks provided with the heater in the bed, just ahead of the wheel well. I made a simple bracket from 2" flat bar to secure it using small self tapping tech screws. Using genuine 3/16ths fuel line instead of the hard plastic line included in the kits, I positioned the pump and a proper inline filter in the corner of the forward bed bulkhead. I cut and spliced two wires for the pump, running them through the same hole under the heater and utilizing an existing hole in the bed for both the fuel line and wires for the fuel pump. This decision was made to install the tank on the driver's side for easier filling.
Upon later reading installation instructions on various forums, I discovered two significant mistakes. First, I mounted the pump almost 6 feet away from the heater. Second, I mounted the pump pointing downward. Surprisingly, it still works fine, but it's worth noting for anyone else installing one of these heaters. From what I now understand, it's advisable to mount the pump as close to the diesel heater as possible and have the output pointing upwards at a 45-degree angle.
For priming the pump, I've found it helpful to fill the diesel tank, then disconnect the fuel line from the intake to the pump. Waiting for gravity to push out all the air from the fuel filter, I then reconnect it. Next, I recommend researching the controller for the diesel heater—whether it's a 3-button or 5-button model—or something else and figuring out how to enter priming mode. This mode runs the pump only, avoiding the lengthy startup and shutdown procedures after the diesel heater fails to start. Once you've entered priming mode, disconnect the fuel line from the heater, start priming the pump, wait for diesel to flow, reconnect, and let the diesel heater start normally. If you are as impatient as I am, unplugging the diesel heater between priming and startup will speed up getting it out of the priming menu. I still struggle to navigate the different options of the controller.
*Make sure never to disconnect power after the heater has warmed up; I've managed to completely melt a heater in this manner, not allowing the controller to run just the fan to cool things down. The heat soak just melted all the rubber/plastic gaskets on the heater.
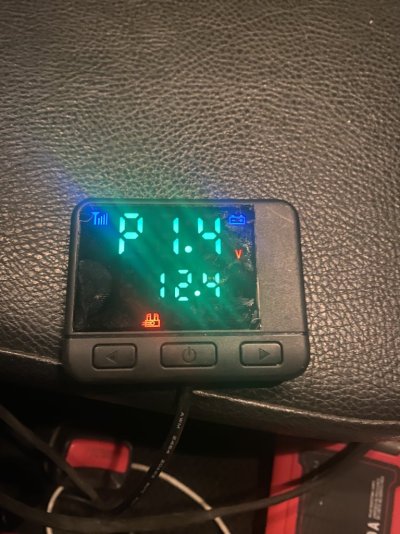
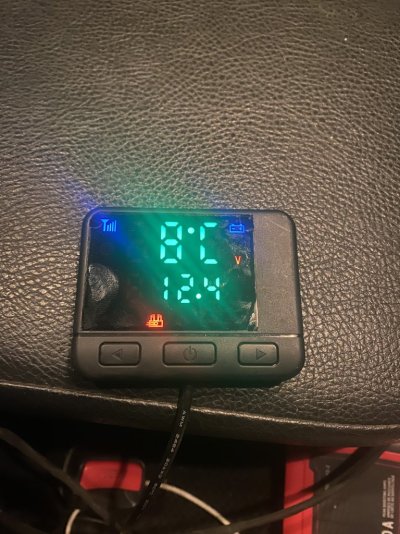
The weather's better now, and I've only used it a couple of times. It's handy to turn on with the remote, warming up the cab in minutes. I left it on overnight to test, and it kept a steady 15 degrees without any issues. Starting the truck in the morning the battery drain seems minimal for just overnight use.
My 3-button controller has two modes: Constant power, where you set the pump frequency, and Thermostat mode. In the latter, it brings the cab to temperature and then sets the heater down to its minimum setting without shutting off. Not a problem for me, but it might be different in a better-insulated space.
I hope this helps someone looking to do the same!
Overall, I am pretty impressed with them for the price. I believe my cobbled-together one from used parts will last significantly longer with just a little bit of maintenance (and changing the diesel in the tank before the next winter use).
Mostly out of laziness, I decided not to build a bracket for it under the cab or truck. Instead, I installed it under the rear passenger seat.
On a side note, there is a significant amount of wasted space under the rear seat hidden by the molded carpet. If I had known earlier, I would have cut it out and kept a small toolbox in that space.
The installation was very straightforward. The worst part (mentally) is cutting the ~3-1/2" hole through the floor under the seat. It is a very tight space for the heater. I cut three holes in total: one through the floor for the exhaust, intake air, fuel line, and then two smaller holes in the sheet metal support for the seat, for venting the air in and out of the heater itself.
I installed one of the small plastic tanks provided with the heater in the bed, just ahead of the wheel well. I made a simple bracket from 2" flat bar to secure it using small self tapping tech screws. Using genuine 3/16ths fuel line instead of the hard plastic line included in the kits, I positioned the pump and a proper inline filter in the corner of the forward bed bulkhead. I cut and spliced two wires for the pump, running them through the same hole under the heater and utilizing an existing hole in the bed for both the fuel line and wires for the fuel pump. This decision was made to install the tank on the driver's side for easier filling.
Upon later reading installation instructions on various forums, I discovered two significant mistakes. First, I mounted the pump almost 6 feet away from the heater. Second, I mounted the pump pointing downward. Surprisingly, it still works fine, but it's worth noting for anyone else installing one of these heaters. From what I now understand, it's advisable to mount the pump as close to the diesel heater as possible and have the output pointing upwards at a 45-degree angle.
For priming the pump, I've found it helpful to fill the diesel tank, then disconnect the fuel line from the intake to the pump. Waiting for gravity to push out all the air from the fuel filter, I then reconnect it. Next, I recommend researching the controller for the diesel heater—whether it's a 3-button or 5-button model—or something else and figuring out how to enter priming mode. This mode runs the pump only, avoiding the lengthy startup and shutdown procedures after the diesel heater fails to start. Once you've entered priming mode, disconnect the fuel line from the heater, start priming the pump, wait for diesel to flow, reconnect, and let the diesel heater start normally. If you are as impatient as I am, unplugging the diesel heater between priming and startup will speed up getting it out of the priming menu. I still struggle to navigate the different options of the controller.
*Make sure never to disconnect power after the heater has warmed up; I've managed to completely melt a heater in this manner, not allowing the controller to run just the fan to cool things down. The heat soak just melted all the rubber/plastic gaskets on the heater.
The weather's better now, and I've only used it a couple of times. It's handy to turn on with the remote, warming up the cab in minutes. I left it on overnight to test, and it kept a steady 15 degrees without any issues. Starting the truck in the morning the battery drain seems minimal for just overnight use.
My 3-button controller has two modes: Constant power, where you set the pump frequency, and Thermostat mode. In the latter, it brings the cab to temperature and then sets the heater down to its minimum setting without shutting off. Not a problem for me, but it might be different in a better-insulated space.
I hope this helps someone looking to do the same!