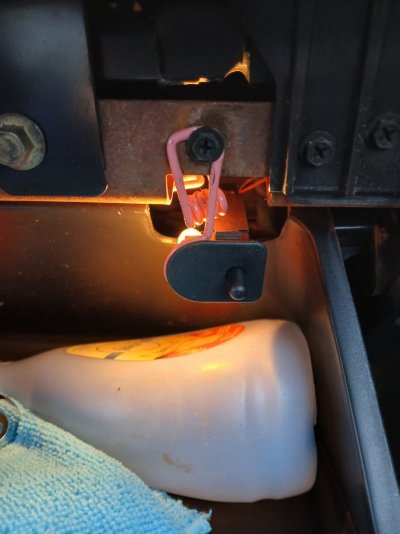
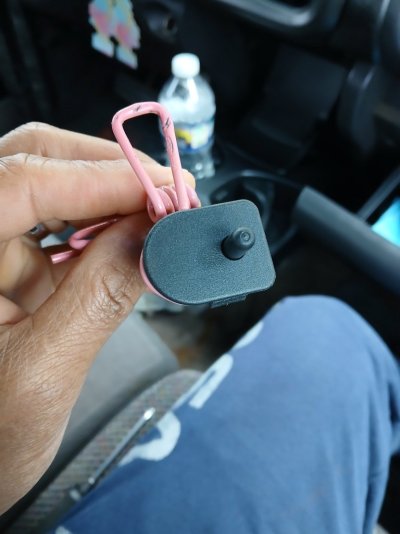
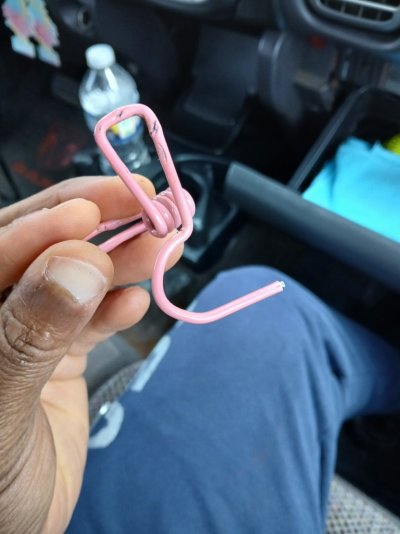
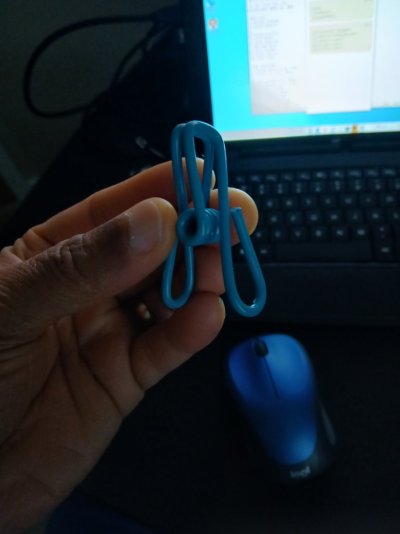
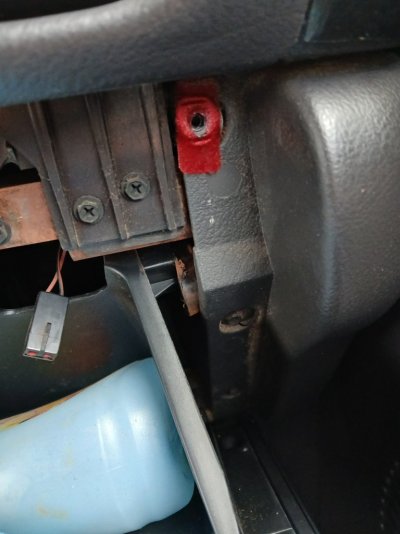
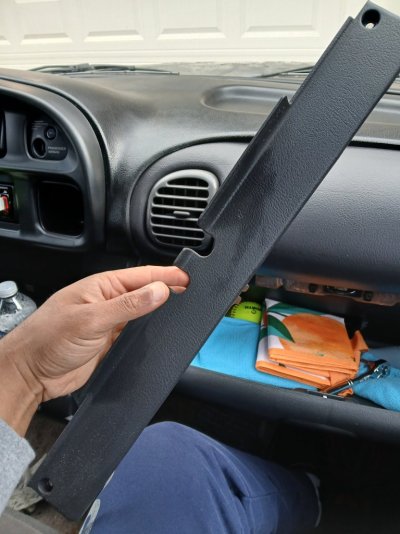
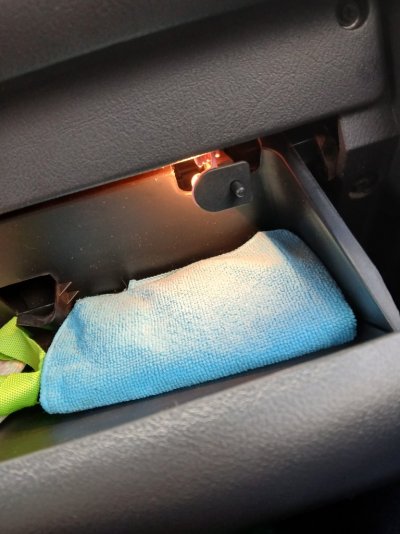
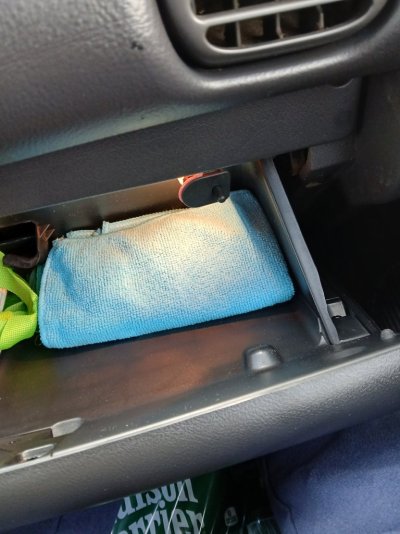
I found the ultimate solution. This is a lot more reliable than the plastic mount Dodge originally used to mount the glovebox light switch with. It seems that the light switch mount was held in place by a single screw that is hidden underneath a faceplate located directly above the glovebox which is held in place with 3 additional screws (one on each side & one underneath). Once you remove the faceplate, you will see the screw that held the original light switch mount along with the broken remains of the light switch mount underneath the screw. I simply used a multi-purpose clip that I purchased from Dollar Tree & created a mount for the light switch with needle-nosed pliers. Once you open one side of the multi-purpose clip, it fits perfectly onto the light switch. Screw it in & put the faceplate back on. You'll find that it lines up with the bump inside of the glovebox that pushes the light switch button perfectly!!!! I tried to put the pictures in a sequence. You are gonna be surprised how inexpensive & sturdy this fix is. Try it first, then thank me later.