

- Joined
- Jul 10, 2017
- Posts
- 2,788
- Reaction score
- 2,331
- Location
- Hudson Valley, NY
- Ram Year
- 2014
- Engine
- 5.7L HEMI
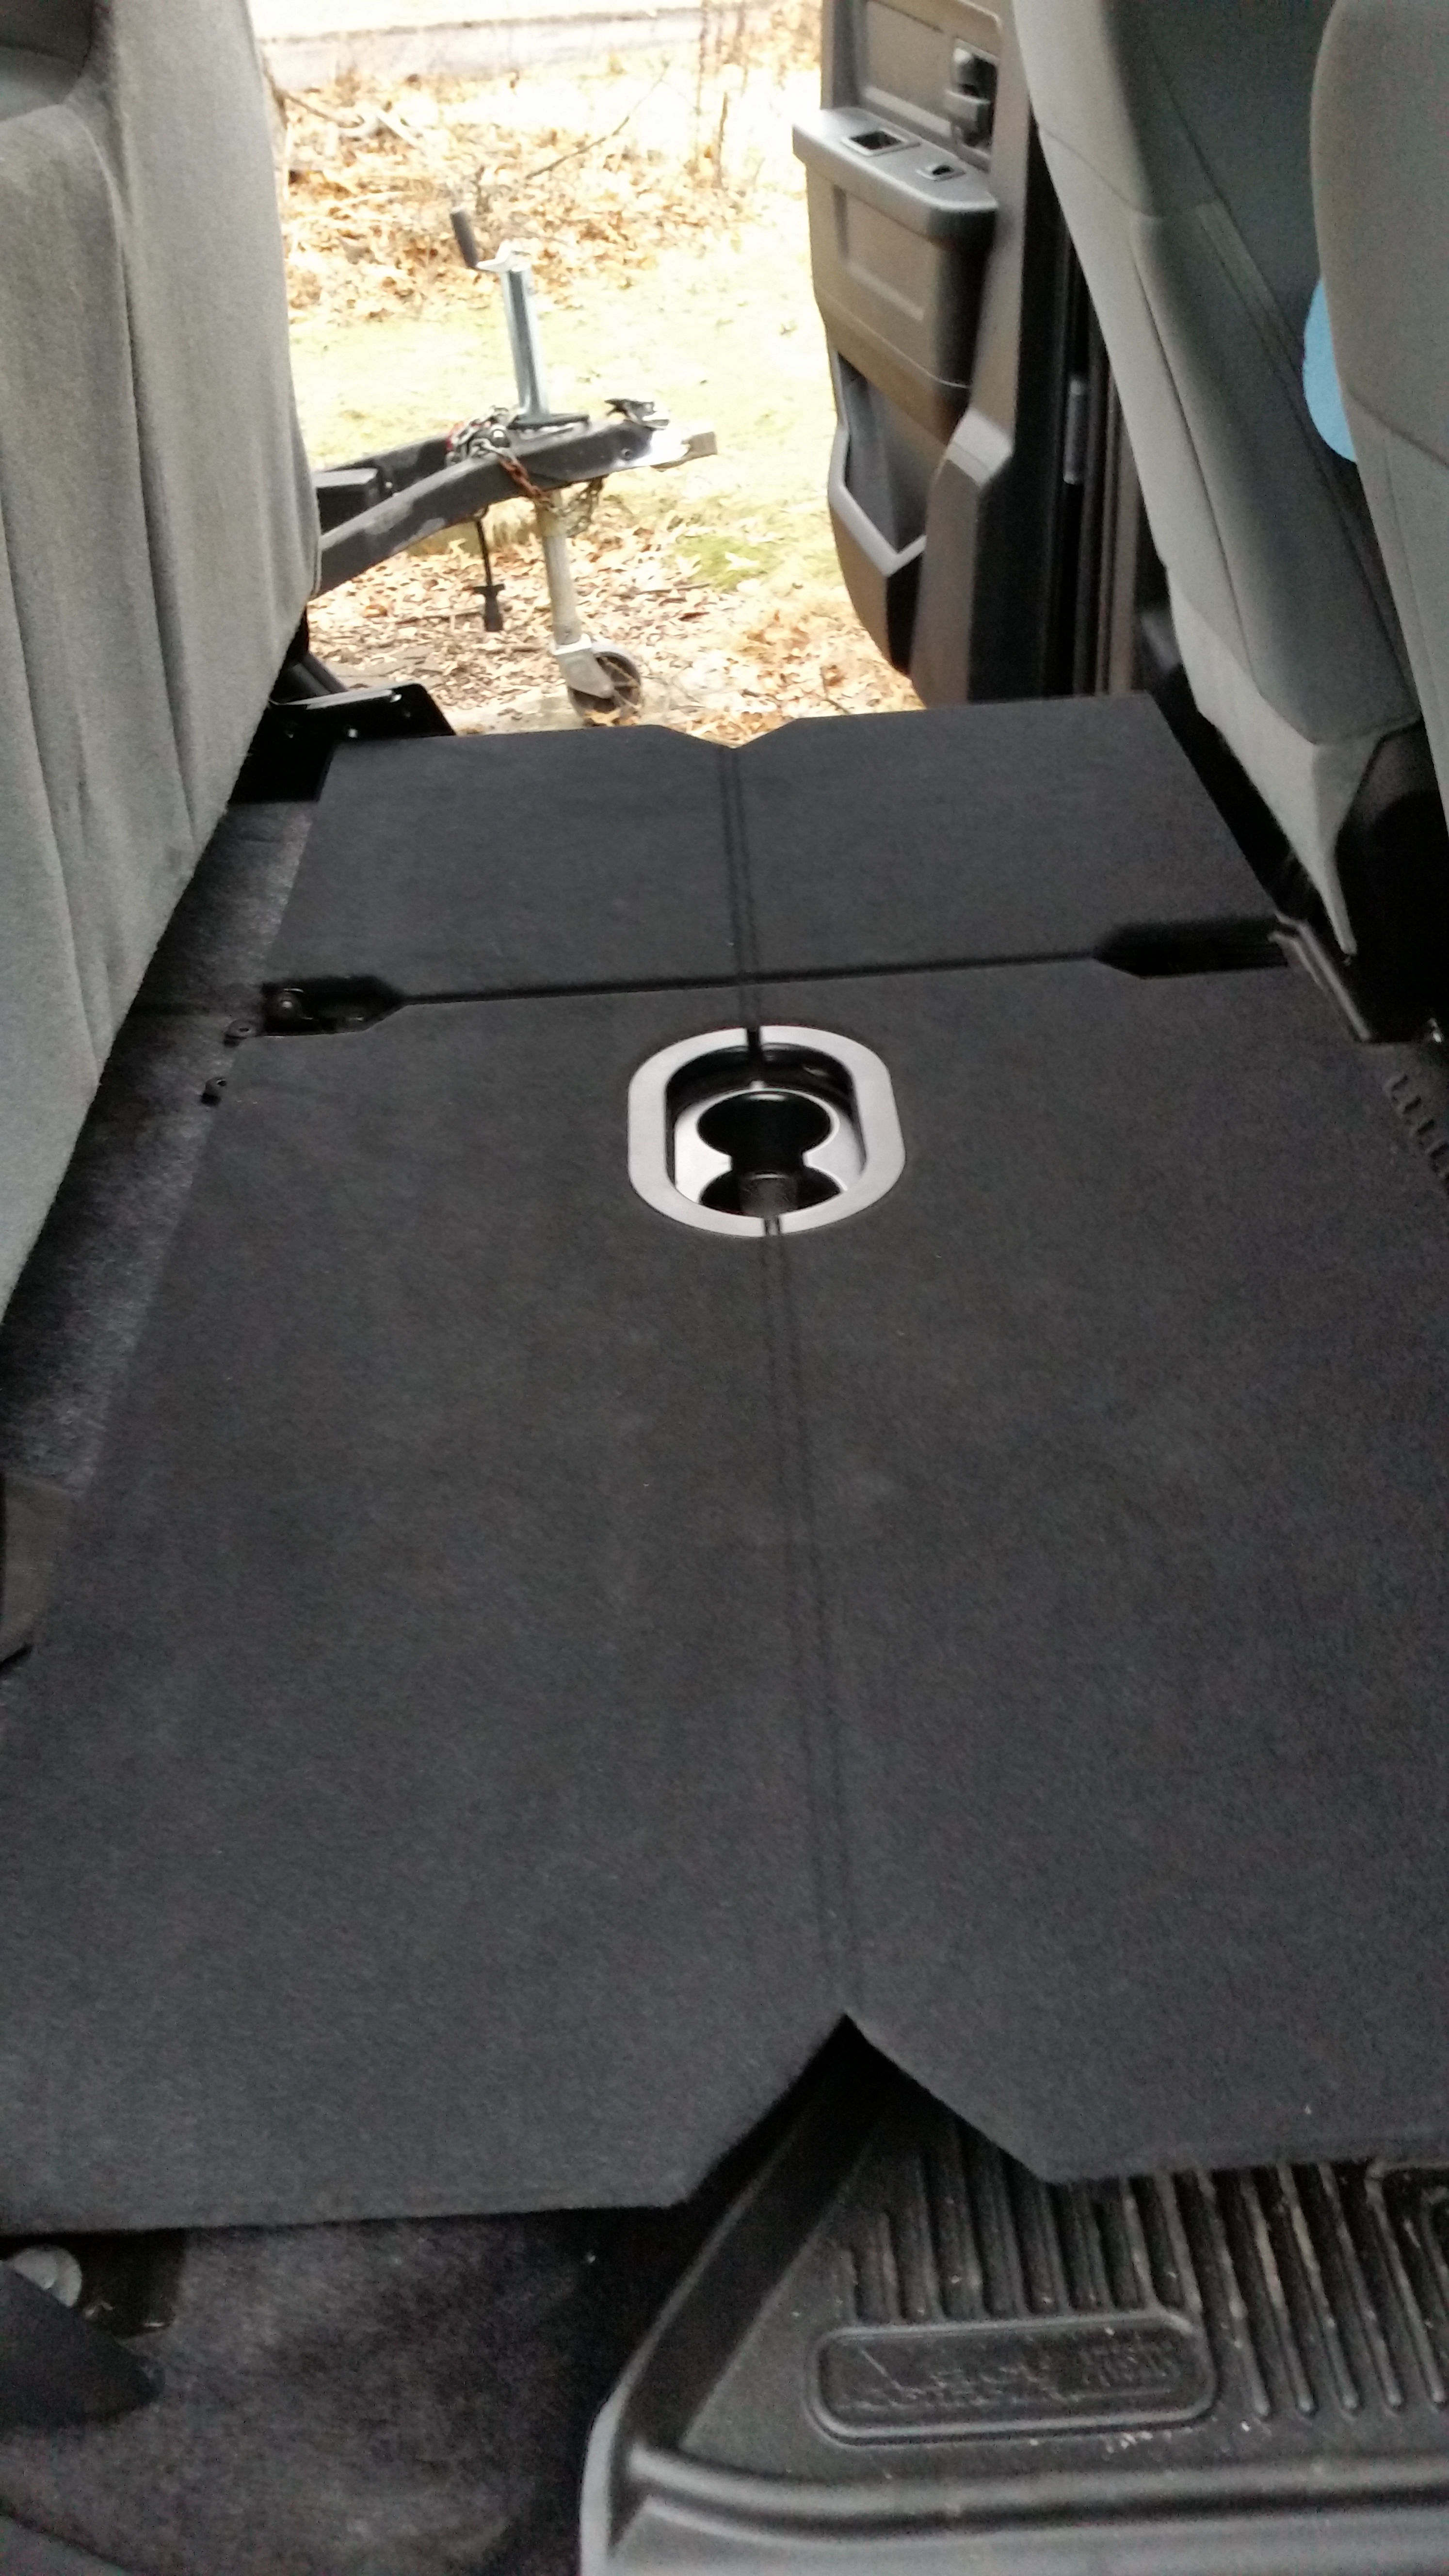
Got my OEM Fold Flat Floor installed in my 1500 Express with the single rear bench seat today.
I purchased it as a "New Take Off" from Seats And Such via their eBay store. It arrived quickly and was well packaged, but it was almost a month before the weather warmed up enough to install it.
In the meantime I ordered some seat hold down bolts from the dealer (ouch! $5.00 each! *) I ordered 4 as I intended to follow FCA's specs and not re-use the old ones.
* Yes, I know I could have gotten the dealer bolts cheaper online, but not after shipping charges and I could have gotten M14x1.5x55 bolts locally for $1 each or less, but I regularly have my young nieces in the back seat and I feel better with the dealer specified bolts in place.
I also fabricated a pair of small plates to go under the inboard side of each piece to take the place of the seat bracket that does not exist when you have the bench seat. I know others have just put a couple of washers underneath to level things out, but that didn't sit well with my OCD. They are just a couple of pieces of 1/8" flat steel, 4.5" long, 1.25" wide with a 9/16" hole drilled in them, primed and painted with Rustoleum spray.


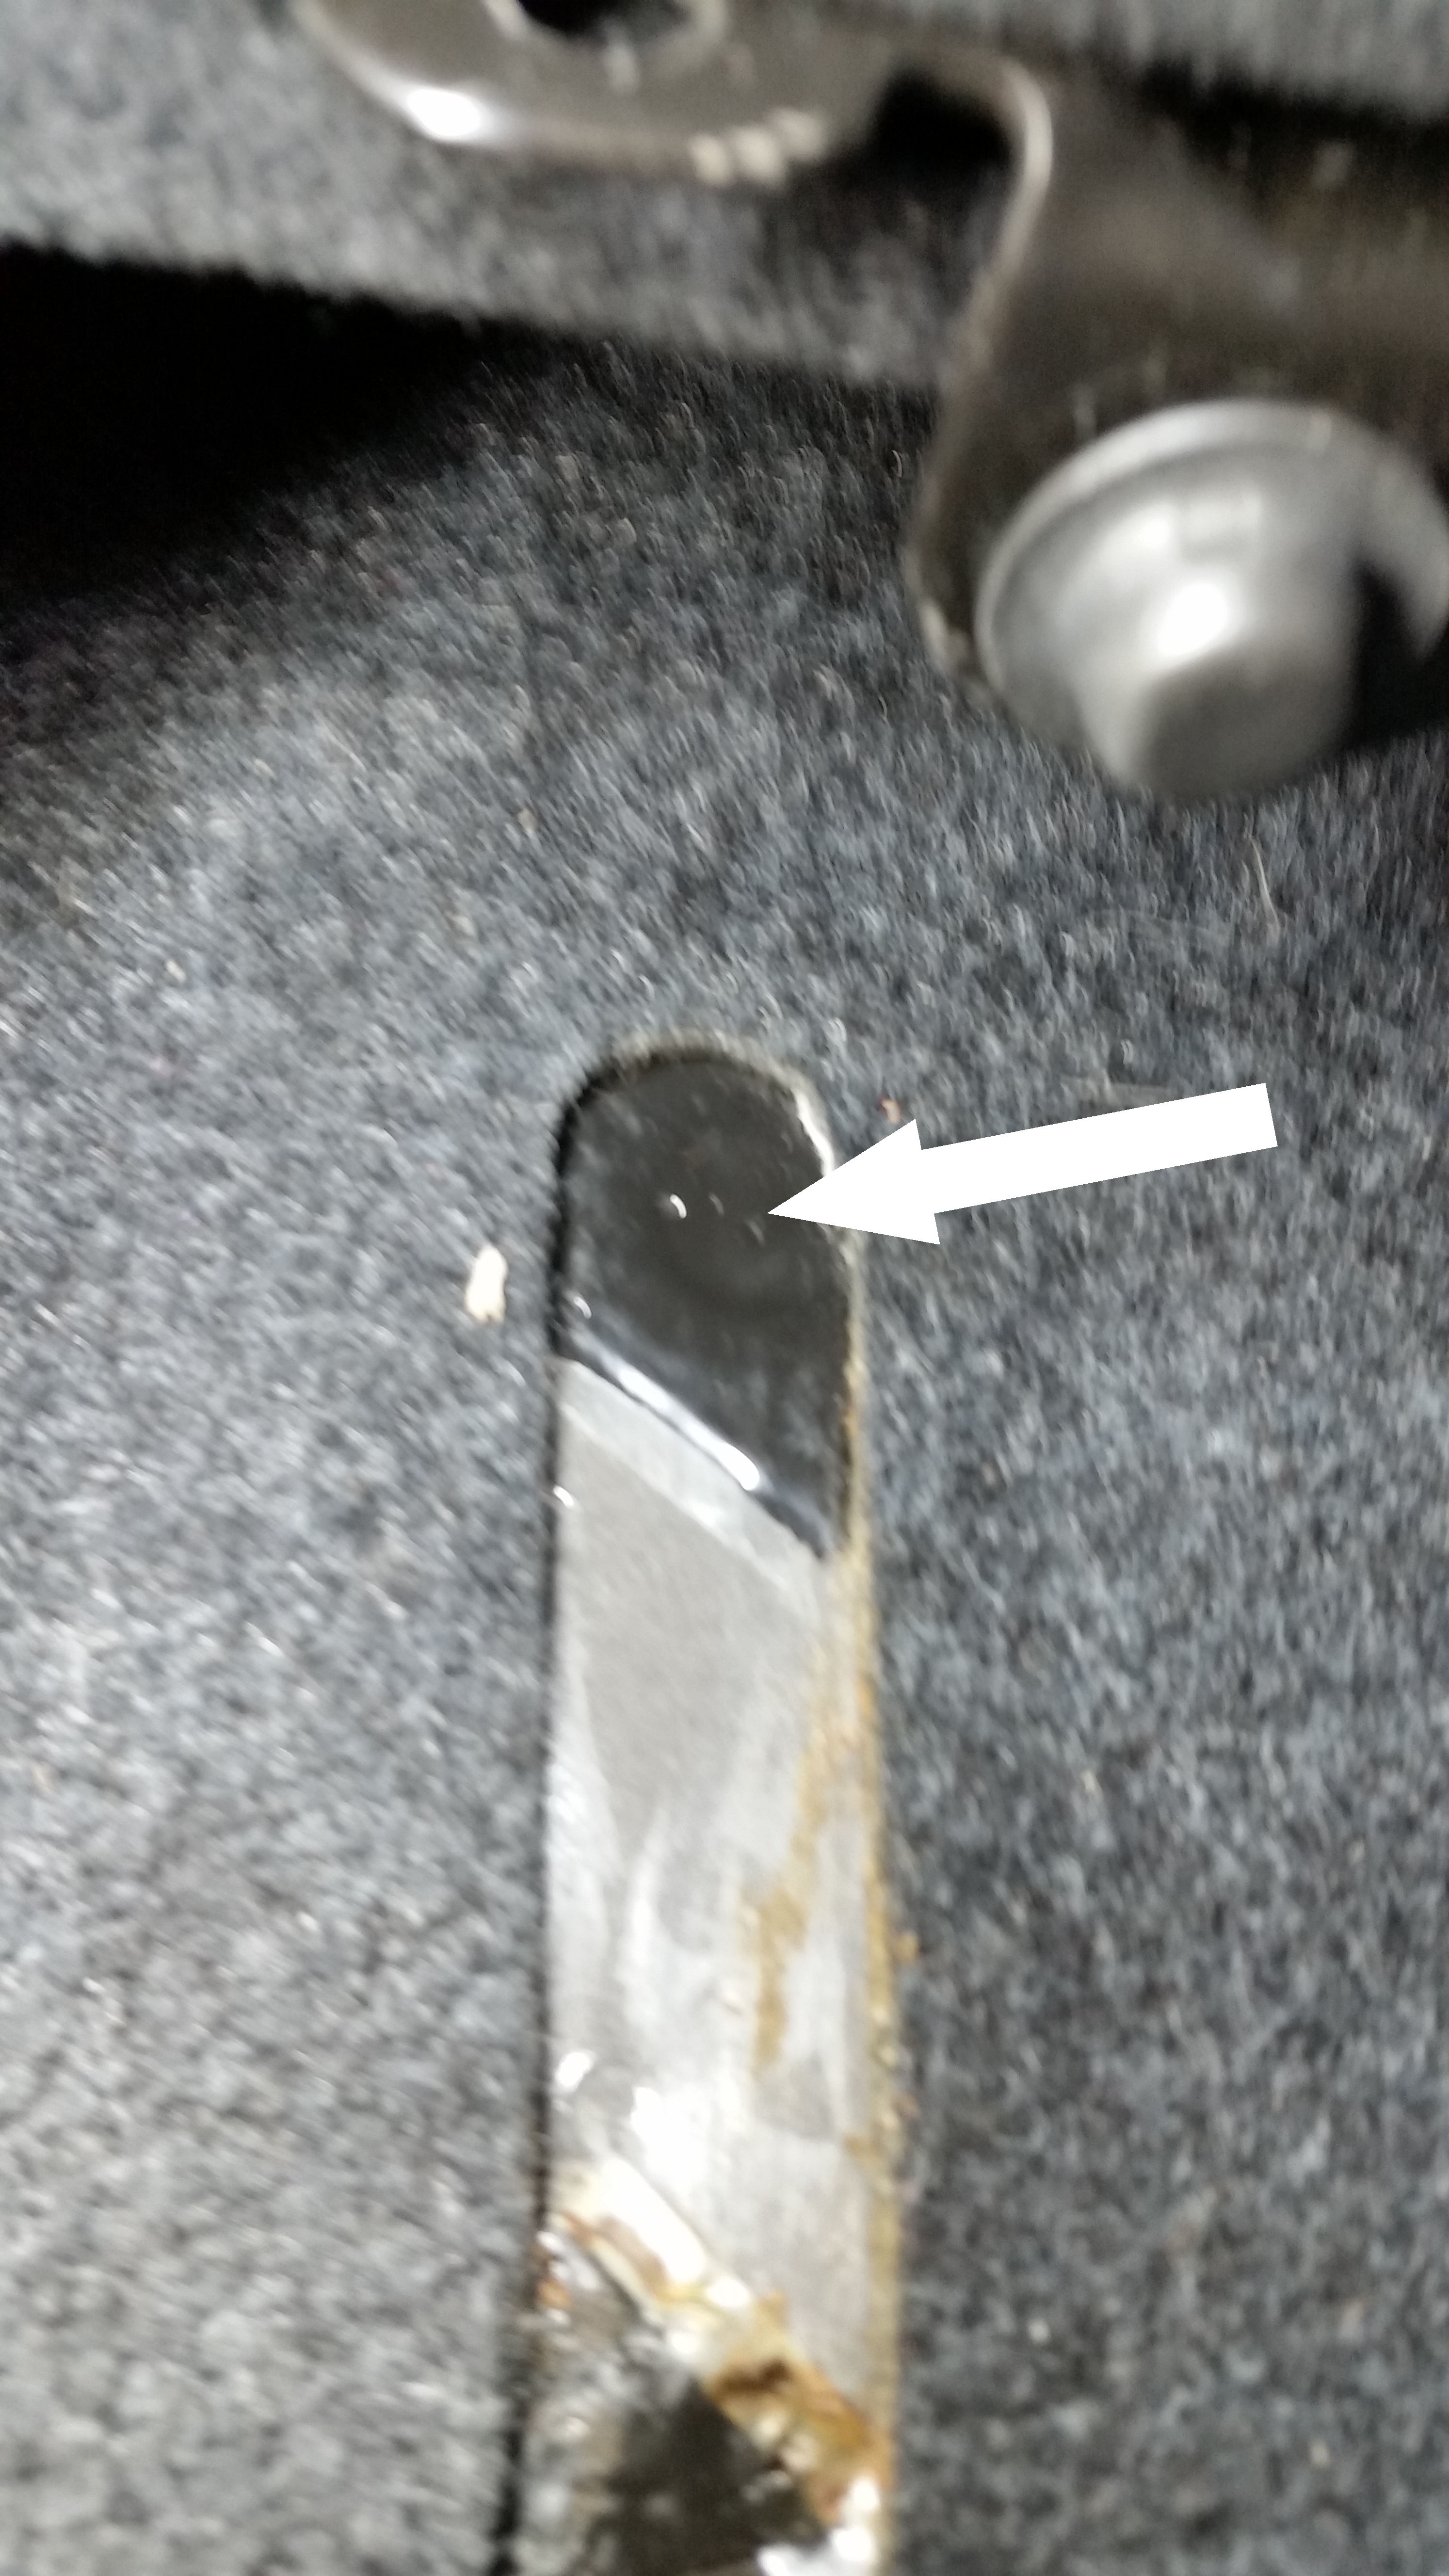
Now, even when you have the bench seat, the attachment points for the split seat are still there, they are just under a cutout in the carpet. See arrow in the image below. The cutout is held in place by two small uncut bits, a razor knife will free it easily. Don't discard it though, you'll need it later.

Once you have the cutout removed the two threaded holes will be under a piece of rubberized tape each. See arrow in the image below. I did not bother to remove the tape, I just cut holes in it over the threaded holes
Next you'll need to remove the forward bolt on each of the seat brackets. The bolts are an 18mm head. Having been forewarned by my research that these things can be difficult to remove, I had a 1/2" breaker bar on hand and I needed it on the passenger side. The driver's side came out with just the 1/2" ratchet.

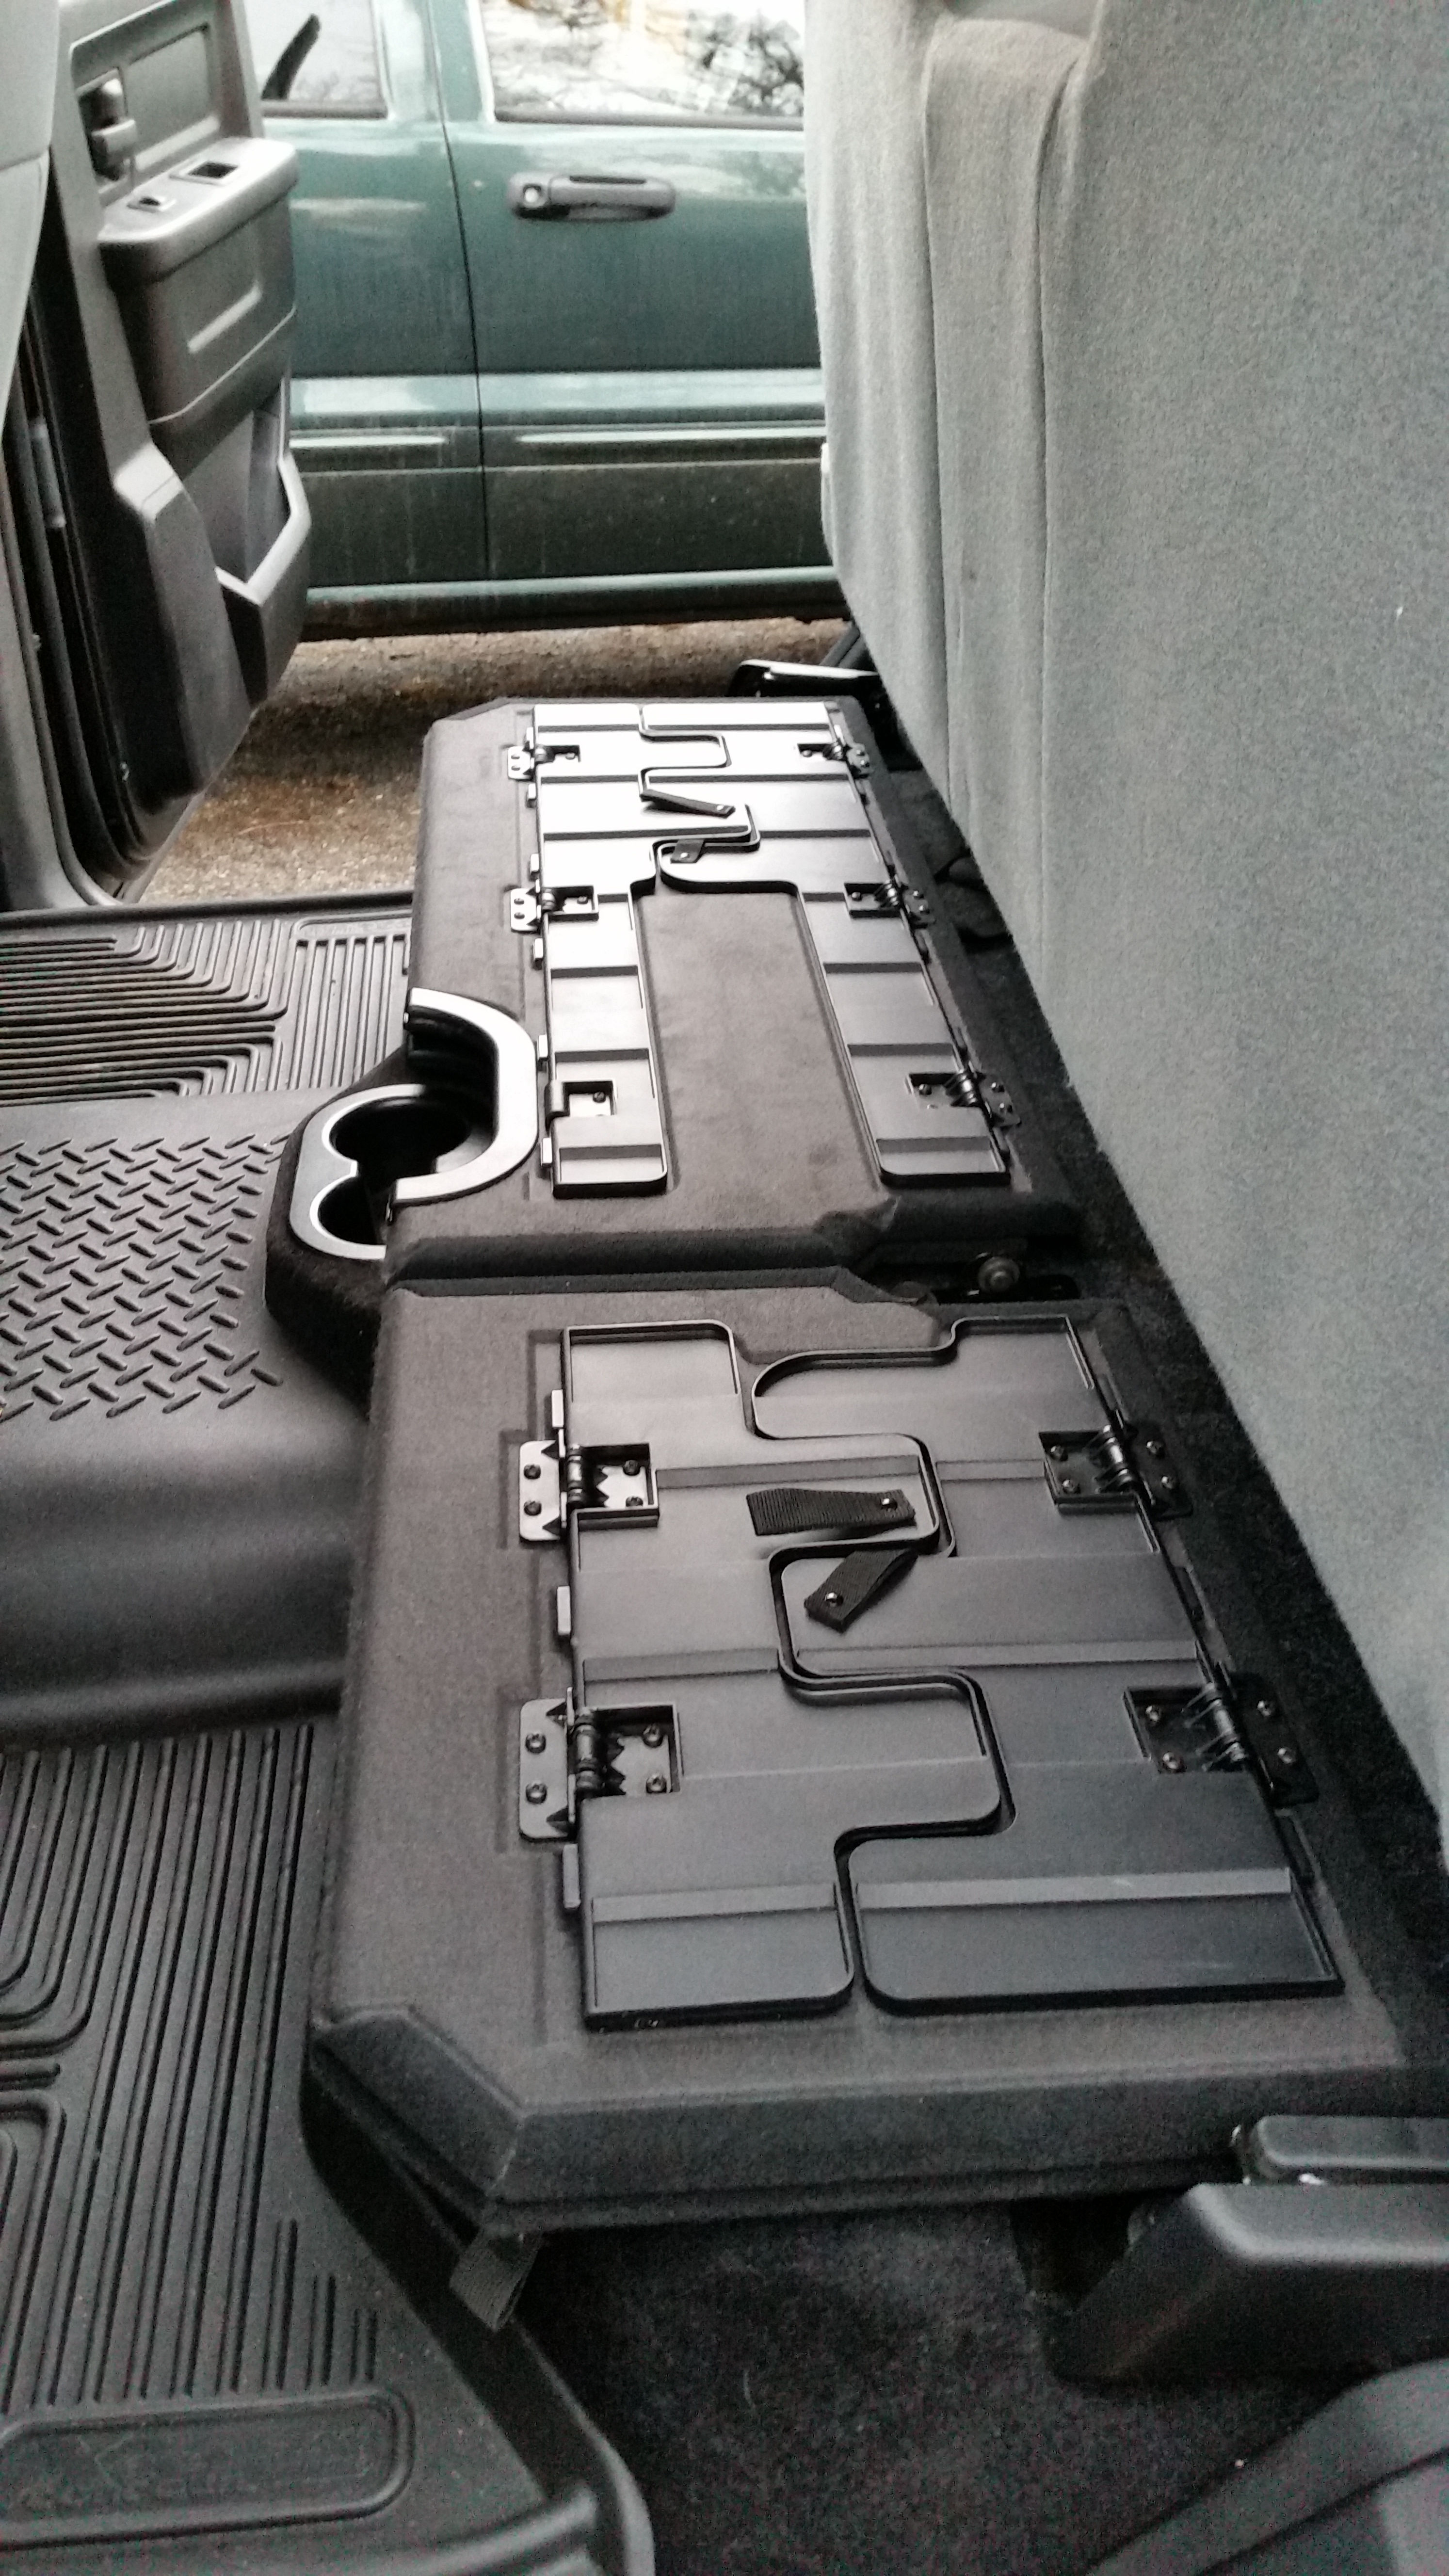
Once you've got that done, it's just a matter of growing an extra arm so you can hold the floor piece upright, hold the spring loaded hinge flat and put the new bolt in at the same time. If your species does not grow new limbs on demand you may need an assistant. The holes in the brackets are way oversized, I guess to allow for a large amount of adjustment. To keep everything lined up I did the outboard sides first so I could square the floor brackets with the seat brackets. The picture below is of one of the inboard brackets, you can just see the plate I made underneath it. I did the longer (passenger) side first.
Edit: Someone on another thread asked for more deail on how I got the spring loaded brackets in place, so here goes: You sit them in upright, or at least as upright as they will go since they bump the bottom edge of the seat, hold the assembly up with one hand, rotate the spring loaded bracket down into position with the other, then keeping downward pressure with the first hand, insert the bolt with the second. Or alternatively, get an assistant to hold it in place while you rotate the bracket and put the bolt in.

Here's where the carpet cutout comes in (you DID save it, right?). I trimmed the rounded ends off and using a couple of pieces of 3M VHB tape ** attached it to the floor to hide the cutout area. I'm guessing that the factory split seat brackets must cover the entire area and that's why the cutout is so big.
** Very High Bond - Basically, double sided tape on steroids, yet very thin)

Now just repeat the procedure for the drivers side and tada!
I still need to attach a couple of male snaps to the carpet to be able to use the hold downs for the pieces when they are in their "lid" configuration, but that will be a spring project.
-K
I purchased it as a "New Take Off" from Seats And Such via their eBay store. It arrived quickly and was well packaged, but it was almost a month before the weather warmed up enough to install it.
In the meantime I ordered some seat hold down bolts from the dealer (ouch! $5.00 each! *) I ordered 4 as I intended to follow FCA's specs and not re-use the old ones.
* Yes, I know I could have gotten the dealer bolts cheaper online, but not after shipping charges and I could have gotten M14x1.5x55 bolts locally for $1 each or less, but I regularly have my young nieces in the back seat and I feel better with the dealer specified bolts in place.
I also fabricated a pair of small plates to go under the inboard side of each piece to take the place of the seat bracket that does not exist when you have the bench seat. I know others have just put a couple of washers underneath to level things out, but that didn't sit well with my OCD. They are just a couple of pieces of 1/8" flat steel, 4.5" long, 1.25" wide with a 9/16" hole drilled in them, primed and painted with Rustoleum spray.
Now, even when you have the bench seat, the attachment points for the split seat are still there, they are just under a cutout in the carpet. See arrow in the image below. The cutout is held in place by two small uncut bits, a razor knife will free it easily. Don't discard it though, you'll need it later.
Once you have the cutout removed the two threaded holes will be under a piece of rubberized tape each. See arrow in the image below. I did not bother to remove the tape, I just cut holes in it over the threaded holes
Next you'll need to remove the forward bolt on each of the seat brackets. The bolts are an 18mm head. Having been forewarned by my research that these things can be difficult to remove, I had a 1/2" breaker bar on hand and I needed it on the passenger side. The driver's side came out with just the 1/2" ratchet.
Once you've got that done, it's just a matter of growing an extra arm so you can hold the floor piece upright, hold the spring loaded hinge flat and put the new bolt in at the same time. If your species does not grow new limbs on demand you may need an assistant. The holes in the brackets are way oversized, I guess to allow for a large amount of adjustment. To keep everything lined up I did the outboard sides first so I could square the floor brackets with the seat brackets. The picture below is of one of the inboard brackets, you can just see the plate I made underneath it. I did the longer (passenger) side first.
Edit: Someone on another thread asked for more deail on how I got the spring loaded brackets in place, so here goes: You sit them in upright, or at least as upright as they will go since they bump the bottom edge of the seat, hold the assembly up with one hand, rotate the spring loaded bracket down into position with the other, then keeping downward pressure with the first hand, insert the bolt with the second. Or alternatively, get an assistant to hold it in place while you rotate the bracket and put the bolt in.
Here's where the carpet cutout comes in (you DID save it, right?). I trimmed the rounded ends off and using a couple of pieces of 3M VHB tape ** attached it to the floor to hide the cutout area. I'm guessing that the factory split seat brackets must cover the entire area and that's why the cutout is so big.
** Very High Bond - Basically, double sided tape on steroids, yet very thin)
Now just repeat the procedure for the drivers side and tada!
I still need to attach a couple of male snaps to the carpet to be able to use the hold downs for the pieces when they are in their "lid" configuration, but that will be a spring project.
-K
Last edited:


