DeputyChef22
Member
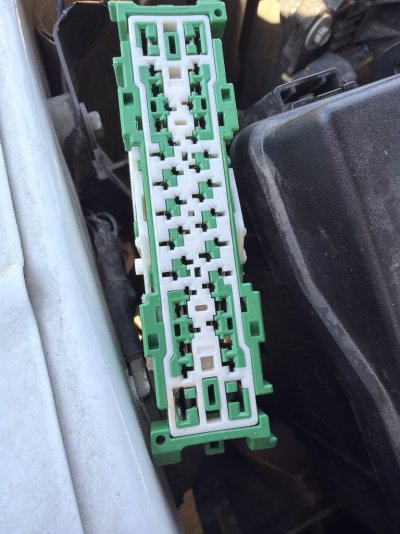
Below is the step by step as provided by AI. I’m pretty handy and can follow most of this but steps 3&4 get me confused. Please help.
You will need:
• 40A automotive relay (4-pin)
• Inline fuse holder (30–40A)
• 10–12 gauge wire
• 16–18 gauge wire (for trigger)
• Ring terminals
• Heat shrink
That’s it.
⸻
The Relay Has 4 Pins
They are labeled:
• 30
• 87
• 85
• 86
Think of them like this:
30 = Power IN
87 = Power OUT to blower
85/86 = Small trigger wires
⸻
Step-by-Step (No Shortcuts)
 Disconnect battery first.
Always.
⸻
 Run NEW power
• From battery positive
• Through your new inline fuse (within 6–8 inches of battery)
• To relay pin 30
That wire should be 10–12 gauge.
⸻
 Connect relay output
• Relay pin 87
• Goes directly to the blower motor power wire (cut and isolate the old TIPM high-current feed)
You will cut the blower power wire near the TIPM harness.
The side going TO the blower gets connected to relay pin 87.
The old TIPM high-current side gets taped and sealed — no longer used for power.
⸻
 Trigger wire (this is the safe part)
Now take the old TIPM blower feed wire — the one that used to carry high current.
Instead of powering the blower directly, it now goes to relay pin 85.
That wire now only carries about 0.15 amps.
Zero heat issue.
⸻
 Ground the relay
Pin 86 → good chassis ground.
Done.
⸻
What happens after this
When you turn blower on:
TIPM sends small signal → energizes relay → relay closes → battery sends clean power to blower.
TIPM never sees heavy load again.
Burned cavity becomes irrelevant.
You will need:
• 40A automotive relay (4-pin)
• Inline fuse holder (30–40A)
• 10–12 gauge wire
• 16–18 gauge wire (for trigger)
• Ring terminals
• Heat shrink
That’s it.
⸻
The Relay Has 4 Pins
They are labeled:
• 30
• 87
• 85
• 86
Think of them like this:
30 = Power IN
87 = Power OUT to blower
85/86 = Small trigger wires
⸻
Step-by-Step (No Shortcuts)
Disconnect battery first.Always.
⸻
Run NEW power• From battery positive
• Through your new inline fuse (within 6–8 inches of battery)
• To relay pin 30
That wire should be 10–12 gauge.
⸻
Connect relay output• Relay pin 87
• Goes directly to the blower motor power wire (cut and isolate the old TIPM high-current feed)
You will cut the blower power wire near the TIPM harness.
The side going TO the blower gets connected to relay pin 87.
The old TIPM high-current side gets taped and sealed — no longer used for power.
⸻
Trigger wire (this is the safe part)Now take the old TIPM blower feed wire — the one that used to carry high current.
Instead of powering the blower directly, it now goes to relay pin 85.
That wire now only carries about 0.15 amps.
Zero heat issue.
⸻
Ground the relayPin 86 → good chassis ground.
Done.
⸻
What happens after this
When you turn blower on:
TIPM sends small signal → energizes relay → relay closes → battery sends clean power to blower.
TIPM never sees heavy load again.
Burned cavity becomes irrelevant.