New 12V DC Outlet, Center Console

Disclaimer: Links on this page pointing to Amazon, eBay and other sites may include affiliate code. If you click them and make a purchase, we may earn a small commission.

Jester77

Junior Member
Joined
Sep 4, 2021
Posts
13
Reaction score
18
Location
Orlando, FL
Ram Year
2011
Engine
Hemi 5.7
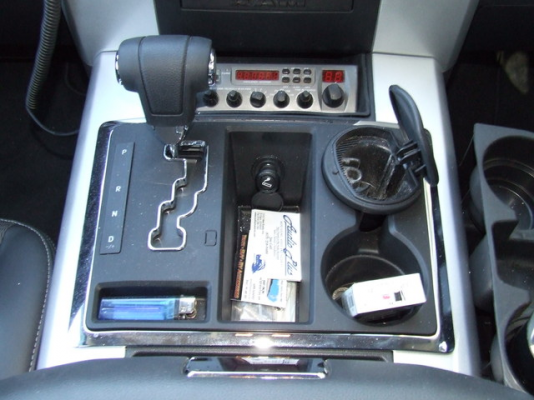
My 2011 Ram only had one USB connector in the cab (upper glove box). So I decided to switch out the 12V DC Outlet in the center console with one that was Quick Charge 3.0 and had a couple of USB ports. Obviously it is on switched power, just like the old outlet because I used the same wires. I added a 10A inline fuse as well just for safety.

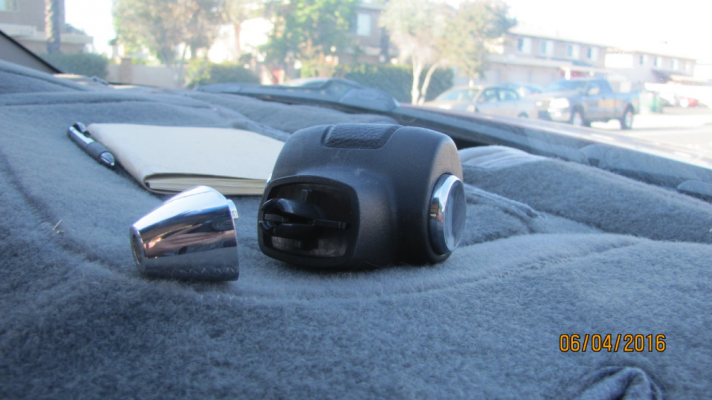
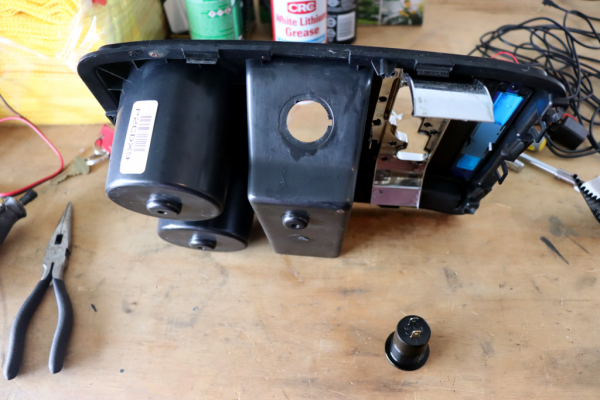
The old outlet is a bit smaller than the new outlet that I installed. I had to take a Dremel with a rasp to gently make the hole larger so the new outlet would fit. While I was in there, I took the time to clean all the trim parts and re-lube the shifter components with silicone lubricating grease. All connections are soldered and I used marine-grade heat shrink to ensure no connections were exposed.

I think it turned out well. This worked so well, I'll be swapping out the 12V DC outlet in the back of the console (for back seat passengers) with the same Quick Charge 3.0 outlet. I like these new outlets because the housing is made from aluminum, there is an on-off switch at the outlet, and it gives you a LED DC readout. Here are some of the pics.

cc1.png
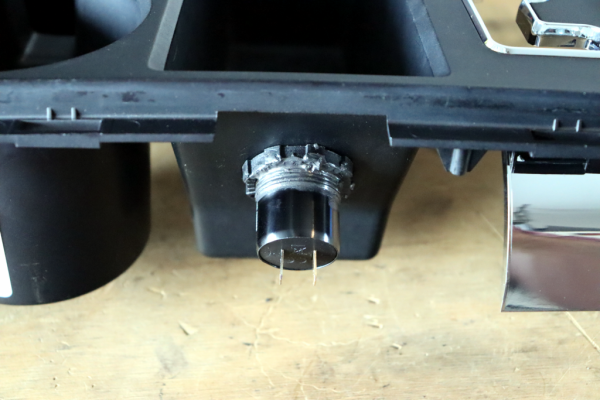
Had to Dremel this hole out to make the new outlet fit.
cc2.png
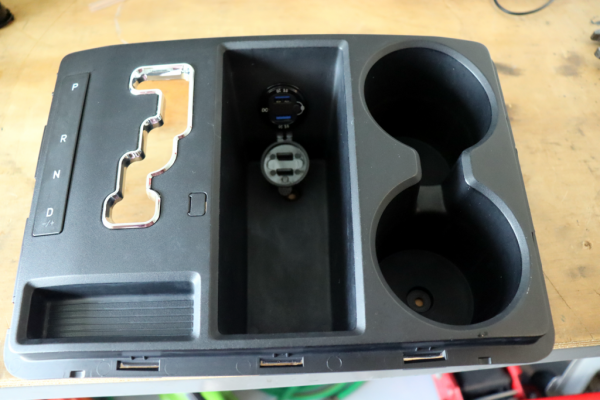
After the Dremel with a test fit.

cc3.png
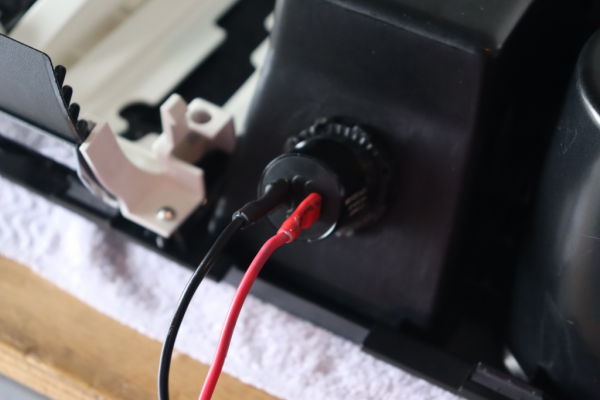
Everything lined up, I applied some RTV on the nut and threads to keep it from moving.
cc4.png
New connectors with marine-grade heat shrink.
cc5.png
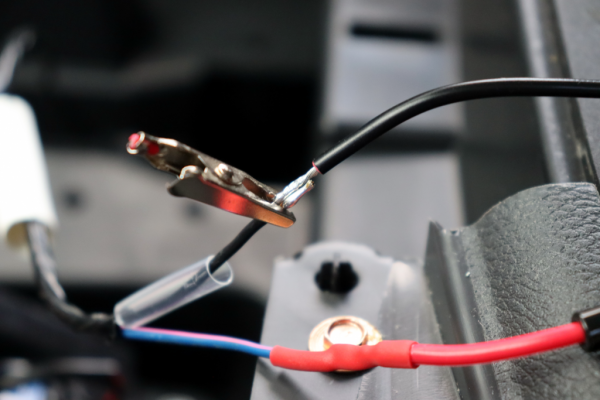
Making the connections to the existing truck wiring harness. The alligator clip was used just to hold the two wires together so I could solder the joint.
cc6.png
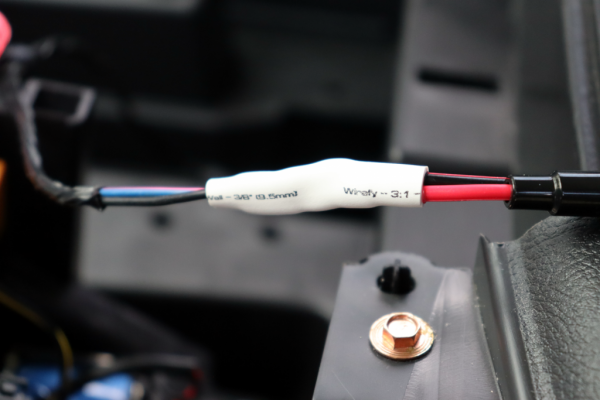
A solid, protected connection that is fail safe....double heat shrink.
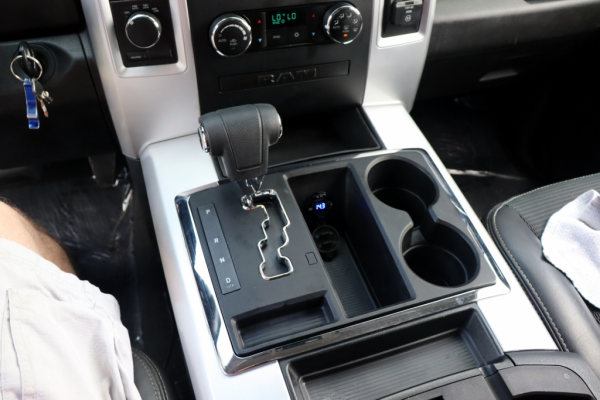
cc7.png
And the finished product with all trim back in place.

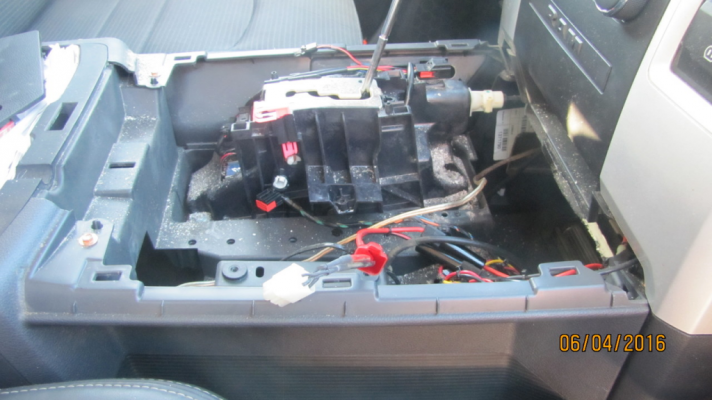
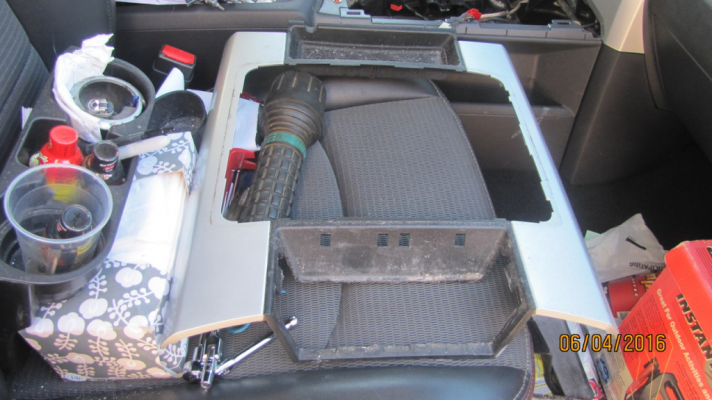
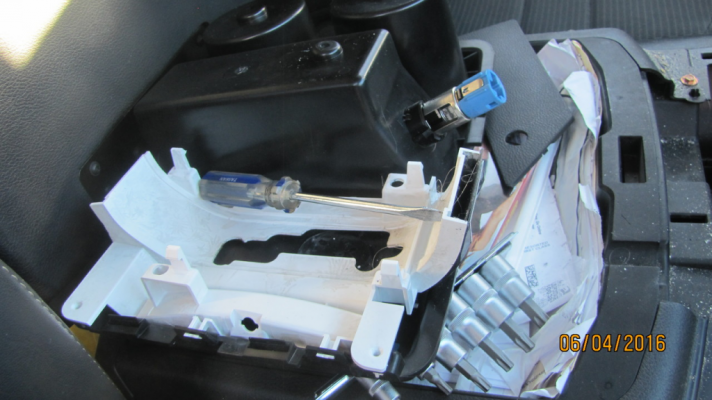
I never could find a good tutorial on how to take all these pieces apart, at least not in one place so I had to wing it. I should have documented the removal of the console. If you have any questions on how do do this for a 2011 Ram 1500 Crew Cab 4x4 Laramie, let me know. I'll do better documentation when I replace the connector in the rear of the console.
 
OP
OP
Jester77

Jester77

Junior Member
Joined
Sep 4, 2021
Posts
13
Reaction score
18
Location
Orlando, FL
Ram Year
2011
Engine
Hemi 5.7
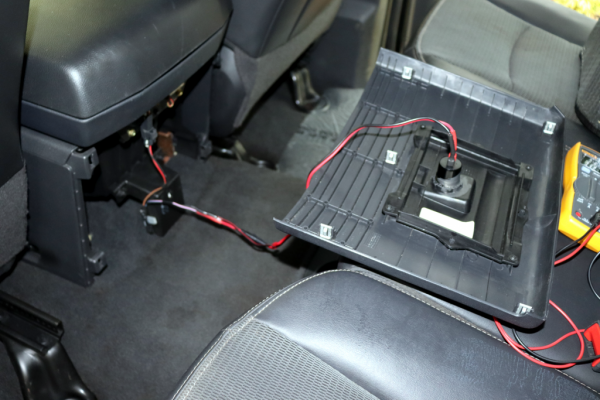
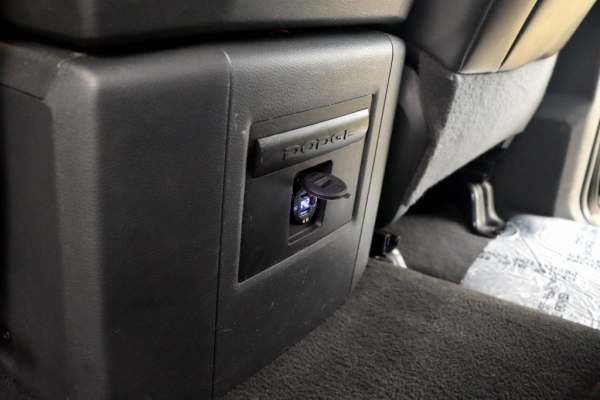
Got around to installing the rear 12V DC USB outlet this afternoon. The whole process took about 30 minutes total, and that is mainly because I am OCD and my wife kept asking questions. The rear outlet is much easier to change out than the one near the shifter.

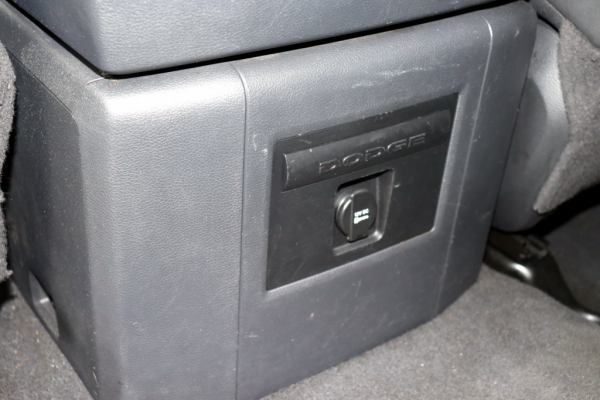
cc8.png
Here is what is looked like before.

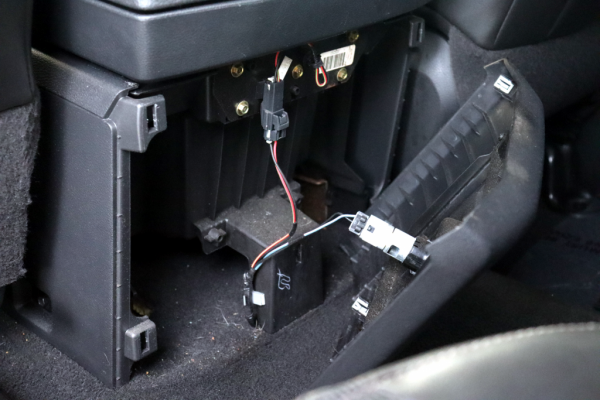
cc9.png
Just grab the edges of the panel and pull, it snaps right off with four clips in each corner. Looks like it has never been cleaned behind this panel before.

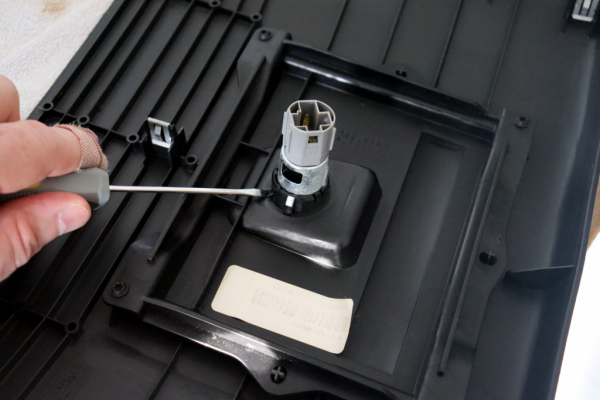
cc10.png
The old 12V socket pops right out with a little pressure on these tabs with a small screwdriver.

cc11.png
All wires tinned, soldered, and heat shrink installed. I also put RTV on the socket nut to keep it from moving. A good vacuum was in order as well.

cc12.png
Finished product. I am very happy with this simple modification.
 

george55378

Member
Joined
Jan 13, 2022
Posts
48
Reaction score
13
Location
Tower,MN
Ram Year
2015
Engine
5.7
My 2011 Ram only had one USB connector in the cab (upper glove box). So I decided to switch out the 12V DC Outlet in the center console with one that was Quick Charge 3.0 and had a couple of USB ports. Obviously it is on switched power, just like the old outlet because I used the same wires. I added a 10A inline fuse as well just for safety.

The old outlet is a bit smaller than the new outlet that I installed. I had to take a Dremel with a rasp to gently make the hole larger so the new outlet would fit. While I was in there, I took the time to clean all the trim parts and re-lube the shifter components with silicone lubricating grease. All connections are soldered and I used marine-grade heat shrink to ensure no connections were exposed.

I think it turned out well. This worked so well, I'll be swapping out the 12V DC outlet in the back of the console (for back seat passengers) with the same Quick Charge 3.0 outlet. I like these new outlets because the housing is made from aluminum, there is an on-off switch at the outlet, and it gives you a LED DC readout. Here are some of the pics.


View attachment 470003
Had to Dremel this hole out to make the new outlet fit.

View attachment 470004
After the Dremel with a test fit.

View attachment 470005
Everything lined up, I applied some RTV on the nut and threads to keep it from moving.

View attachment 470006
New connectors with marine-grade heat shrink.

View attachment 470007
Making the connections to the existing truck wiring harness. The alligator clip was used just to hold the two wires together so I could solder the joint.

View attachment 470008
A solid, protected connection that is fail safe....double heat shrink.

View attachment 470009
And the finished product with all trim back in place.

I never could find a good tutorial on how to take all these pieces apart, at least not in one place so I had to wing it. I should have documented the removal of the console. If you have any questions on how do do this for a 2011 Ram 1500 Crew Cab 4x4 Laramie, let me know. I'll do better documentation when I replace the connector in the rear of the console.
You did good.
 

Yogee2020

Senior Member
Joined
Jan 10, 2021
Posts
257
Reaction score
85
Location
New Jersey
Ram Year
2016
Engine
5.7l hemi
Man I wanna do this but my soldering skills r not there not but I like this upgrade alot
 

PaleFlyer

Senior Member
Joined
Jan 1, 2022
Posts
453
Reaction score
258
Location
Charlotte NC
Ram Year
2018
Engine
Hemi 5.7
My 2011 Ram only had one USB connector in the cab (upper glove box). So I decided to switch out the 12V DC Outlet in the center console with one that was Quick Charge 3.0 and had a couple of USB ports. Obviously it is on switched power, just like the old outlet because I used the same wires. I added a 10A inline fuse as well just for safety.

The old outlet is a bit smaller than the new outlet that I installed. I had to take a Dremel with a rasp to gently make the hole larger so the new outlet would fit. While I was in there, I took the time to clean all the trim parts and re-lube the shifter components with silicone lubricating grease. All connections are soldered and I used marine-grade heat shrink to ensure no connections were exposed.

I think it turned out well. This worked so well, I'll be swapping out the 12V DC outlet in the back of the console (for back seat passengers) with the same Quick Charge 3.0 outlet. I like these new outlets because the housing is made from aluminum, there is an on-off switch at the outlet, and it gives you a LED DC readout. Here are some of the pics.


View attachment 470003
Had to Dremel this hole out to make the new outlet fit.

View attachment 470004
After the Dremel with a test fit.

View attachment 470005
Everything lined up, I applied some RTV on the nut and threads to keep it from moving.

View attachment 470006
New connectors with marine-grade heat shrink.

View attachment 470007
Making the connections to the existing truck wiring harness. The alligator clip was used just to hold the two wires together so I could solder the joint.

View attachment 470008
A solid, protected connection that is fail safe....double heat shrink.

View attachment 470009
And the finished product with all trim back in place.

I never could find a good tutorial on how to take all these pieces apart, at least not in one place so I had to wing it. I should have documented the removal of the console. If you have any questions on how do do this for a 2011 Ram 1500 Crew Cab 4x4 Laramie, let me know. I'll do better documentation when I replace the connector in the rear of the console.
Please PLEASE use a Western Union Splice from now on... A.) you won't need an "extra hand", and b.) it's just a superior splice all around... It makes the mechanical connection with the actual wire, not just the solder, and even the electrical is largely wire-wire, instead of 100% reliant on the solder. Once you do a few, you will even get it to be a pretty smooth connection. Only time I don't use it now is if the wire is really short, or it's a really awkward place to make the joint, and I can't "pre-wire" the joint.
 
Top