

- Joined
- Feb 1, 2014
- Posts
- 51
- Reaction score
- 51
- Location
- Oklahoma City, OK
- Ram Year
- 2018 SLT Crew cab 4X4
- Engine
- Hemi 5.7
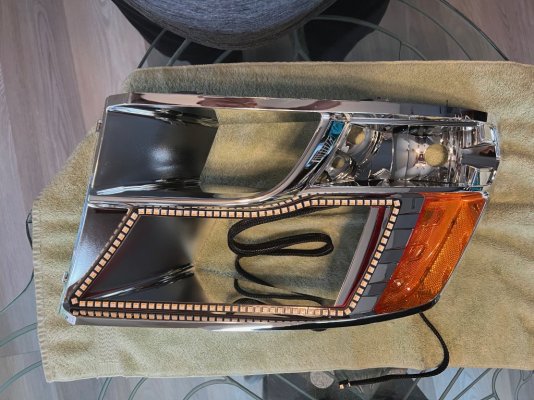
Note: Do this at your own risk. I am not responsible for anything that may happen to your truck as a result from performing this modification.
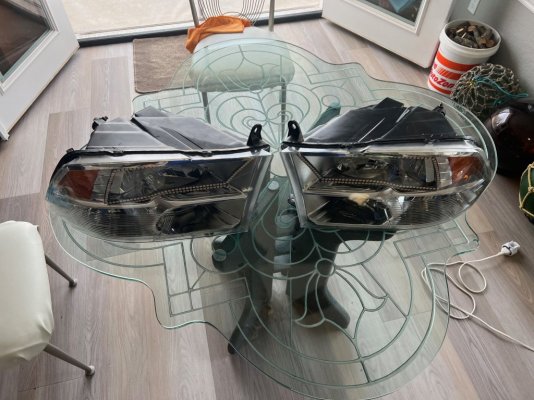
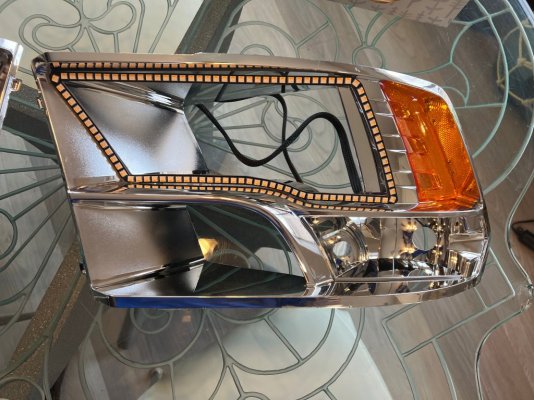
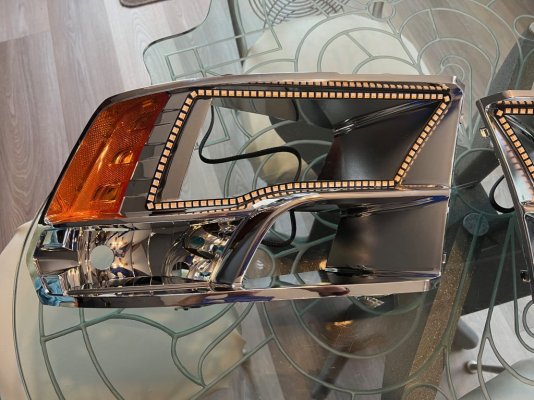
I love the look of these so I went for it, made mistakes, but at the end I like it.
First, some how I missed that they have two kits and of course I got the wrong one, and I did not figure it out until I had the lights open so I was not going to seal them up and do it later.
I you decide to do this project give yourself a full day, maybe two.
This kist for the quad light NON sport!! https://www.oraclelights.com/produc...k_dodge~md_ram~yr_2018&variant=18745396527201
This kist for the SPORT quad. https://aac2017.myshopify.com/produ...ad-oracle-halo-kit?rq=mk_dodge~md_ram~yr_2018
Fairly straight forward, I am not going to post everything, too much re-do from other posts.
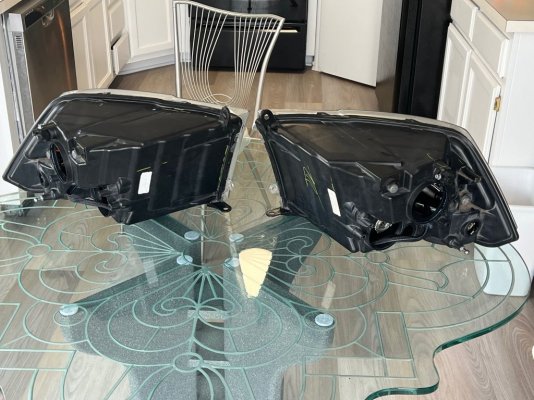
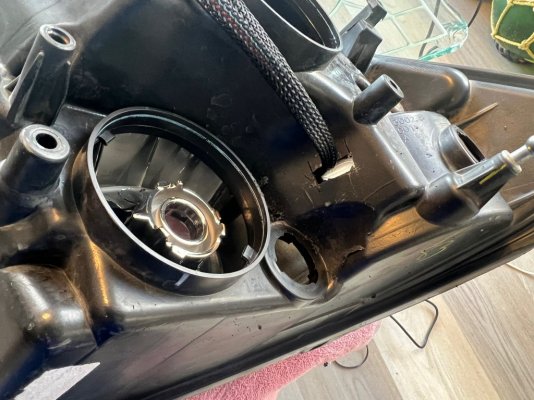
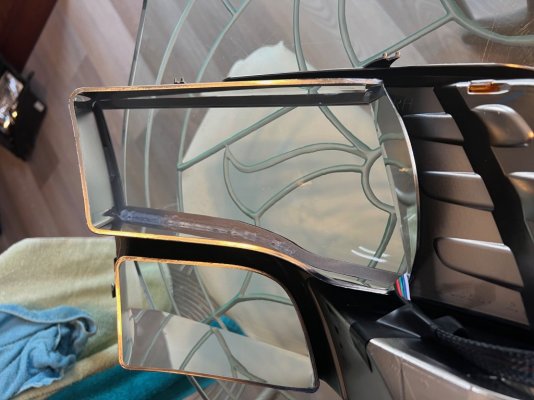
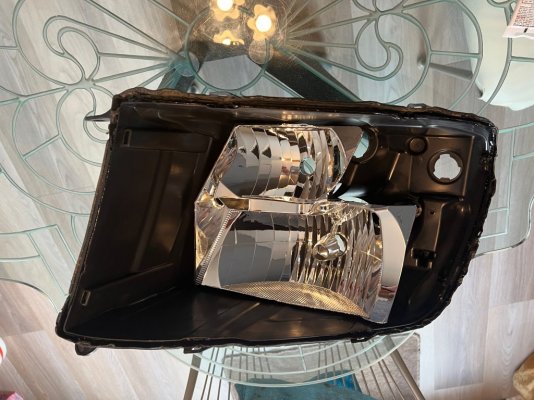
what I did - oven at 220, light goes in for 15 min, it will need several 5 minute additions. On the first 15 min, get it out onto a towl and start prying with a small flat screwdriver , lift the tabs, it will be hard, so SLOW or you WILL crack the lens, work for just few minutes, back in the over for 5 minutes, go at it again, same as above, was rinse repeat until you can get the lens off...be CAREFUL!!
Once open..... If you have never worked with plastic chrome..... it's SUPER fragile!!!! wear rubber gloves, I am not kidding when I say even a paper towel and glass cleaner will scratch through the chrome, you DO NOT want to get it dirty.
I set the halo I place and I decided to use clear RTV rather than epoxy, just tac it in place for now, give time to dry - 30 min. then come back and add more. once you get the halo secure you will need to cut a hole in the housing body to get the wires through, I decided to cut one just to the side of the headlight bulb leads, it will get sealed using RTV. Once everting is to you're liking assemble the light, again go slow. you can clean the plastic chrome using a very soft cloth and isopropyl alcohol, but do not rub hard!!!!
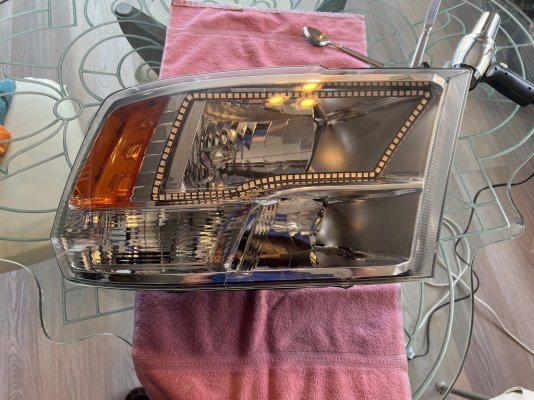
Oven to 220 you wont be able to the lens on the light body all the way when its cold, just get it on best you can without forcing, in it goes for 10 min, pull it out and set the lens as best you can, it may need several 5 minute boosts. Once you have it in as best you can I used a heat gun to go around and heat the flange and press it back into shape as best I could - go slow!!!
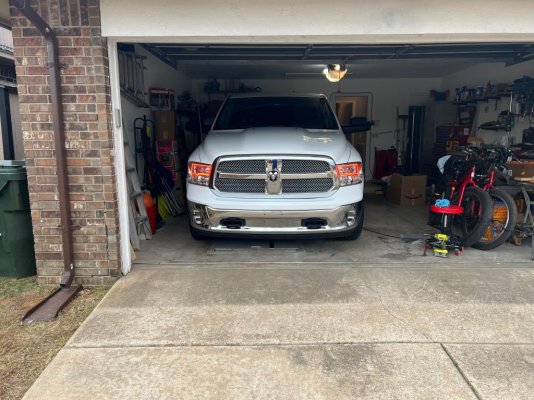
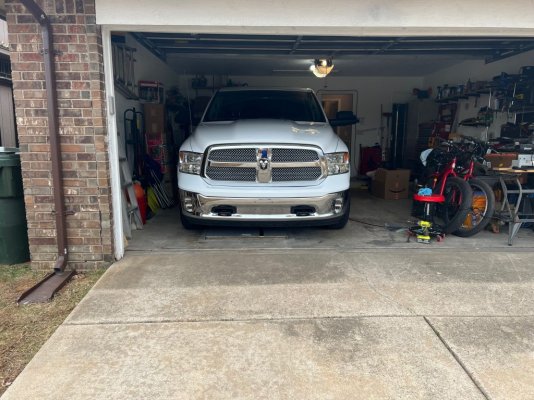
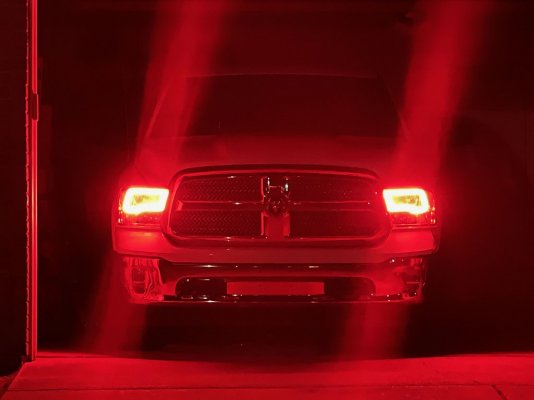
Reassemble the light into the truck, run wiring, you're done.
I do not know how pictures show up in here so I will up load one at a time in order of project process... sorry if they don't come out right.
Attachments
-
 IMG_9828.jpeg218.2 KB · Views: 22
 -
 IMG_9850.jpeg148.5 KB · Views: 22
 -
 IMG_9849.jpeg203 KB · Views: 23
 -
 IMG_9848.jpeg204.2 KB · Views: 23
 -
 IMG_9843.jpeg180.5 KB · Views: 23
 -
 IMG_9842.jpeg170.2 KB · Views: 22
 -
 IMG_9839.jpeg168.1 KB · Views: 20
 -
 IMG_9838.jpeg207.2 KB · Views: 20
 -
 IMG_9837.jpeg133.3 KB · Views: 20
 -
 IMG_9836.jpeg117.9 KB · Views: 19
 -
 IMG_9834.jpeg182.2 KB · Views: 19
 -
 IMG_9832.jpeg178.4 KB · Views: 18
 -
 IMG_9829.jpeg166.5 KB · Views: 17
 -
 IMG_9856.jpeg64.5 KB · Views: 24
Last edited: