Lost on terrible drive-ability.

Disclaimer: Links on this page pointing to Amazon, eBay and other sites may include affiliate code. If you click them and make a purchase, we may earn a small commission.

ryan_comma

Junior Member
Joined
May 26, 2026
Posts
2
Reaction score
3
Location
Colorado
Ram Year
2018
Engine
Hemi 5.7
Created an account after quietly monitoring this forum for years, shout-out to you all for unknowingly helping my journey. This is definitely going to be a data dump, I tend towards the methodical approach.

I am at such a loss as to why the smoothness of my ride has suddenly tanked, I've been driving my truck for about 3-1/2 years now and at least a solid year before I started really modifying anything serious, beyond a CAI that is. At highway speeds, the truck feels wavy, as if it's wandering, swaying, it tends to suck towards bumps and grooves, shakes, rattles, rear wheel hop, I truly am plagued with quite a bit on my list to fine-tune and fix. I genuinely don't know what it could be, attempting a description better, if you put your hand out in front of you as if to point, then mimic'd a fish swimming, that's the vibe. Windy days are bad with what feels like body roll, but 70/80MPH feels totally fine, smooth.

My Rig: 2018 Ram 1500 Rebel 5.7L V8 HEMI (MDS) VVT [Eagle :(]
215MM Front Axle, conventional differential front axle (open-diff)
235MM Rear Axle, anti-spin differential rear axle (LSD)
3.92 Rear Axle Ratio
BW44-45 Transfer (Borg-Warner)
Modifications:
- 4Corner Airride delete, replaced with Bilstein 6112's up front, 5160's in rear, lifted 3" front 1.5" rear to level
- Coil Isolators
- UCA's (unknown brand, 4X4 shop did delete)
- CORE4X4 Trail-Series Adjustable Rear Trailing Arms (both uppers & lowers)[JJ's axle-back, Poly's frame, matching OEM length]
- CORE4X4 Trail-Series Fixed Rear Sway-bar End-links (OEM center bolt-to-bolt was 11-1/4", Core's pushed to 12" to drop sway-bar parallel to ground)
- CORE4X4 Trail-Series Rear Heavy-Duty Adjustable Panhard/Track Bar (OEM length matched, near perfectly level)[JJ frame-side, poly axle-back]
- Hellwig 7/8" rear sway bar Pn. #7709
- MOOG front sway bar bushings (more preventative maintenance but added anyways)
- New OEM front sway-bar end-links (potential relevancy to post)

Tires = Toyo Tires Open Country A/T III's
- LT35x12.50R17 121/118S LoadE (Psi sitting 50 front, 45 rear)

Rims = OEM 8Jx17 ET25.4
- Bolt Pattern (PCD): 5x139.7 (5x5.5)
- Center Bore/Hub Bore: 77.8mm
- Offset Range: 23.4-27.4mm (in my case 25.4?)
- Stock Dia: 17"
- Stock Width: 8"

HPTuned to adjust internal tire size to 35, gearing remained 3.92. Stock tune while I figure out LTFTs & STFTs adjustments for our lovely ANN VE tables.

Entire suspension rework is still under 10,000 overall miles but I would say has settled already, greased meticulously (but cautious of bushing blowout), torqued to spec and re-torqued already after 1,000mi, real by the book stuff. Only parts I really haven't dived into would be the CV axles (boots look good, no tears), front sway-bar (don't see the necessity for my purpose) and ball-joints/bearings. I've been thinking maybe the issue is the stock rims, because of that 25.4 offset, I am torn how going to zero (or around an inch pushed out) would dramatically change the overall feel besides making this boat turn wider and tighten the steering a little, but I am definitely open to being totally wrong.

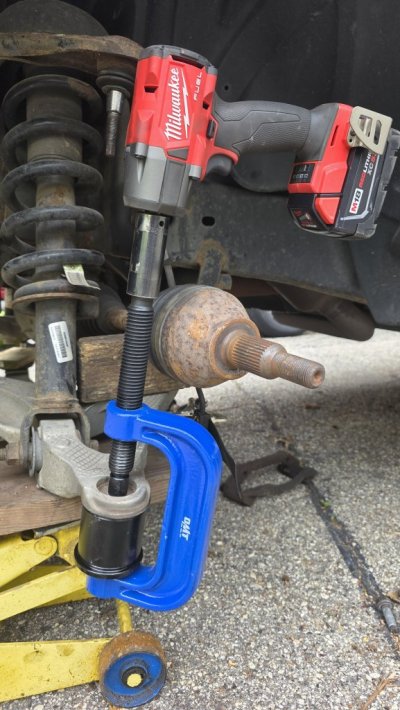
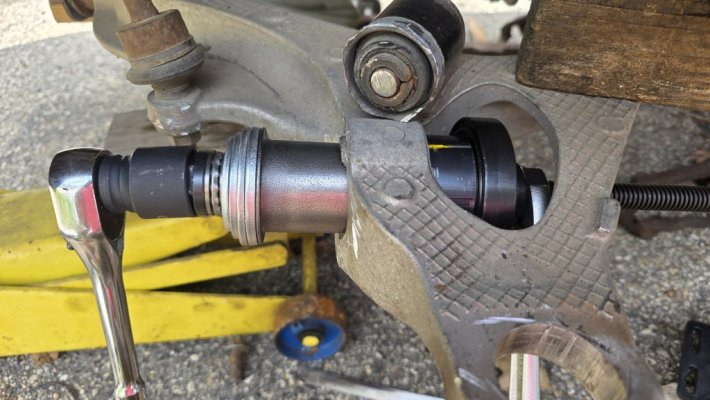
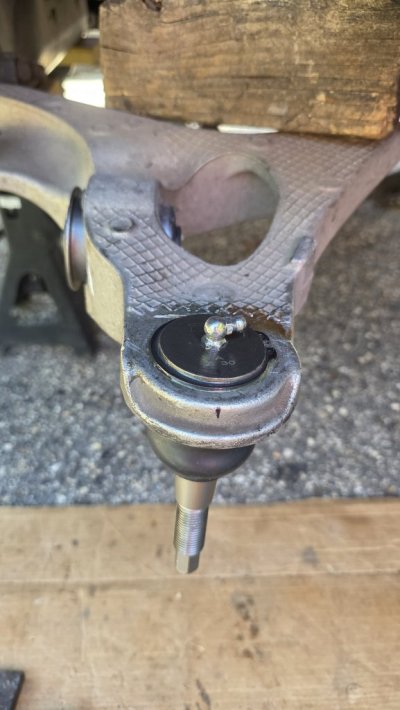
If anyone sees anything that I am not or can not, the advice would be very welcomed and appreciated. Can supply pictures of parts, etc.. if it helps.
 

Jeepwalker

Senior Member
Joined
Sep 8, 2017
Posts
4,203
Reaction score
5,305
Location
WI
Ram Year
2012 Reg Cab, 4x4
Engine
5.7 Hemi
You didn't mention if you have checked all the suspension and steering joints recently. You may have replaced some items, but it's possible one of the replaced parts have prematurely failed. Esp if they were inferior parts. Esp with the added shock of 35" tires ...and I assume a front end lift? I would focus in on the lower ball joints. Upper's too. But inspect all suspension and steering joints. One of the lower a-arm bushings could be worn or weak. And check the rear. A lot of owners have reported severely worn bushings on the rear trailing arms, or even a worn pan-hard rod bushing could cause the truck to sway a lot.

As a relevent example, I'm re-doing my trucks steering/suspension right now as we speak, at almost 180k miles. Stock truck, stock tires, pretty much all highway miles. Actually ....pretty much everything up front is still 'decent' and serviceable except the lower ball joints. One has up/down 'play' in it so that one is REALLY worn! The other one is pretty loose but no up/down play. Also the bushing under the shock/coil assembly on my truck is worn visibly (replaced that too). That bushing isn't the biggest considering it holds the weight of the front end. But the original upper ball joints, and the rest of the steering are still serviceable and could be just fine I suspect for probably another 50k more miles, how I drive it. (but I'm replacing everything). The truck drove great even before I tore into the front end ...so I was surprised the lower ball joints were worn like they are.

I'm replacing with TRW parts since they were the original supplier to RAM on most front end parts. RockAuto. I did have TRW lower control arms on order, but after a week of waiting, TRW cancelled the order??? (probably found out they were out of stock). So I ended up replacing the lower ball joints and shock bushings also with TRW. That's a lot of work, you're better off buying new lower a-arms...esp running larger tires (harder on suspension parts and bushings). Stick to decent well-known brands. I've used enough cheaper parts to know to stick with known good quality suppliers like TRW, Delphi, Moog, etc. Of course Mopar too. Mevotech Supreme (not the standard grade) isn't too bad on a budget. I DID buy solid steel Mevotech UCA's. They look nice. We'll see how they run out. They were on Sale at RockAuto. I'm leery of going with Amazon or Ebay "special" kits. I would buy new control arms before replacing the bushings/ball joints. Unless you are going with off-set lower ball joints. Pay more up front for well known 'good' parts ....redoing the suspension is not a job you want to do twice.

So yeah ....Inspect the front end parts again soon. Or take your truck in to a suspension alignment shop and get a 'free' inspection. Or even if you have to pay them $50 or $100 for a good thorough assessment, it might be worth it to get solid answers. The rear arms can also affect steering too. Including the panhard rod bushings.
 

Attachments

  • Ball joint Removal_1.jpg
    Ball joint Removal_1.jpg
    145.6 KB · Views: 2
  • Bushing Install.jpg
    Bushing Install.jpg
    129.7 KB · Views: 0
  • New Ball Joint_Bushing.jpg
    New Ball Joint_Bushing.jpg
    93.7 KB · Views: 0
Last edited:

Jeepwalker

Senior Member
Joined
Sep 8, 2017
Posts
4,203
Reaction score
5,305
Location
WI
Ram Year
2012 Reg Cab, 4x4
Engine
5.7 Hemi
The way the lower ball joints are oriented on these Ram's is the ball pushes "upwards" in it's socket, the steering can feel pretty 'good' even if ball joints are worn. However, with the added stress of larger than stock tires (and a windy day), worn ball joints could cause wandering. So what I was trying to say above is ...rule them 'good' ...for sure. Or replace them.

Although unlikely, it's also probably not a bad idea to ensure your steering rack bolts are tight.
 
Last edited:

Jeepwalker

Senior Member
Joined
Sep 8, 2017
Posts
4,203
Reaction score
5,305
Location
WI
Ram Year
2012 Reg Cab, 4x4
Engine
5.7 Hemi
Worn intermediate Shaft bushings/U-joints??

Another possibility of 'loose steering' and jolting, could be caused by a worn intermediate steering shaft. The intermediat shafts on these trucks have like 5 joints in them including U-joints. That's a lot of potential areas for 'steering slop'. PLUS, the upper joint that looks like a collar with a pin that goes through it is actually a rubber bushing. And that bushing you can't see ...and it goes bad. It's inside under the dash. Just a micro-amount of 'looseness' at any of the joints can cause quite a bit of steering wheel movement in the cab. So definitely check the intermediate shaft for wear.

The way to detect and pinpoint steering shaft wear points, or at least one way, is to put a Vise Grip pliers around the bottom of the steering shaft under the truck near the rack (clamp loosely...don't need to put 'teeth marks' on the shafts ...you're just doing a 'test' here) ...and tie the vise grips to the frame solid. You might need a 2x4...or something between the vise grips and the frame. But...tie the vise grips to the frame so it's solid and doesn't move.

Then, with engine 'off', have a helper inside the truck gently wiggle the steering wheel back/fourth an inch ...while YOU observe each U-joint and bushing. Have them keep wiggling as you look over every steering joint, incl those inside the truck. Very possible one of the joints could be sloppy. Not uncommon on these Rams. Esp with the larger tires, etc. Not a difficult replacement.

I would definitely look into that. Let us know what you find!

 
Last edited:
OP
OP
R

ryan_comma

Junior Member
Joined
May 26, 2026
Posts
2
Reaction score
3
Location
Colorado
Ram Year
2018
Engine
Hemi 5.7
Worn intermediate Shaft bushings/U-joints??

Another possibility of 'loose steering' and jolting, could be caused by a worn intermediate steering shaft. The intermediat shafts on these trucks have like 5 joints in them including U-joints. That's a lot of potential areas for 'steering slop'. PLUS, the upper joint that looks like a collar with a pin that goes through it is actually a rubber bushing. And that bushing you can't see ...and it goes bad. It's inside under the dash. Just a micro-amount of 'looseness' at any of the joints can cause quite a bit of steering wheel movement in the cab. So definitely check the intermediate shaft for wear.

The way to detect and pinpoint steering shaft wear points, or at least one way, is to put a Vise Grip pliers around the bottom of the steering shaft under the truck near the rack (clamp loosely...don't need to put 'teeth marks' on the shafts ...you're just doing a 'test' here) ...and tie the vise grips to the frame solid. You might need a 2x4...or something between the vise grips and the frame. But...tie the vise grips to the frame so it's solid and doesn't move.

Then, with engine 'off', have a helper inside the truck gently wiggle the steering wheel back/fourth an inch ...while YOU observe each U-joint and bushing. Have them keep wiggling as you look over every steering joint, incl those inside the truck. Very possible one of the joints could be sloppy. Not uncommon on these Rams. Esp with the larger tires, etc. Not a difficult replacement.

I would definitely look into that. Let us know what you find!

Thank you very much for such a massively detailed answer! I took it to the 4X4 place I got the airride deleted with, to the same guy who actually did the work too luckily, we both double-checked everything, every bushing, every joint, the lot. He was extremely confident nothing has moved since, everything is greased and torqued correctly, and that nothing looked unusual. What we found as the likely culprit for the awful feeling was the overly-inflated new tires. Sitting around 50Psi up front and 45 in rear was really bowing my centers, creating a triangle shape of sorts with the center being the top, I dropped pressures down to 30's across the board and I couldn't believe the difference.
 

Mojo88

Senior Member
Joined
Feb 4, 2024
Posts
702
Reaction score
1,814
Location
Rhode Island
Ram Year
'19 Longhorn Gen5 ORG
Engine
Hemi 5.7L non-eTorque
...What we found as the likely culprit for the awful feeling was the overly-inflated new tires. Sitting around 50Psi up front and 45 in rear was really bowing my centers, creating a triangle shape of sorts with the center being the top, I dropped pressures down to 30's across the board and I couldn't believe the difference.

Perfect example of Occam's Razor.... glad you got her fixed!
 

Wild one

Senior Member
Joined
Jan 17, 2016
Posts
23,636
Reaction score
54,265
Ram Year
14 Sport
Engine
5.7
Thank you very much for such a massively detailed answer! I took it to the 4X4 place I got the airride deleted with, to the same guy who actually did the work too luckily, we both double-checked everything, every bushing, every joint, the lot. He was extremely confident nothing has moved since, everything is greased and torqued correctly, and that nothing looked unusual. What we found as the likely culprit for the awful feeling was the overly-inflated new tires. Sitting around 50Psi up front and 45 in rear was really bowing my centers, creating a triangle shape of sorts with the center being the top, I dropped pressures down to 30's across the board and I couldn't believe the difference.
The chalk test is a simple and reliable method to determine the ideal, even-contact tire pressure for your vehicle—especially crucial if you are running aftermarket, oversized, or heavy-duty off-road tires where factory door-jamb recommendations no longer apply. [1, 2]

How to Perform the Test
  1. Prep your setup: Find a smooth, flat, hard surface, like an empty parking lot or a paved driveway. [1, 2]
  2. Apply the chalk: Draw a thick, solid line of regular sidewalk chalk straight across the entire width of your tire's tread (from one outer edge to the other). Do this for all four tires.
  3. Drive straight: Drive your vehicle forward for about 100 to 200 feet in a perfectly straight line, then coast to a stop without making any sharp turns. [1]
  4. Read the wear pattern: Examine how the chalk has worn off to see where your tire is making contact with the pavement. [1]

Interpreting the Results
  • Over-Inflated (Too High): The chalk is worn away only in the center of the tread. The tire is bulging and riding exclusively on the middle. Action: Let out 2 to 3 PSI of air, redraw the chalk, and test again. [1, 2, 3]
  • Under-Inflated (Too Low): The chalk is worn off only on the outer edges (shoulders) of the tread. The tire is sagging in the middle. Action: Add 2 to 3 PSI of air, redraw the chalk, and test again. [1, 2]
  • Properly Inflated (Perfect): The chalk line wears away completely and evenly across the entire width of the tread. [1, 2]

Helpful Tips
  • Test Front and Rear Separately: Because your engine adds more weight to the front, your front tires will often require a slightly higher PSI than your rear tires. [1, 2, 3]
  • Perform Cold Checks: Only perform this test when your tires are "cold" (e.g., before driving for the day) to ensure heat expansion does not skew your results
 
Back
Top