Ryno1500
Senior Member
- Joined
- May 11, 2021
- Posts
- 112
- Reaction score
- 56
- Location
- California
- Ram Year
- 2019
- Engine
- Hemi 5.7 eTorque
I’m getting ready to do the UConnect 8.4 4C/Dual ATC upgrade and purchased a radio with a delaminating digitizer. As things go, I got too rough and caused part of the LCD screen to scramble. Thanks to SitKneelBend providing me another LCD screen, I was able to take another crack at it. Here are the steps to replacing it properly.
First off, starting from the back side, unscrew the six screws that hold the radio together. DO NOT REMOVE THE SCREWS. Then carefully turn the radio over so the screen is facing up, easier said than done, and then lift the entire screen up from the base. There will be a small black wire attached to the circuit board underneath, pop this wire loose from the board.
 You can then slide the base to the side, do not lift as the screws will fall out.
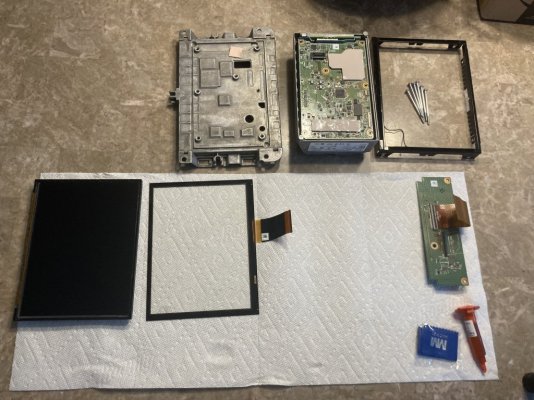
You will need to now remove the black metal bezel from around the screen, this has 8 clips on it. Using two small screwdrivers start at one corner and work around. One screwdriver lifting up on the clip, and the other between the bezel and the casting, working the the bezel away.

There are now to ribbon cables to detach, lift up on the plastic retainer and the cable will fall loose. Undo the digitizer cable from the circuit board and undo the other cable from the panel side.


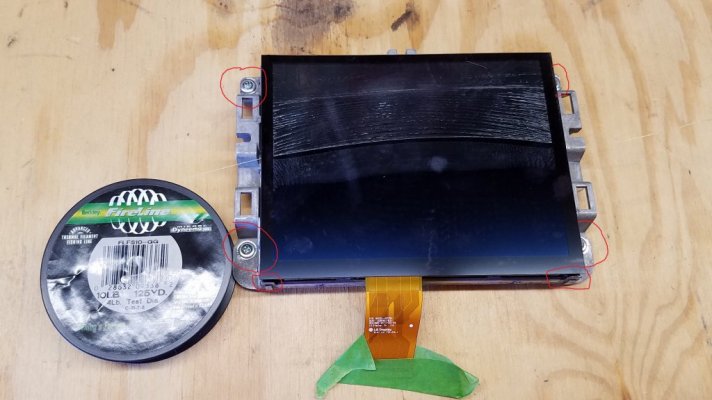
Time for the messy part, using some fishing line and starting in one corner, start to work the screen loose. This is glued all the way through. I found some low heat helped loosen the glue.

With a lot of patience, rubbing alcohol, paper towels, and finally a lint free cloth, clean the LCD screen of all the goop. I used a plastic spudger for paint less dent repair to help remove the biggest part of the adhesive. Be sure to clean your hands often as it will get on you and everywhere else. I used the alcohol with the lint free cloth for the final polishing.

Now set the digitizer back on, there should be some adhesive on the new one to hold it place.

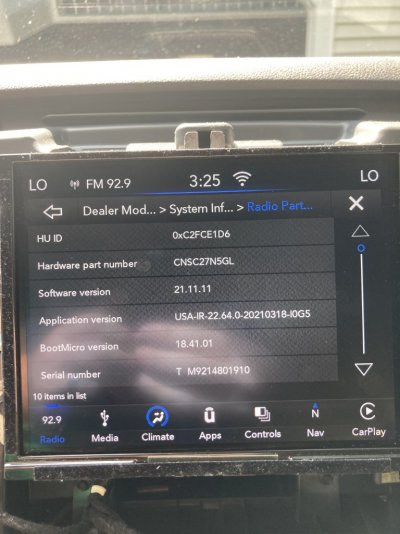
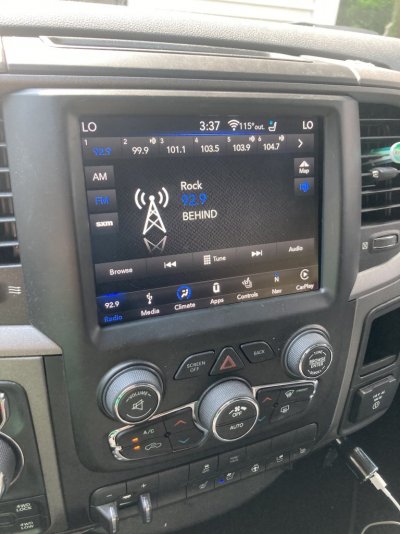
Finally snap the metal bezel back in place and reassemble by following the disassembly in reverse. You can now install the radio and check your work.

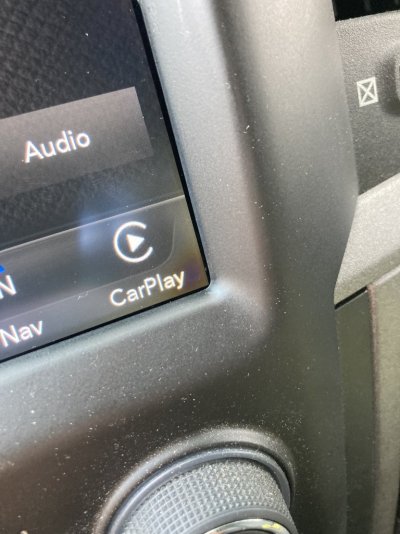
Ooo la la!
Hopefully this will be easier for you than the first go around was for me.
First off, starting from the back side, unscrew the six screws that hold the radio together. DO NOT REMOVE THE SCREWS. Then carefully turn the radio over so the screen is facing up, easier said than done, and then lift the entire screen up from the base. There will be a small black wire attached to the circuit board underneath, pop this wire loose from the board.
You can then slide the base to the side, do not lift as the screws will fall out.You will need to now remove the black metal bezel from around the screen, this has 8 clips on it. Using two small screwdrivers start at one corner and work around. One screwdriver lifting up on the clip, and the other between the bezel and the casting, working the the bezel away.
There are now to ribbon cables to detach, lift up on the plastic retainer and the cable will fall loose. Undo the digitizer cable from the circuit board and undo the other cable from the panel side.
Time for the messy part, using some fishing line and starting in one corner, start to work the screen loose. This is glued all the way through. I found some low heat helped loosen the glue.
With a lot of patience, rubbing alcohol, paper towels, and finally a lint free cloth, clean the LCD screen of all the goop. I used a plastic spudger for paint less dent repair to help remove the biggest part of the adhesive. Be sure to clean your hands often as it will get on you and everywhere else. I used the alcohol with the lint free cloth for the final polishing.
Now set the digitizer back on, there should be some adhesive on the new one to hold it place.
Finally snap the metal bezel back in place and reassemble by following the disassembly in reverse. You can now install the radio and check your work.
Ooo la la!
Hopefully this will be easier for you than the first go around was for me.