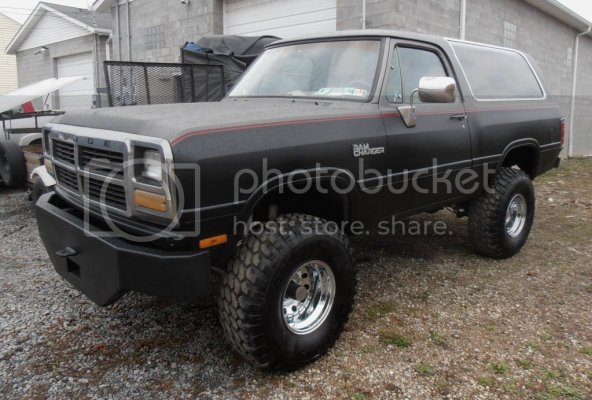
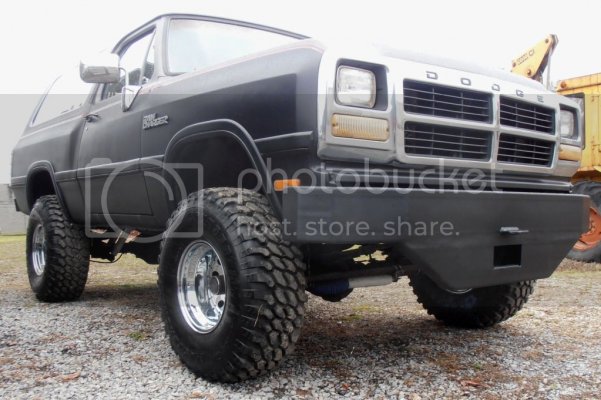
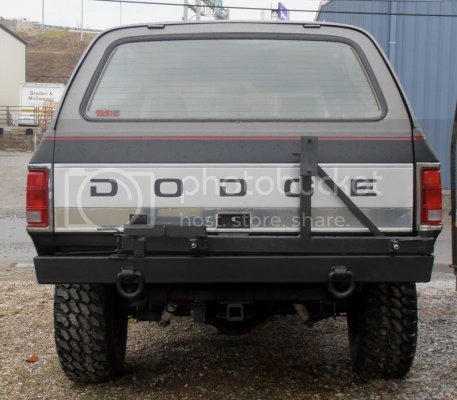
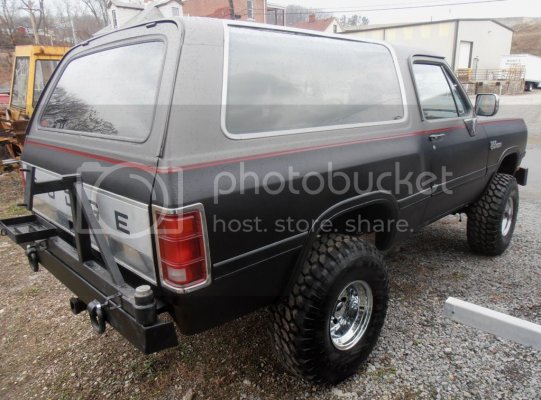
Needs more RAMCHARGER!!!

Disclaimer: Links on this page pointing to Amazon, eBay and other sites may include affiliate code. If you click them and make a purchase, we may earn a small commission.

The War Wagon

Senior Member
Joined
Jul 2, 2015
Posts
1,617
Reaction score
1,076
Location
da' 'BURGH
Ram Year
1992
Engine
318 Magnum
Gotta get MORE Gen.1's on here! TO that end...

This belonged to my secretary's late husband back in the day, God rest his soul. It was his daily driver from 1997, when he bought it used from the Dodge dealer down in Mt. Oliver (Pittsburgh suburb), until he passed away in May of 2005. They were at Home Depot in West Mifflin, buying some gardening supplies & such that spring Saturday morning. They were loading bags of mulch, when she decided to go back and get a hanging plant she liked. She came back to the truck, and he was lying dead next to it, from a massive heart attack... at age 54. :(


I arrived here in August of '06. The truck had pretty much been sitting at their house untouched for 15 mos. Their sons didn't want it - she didn't want - she was about to have Rusty Hook tow it away for $200, when she asked me one day on a lark, whether I'd like a free truck! "Welllllllllll..." I said (in classic whipped husband fashion), "Lemmee check with my wife FIRST!" To which she thought a FREE (operative word...) was a GREAT idea. So I FINALLY got a Ramcharger!


For reference, I'm SO old, I actually TEST DROVE a NEW '87 RC back in January of '87. I ended up getting a '79 Bronco instead, but Ramchargers have CONTINUED to flirt with me through the years. My best friend in hi skrool went nuclear Navy after graduation - he took his re-up bonus in '89, and ordered a BRAND NEW '90 RC, with rollbar, 5-speed, and 360 - black, with the tan cloth interior (he owned a '79 Dodge Lil' Red Express while we were in school!). Wotta GREAT new truck smell THAT was - when it had less than1 0 miles on it!


My kid brother owned one while he was in the service, stationed in Pensacola. I was down there for a college debate tournament in '90 - I think his was an 85 - white/blue/white, with blue vinyl interior. It was pretty cool cruising Pensacola that night in it. And when I finished college in '93 (Yes... I was on the brother Blutarski 8-year plan...
mad.gif
... I'd actually dropped out and worked for a few years), I strongly considered getting a red/white/red '93 model at the local Dodge dealership near my University... but went for a new '93 Mustang GT instead... bow-chicka-bow-bow. :naughty:


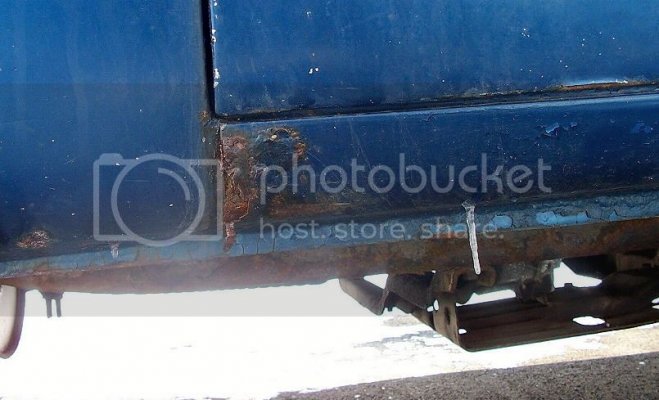
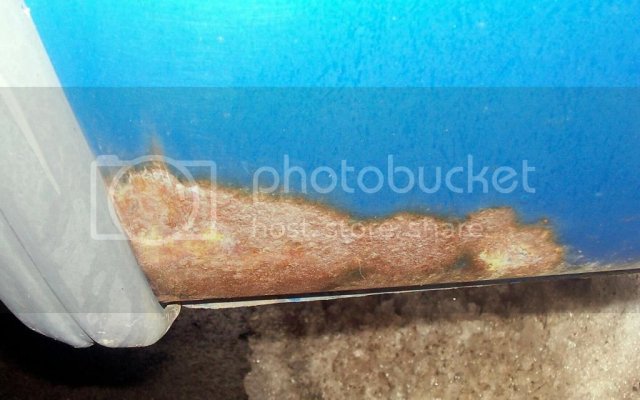
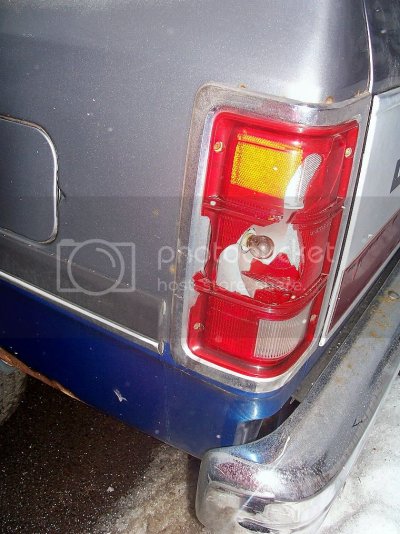
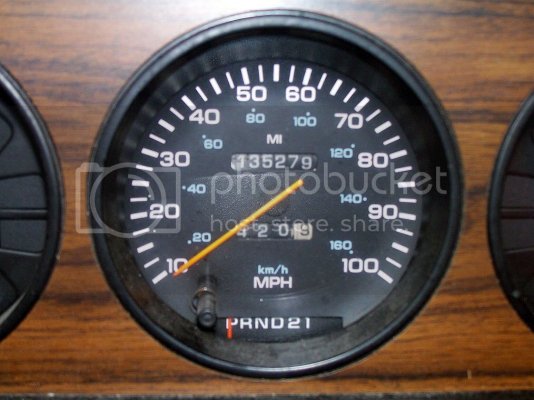
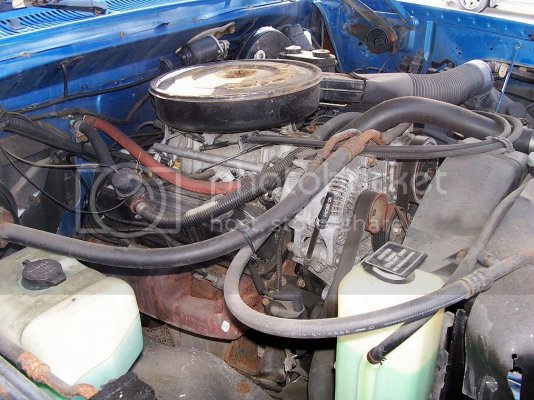
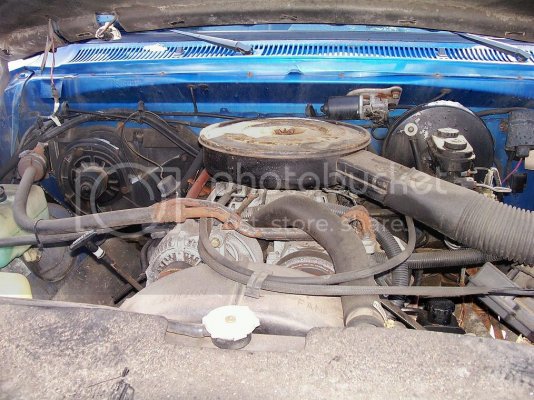
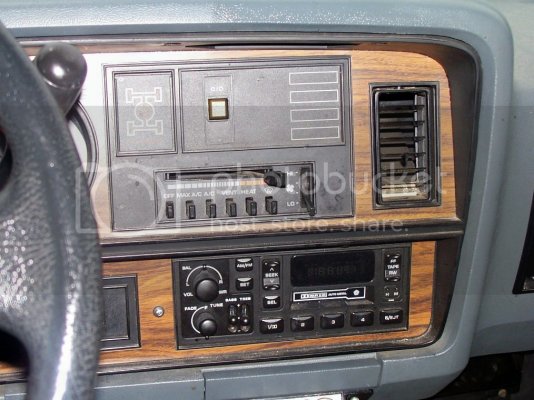
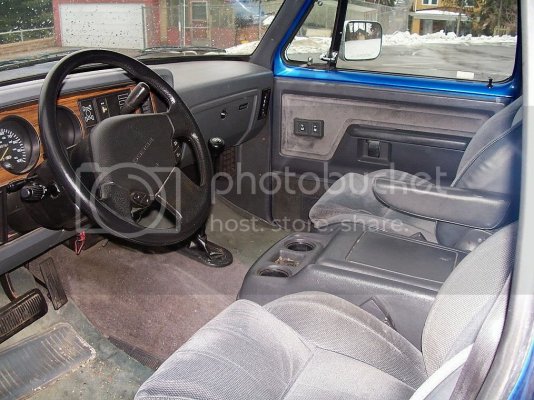
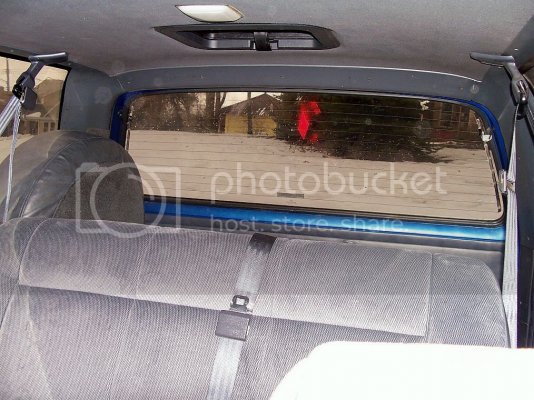
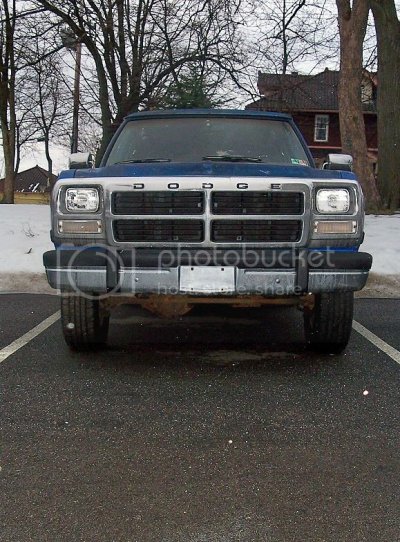
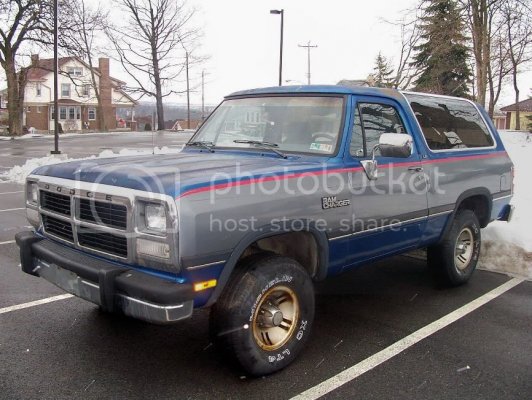
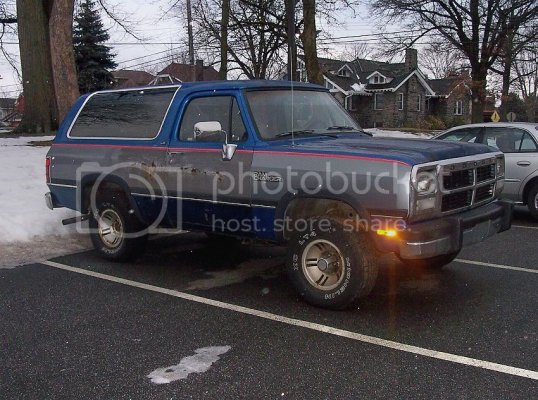
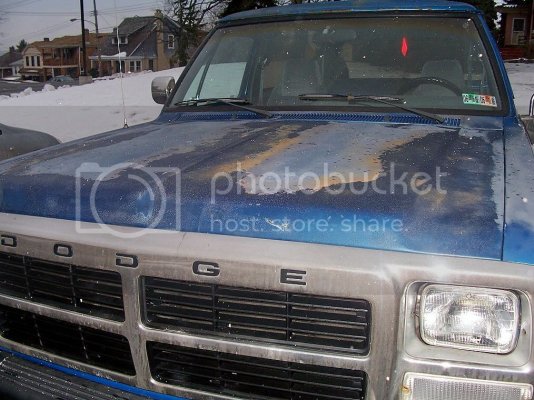
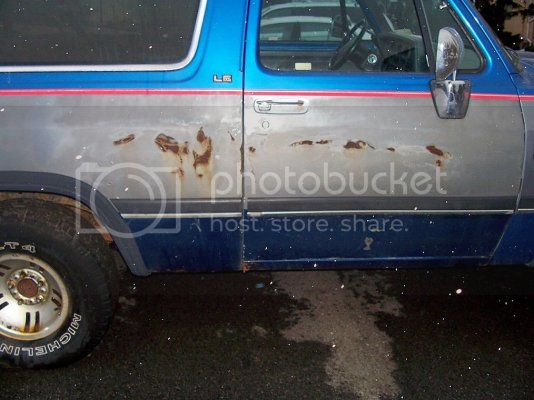
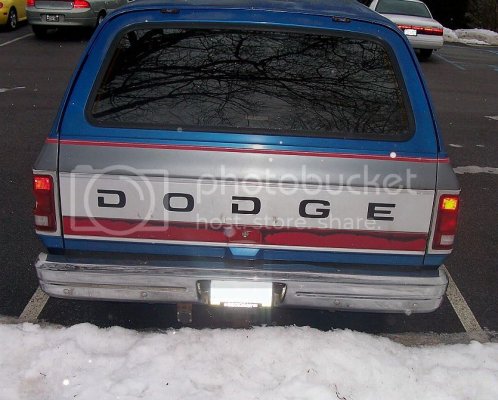
Sooooo... flash-forward 13 years, a marriage, and 4 kids later, and I figured I was waaaaaaay beyond ever owning a Ramcharger - especially since the last one in the states was built in '93 (they built 'em through '96 in Mexico!)... but all of a sudden, this '92 fell into my lap! So here's what it looked like when I inherited it in late '06 (pictures ca. January, '07).
92_Ramcharger.jpg
badside_zps45968928.jpg
gotpaint_zps39efe7cd.jpg
needswork_zps7728faf3.jpg
REAR_zpsb73f6fed.jpg
smallrust1_zps513a072f.jpg
bigrust_zps6710c659.jpg
taillight_zpsc337a99f.jpg

ODOMETER_zpsf15d4214.jpg
318.jpg
318_V8_zps3ae5d644.jpg
DASH_zps768fb3c2.jpg
CAB.jpg
CABIN_zpsb9f40c01.jpg
NOSE_zpsabff119d.jpg

Well... every project's gotta start SOMEWHERE, right? :eek:

So it's a tired, but pretty solid (for Pittsburgh!) '92 Ramcharger LE150. 318 Magnum, 3.55 gears, A518 auto, Dana 44/Chrysler 9 1/4 axles, & rusty rear lower quarters and drivers side floorboard. You CAN'T fight Pittsburgh rust, but Dino was meticulous with service and care, so the interior was in GREAT shape, and the mechanicals were all solid.


As I ain't exactly made of money, the truck would end up just sitting a while longer. My current profession is NOT car related, and allows for precious little time to work on them. Having grown up a gearhead just north of the Charlotte Motor Speedway (we were ALL gearheads back then!) I know HOW they work, and what's needed to improve them, but I lack the skillsets these days to make it happen. What little skills I've retained are only slightly more rusty than the truck I inherited. :think: I'm getting a little better, but I'd hafta improve a LOT, to rise to the level of, "SUCK."


That said, my trusted mechanic at the time, offered to help me with a buildup, since he knew my four children are Autistic, and this would be a fun project to get them into the outdoors with. I was going to buy the parts, and he was going to work on it gratis, in his spare time, at his house. This worked out well... for a while... until he got a BETTER job, in the Marcellus Shale Drilling industry... out of state. So it ended up sitting a while longer in his shed (out of the elements, but NOT fixing itself!)... until August of 2012!


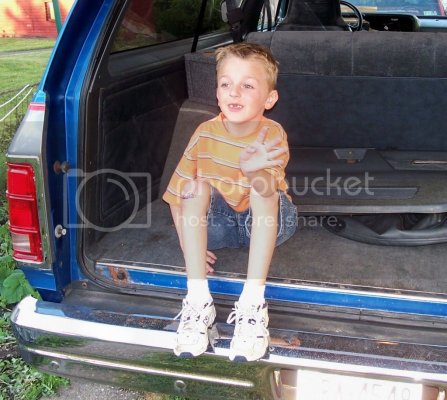
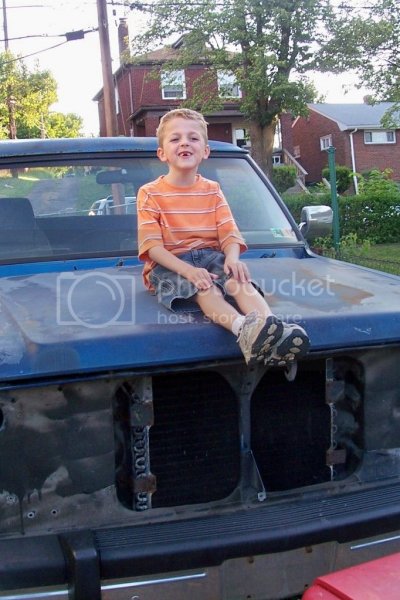
Here's #1 son sitting on it at his house in Carrick, in the summer of '07

100_1654.jpg

BOTH of them short a 'grill' at this point...
mad.gif


100_1647.jpg


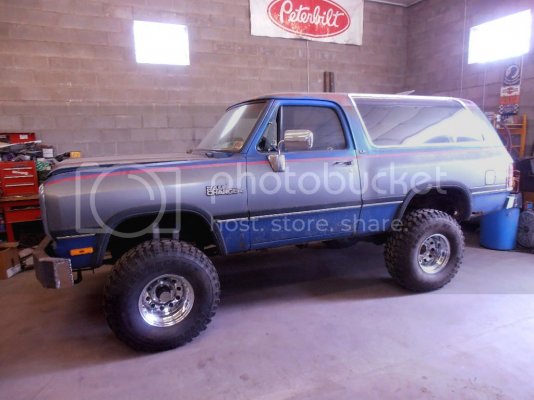
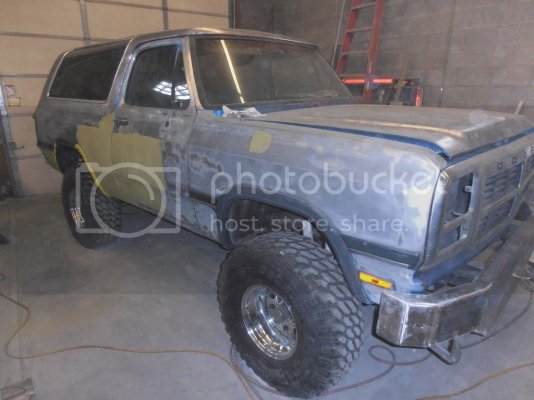
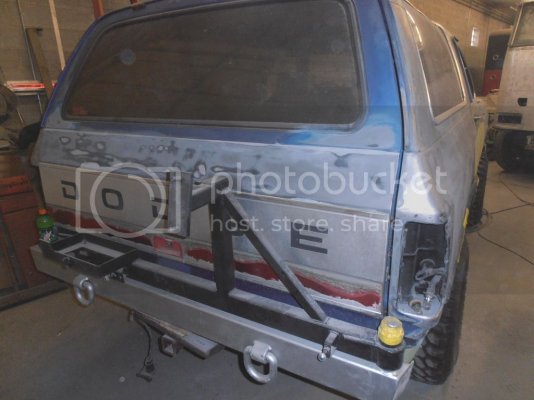
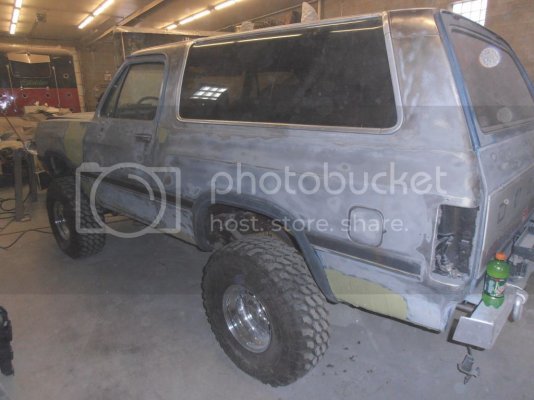
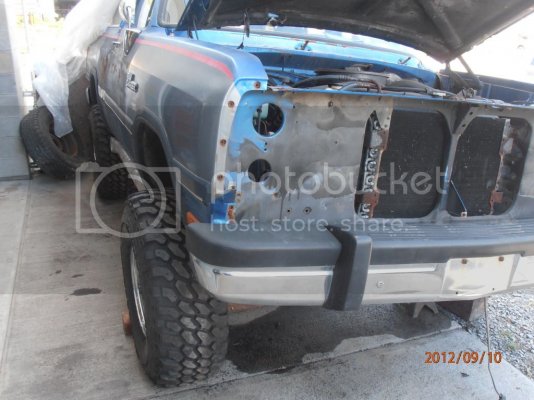
A friend of mine at church with a professional shop (specializing in big rigs!) wanted to help me out, so he did a TREMENDOUS amount of paint & body work to it for me, and completed the lift, albeit, not EXACTLY to spec (Exhibit A - NOT shimming the rear axle!). Some of THAT process, looked like this!
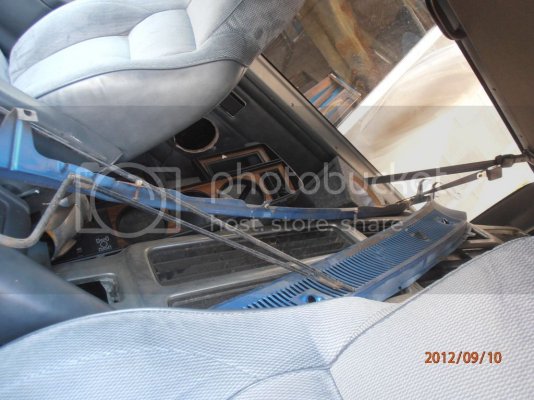
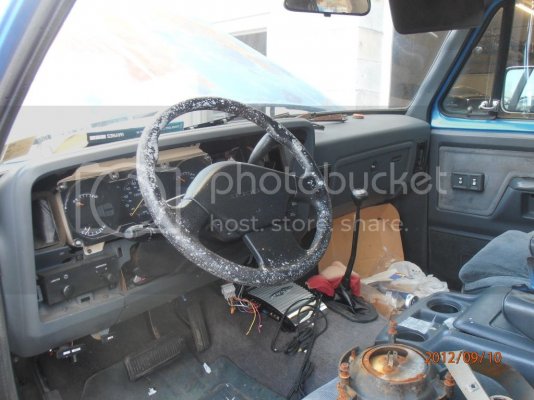
EARLY2.jpg
EARLY3.jpg
EARLY4.jpg
LIFT1.jpg
SANDED1.jpg
SANDED2.jpg
SANDED.jpg


I'd purchased the tires, wheels, & multicarrier (Kennesaw Mountain Products - now Tactical Armor Group; ordered this BEFORE I knew about their crappy QC/service. I got EXTREMELY lucky, apparently!!!) back in '07... but they'd sat UNTIL this point, when Jimmy started getting it all assembled.
 
OP
OP
The War Wagon

The War Wagon

Senior Member
Joined
Jul 2, 2015
Posts
1,617
Reaction score
1,076
Location
da' 'BURGH
Ram Year
1992
Engine
318 Magnum
30 images, & 10,000 characters... THIS is gonna take a WHILE!!! :rolleyes:


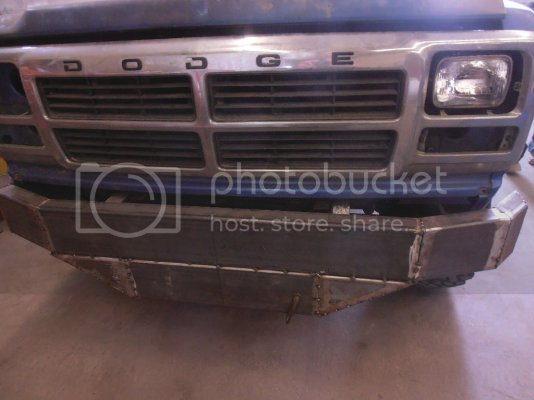
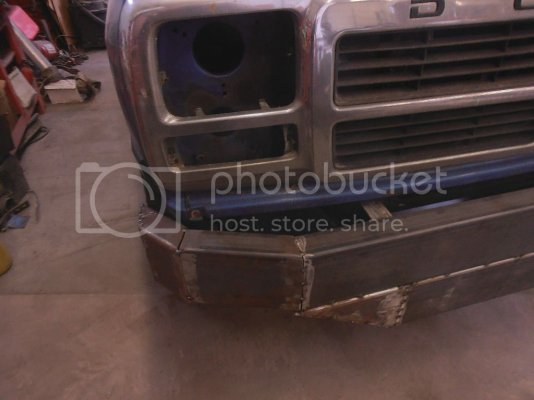
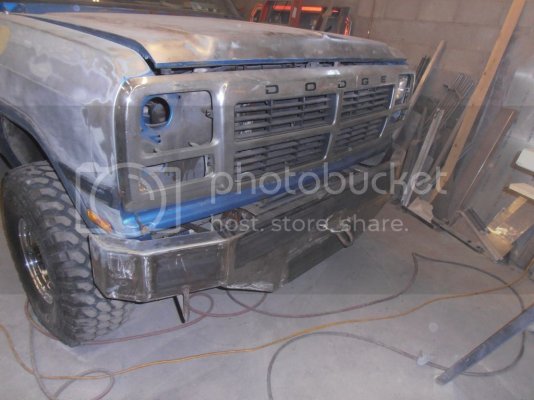
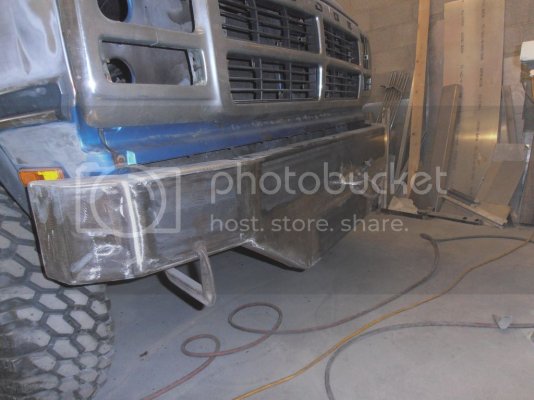
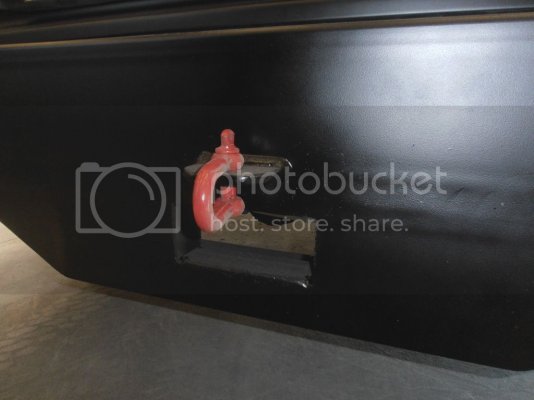
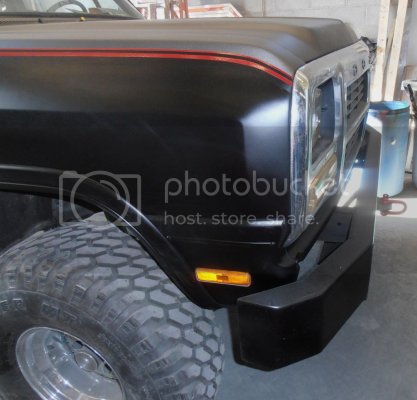
Jimmy fabbed up the front bumper for the RC as a custom piece. GREAT for the zombie apocalypse - gonna hafta trim it, to make it EFFECTIVE offroad, though.

BUMPR1.jpg
BUMPR.jpg
SANDED4.jpg
BUMPR2.jpg
BUMPRB.jpg
BUMPRB1.jpg
FRONT.jpg

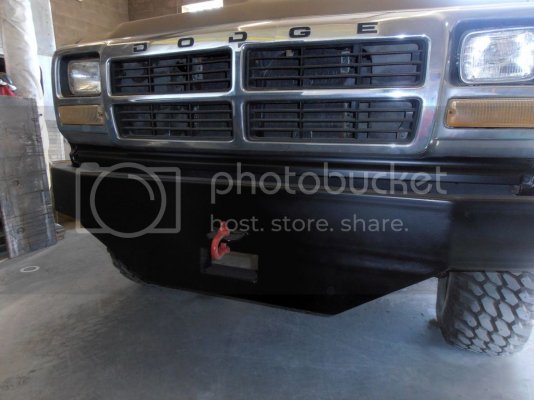
And the finished product, came out looking like this!


HALF.jpg

HALF1.jpg
HALF3.jpg
HALF5.jpg
HALF6.jpg


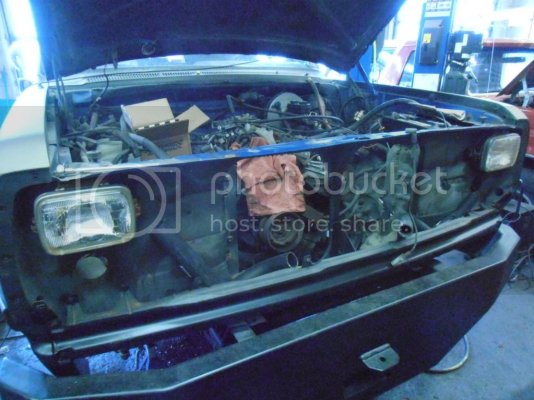
Of course, at THIS point, it was a big, shiny, paperweight - the engine still turned and ran fine - but EVERYTHING else under the hood needed replacing. THREE things that saved it, as it turned out;


1) The previous owner had it tuned up, JUST before he died
2) I had the oil changed, JUST before it got parked.
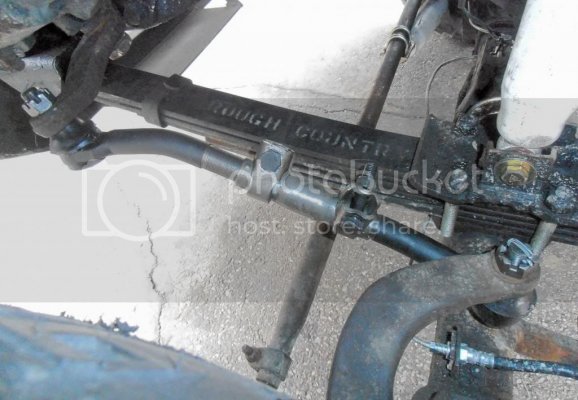
3) The antifreeze looked low, so I added a gallon of pure Prestone, before it got parked.
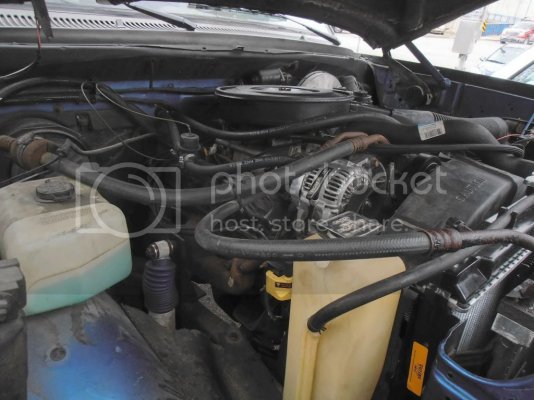

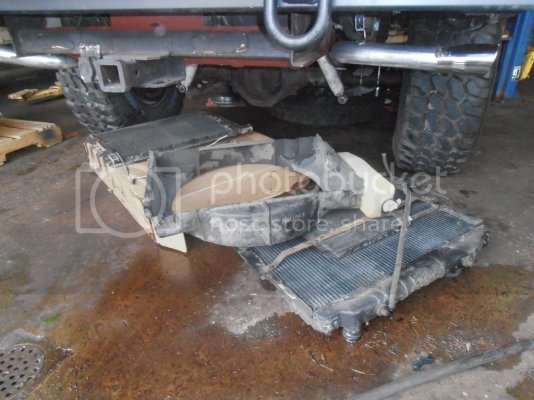
When we pulled the radiator in 2012, there wasn't a BIT of scale in it, and flushing the engine, there was no rust... so we SAVED the waterjackets, and basically the engine! Not that I still won't drop a crate Hemi 392 in it, as soon as I win the lottery... :naughty: ... but new engines aren't cheap - especially if you take the time to build 'em right, from the start. At least this way, I can still drive it, while doing it piecemeal.
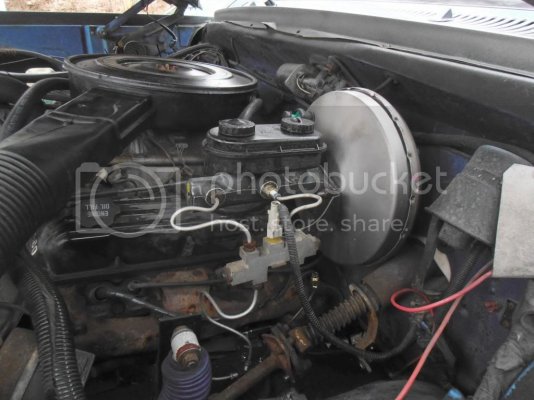
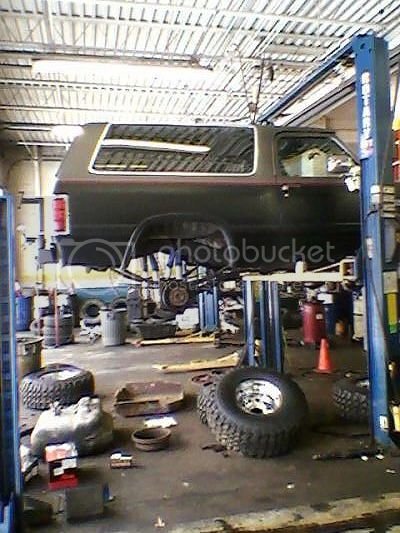
So the truck rolls at this point, but every belt, hose, and vacuum tube on it has dry rotted, sooooooooooo... it's off to my buddy Chris's, at Monro Muffler.


SHOP1_zps394da5f7.jpgSHOP2_zps573aef03.jpgSHOP7_zps09b521c8.jpg
SHOP11_zps630783bd.jpg
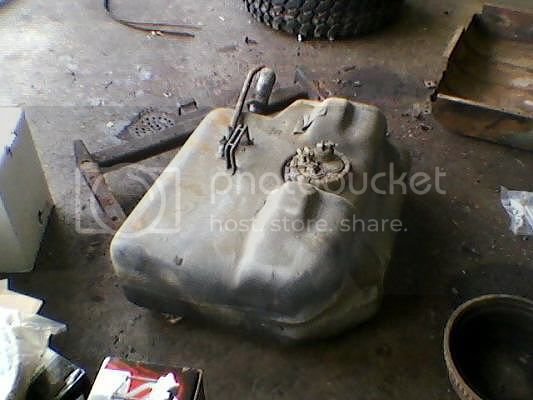
TANK_zps06b560b7.jpgWHATZIT2_zps6fbbc8dd.jpg
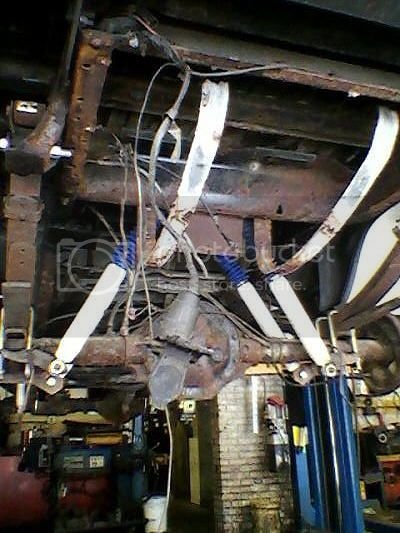
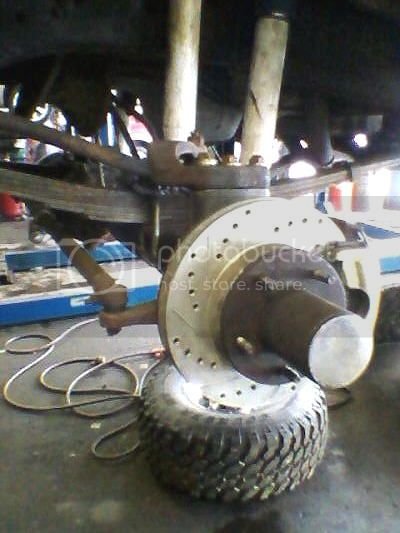
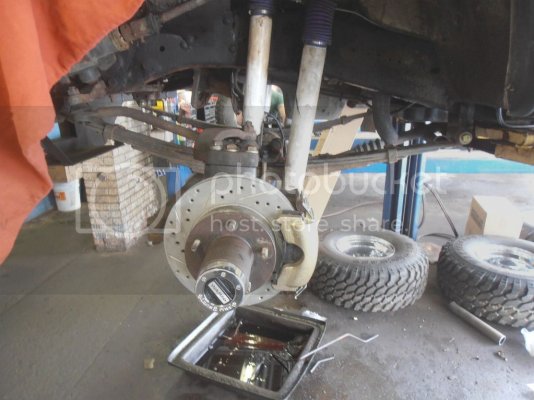
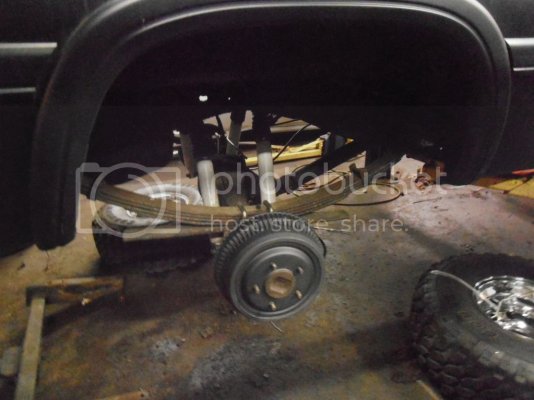
AXLE2_zps5af4c455.jpg
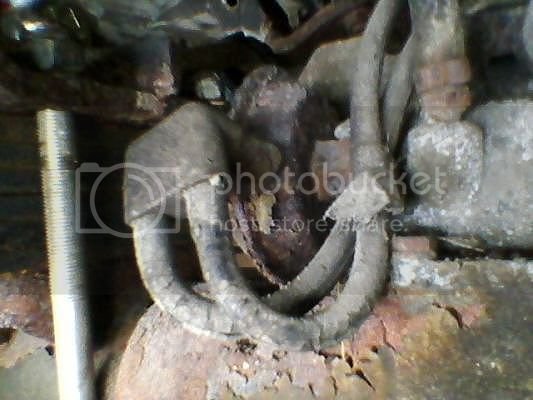
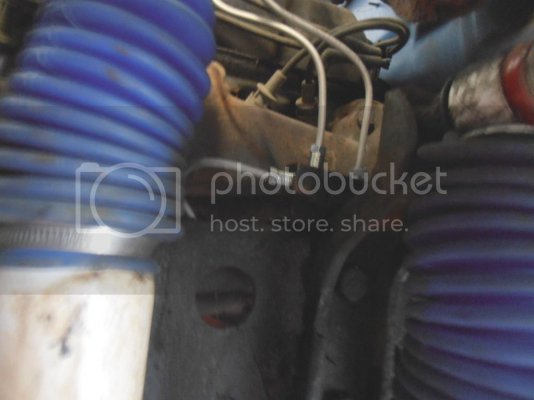
B-LINES1_zpsd13936c5.jpg
DRUM_zpsa5ca5224.jpg
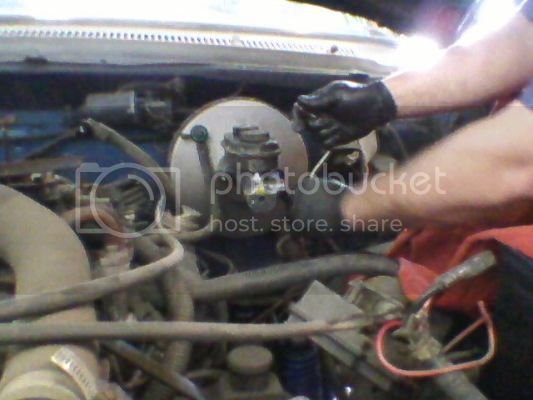
mastercylinder_zps229ba999.jpg

 
OP
OP
The War Wagon

The War Wagon

Senior Member
Joined
Jul 2, 2015
Posts
1,617
Reaction score
1,076
Location
da' 'BURGH
Ram Year
1992
Engine
318 Magnum
TANKSKID_zpse9518afc.jpg
TANKSKD1_zpseb90633c.jpg

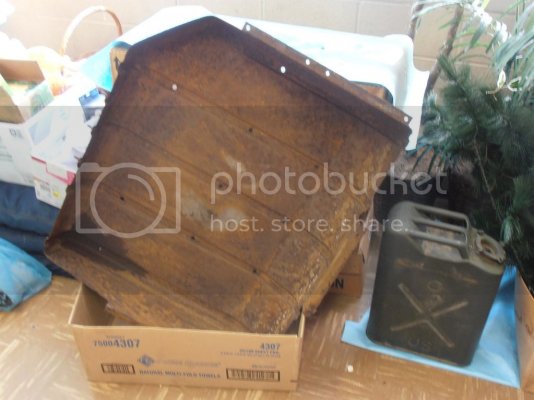
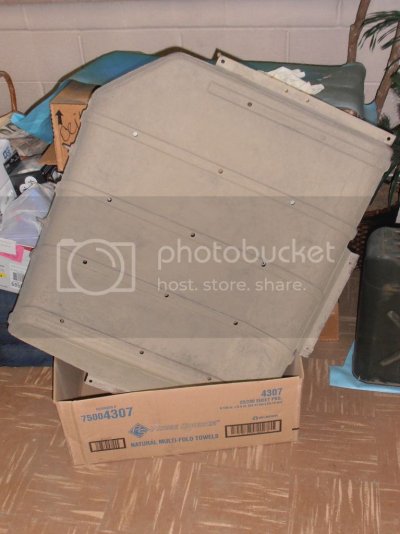
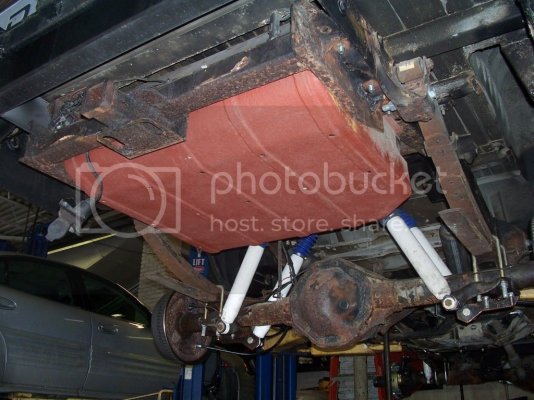
It was a sunny day in January, when I asked if I could have the tank skid, while he was replacing the fuel pump. I brought it home, and quickly scrubbed about 2lbs of RUST off the inside and outside of it. I took it down to a craft room at my church, which I'd long used as a draft booth in the winter for my son's Pinewood Derby cars, and hit it inside and out with some Rustoleum I had laying around from other projects (burnt orange primer and Desert Storm tan camo!). Not exactly 'factory' colors, but I figure scrubbed of SOME rust, and then repainted, was better than just sticking a plain ol' rusty skid back up there!


100_8645_zpsbb3c0092.jpg
100_8655_zps6aeac6fb.jpg
100_8654_zps9173be94.jpg
100_8651_zpse44086e9.jpg
100_8653_zps99a0a292.jpg
ENGINE_zps38b1ed45.jpg
ENGINE2_zpscc50db24.jpg

PULLEYS1_zpsb69b02b6.jpg
KNCKL_zpsaa1cfd7b.jpg
P2191205_zps9fd012cb.jpg
dlink_zps5bce3320.jpg


In addition to the changes brought about by the lift, things I KNOW were replaced on it were;
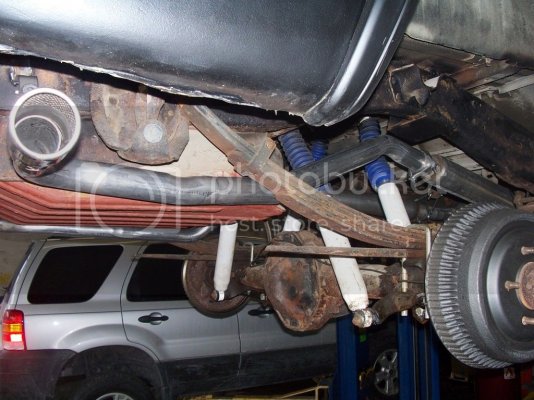
- New master cylinder, booster, brake lines, drums, rotors, pads and e-brake cables
- new a/c condenser, system flush, R134 conversion
- Warn l/o hubs
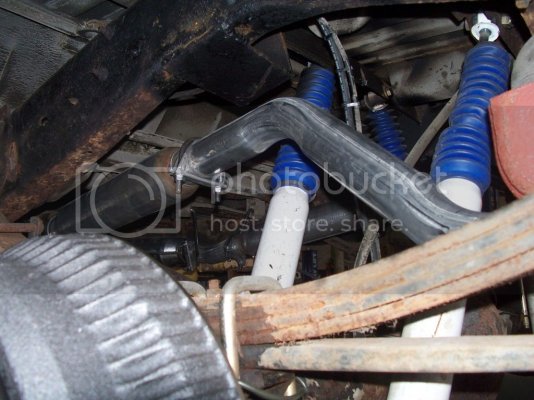
- adjustable drag link
- new fuel pump, stainless fuel lines (custom made in MI)
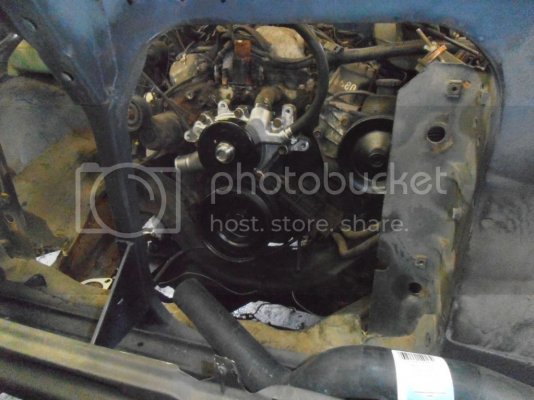
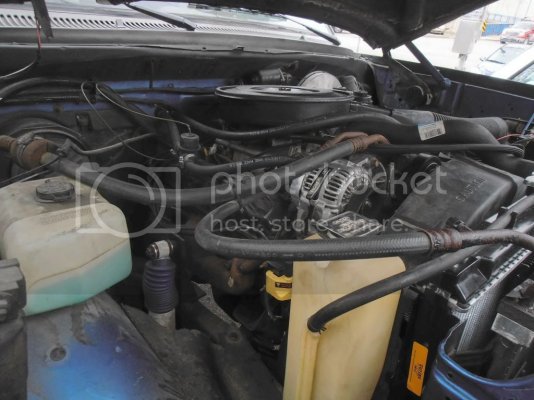
- new starter, distributor, coil, wires, plugs, & battery
- new power steering cooler, transmission cooler, oil cooler, and radiator
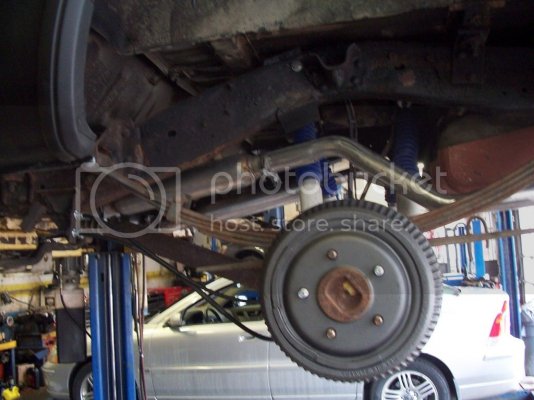
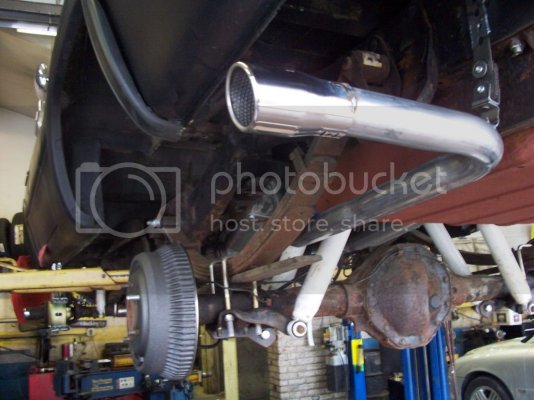
- new, true dual exhaust, including JEGs hi-po cats and Magnaflow glasspacks
- new 125 amp alternator (replacing the factory 65 amp alternator!)
- new CAD (this would fail when gummed up by a blown inner axle seal later; more on the Posi-Lock that replaced it in a bit)
- driveshaft refurbished at Pittsburgh Driveshaft, with all new U-joints (this would be replaced eventually, too!)
- ALL filters, hoses, and belts
- all pulleys and belt tensioner
Plus a ton of 'miscellany,' like screws, bolts, nuts, and other fun stuff. Looked pretty good when done!


ENGINE8_zps710e2463.jpg
ENGINE7_zpsb4f7c6ae.jpg
ENGINE8_zps710e2463.jpg
ENGINE6_zps57ba3a78.jpg

I added these!
tongue.gif

STBLZR2_zpsfe8f1223.jpg


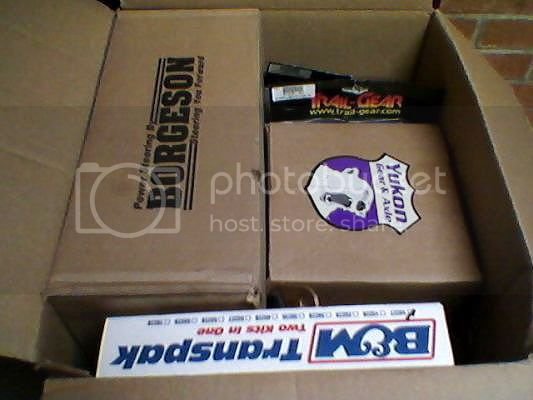
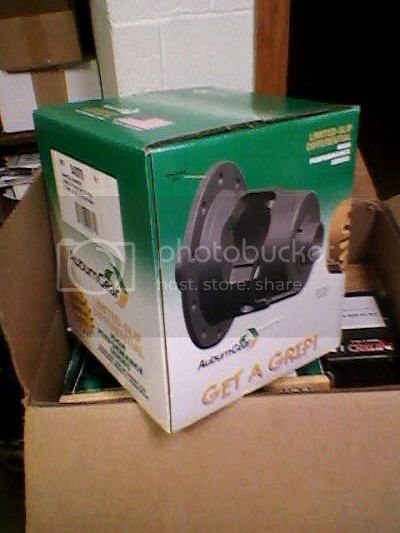
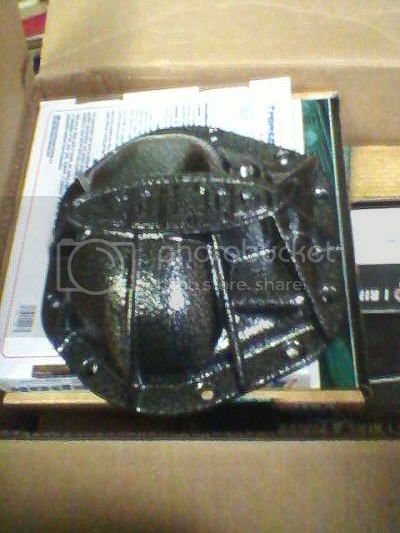
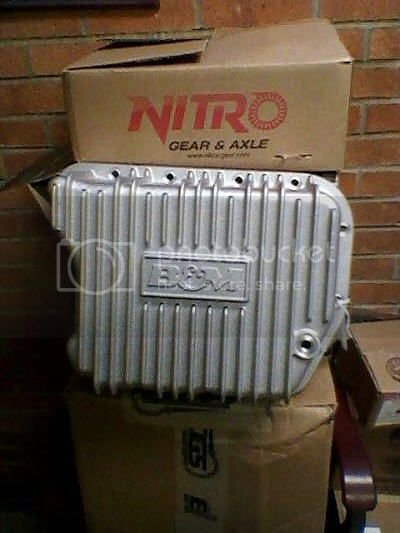
With the truck actually passing inspection and mobile, then came the NEXT batch of components, for Dave to work on over at Gibbs Automotive, the PREMIER 4WD shop in Pittsburgh. Then the stuff REALLY started piling up in my office!


0409132135_zpsec8437f6.jpg0409132131_zps5783f575.jpg0409132127_zpsdd273c9c.jpg
0409132110_zpsc6ab0b6f.jpg0409131855_zpsad3b3d36.jpg


Dave got it in May of 2013, and I got it back in April of 2014!

P5211353_zpsd12939ca.jpg
P5211354_zpse2fed264.jpg


#3 son in the background.
grin.gif


Dave also straightened out the out-of-spec rear tire carrier, so I could ACTUALLY mount a tire back there!


spare-mount_zpsf028d225.jpg


OP
OP
The War Wagon

The War Wagon

Senior Member
Joined
Jul 2, 2015
Posts
1,617
Reaction score
1,076
Location
da' 'BURGH
Ram Year
1992
Engine
318 Magnum
Other things that got done THIS time around;
- re-geared from 3.55 to 4.56
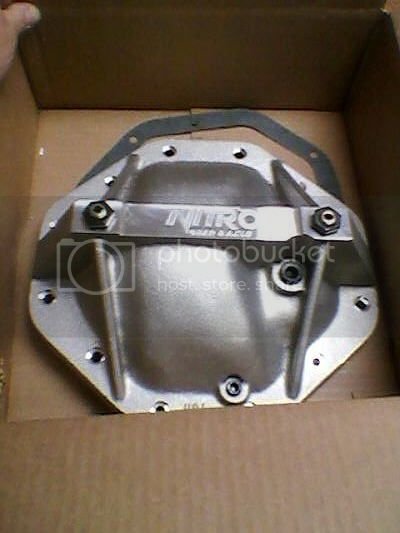
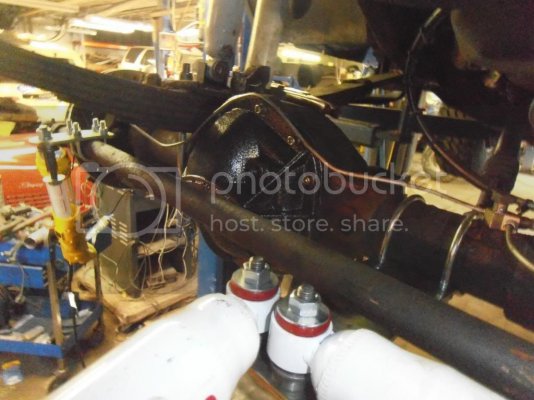
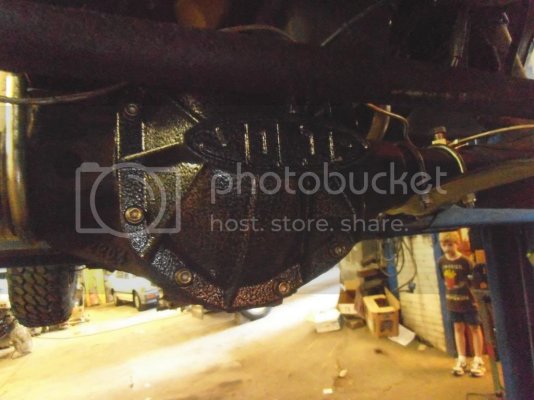
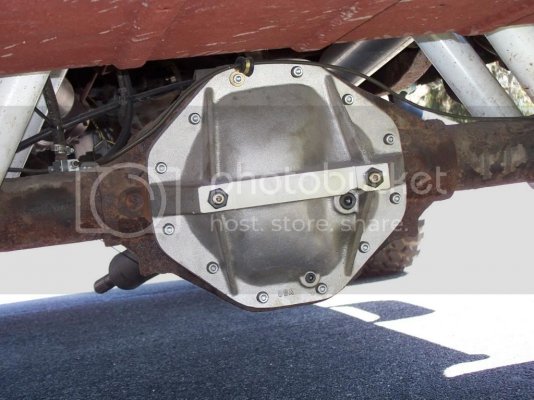
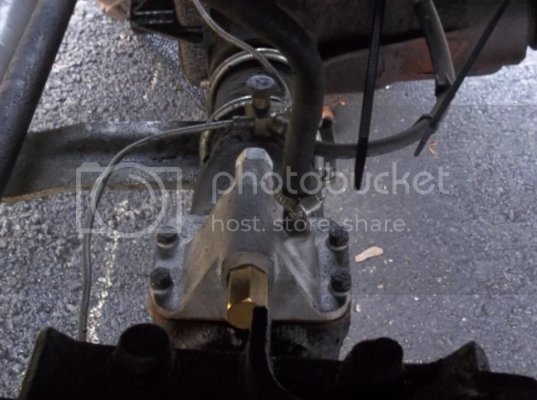
- armored diff covers installed
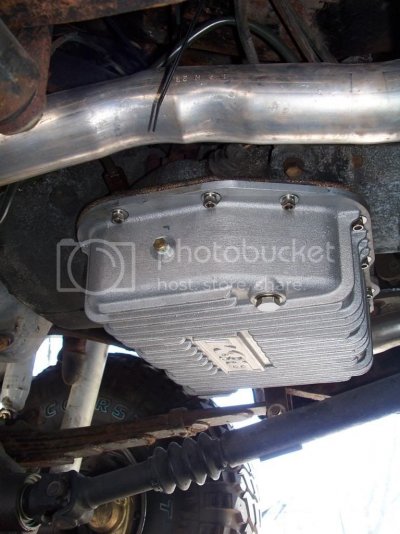
- armored transmission pan installed - shift cable cleaned, transmission fluid & filter changed
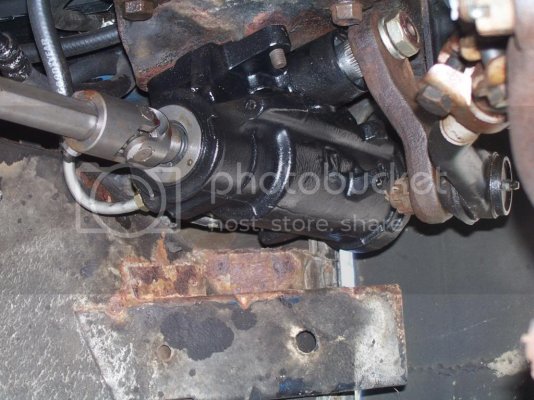
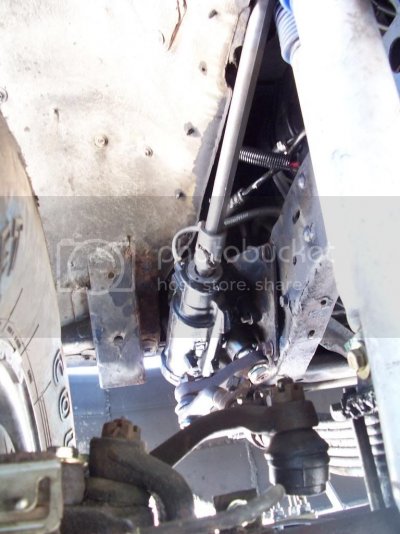
- Borgeson steering gearbox and shaft installed


100_9204_zps1b8f2435.jpg
100_9200_zps97456649.jpg
100_9198_zps4954b2c1.jpg
100_9196_zps3f3c5240.jpg


Fixing it is one thing - driving and breaking stuff is another. LOTS more details of what's worked, and what hasn't, since we got it mobile in the Spring of 2014...


The driveshaft became the biggest headache in the summer of 2014 - when trying to put it into 4WD (so we'd have front-wheel drive, while dropping the rear driveshaft), that's when we discovered the blown grease seal which had gummed up the new CAD. So that went by the wayside, with this!

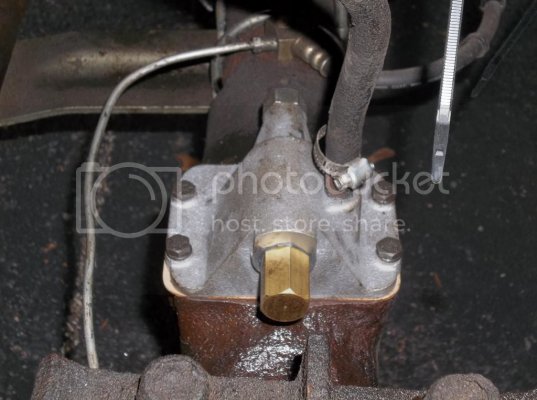
Closeup of the Posi-Lok gizmo that Dave installed on my D-44 - no more vacuum CAD to fail or gum up with axle grease!!!

100_0542_zps49eba2f0.jpg
100_0545_zps2da53f9e.jpg

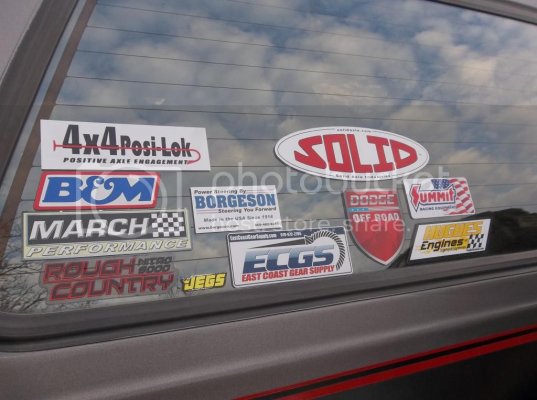
It took a few days, before I finally noticed he'd added the Posi-Lok sticker to my collection!
grin.gif

100_0540_zpse672a78a.jpg

And as we ALL know, a sticker's always worth another 5 hp! :favorites37:
mad.gif


OP
OP
The War Wagon

The War Wagon

Senior Member
Joined
Jul 2, 2015
Posts
1,617
Reaction score
1,076
Location
da' 'BURGH
Ram Year
1992
Engine
318 Magnum
Since the rear end didn't get shimmed when we did the lift, I was breaking factory 1310 U-joints every 50-100 miles. So we came up with a plan of attack that would - hopefully - get us around an UN-shimmed rear.

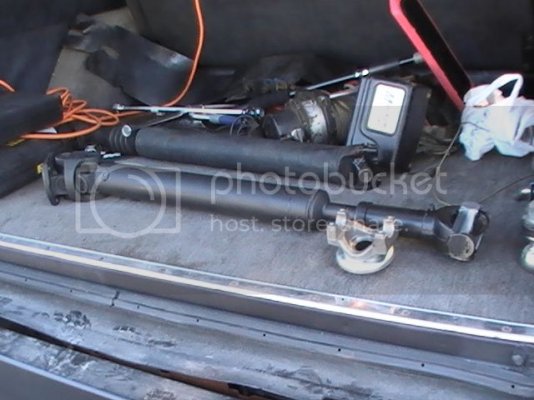
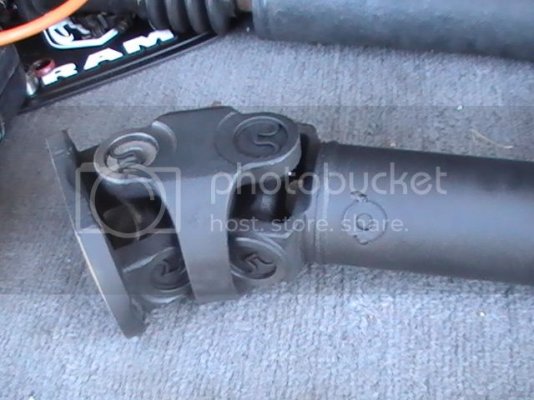
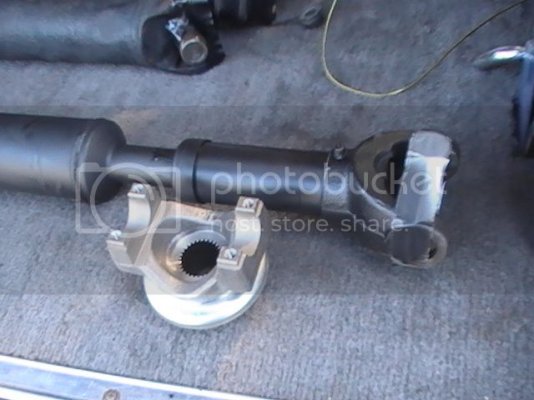
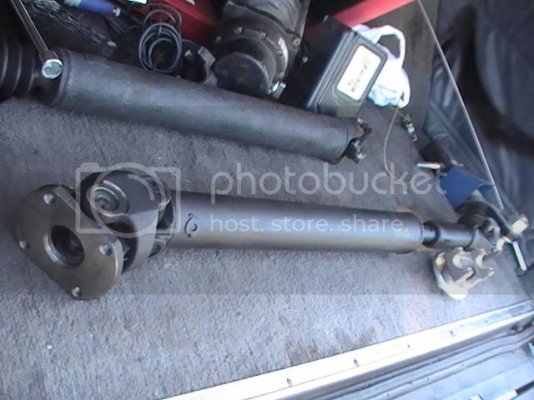
Eliminating the (short) slip yoke on the 241D was the first step. Going with a Ford-style flange from AZ Driveshaft, Pittsburgh Driveshaft built me a custom double-cardon driveshaft to go along with it!

Is that a BEAUTIFIL driveshaft... or what (old one is BEHIND it)! :peace:


PIC_0020_zps1a67d89a.jpgPIC_0022_zps88684d78.jpg
PIC_0021_zps02cb806a.jpgPIC_0023_zpscaf4faba.jpg


7290 Yoke to connect it to the axle; that and my bolts all came from Denny's Driveshaft of NY.


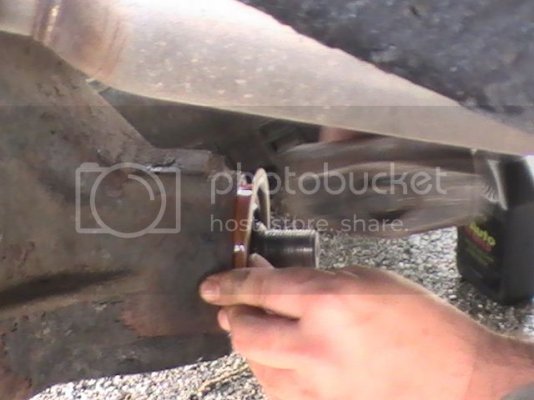
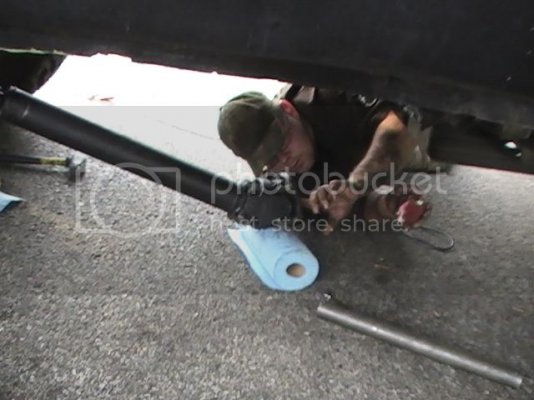
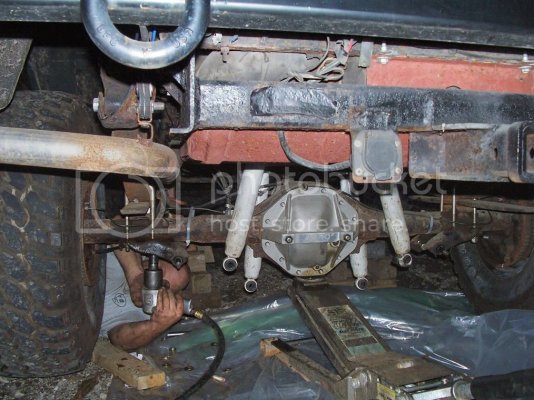
Nosoonerhad I posted pics of the driveshaft than Eric (buddy of mine from Steeltown Offroaders - I recently succeeded him as club treasurer!) phoned, and said he had the time to come over and help install it last July!dance.gif And a guy from my church, loaned me his heavy-duty impact wrench, to get that rear pinion nut off!!!headbang.gif


Eric had been working on his Subaru earlier in the day, and found out he needed a part that won't arrive until Tuesday, so he was all ready to work, with NO vehicle to work on! So he came over and helped (actually, he didMOSTof the work
smiley-ashamed005.gif
).


PIC_0024_zps3c079cc2.jpg

PIC_0025_zps1be84511.jpg


NOTto panic - we got a block of woodrightAFTER this, to tap it in more gently, andnotdamage the seal.


PIC_0027_zpsb672f30b.jpg

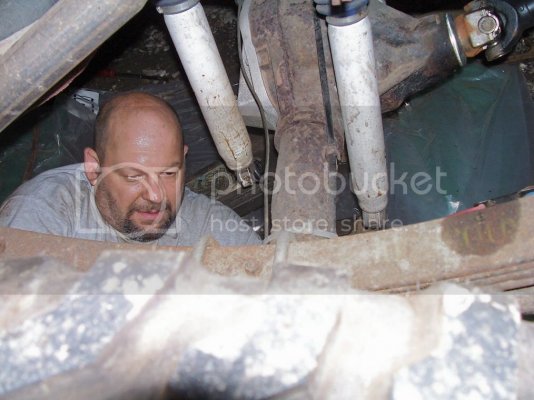
And these are the only three pics I got, because I spent the other three hours under the truck, holding the driveshaft steady while Eric installed it!

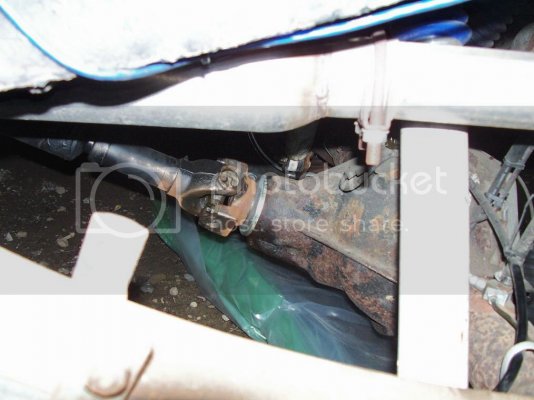
Darndest thing though - the t-case flange had four smooth holes, and four tapped holes. And so we're TRYING to install the the bolts THROUGH the tapped holes. FIRST off, the collar wasn't seating QUITE flush, so out came the Dremel tool, to shave what must of been just thousandth's off the cardon, before it finally seatedflush. But then, we could NEVER get the 4th hole to line up true!!!shocked.gif

Eric was VERY careful & thorough at this - that, and I ordered EIGHT ( 8 )bolts from Denny's... JUST to have a few spares to play with, in case of something like this! Once he hit resistance, he'd back the bolt out, inspect everything, and try and see where we were going wrong. No matter what we tried, three bolts going in true, would always pull the cardon off-center of the flange by maybe just the tiniest fraction, to keep a fourth bolt from going in true. And brudda, we played with this, frombefore5pm, until 8pm!!!confused2.gif

FINALLY... we tried what is often done with these flanges - put the bolts through the BACK of the flange through the smoothbore holes, and bolted it into the tapped cardon holes that way.


And he was done in 30 seconds.shocked.gifshocked.gifshocked.gif


Wotta day THAT was...
smiley-vault-misc-075.gif
 

derekp

Senior Member
Joined
Mar 10, 2015
Posts
2,131
Reaction score
1,789
Location
Buda, Tx
Ram Year
2007
Engine
1990 5.9 Cummins
Pretty sweet! I always liked the old 1st gen ram chargers.
 
OP
OP
The War Wagon

The War Wagon

Senior Member
Joined
Jul 2, 2015
Posts
1,617
Reaction score
1,076
Location
da' 'BURGH
Ram Year
1992
Engine
318 Magnum
Much as the double cardon helped, we were still binding, so one Saturday last November, I went over to another club member's house, and we set about to shimming the rear end, finally.

We decided to work on it there, since he has all the cool tools.

9282_zpse72b6647.jpg


Safety first, of course. After chocking, and before the jackstands, we had to 'anchor' it.
tongue.gif


9298_zps23777636.jpg


Strapped it to his hitch and my pintle.
Time to UN-bolt everything!

9288_zpsc071a93d.jpg

9289_zps7cb94219.jpg


Where's Waldo Ted?


9295_zps974170fd.jpg

9292_zpsfd0e6031.jpg


After extensive eyeballing, and some actual measuring of the driveshaft and pinion angles, I THOUGHT about erring on the side of caution, and going with 6 degrees shims... but a nagging instinct, led me to get 8 degree instead... We'll see how this plays out...


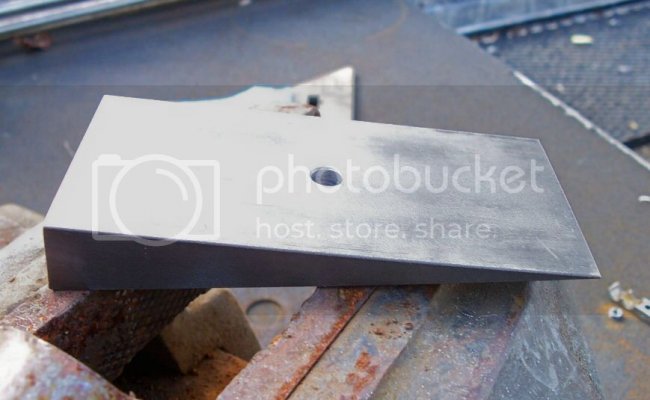
Of course the hole's not big enough, so it's off to the drill press. NEXT thought is, to weld a little bar stock into the BOTTOM side, so it'll drop into the hole in the spring pack, and the pin in the axle tube will drop into the top half, thereby solidly anchoring it to pack & axle. And yes, they are STEEL shims.
cool.gif


9309_zps82a42c38.jpg


Did I mention Ted has COOL tools? :smoke2:


9293_zps8e0f9374.jpg


A little drilling, welding, and grinding later, we have a GOOD shim!
Of course, night arrives at 7pm now - earlier, when it's cloudy... and JUST in time for re-assembly.
rolleyes.gif


9306_zpsfb37d6d7.jpg
9310_zps54d1139b.jpg

9312_zpsd56c5559.jpg

The Poz, cursing the birth of the Dodge Brothers...
smiley-ashamed005.gif


By 8:30 though, we had 'er buttoned up. Sure enough, the 8 degree shims proved to be the right call!

9314_zps942f7661.jpg

Other than running over a chock on the way up the driveway, which scared the CRAP out of me, the drive home was FLAWLESS!!! No more grinding of U-joints into a fine powder - and the new double-cardon driveshaft can finally perform as it ought!!!

Doesn't solve ALL my problems yet, but it solved the BIGGEST one to even making it DRIVEABLE in RWD!!! Thanks Poz!!!
worthy.gif
 
OP
OP
The War Wagon

The War Wagon

Senior Member
Joined
Jul 2, 2015
Posts
1,617
Reaction score
1,076
Location
da' 'BURGH
Ram Year
1992
Engine
318 Magnum
No pics on this update yet, but a decent story.

A MOPAR guy, and Gen.1 builder no less, chimed in on Pittsburgh Offroad a few weeks ago. After looking over my build, & a some of the pics more closely, he said - 'I think I found your death wobble issue - your front spring packs are in backward!'
slaphead.gif


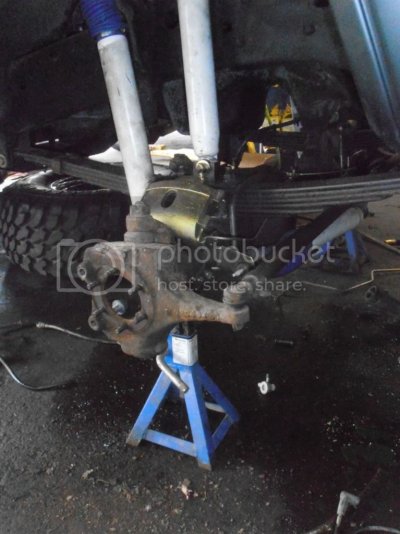
Sure enough, Dave agreed. We'd been working on so many OTHER things, we never noticed (Dave did NOT put those in - my first mechanic and I did that some 8 years ago - because it only traveled 1 mile for the first 7 of those years, we never really noticed, until we started DRIVING it!)!

So Dave agreed to straighten them out (swap them) for me; we got rid of the shim on the right pack, & also installed new poly bushings throughout the front end (it NEEDED them!!). He even installed my Hughes plenum fix while he was at it. And driving it home yesterday, I'd swear it feels just a BIT peppier even! icon_ylsuper.gif

And of course, it FINALLY steers better! Thing with a death wobble at 35mph is, it's gonna be just as imprecise at 3.5mph, crawling along a tricky switchback. And when your spotter says, 'turn right,' and you TURN the steering wheels, but the FRONT wheels DON'T turn, THAT'S when you're into a boulder... or a tree stump... or a creek... or off a ledge...

Problem has been, that in addition to being imprecise, it was also occasionally 'grabby/darty' in turns. You'd be in the middle of a turn, and all of a sudden it would wanna dart sharper through the turn. Not a problem at a couple of miles an hour from a stoplight, but a BIG potential problem at highway speeds, en route to dirt! So the precision is BACK in the steering, and feels pretty good now.

Now to find some mud.... grouch.gif
 
OP
OP
The War Wagon

The War Wagon

Senior Member
Joined
Jul 2, 2015
Posts
1,617
Reaction score
1,076
Location
da' 'BURGH
Ram Year
1992
Engine
318 Magnum
As it spent MOST of last summer sans driveshaft, it gave me a LOTTA time to work on the interior; gave me some time to work on communication mods - notably, adding powerports, stereo install, and CB install.

At any rate, I had a fusebox full of 22 year old fuses, and I HAD popped the 20amp fuse for the running lights, while fiddling with a parking lamp. rolleyes.png I basically went through and replaced ALL the fuses. Got my cabin lights working again (had to replace the rear bulb).

Bigger problem though - I had water getting into my doors when it's standing still! Had a lotta rain in early June, and I found water coming into the bottom of my doors and draining out onto the sill plate! I'm guessing the dry-rotted window molding is allowing that in, so I reckon that'll hafta addressed long-term eventually... or find a garage/tent for it!

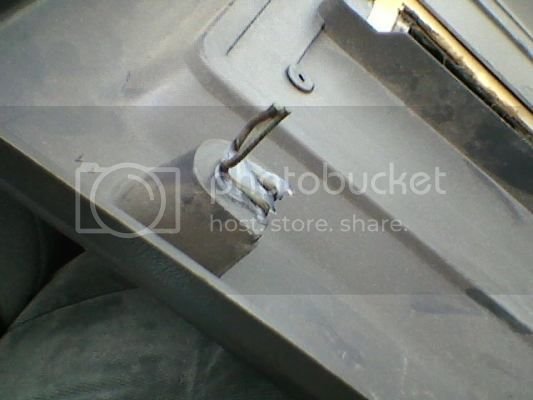
I did pull the door panels off, and start the process to install some speakers. As we're all familiar with dinky little '80's & '90's panel hangers, most of mine have lost the black rubber spacer on the panel side, and the spacers that are there have dried out. So I took some Liquid Nails, to affix the hangers back onto the panel, and hopefully help them stick a little better.


0621141419_zpse103d6f3.jpg
0621141536_zps1aa42f2e.jpg


And speaking of electric brake controllers, I pulled the one the previous owner had installed to pull his boat with many moons ago. It HAD been affixed to the ashtray.


0621141549_zps215344c9.jpg
Unless somebody needs one, I'll probably toss it. I think he pulled a little johnboat with the RC back in the day.

This let's me reclaim the ashtray, so there's not a big ugly, empty spot in the lower dash. I thought about attaching my scanner where the brake controller was, until I landed ANOTHER Bearcat Trunktracker III, like the one in my Jeep.

Got the inside bottom of the driver's side door bondo'd. Used the metallic grid/adhesive patch on both sides, and slathered it down (I sanded it down first) on both sides. Painted the bottom once everything dried, and THEN used some spray-on undercoat on the inside of the door. I also put some 3M soundproofing in the door while I was at it.
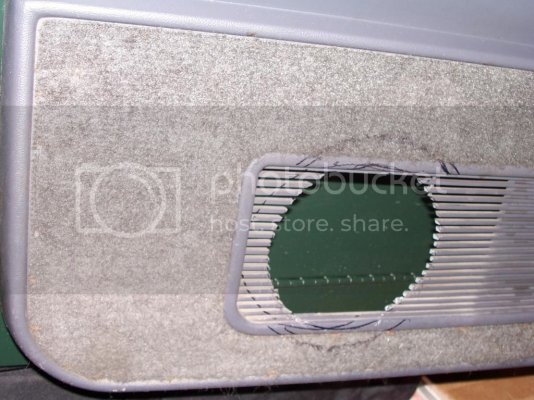
Dremeled out the thick edge of this panel, so the speaker grill will sit flush. Oh the fun we have (and smoke we make! tongue3.gif ) with power tools!


100_9233_zps6a1eb62e.jpg

I like my CB's, and take them seriously. Since my XK is still a, DD, I have quality scanner in it. The Pittsburgh PD run an 850mhz trunking radio system, which the Bearcat Trunktracker III can read. And having programmed two of these, I can WHOLEHEARTEDLY endorse foking over for the programming software - it's worth EVERY penny. I have EVERY city/county frequency within a hundred miles of Pittsburgh programmed in both... and the scanners are only 60% full. Trunktracker been veddy, veddy, good to me! :waytogo:

UPS been veddy good to me lately, too!

100_0437_zps5d868a3e.jpg

100_0438_zps4c968c34.jpg


18' of RG8X, 102" whip, and various & assundry other pieces have finally found their way here, along with the Galaxy 949, at last.

Of course, 25 years ago, this would've been an ENTIRELY UN-necessary thread. CB's went in one of two places; the BIG rig, or the pickup truck. Yeah, there WAS the occasional Smokey & the Bandit Trans-Am that had one, or the occasional Jeeper... but otherwise, they went in your TRUCK. 25 years ago, I was running this combo, in my old '79 Ford Bronco.

General_Electric_WX_zps33a5760f.jpg
ss150_zps65f462fc.jpg


I also ran a 102" whip back in the day... until a low hanging power line in the midst of Hurricane Hugo ATE it! ohmy.png A quick stop at a trucker's plaza around Morganton, NC shortly thereafter, meant switching to a 3' Firestick for the rest of my CB'ing days in that truck... blush.png

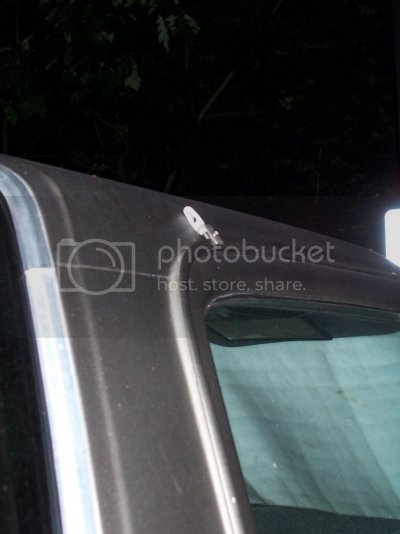
Of course, since my RC is now an offroad toy, there was also this nice litte gutter mount hook for my whip included with the radio this morning! biggrin.png Since the whip will be mounted atop the multicarrier, it'll brush EVERY powerline between here and the woods if I DON'T tie it down!!!

For those of you with late-model trucks, packed full of modern avionics (like my Commander!), try not be a hatah when you see all the space in which I have to run wire, and copious room to mount both scanner & CB. cool.png It's just how ALL trucks were built back in the day.

So in that sense, if you've NEVER cool breezed it in a truck built before the mid-'90's, enjoy this historical perspective, and see how we did it when old school, was still just, "school." Oh - and we still have this little gizmo, to help me reach out and PUT "the touch" on someone... wink.png

1_zps513a7b73.jpg


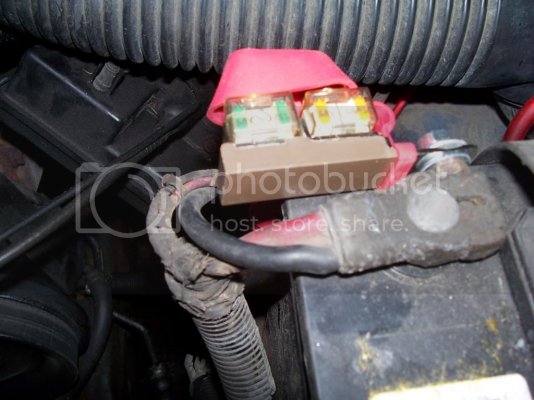
Here's the marine-grade fusing at the battery!


100_9251_zps9a1ff817.jpg
100_9247_zpsd7c41b39.jpg


30 amp on the outside is for the stereo amp - 60 amp on the inside is for the mobile. Here it is mounted up.

100_9244_zps030fe951.jpg


Antenna mount, on top of the multicarrier.

100_9241_zps5aa6fd67.jpg


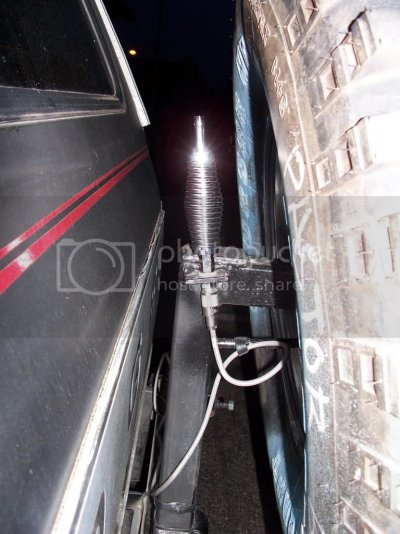
Gotta Firestik QD mount on top of the barrel - the 102" whip would be the FIRST thing to disappear, if I left it on all the time. Nice thing about this mounting - the 35" M/T completely hides the mount, when the antenna is down. I've also got a gutter mount whip tiedown mounted, for driving on the streets OR in the woods with this setup.

100_9255_zps8db4824f.jpg

CRAPPY cellphone pic alert! rolleyes.png

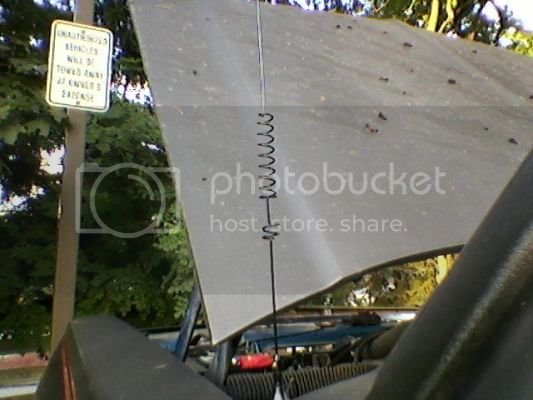
Got a nice little magnetic antenna for the scanner, and ended up running the wire for that through the firewall as well.

0709141942a_zps9bbacaa8.jpg
Yeah, my truck was dead w/o a driveshaft at that time, sitting under a blackberry vine encrusted Oak tree. wacko.png Good thing that paint is IMPERVIOUS - it needed a wash like you wouldn't BELIEVE when I got it rolling again.

At any rate, the little antenna stores easily enough under the hood, when not in use. Thank goodness for classic DEE-triot Iron!

0709141959_zps65169962.jpg


Passes under the hinge, and away from anything essential, since there's sooooooooooooo much space under the hood!
 
OP
OP
The War Wagon

The War Wagon

Senior Member
Joined
Jul 2, 2015
Posts
1,617
Reaction score
1,076
Location
da' 'BURGH
Ram Year
1992
Engine
318 Magnum
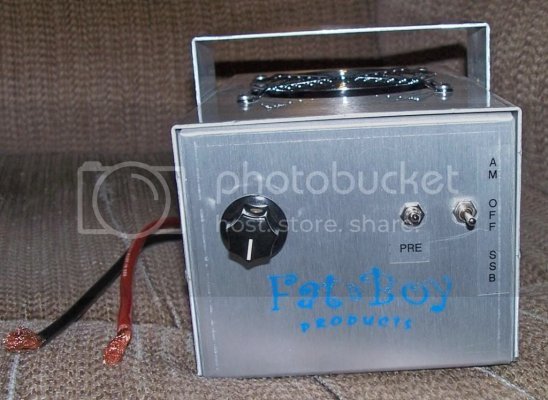
I suddenly realized this evening, that my rear bench folds forward! Actually, I already knew that - but I suddenly remembered, I wanted to mount the Fatboy on the backside of the console... and wasn't sure there'd be enough clearance, when you flip the bench forward! ohmy.png I'm old enough now when camping, that I've EARNED my airmattress in the cabin, so I NEED the bench to fold down, and for everything to fit. Thankfully, it DOES!

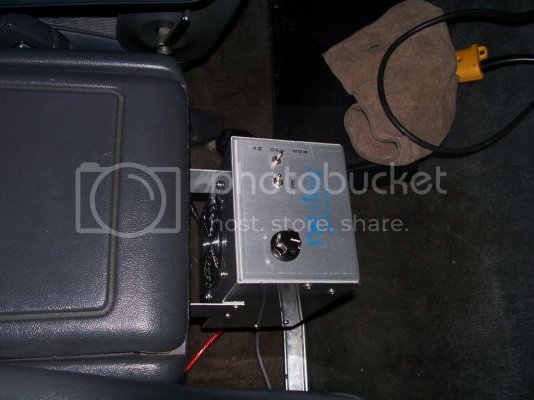
With that GTG, I drilled holes for the mounting bracket, ran the ground wire, and then ran my coax! I'd forgotten how wonderfully crappy these OLD school 4x4's were built - loose carpet, loose interior panels - just PERFECT for running Mini-8 through the back of the truck! All tucked neatly away and out of sight - I even had a few feet to spare, even after running it all the way to multicarrier where I'm mounting the whip!

Thanks to Rolling Radios, my install got completed yesterday - my 4' jumper arrived, although the mailman decided to deliver it to the house instead - adding another 5 hrs of anxious waiting to the project. dry.png

The bracket was already mounted, the power run, the antenna and mobile set up - running the jumper was the last piece of the puzzle. The antenna mount needed minor adjusting, but thankfully, the steel wheel (spare tire) proved no obstacle to receiving OR transmitting... although my ancient electronic ignition DOES cause some interference. confused.gif

cb5_zpsd176267b.jpg

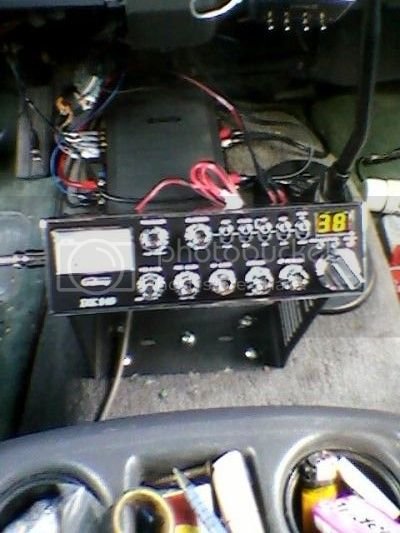
Tuned to 38 USB... waiting for a reply... unsure.png

636, mounted to the side of the radio and bracket.

cb_zps507e00db.jpg


SWR is AWESOME!!! The needle BARELY moves when broadcasting - with NO mobile, with pre-amp, on AM or SSB! dance2.gif

cb4_zps41e29b5f.jpg


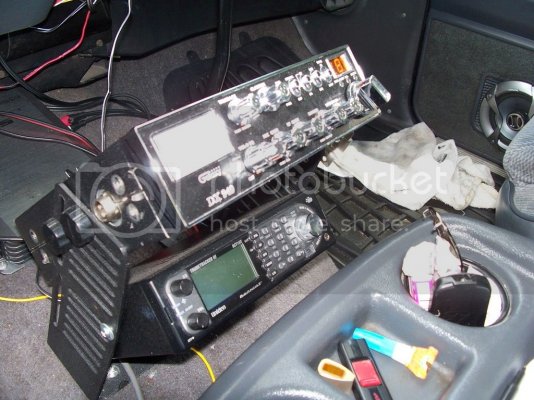
Still gotta get a BETTER picture of it, since it's now installed with the scanner in the same mount.

MY power rating, when broadcastin'in! nana.gif

cb2_zpsde60f74a.jpg


Listening to "Double Trouble" out of VA. Made a contact in southern IN on 6 while I was testing everything.

cb6_zps3f168c33.jpg


Crappy cellphone pics make it look a lot more cluttered than it is, but the rolling radio shack is coming together nicely.

cb1_zps09f60d0a.jpg


The Galaxy is by far, the nicest piece of kit I've ever owned OR operated - figuring out all the buttons and what they do was rather interesting. Discovering that the "mic gain" on a quality radio can actually affect the SWR was rather eye-opening. And I'm still trying to figure out what the "talkback" feature does! scratch_one-s_head.gif

Nonetheless, the setup is good, my SWR is GREAT, and while I wasn't reaching out much this afternoon (judging by the couple of responses I could only get on 6 at 4:30 EST), I think I have a GTG rig at this point! I'll try and post some video, and BETTER pics, shortly.
 
OP
OP
The War Wagon

The War Wagon

Senior Member
Joined
Jul 2, 2015
Posts
1,617
Reaction score
1,076
Location
da' 'BURGH
Ram Year
1992
Engine
318 Magnum
100_9407_zpsgbwghkgg.jpg

Current setup.

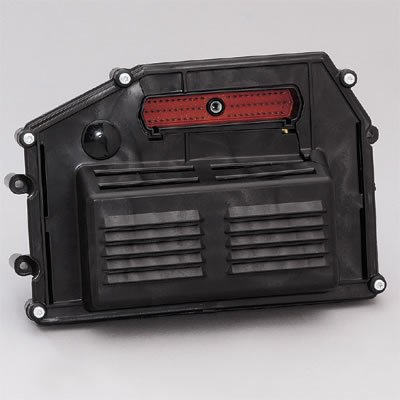
Some other odds 'n' ends about. Once I get serious about the engine, I have one of these laying around. Because '92 & '93 were the only years for the Magnum Ramchargers, there was never a performance ECU made for it. So if you want to soup one up with a hotter cam in particular, you get one made for the 318 Dakota!

http://www.summitracing.com/parts/dcc-5249545/applications/model/dakota

dcc-5249545.jpg


Of course, then you'l need 34 gallons of PREMIUM to go WITH it! :eek:

We also just installed the Hughes plenum fix for it, & deleted the EGR (it was rusty, and about to fal apart!). No pics on this, but a decent story to go along with it.

A MOPAR guy, and Gen.1 builder no less, chimed in on POR a few weeks ago. After looking over my build, & a some of the pics more closely, he said - 'I think I found your death wobble issue - your front spring packs are in backward!'
slaphead.gif


Sure enough, Dave agreed. We'd been working on so many OTHER things, we never noticed (Dave did NOT put those in - my first mechanic and I did that some 8 years ago - because it only traveled 1 mile for the first 7 of those years, we never really noticed, until we started DRIVING it!)!

So Dave agreed to straighten them out (swap them) for me; we also installed new poly bushings throughout the front end (it NEEDED them!!),
so FINALLY... it steers better! Thing with a death wobble at 35mph is, it's gonna be just as imprecise at 3.5mph, crawling along a tricky switchback. And when your spotter says, 'turn right,' and you TURN the steering wheels, but the FRONT wheels DON'T turn, THAT'S when you're into a boulder... or a tree stump... or a creek... or off a ledge...

In addition to being imprecise, it was also occasionally 'grabby/darty' in turns. You'd be in the middle of a turn, and all of a sudden it would wanna dart sharper through the turn (and it has an open diff up front, with MANUAL hubs!). Not a problem at a couple of miles an hour from a stoplight, but a BIG potential problem at highway speeds, en route to dirt! So the precision is BACK in the steering, and feels pretty good now.

Now to find some mud.... :naughty:
 

ferdamshur

Junior Member
Joined
Jul 22, 2015
Posts
19
Reaction score
0
Location
NJ
Ram Year
1986 Ramcharger
Engine
318
Dooooood! Picking up my 86 Ramcharger tomorrow, and love what you've done with your ride. Thanks so much for sharing all the details!
 

ferdamshur

Junior Member
Joined
Jul 22, 2015
Posts
19
Reaction score
0
Location
NJ
Ram Year
1986 Ramcharger
Engine
318
Thanks mate, but I'm all the way across PA in Northern NJ.
..but if you could tell me where to pick up side mirrors, Id be in your debt.

& BTW - I STILL love RC Cola!
 

jadocs

Senior Member
Joined
Mar 23, 2014
Posts
689
Reaction score
140
Ram Year
2014
Engine
6.7


The Galaxy is by far, the nicest piece of kit I've ever owned OR operated - figuring out all the buttons and what they do was rather interesting. Discovering that the "mic gain" on a quality radio can actually affect the SWR was rather eye-opening. And I'm still trying to figure out what the "talkback" feature does! scratch_one-s_head.gif


What do you mean your mic gain affects your swrs?

The talkback feature is simply your voice going through your speaker when you talk.
 

CybeRIse

Junior Member
Joined
Jul 1, 2015
Posts
5
Reaction score
0
Ram Year
2008
Engine
5.7 Hemi
Beautiful looking Ram Charger! Good job on the resto!
 
Top