Wow, similar story for me on my first order - the 12” UAX kit. Almost exactly when they were sending me a reply email to say it was back ordered I was getting a separate email from them with the shipping and tracking info.
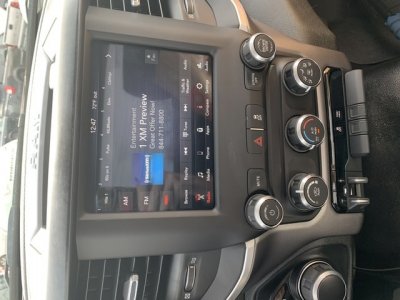
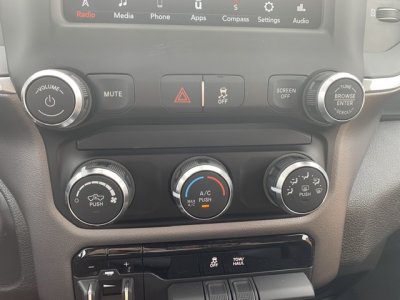
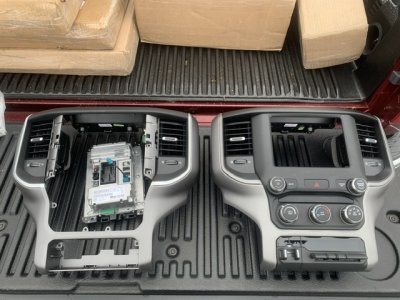
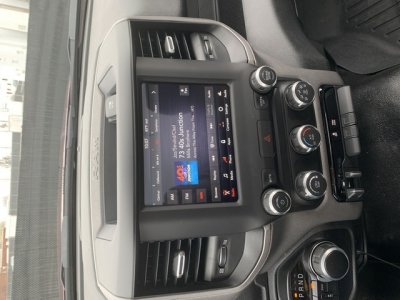
For the second order - the UAM kit - I have reengaged with them to ask for a partial refund to cover the cost of what I believe is the correct bezel (6VQ511AHAA) that I had to order from Bamwholesaleparts.com. Going on with this wrong parts litany, their kit also had center stack # 68370124AA which shows as in the photo - clearly for a diesel truck. They use the VIN and even list it on the order form so they should be able to select the proper parts from a list. Although I made a mod to keep the wrong center stack, the correct one for my application may be 68340284AD.
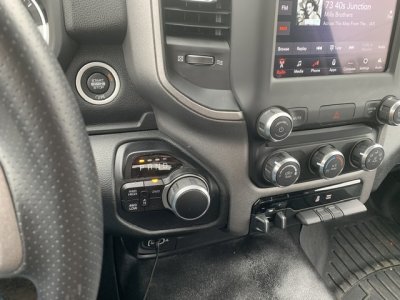
I solved the problem of having a ridiculous second traction control button but it was not for the faint of heart. It requires that you pull all those big knobs off the face. You use a small torx bit to get the shiny screws out of the back and then you can see what to do. I swapped parts over from behind where the climate and radio buttons are. I was able to dismantle BOTH center stacks. In summary: Pull the PCB assembly out from the front where you already pulled off the knobs. You will see a black plastic section resting on the PCB. This secures your buttons and the light rings for the big knobs. Use this piece from the 5” stack. Carefully slice the rubber isolator pad on the 8.4 board overlay in the outline shape of the pad from the 5” board. Replace what you just cut out with the actual pad from the 5” board. This is how you get the single, large, 4-way button to work on the new board. The actual circuitry for the 4-ways is the same on both versions. The 8.4 board adds more PCB to accommodate the 2 buttons they give you for the radio - but the middle support piece that I swapped has the empty holes for those as well.
By the way, the bezels for a 5” (mine was part #5YU412X7AF) and an 8.4” seem almost identical. However, they are not. The spacing of the mounting holes that mate with the center stack is slightly off, so you can’t use your 5” bezel unless you grind/drill into it. I prefer to just get the right part. Speaking of parts, the little rubber mat at the top that hides the two screws used to secure the whole thing? For the 5” and 8.4” bezels I think it’s the same part: 6MB15TX7AA. For the 12” bezel, that one uses a shallower mat, part # 6MB15TX6AA. Maybe $10 for either one.
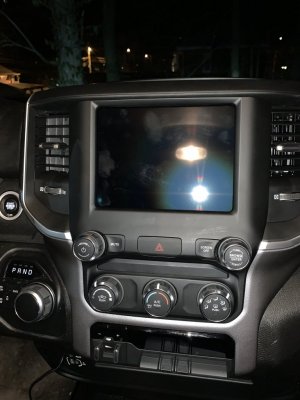
Here you can see that I got the full-width 4-way button from my 5” stack into this 8.4” stack. I also replaced the shiny fake wood trim top-center piece with the matte black piece that came on the 5” bezel. Those parts do indeed swap. Once I get the new black/diesel gray outer bezel this will be perfect!
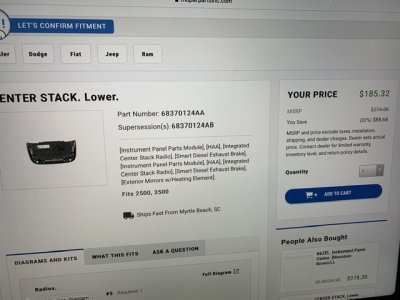
Here is the parts description for the WRONG center stack that infotainment.com sent with my order.
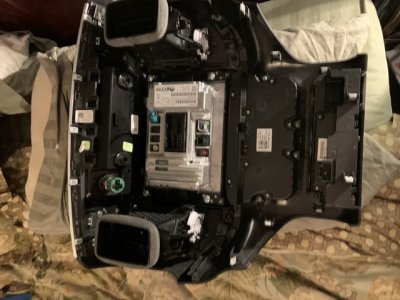
Here’s the back of the 8.4” Uconnect 4 UAM kit. You can see that radio mounting bracket, part #68354583AA, has much less structure than bracket part # 68354582AA which is used to secure the 5” UAA radio. If you are thinking of mounting an aftermarket radio, then perhaps the 5” bracket is the better choice for fabricating your own mounting solution. No Metra or other kits out yet for us.
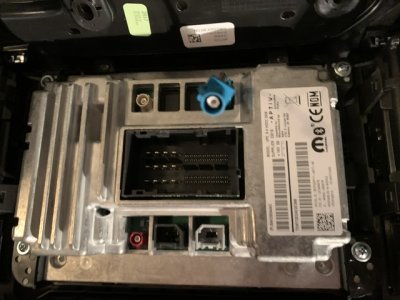
Detail view (blurry though) of the radio label showing part # 68428584AC, now superseded by 68399198AF.
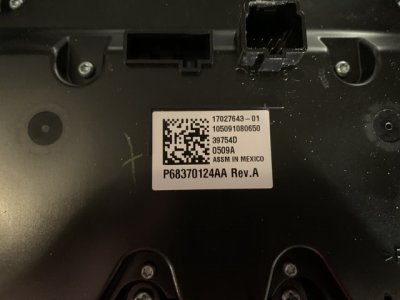
This is the back of the WRONG “center stack. Lower” that shows the part number. I believe that part # 68340284AC would have been the correct one for me, but I solved my problem when I did the button swap mod.